remove engine JEEP COMPASS 2017 2.G Owners Manual
[x] Cancel search | Manufacturer: JEEP, Model Year: 2017, Model line: COMPASS, Model: JEEP COMPASS 2017 2.GPages: 429, PDF Size: 3.46 MB
Page 24 of 429
3. Push the key and cylinder inward and rotate the key tothe LOCK position.
4. Remove the key from the ignition. NOTE:
If you try to remove the key before you place the
gear selector in PARK, the key may become trapped
temporarily in the ignition. If this occurs, place the gear
selector in PARK, rotate the key clockwise slightly, and
then remove the key as described above. If a malfunction
occurs, the system will trap the key in the ignition to warn
you that this safety feature is inoperable. The engine can be
started and stopped but the key cannot be removed until
you obtain service.
WARNING!
• Before exiting a vehicle, always shift the automatic
transmission into PARK or the manual transmission
into FIRST gear or REVERSE, apply the parking
brake, turn the engine OFF, remove the key fob from
the ignition and lock your vehicle.
• Never leave children alone in a vehicle, or with
access to an unlocked vehicle.
• Allowing children to be in a vehicle unattended is
dangerous for a number of reasons. A child or others
could be seriously or fatally injured. Children
should be warned not to touch the parking brake,
brake pedal or the gear selector.
(Continued)
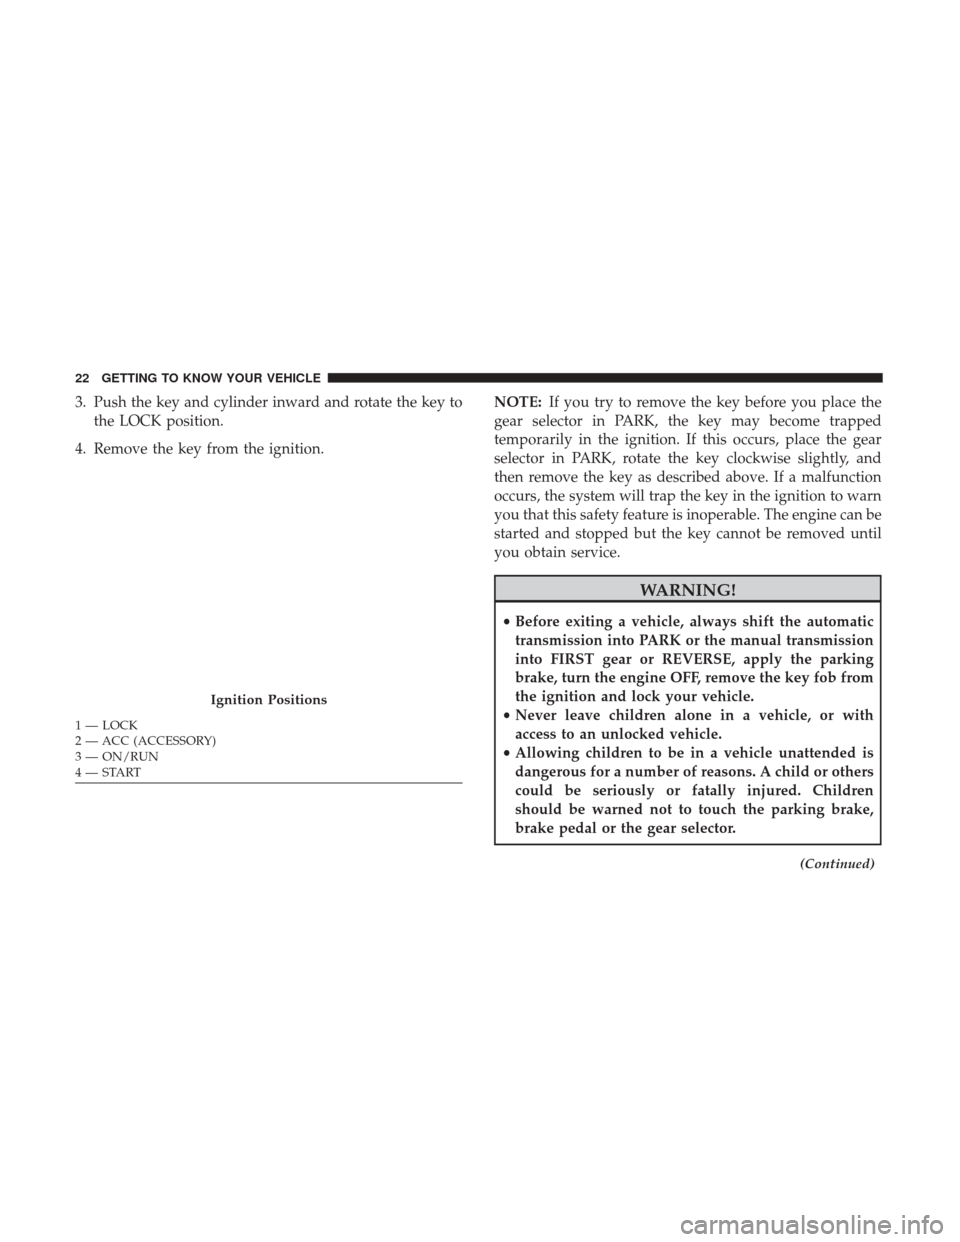
Ignition Positions
1 — LOCK
2 — ACC (ACCESSORY)
3 — ON/RUN
4 — START 22 GETTING TO KNOW YOUR VEHICLE
Page 25 of 429
WARNING!(Continued)
•Do not leave the key fob in or near the vehicle, or in
a location accessible to children. A child could oper-
ate power windows, other controls, or move the
vehicle.
• Do not leave children or animals inside parked
vehicles in hot weather. Interior heat build-up may
cause serious injury or death.
CAUTION!
Always remove the key fobs from the vehicle and lock
all doors when leaving the vehicle unattended.
Key Fob-In-Ignition Reminder
Opening the driver’s door when the key is in the ignition
and the ignition position is LOCK or ACC sounds a signal
to remind you to remove the key.
NOTE: With the driver’s door open and the key in the
ignition, the power door locks will not lock, and key fob
will not function.
SENTRY KEY
The Sentry Key Immobilizer System prevents unauthor-
ized vehicle operation by disabling the engine. The system
does not need to be armed or activated. Operation is
automatic, regardless of whether the vehicle is locked or
unlocked.
The system uses key fobs that have an embedded electronic
chip (transponder) to prevent unauthorized vehicle opera-
tion. Therefore, only key fobs that are programmed to the
vehicle can be used to start and operate the vehicle. The
system will shut the engine off in two seconds if someone
uses an invalid key to try to start the engine.
NOTE: A key fob that has not been programmed is also
considered an invalid key, even if it is cut to fit the ignition
or lock cylinder for that vehicle.
During normal operation, after placing the ignition in the
on position, the Vehicle Security Light will turn on for three
seconds for a bulb check. If the light remains on after the
bulb check, it indicates that there is a problem with the
electronics. In addition, if the Vehicle Security Light begins
to flash after the bulb check, it indicates that someone used
an invalid key to try to start the engine. Either of these
conditions will result in the engine being shut off after two
seconds.
3
GETTING TO KNOW YOUR VEHICLE 23
Page 29 of 429
REMOTE STARTING SYSTEM — IF EQUIPPED
This system uses the key fob to remote start the
engine conveniently from outside the vehicle,
while still maintaining security. The system has a
range of approximately 328 ft (100 m). Obstruc-
tions between the vehicle and key fob may reduce this
range.
NOTE:
• The vehicle must be equipped with an automatic trans-
mission to be equipped with Remote Start.
• Obstructions between the vehicle and the key fob may
reduce this range.
How To Use Remote Start
All of the following conditions must be met before the
engine will remote start:
•Gear selector in PARK
• Doors closed
• Hood closed •
Hazard switch off
• Brake switch inactive (brake pedal not pushed)
• Ignition key removed from ignition
• Battery at an acceptable charge level
• PANIC button not pushed
• System not disabled from previous remote start event
• Vehicle Security Alarm not active
WARNING!
•Do not start or run an engine in a closed garage or
confined area. Exhaust gas contains Carbon Monox-
ide (CO) which is odorless and colorless. Carbon
Monoxide is poisonous and can cause serious injury
or death when inhaled.
• Keep key fobs away from children. Operation of the
Remote Start System, windows, door locks or other
controls could cause serious injury or death.
3
GETTING TO KNOW YOUR VEHICLE 27
Page 54 of 429
CAUTION!(Continued)
before turning off the engine. If the wiper switch is
left on and the wipers freeze to the windshield,
damage to the wiper motor may occur when the
vehicle is restarted.
• Always remove any buildup of snow that prevents
the windshield wiper blades from returning to the
off position. If the windshield wiper control is
turned off and the blades cannot return to the off
position, damage to the wiper motor may occur.
Windshield Wiper Operation
Rotate the end of the lever upward to the second detent
past the intermittent settings for low-speed wiper opera-
tion. Rotate the end of the lever upward to the third detent
past the intermittent settings for high-speed wiper opera-
tion.Intermittent Wiper System
Use the intermittent wiper when weather conditions make
a single wiping cycle, with a variable pause between cycles,
desirable. Select the delay interval by turning the end of the
lever. Rotate the end of the lever upward (clockwise) to
decrease the delay time and downward (counterclockwise)
to increase the delay time. The delay can be regulated from
a maximum of approximately 18 seconds between cycles,
to a cycle every second.
Windshield Wiper Operation
52 GETTING TO KNOW YOUR VEHICLE
Page 93 of 429
The power inverter is designed with built-in overload
protection. If the power rating of 150 Watts is exceeded, the
power inverter will automatically shut down. Once the
electrical device has been removed from the outlet the
inverter should automatically reset. If the power rating
exceeds approximately 170 Watts, the power inverter may
have to be reset manually. To reset the inverter manually,
unplug the device and plug it in again. To avoid overload-
ing the circuit, check the power ratings on electrical devices
prior to using the inverter.WARNING!
To avoid serious injury or death:
•Do not use a three-prong adaptor.
• Do not insert any objects into the receptacles.
• Do not touch with wet hands.
• Close the lid when not in use.
• If this outlet is mishandled, it may cause an electric
shock and failure.
CAUTION!
•Many accessories that can be plugged in draw power
from the vehicle’s battery, even when not in use (i.e.,
cellular phones, etc.). Eventually, if plugged in long
enough, the vehicle’s battery will discharge suffi-
ciently to degrade battery life and/or prevent engine
starting.
• Accessories that draw higher power (i.e., coolers,
vacuum cleaners, lights, etc.) will degrade the battery
even more quickly. Only use these intermittently and
with great caution.
(Continued)115 Volt Power Outlet
3
GETTING TO KNOW YOUR VEHICLE 91
Page 102 of 429
button on the steering wheel to turn off the message. If the
problem continues, the message will appear the next time
the vehicle is started.
noFUSE
If the vehicle diagnostic system determines that the Igni-
tion Off Draw (IOD) fuse is improperly installed, or
damaged, a “noFUSE” message will display in the odom-
eter display area. Refer to “Fuses” in “In Case Of Emer-
gency” for further information on fuses and fuse locations.
CHAngE OIL
Your vehicle is equipped with an engine oil change indi-
cator system. The odometer display will toggle between
CHAngEandOilfor approximately 12 seconds, after a
single chime has sounded, to indicate the next scheduled
oil change interval. The engine oil change indicator system
is duty cycle-based, which means the engine oil change
interval may fluctuate dependent upon your personal
driving style.
5. Fuel Gauge
•The pointer shows the level of fuel in the fuel tank
when the ignition is in the ON/RUN position
•
The fuel pump symbol points to the side of the
vehicle where the fuel door is located. INSTRUMENT CLUSTER DISPLAY
Your vehicle may be equipped with an instrument cluster
display, which offers useful information to the driver. With
the ignition in the STOP/OFF position (and the key
removed, for vehicles with mechanical key), opening/
closing of a door will activate the display for viewing, and
display the total miles or kilometers in the odometer. Your
instrument cluster display is designed to display important
information about your vehicle’s systems and features.
Using a driver interactive display located on the instru-
ment panel, your instrument cluster display can show you
how systems are working and give you warnings when
they aren’t. The steering wheel mounted controls allow
you to scroll through and enter the main menus and
submenus. You can access the specific information you
want and make selections and adjustments.
Interactive Display And Controls
The instrument cluster display features a driver-interactive
display that is located in the instrument cluster.
100 GETTING TO KNOW YOUR INSTRUMENT PANEL
Page 195 of 429
that is securely attached using the floor mat fasteners so it
cannot slip out of position and interfere with the accelera-
tor, brake or clutch pedals or impair safe operation of your
vehicle in other ways.
WARNING!
An improperly attached, damaged, folded, or stacked
floor mat, or damaged floor mat fasteners may cause
your floor mat to interfere with the accelerator, brake,
or clutch pedals and cause a loss of vehicle control. To
prevent SERIOUS INJURY or DEATH:
•ALWAYS securely attach
your floor mat using
the floor mat fasteners. DO NOT install your floor
mat upside down or turn your floor mat over.
Lightly pull to confirm mat is secured using the
floor mat fasteners on a regular basis.
• ALWAYS REMOVE THE EXISTING FLOOR MAT
FROM THE VEHICLE
before installing any
other floor mat. NEVER install or stack an addi-
tional floor mat on top of an existing floor mat.
• ONLY install floor mats designed to fit your vehicle.
NEVER install a floor mat that cannot be properly
attached and secured to your vehicle. If a floor mat
(Continued)
WARNING! (Continued)
needs to be replaced, only use a FCA approved floor
mat for the specific make, model, and year of your
vehicle.
• ONLY use the driver ’s side floor mat on the driver ’s
side floor area. To check for interference, with the
vehicle properly parked with the engine off, fully
depress the accelerator, the brake, and the clutch
pedal (if present) to check for interference. If your
floor mat interferes with the operation of any pedal,
or is not secure to the floor, remove the floor mat
from the vehicle and place the floor mat in your
trunk.
• ONLY use the passenger ’s side floor mat on the
passenger ’s side floor area.
• ALWAYS make sure objects cannot fall or slide into
the driver ’s side floor area when the vehicle is
moving. Objects can become trapped under accelera-
tor, brake, or clutch pedals and could cause a loss of
vehicle control.
• NEVER place any objects under the floor mat (e.g.,
towels, keys, etc.). These objects could change the
(Continued)
5
SAFETY 193
Page 196 of 429
WARNING!(Continued)
position of the floor mat and may cause interference
with the accelerator, brake, or clutch pedals.
• If the vehicle carpet has been removed and re-
installed, always properly attach carpet to the floor
and check the floor mat fasteners are secure to the
vehicle carpet. Fully depress each pedal to check for
interference with the accelerator, brake, or clutch
pedals then re-install the floor mats.
• It is recommended to only use mild soap and water
to clean your floor mats. After cleaning, always check
your floor mat has been properly installed and is
secured to your vehicle using the floor mat fasteners
by lightly pulling mat.
Periodic Safety Checks You Should Make Outside
The Vehicle
Tires
Examine tires for excessive tread wear and uneven wear
patterns. Check for stones, nails, glass, or other objects
lodged in the tread or sidewall. Inspect the tread for cuts
and cracks. Inspect sidewalls for cuts, cracks, and bulges.
Check the wheel nuts for tightness. Check the tires (includ-
ing spare) for proper cold inflation pressure.
Lights
Have someone observe the operation of brake lights and
exterior lights while you work the controls. Check turn
signal and high beam indicator lights on the instrument
panel.
Door Latches
Check for proper closing, latching, and locking.
Fluid Leaks
Check area under vehicle after overnight parking for fuel,
engine coolant, oil, or other fluid leaks. Also, if gasoline
fumes are detected or if fuel, power steering fluid (if
equipped), or brake fluid leaks are suspected. The cause
should be located and corrected immediately.
194 SAFETY
Page 199 of 429
STARTING PROCEDURES
Before starting your vehicle, adjust your seat, adjust both
inside and outside mirrors, and fasten your seat belts.
WARNING!
•Before exiting a vehicle, always shift the transmis-
sion into PARK, apply the parking brake and remove
the key fob from the ignition. When leaving the
vehicle, always lock your vehicle.
• Never leave children alone in a vehicle, or with
access to an unlocked vehicle.
• Allowing children to be in a vehicle unattended is
dangerous for a number of reasons. A child or others
could be seriously or fatally injured. Children
should be warned not to touch the parking brake,
brake pedal or the gear selector.
• Do not leave the key fob in or near the vehicle, or in
a location accessible to children. A child could oper-
ate power windows, other controls, or move the
vehicle.
Manual Transmission — If Equipped
Before starting the engine fully apply the parking brake,
press the clutch pedal to the floor, and place the gear
selector in NEUTRAL.
NOTE:
• The engine will not start unless the clutch pedal is
pressed to the floor.
• If the key will not turn and the steering wheel is locked,
rotate the wheel in either direction to relieve pressure on
the locking mechanism and then turn the key.
Automatic Transmission — If Equipped
The gear selector must be in the PARK or NEUTRAL
position before you can start the engine. Press the brake
pedal before shifting to any driving gear.
NOTE: You must press the brake pedal before shifting out
of PARK.
Tip Start
Do not press the accelerator. Turn the ignition switch to the
START position and release it as soon as the starter
engages. The starter motor will continue to run, and it will
disengage automatically when the engine is running. If the
6
STARTING AND OPERATING 197
Page 207 of 429
WARNING!(Continued)
engine is idling normally and your foot is firmly
pressing the brake pedal.
•
Unintended movement of a vehicle could injure those
in or near the vehicle. As with all vehicles, you should
never exit a vehicle while the engine is running. Before
exiting a vehicle always apply the parking brake, shift
the transmission into PARK, turn the engine OFF, and
remove the ignition key. Once the key is removed, the
transmission is locked in PARK, securing the vehicle
against unwanted movement.
• When leaving the vehicle, always remove the igni-
tion key from the vehicle and lock the vehicle.
• Never leave children alone in a vehicle, or with
access to an unlocked vehicle. Allowing children to
be in a vehicle unattended is dangerous for a number
of reasons. A child or others could be seriously or
fatally injured. Children should be warned not to
touch the parking brake, brake pedal or the trans-
mission gear selector.
• Do not leave the ignition key in or near the vehicle
(or in a location accessible to children). A child could
operate power windows, other controls, or move the
vehicle.
Key Ignition Park Interlock
This vehicle is equipped with a Key Ignition Park Interlock
which requires the transmission to be in PARK before the
ignition switch can be turned to the LOCK/OFF (key
removal) position. The key can only be removed from the
ignition when the ignition is in the LOCK/OFF position,
and once removed the transmission is locked in PARK.
NOTE: If a malfunction occurs, the system will trap the
key in the ignition switch to warn you that this safety
feature is inoperable. The engine can be started and
stopped but the key cannot be removed until you obtain
service.
Brake/Transmission Shift Interlock System
This vehicle is equipped with a Brake Transmission Shift
Interlock system (BTSI) that holds the gear selector in
PARK unless the brakes are applied. To shift the transmis-
sion out of PARK, the ignition switch must be turned to the
ON/RUN position (engine running or not) and the brake
pedal must be pressed.
Six-Speed Automatic Transmission — If Equipped
The transmission gear position display (located in the
instrument cluster) indicates the transmission gear range.
You must press the brake pedal to move the gear selector
6
STARTING AND OPERATING 205