JEEP GRAND CHEROKEE 2004 WK / 3.G Repair Manual
Manufacturer: JEEP, Model Year: 2004, Model line: GRAND CHEROKEE, Model: JEEP GRAND CHEROKEE 2004 WK / 3.GPages: 344, PDF Size: 6.09 MB
Page 61 of 344
Exterior Mirrors Folding Feature
All exterior mirrors are hinged and may be moved either
forward or rearward to resist damage. The hinges have
three detent positions; full forward, full rearward, and
normal.
Outside Mirrors
To receive maximum benefit, adjust the outside mirrors
to center on the adjacent lane of traffic with a slight
overlap of the view obtained on the inside mirror.
WARNING!
Vehicles and other objects seen in the right side
convex mirror will look smaller and farther away
than they really are. Relying too much on your right
side mirror could cause you to collide with another
vehicle or other objects. Use your inside mirror when
judging the size or distance of a vehicle seen in the
right side mirror.
Heated Remote Control Mirrors Ð If Equipped
These mirrors are heated to melt frost or ice. This
feature is activated whenever you turn on the rear
window defrost.
Power Remote Control Outside Mirrors
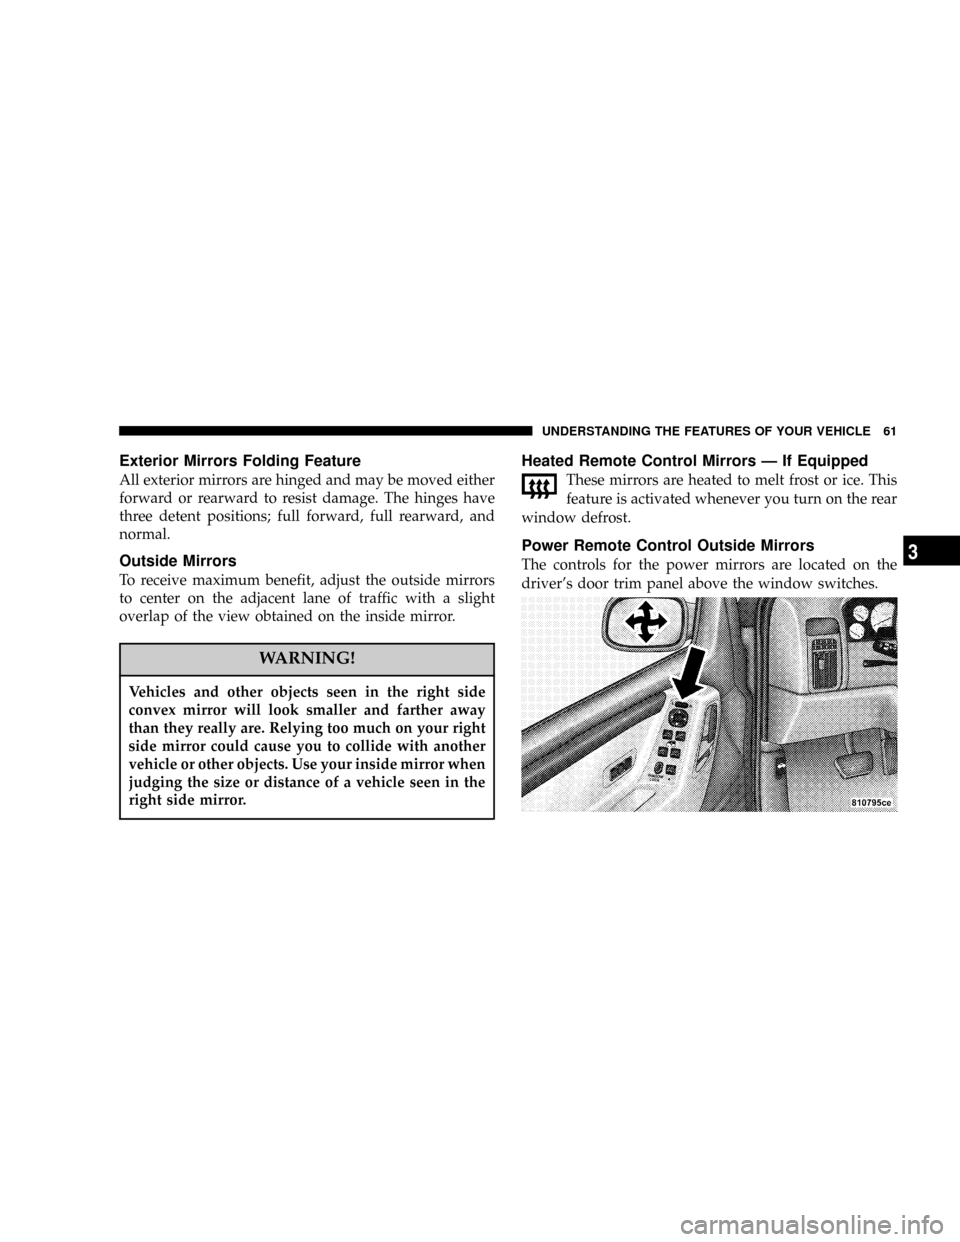
The controls for the power mirrors are located on the
driver's door trim panel above the window switches.
UNDERSTANDING THE FEATURES OF YOUR VEHICLE 61
3
Page 62 of 344

Set the top switch to the left or right for the left or right
mirror, and set it to the center off position to prevent
accidentally moving a mirror when you are finished
adjusting the mirror. To adjust a mirror, select left or right
with the top switch, and press one of the four arrows for
the direction you want the mirror to move.
Lighted Vanity Mirrors Ð If Equipped
To access a lighted vanity mirror, flip down one of the
visors.
Lift the cover to reveal the mirror. The light will turn on
automatically. Sliding the button up or down will vary
the intensity of the light.
62 UNDERSTANDING THE FEATURES OF YOUR VEHICLE
Page 63 of 344
SEATS
WARNING!
Adjusting a seat while the vehicle is moving is
dangerous. The sudden movement of the seat could
cause you to lose control. The seat belt might not be
properly adjusted and you could be injured. Adjust
any seat only while the vehicle is parked.
Front Manual Seat Adjustment
Move the seat forward or rearward using the adjustment
bar. Lift up on the bar located on the front of the seat near
the floor. Position the seat and be sure the latch engages
fully.
Front Seat Adjustment Ð Recline
To adjust the seatback, lift the lever located on the
outboard side of the seat, lean back, and release the lever
at the desired position. To return the seatback, lift the
lever, lean forward, and release the lever.
WARNING!
Do not ride with the seatback reclined so that the
seat belt is no longer resting against your chest. In a
collision you could slide under the seat belt and be
seriously or even fatally injured. Use the recliner
only when the vehicle is parked.
UNDERSTANDING THE FEATURES OF YOUR VEHICLE 63
3
Page 64 of 344
WARNING!
²It is extremely dangerous to ride in a cargo area,
inside or outside of a vehicle. In a collision,
people riding in these areas are more likely to be
seriously injured or killed.
²Do not allow people to ride in any area of your
vehicle that is not equipped with seats and seat
belts.
²Be sure everyone in your vehicle is in a seat and
using a seat belt properly.
Head Restraints
Head restraints can reduce the risk of whiplash injury in
the event of impact from the rear. Adjustable head
restraints should be adjusted so that the upper edge is as
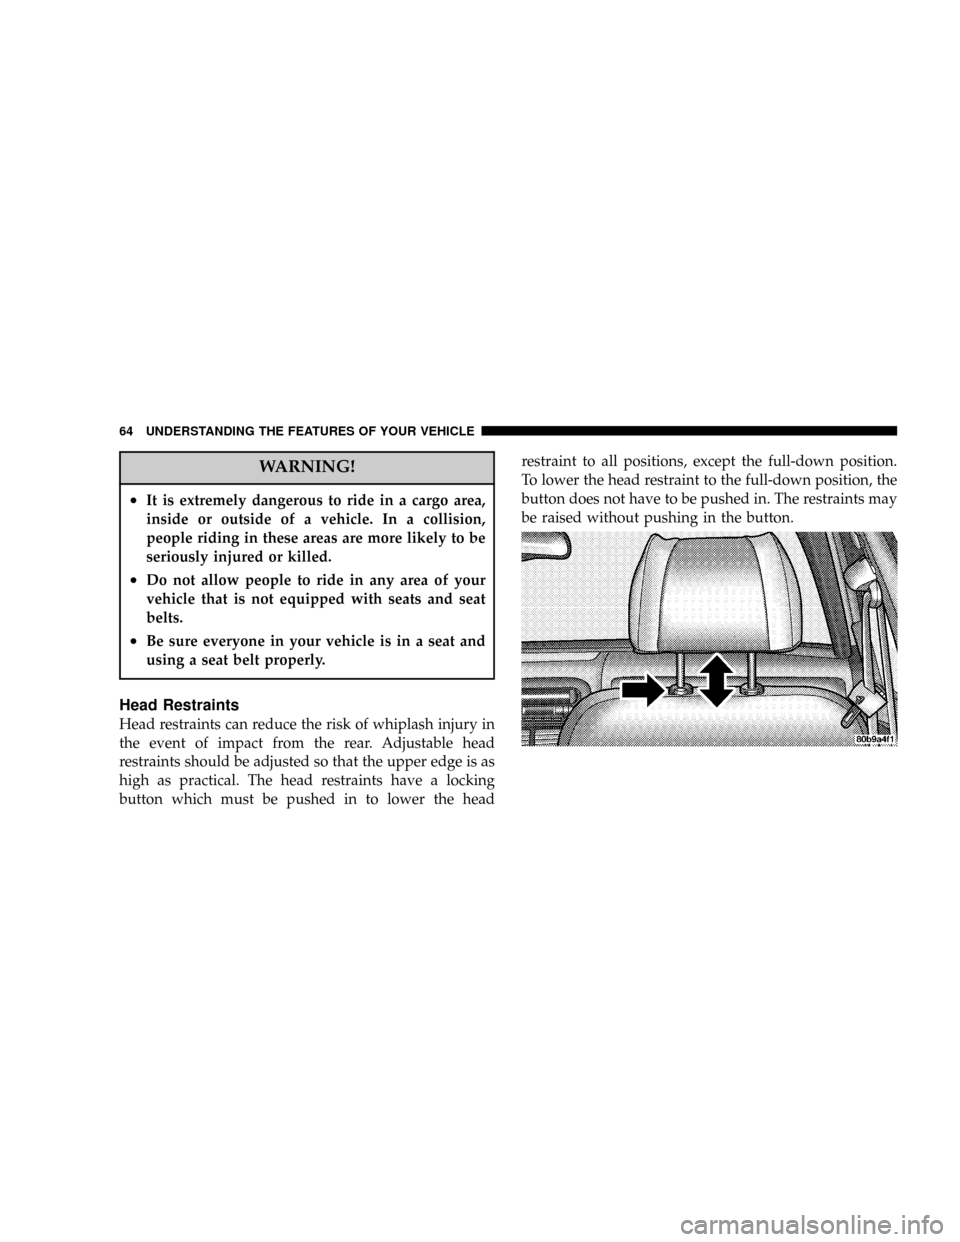
high as practical. The head restraints have a locking
button which must be pushed in to lower the headrestraint to all positions, except the full-down position.
To lower the head restraint to the full-down position, the
button does not have to be pushed in. The restraints may
be raised without pushing in the button.
64 UNDERSTANDING THE FEATURES OF YOUR VEHICLE
Page 65 of 344
Power Seat Adjuster Ð If Equipped
WARNING!
Do not ride with the seatback reclined so that the
shoulder belt is no longer resting against your chest.
In a collision you could slide under the seat belt and
be seriously injured or even fatally injured. Use the
recliner only when the vehicle is parked.
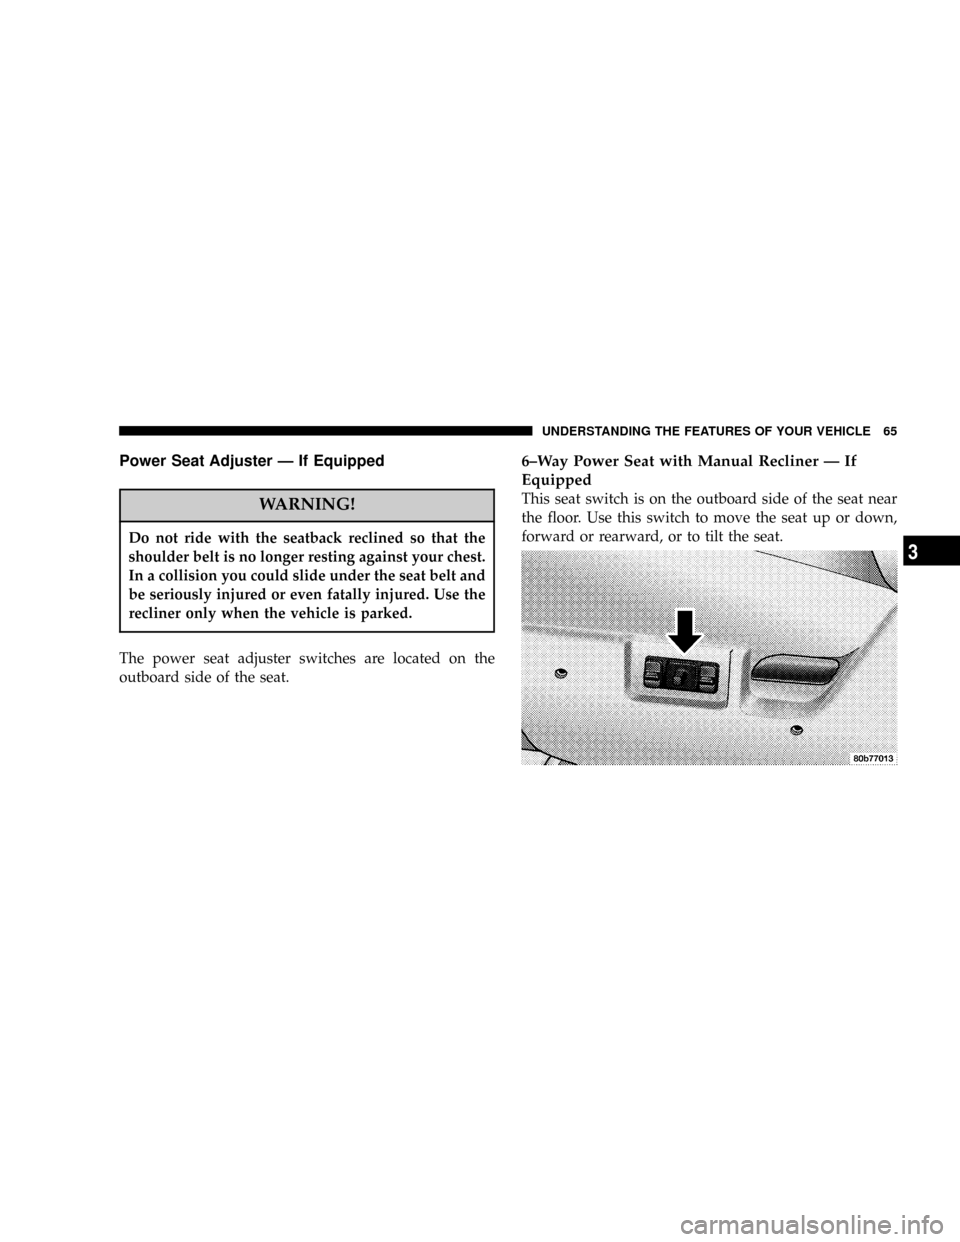
The power seat adjuster switches are located on the
outboard side of the seat.
6±Way Power Seat with Manual Recliner Ð If
Equipped
This seat switch is on the outboard side of the seat near
the floor. Use this switch to move the seat up or down,
forward or rearward, or to tilt the seat.
UNDERSTANDING THE FEATURES OF YOUR VEHICLE 65
3
Page 66 of 344

This seat also has a manual recline lever located just to
the rear of the power seat switch. Pull up on the lever to
recline the seat.10±Way Power Seat with Power Recliner and
Power Lumbar Ð If Equipped
These seat switches are located on the outboard side of
the seat near the floor. Use these switches to move the
seat up or down, forward or rearward, to tilt the seat, to
recline the seat, or to increase/decrease the amount of
lumbar support.
66 UNDERSTANDING THE FEATURES OF YOUR VEHICLE
Page 67 of 344
CAUTION!
Do not put anything under a power seat. It may
cause damage to the seat controls.
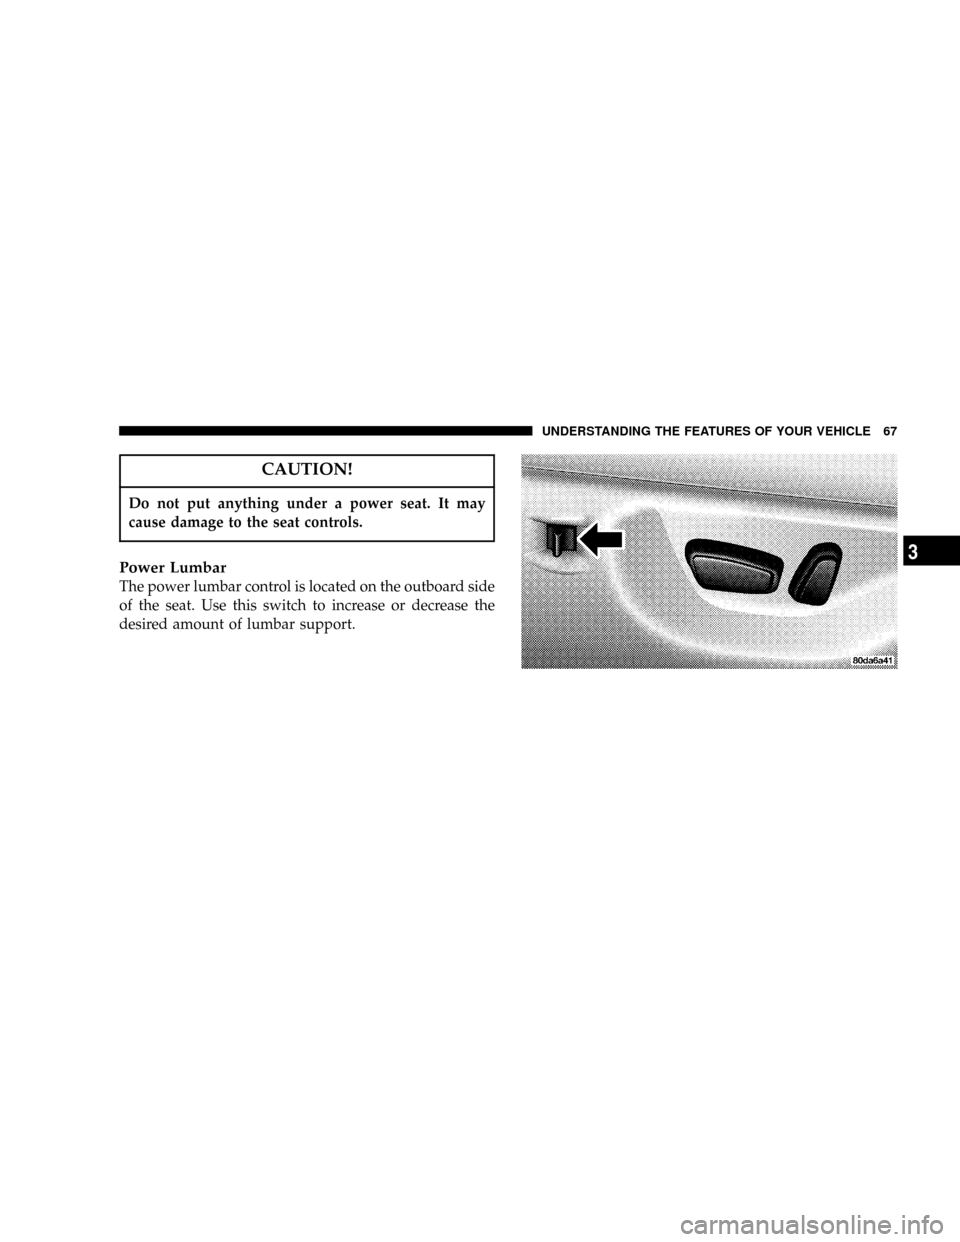
Power Lumbar
The power lumbar control is located on the outboard side
of the seat. Use this switch to increase or decrease the
desired amount of lumbar support.
UNDERSTANDING THE FEATURES OF YOUR VEHICLE 67
3
Page 68 of 344
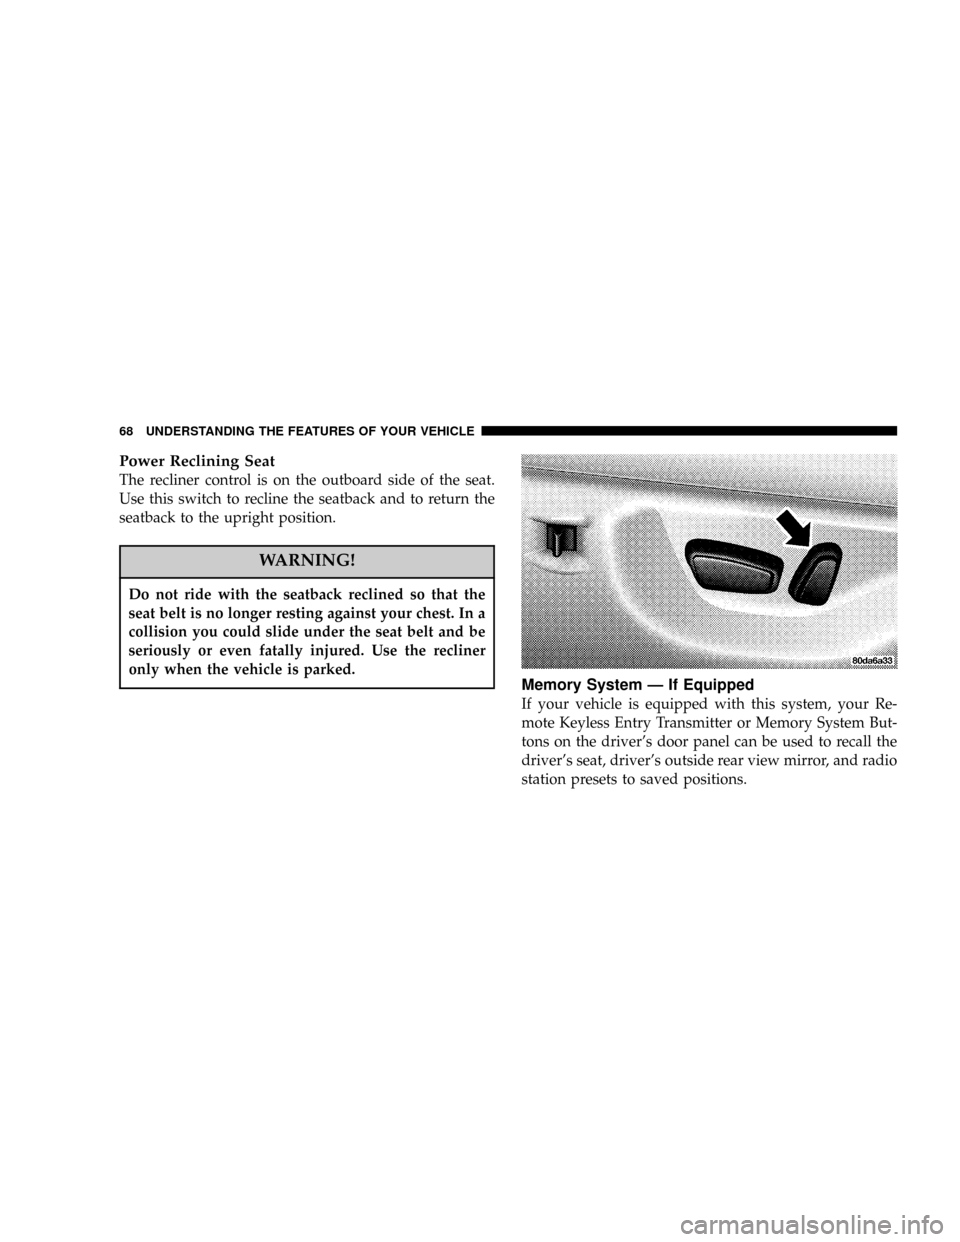
Power Reclining Seat
The recliner control is on the outboard side of the seat.
Use this switch to recline the seatback and to return the
seatback to the upright position.
WARNING!
Do not ride with the seatback reclined so that the
seat belt is no longer resting against your chest. In a
collision you could slide under the seat belt and be
seriously or even fatally injured. Use the recliner
only when the vehicle is parked.
Memory System Ð If Equipped
If your vehicle is equipped with this system, your Re-
mote Keyless Entry Transmitter or Memory System But-
tons on the driver's door panel can be used to recall the
driver's seat, driver's outside rear view mirror, and radio
station presets to saved positions.
68 UNDERSTANDING THE FEATURES OF YOUR VEHICLE
Page 69 of 344

The Memory Position Buttons located on the driver's
door will always recall stored settings. The Remote
Keyless Entry Transmitters can be programmed to recall
positions when the ªUnlockº button is pressed. For
customer programmable features refer to the section on
ªOverhead Consoleº for programming details, otherwise
see your authorized dealer.
NOTE:The vehicle must be in P (Park), and the seat belt
cannot be latched if the ignition is in the ON position, to
recall memory positions.
Your vehicle was delivered to you with two remote
keyless entry transmitters. They are color coded to match
the memory buttons on the driver's door. These trans-
mitters work in conjunction with the number ª1º (black)
and number ª2º (gray) memory seat buttons on the
driver's door. Once the memory button has been set, the
corresponding remote keyless entry transmitter is also
set.NOTE:If the memory system is not set to your desired
positions, the seat and driver's mirror will default to the
factory setting each time the Keyless Entry Transmitter is
used.
To set the memory buttons follow this procedure:
1. Turn the ignition key to the ON position.
UNDERSTANDING THE FEATURES OF YOUR VEHICLE 69
3
Page 70 of 344

2. Press the memory button ª1º if you are setting the
memory for driver one or number ª2º if you are setting
the memory for driver two.
3. Adjust the seat, recliner, and driver's outside rear view
mirrors to the desired position.
4. Set the radio station presets as you desire (up to 10 AM
and 10 FM station settings).
5. Press and release the SET button. An indicator light on
the set switch will flash, telling you that you are in the set
memory mode.6. Press and release button number ª1º or number ª2º on
the driver's door, depending on which transmitter you're
using. The flashing indicator light on the set switch will
go out telling you that the driver memory has been set.
If your remote keyless entry transmitter is lost, you may
order a new transmitter from your local authorized
dealer. You must designate transmitter #1 or #2. Your
authorized dealer will have to program your vehicle to
match the new transmitter.
70 UNDERSTANDING THE FEATURES OF YOUR VEHICLE