horn JEEP GRAND CHEROKEE 2011 WK2 / 4.G User Guide
[x] Cancel search | Manufacturer: JEEP, Model Year: 2011, Model line: GRAND CHEROKEE, Model: JEEP GRAND CHEROKEE 2011 WK2 / 4.GPages: 100, PDF Size: 5.46 MB
Page 12 of 100

KEYLESS ENTER-N-GO
• The Keyless Enter-N-Go system is an enhancement to the vehicle's Key Fob. Thisfeature allows you to lock and unlock the vehicle's door(s) and liftgate without having
to press the Key Fob lock or unlock buttons, as well as starting and stopping the
vehicle with the press of a button.
To Unlock From The Driver or Passenger Side:
• With a valid Keyless Enter-N-Go Key Fob located outside the vehicle and within 5 ft(1.5m) of the driver or passenger side door handle, grab either front door handle to
unlock the door automatically.
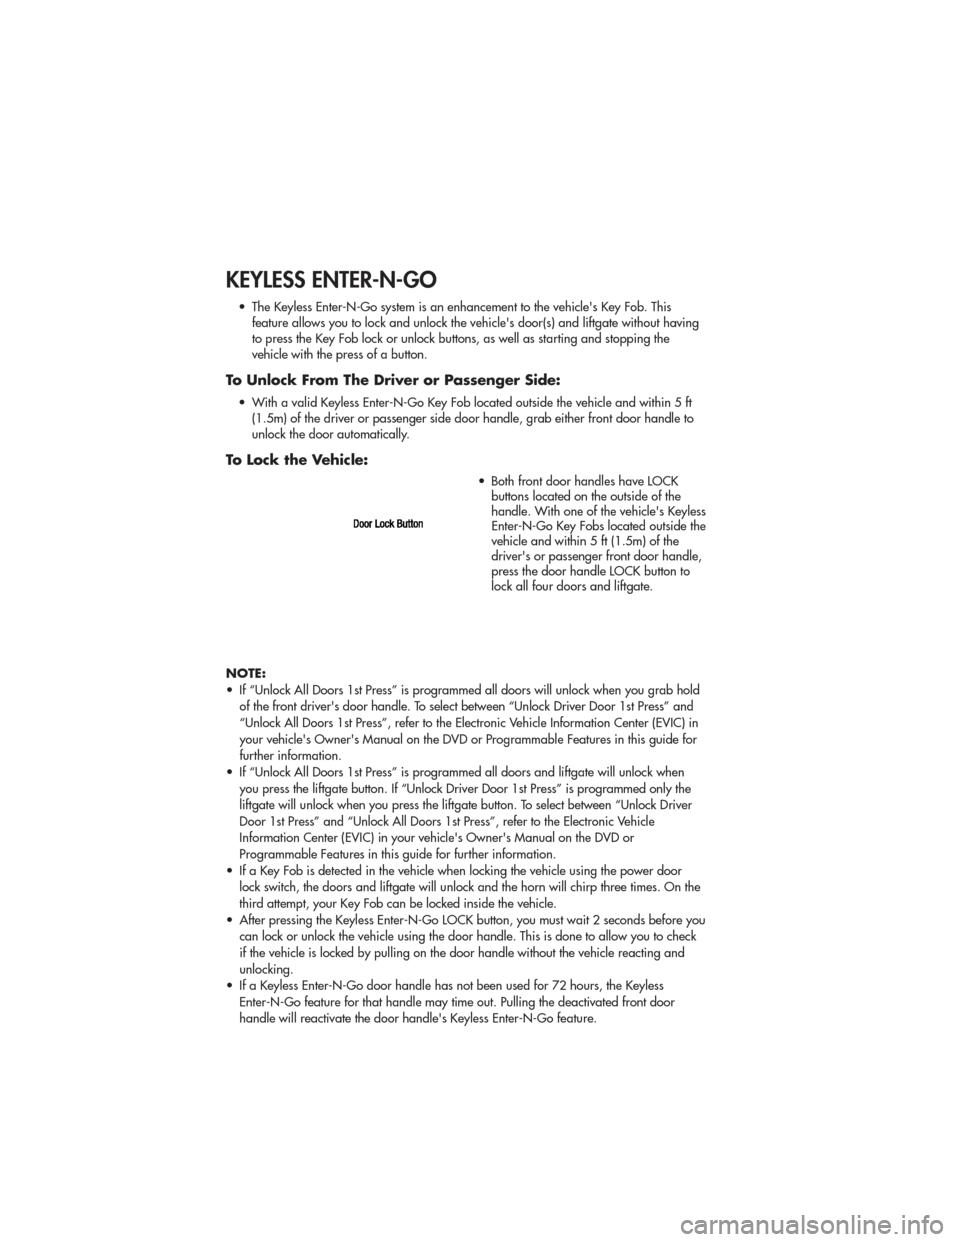
To Lock the Vehicle:
• Both front door handles have LOCKbuttons located on the outside of the
handle. With one of the vehicle's Keyless
Enter-N-Go Key Fobs located outside the
vehicle and within 5 ft (1.5m) of the
driver's or passenger front door handle,
press the door handle LOCK button to
lock all four doors and liftgate.
NOTE:
• If “Unlock All Doors 1st Press” is programmed all doors will unlock when you grab hold of the front driver's door handle. To select between “Unlock Driver Door 1st Press” and
“Unlock All Doors 1st Press”, refer to the Electronic Vehicle Information Center (EVIC) in
your vehicle's Owner's Manual on the DVD or Programmable Features in this guide for
further information.
• If “Unlock All Doors 1st Press” is programmed all doors and liftgate will unlock when you press the liftgate button. If “Unlock Driver Door 1st Press” is programmed only the
liftgate will unlock when you press the liftgate button. To select between “Unlock Driver
Door 1st Press” and “Unlock All Doors 1st Press”, refer to the Electronic Vehicle
Information Center (EVIC) in your vehicle's Owner's Manual on the DVD or
Programmable Features in this guide for further information.
• If a Key Fob is detected in the vehicle when locking the vehicle using the power door lock switch, the doors and liftgate will unlock and the horn will chirp three times. On the
third attempt, your Key Fob can be locked inside the vehicle.
• After pressing the Keyless Enter-N-Go LOCK button, you must wait 2 seconds before you can lock or unlock the vehicle using the door handle. This is done to allow you to check
if the vehicle is locked by pulling on the door handle without the vehicle reacting and
unlocking.
• If a Keyless Enter-N-Go door handle has not been used for 72 hours, the Keyless Enter-N-Go feature for that handle may time out. Pulling the deactivated front door
handle will reactivate the door handle's Keyless Enter-N-Go feature.
GETTING STARTED
10
Page 54 of 100

Compass Calibration
• This compass is self-calibrating, which eliminates the need to set the compassmanually. When the vehicle is new, the compass may appear erratic and the EVIC will
display “CAL” until the compass is calibrated.
• You may also calibrate the compass by completing one or more 360 degree turns (in an area free from large metal or metallic objects) until the “CAL” message displayed
in the EVIC turns off. The compass will now function normally.
ECO
• The ECO message will appear in your EVIC display whenever you are driving in afuel efficient manner.
• This feature allows you to monitor when you are driving in a fuel efficient manner, and it can be used to modify driving habits in order to increase fuel economy.
PROGRAMMABLE FEATURES
Electronic Vehicle Information Center (EVIC) – If Equipped
• The EVIC can be used to program the following Personal Settings. Press the UP
or DOWNbutton until System Setup displays, then press the SELECT
button. Scroll through the settings using the UP or DOWN buttons. Press the
SELECTbutton to change the setting. Press the BACK button to scroll back to a
previous menu or sub menu.
• Select Language • Key-Off Power Delay
• Nav – Turn By Turn • Illuminated Approach
• Auto Unlock Doors • Display ECO Symbol
• Remote Unlock Sequence • Keyless Enter-N-Go
• RKE Linked To Memory • Auto High Beams
• Remote Start Comfort Sys. • Wiper Mode
• Horn with Remote Lock • Hill Start Assist (HSA)
• Horn With Remote Start • Blind Spot Alert
• Flash Lamps With Lock • Forward Collision Warning
• Headlamp Off Delay • Display Units of Measure In:
• Headlamps with Wipers • Calibrate Compass
• Easy Entry/Exit Seat • Compass Variance
• Tilt Mirror in Reverse
ELECTRONICS
52
Page 88 of 100

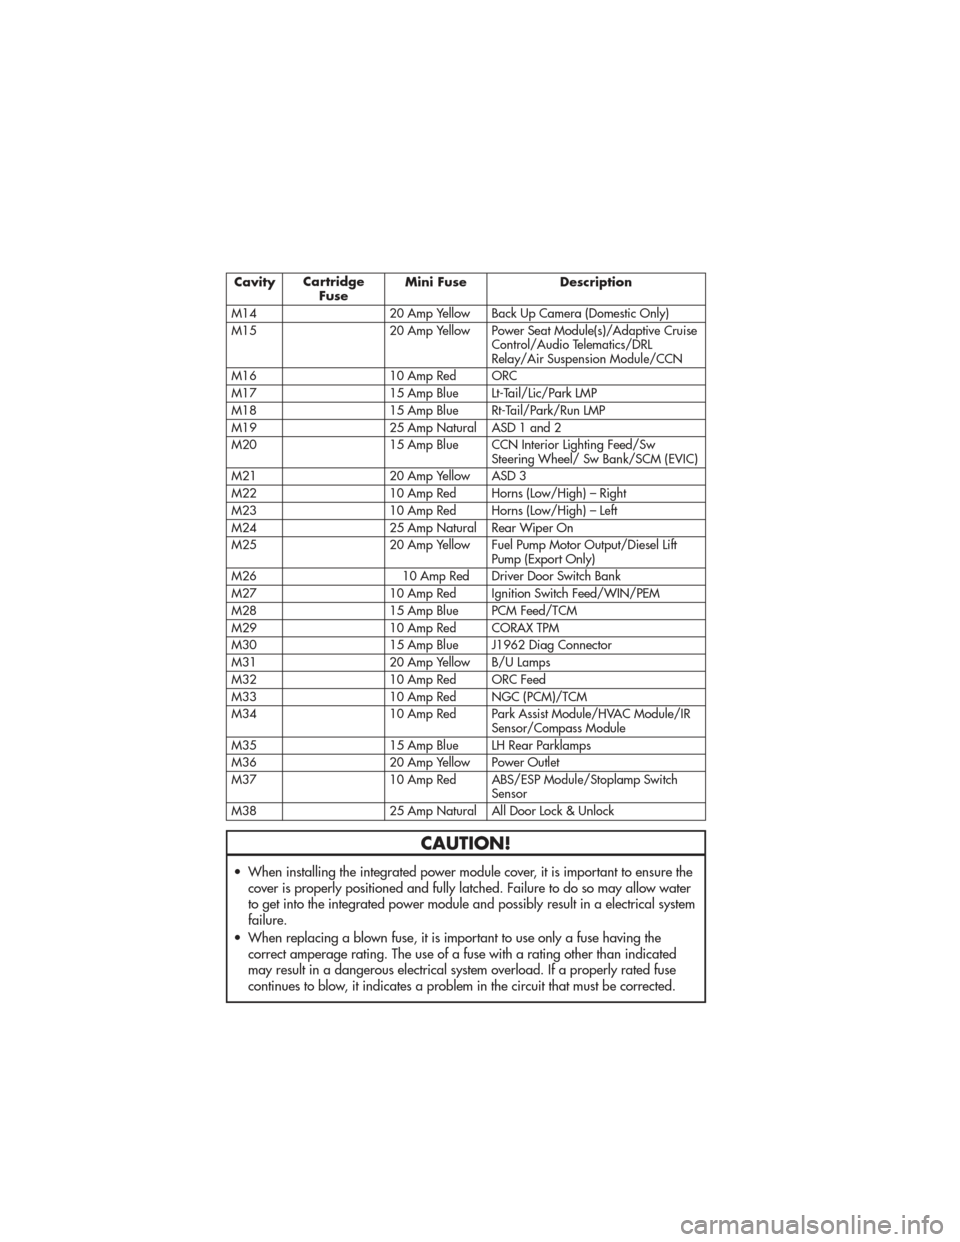
CavityCartridge
Fuse Mini Fuse Description
M14 20 Amp Yellow Back Up Camera (Domestic Only)
M15 20 Amp Yellow Power Seat Module(s)/Adaptive Cruise Control/Audio Telematics/DRL
Relay/Air Suspension Module/CCN
M16 10 Amp Red ORC
M17 15 Amp Blue Lt-Tail/Lic/Park LMP
M18 15 Amp Blue Rt-Tail/Park/Run LMP
M19 25 Amp Natural ASD 1 and 2
M20 15 Amp Blue CCN Interior Lighting Feed/Sw Steering Wheel/ Sw Bank/SCM (EVIC)
M21 20 Amp Yellow ASD 3
M22 10 Amp Red Horns (Low/High) – Right
M23 10 Amp Red Horns (Low/High) – Left
M24 25 Amp Natural Rear Wiper On
M25 20 Amp Yellow Fuel Pump Motor Output/Diesel Lift Pump (Export Only)
M26 10 Amp Red Driver Door Switch Bank
M27 10 Amp Red Ignition Switch Feed/WIN/PEM
M28 15 Amp Blue PCM Feed/TCM
M29 10 Amp Red CORAX TPM
M30 15 Amp Blue J1962 Diag Connector
M31 20 Amp Yellow B/U Lamps
M32 10 Amp Red ORC Feed
M33 10 Amp Red NGC (PCM)/TCM
M34 10 Amp Red Park Assist Module/HVAC Module/IR Sensor/Compass Module
M35 15 Amp Blue LH Rear Parklamps
M36 20 Amp Yellow Power Outlet
M37 10 Amp Red ABS/ESP Module/Stoplamp Switch Sensor
M38 25 Amp Natural All Door Lock & Unlock
CAUTION!
• When installing the integrated power module cover, it is important to ensure the cover is properly positioned and fully latched. Failure to do so may allow water
to get into the integrated power module and possibly result in a electrical system
failure.
• When replacing a blown fuse, it is important to use only a fuse having the correct amperage rating. The use of a fuse with a rating other than indicated
may result in a dangerous electrical system overload. If a properly rated fuse
continues to blow, it indicates a problem in the circuit that must be corrected.
MAINTAINING YOUR VEHICLE
86