window JEEP GRAND CHEROKEE 2012 WK2 / 4.G Owner's Manual
[x] Cancel search | Manufacturer: JEEP, Model Year: 2012, Model line: GRAND CHEROKEE, Model: JEEP GRAND CHEROKEE 2012 WK2 / 4.GPages: 679, PDF Size: 4.12 MB
Page 109 of 679
MIRRORS
Inside Day/Night Mirror
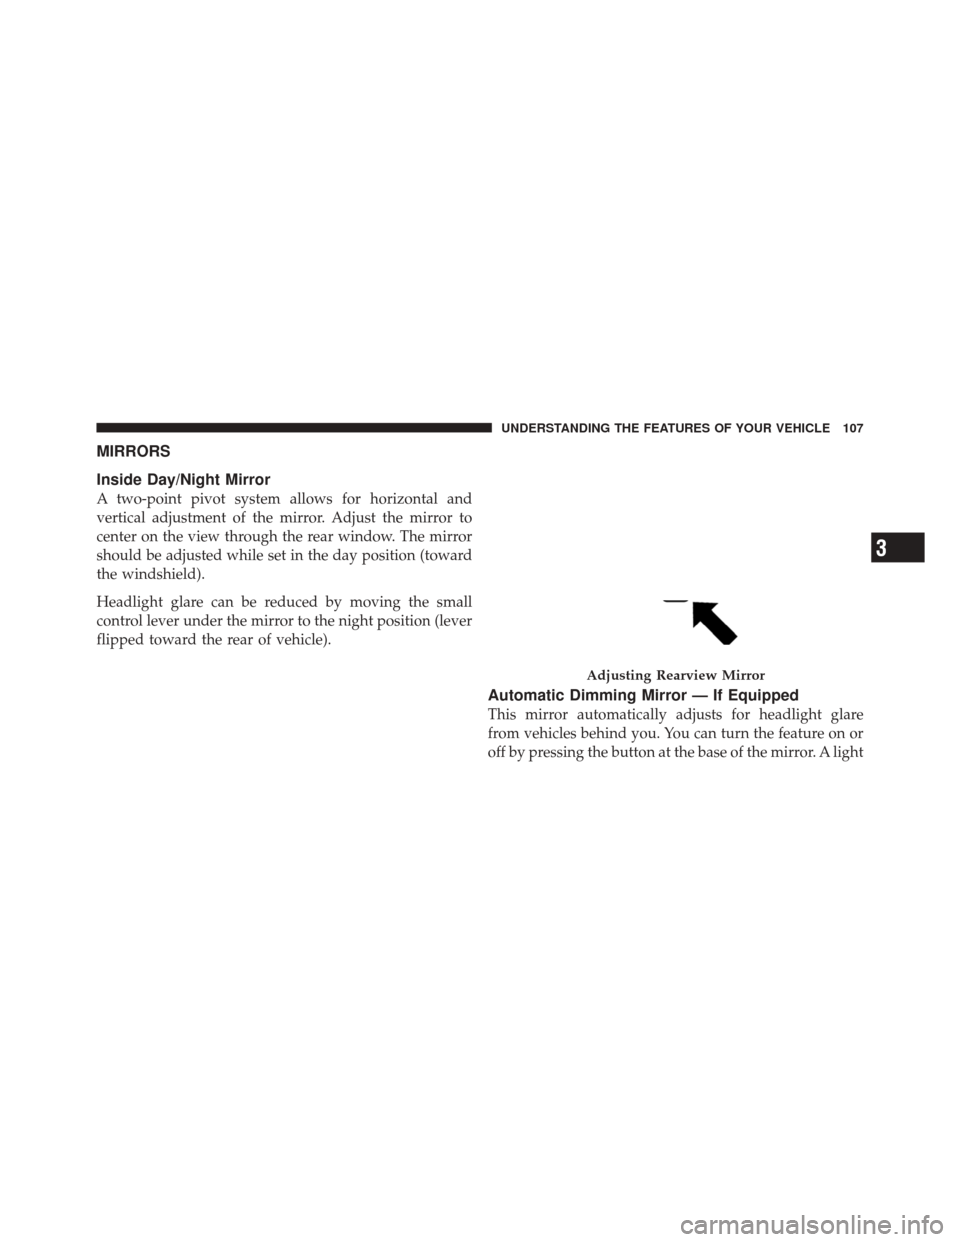
A two-point pivot system allows for horizontal and
vertical adjustment of the mirror. Adjust the mirror to
center on the view through the rear window. The mirror
should be adjusted while set in the day position (toward
the windshield).
Headlight glare can be reduced by moving the small
control lever under the mirror to the night position (lever
flipped toward the rear of vehicle).
Automatic Dimming Mirror — If Equipped
This mirror automatically adjusts for headlight glare
from vehicles behind you. You can turn the feature on or
off by pressing the button at the base of the mirror. A light
Adjusting Rearview Mirror
3
UNDERSTANDING THE FEATURES OF YOUR VEHICLE 107
Page 113 of 679
Heated Mirrors — If Equipped
These mirrors are heated to melt frost or ice. This
feature is activated whenever you turn on the rear
window defroster. Refer to “Rear Window Features” in
“Understanding The Features Of Your Vehicle” for fur-
ther information.
Tilt Mirrors In Reverse (Available With Memory
Seat Only) — If Equipped
Tilt Mirrors in Reverse provides automatic outside mirror
positioning which will aid the drivers view of the ground
rearward of the front doors. Outside mirrors will move
slightly downward from the present position when the
vehicle is shifted into REVERSE. Outside mirrors will
then return to the original position when the vehicle is
shifted out of REVERSE position. Each stored memory
setting will have an associated Tilt Mirrors in Reverse
position. NOTE:
The Tilt Mirrors in Reverse feature is not en-
abled when delivered from the factory. The Tilt Mirrors in
Reverse feature can be enabled or disabled in the Elec-
tronic Vehicle Information Center (EVIC). Refer to “Elec-
tronic Vehicle Information Center (EVIC)/Customer-
Programmable Features” in “Understanding Your Instru-
ment Panel” for further information.
Illuminated Vanity Mirrors
To access an illuminated vanity mirror, flip down one of
the visors.
3
UNDERSTANDING THE FEATURES OF YOUR VEHICLE 111
Page 143 of 679
You can either press the Uconnect™ Phone button to
restore the factory setting or repeat the words and
phrases when prompted by the Uconnect™ Phone. For
best results, the Voice Training session should be com-
pleted when the vehicle is parked with the engine
running, all windows closed, and the blower fan
switched off.
This procedure may be repeated with a new user. The
system will adapt to the last trained voice only.
Reset
•
press thebutton.
•After the “Ready” prompt, and the following beep, say
“Setup”, then “Reset”.
This will delete all phone pairing, phone book entries,
and other settings in all language modes. The System will
prompt you before resetting to factory settings.
Voice Command
•
For best performance, adjust the rearview mirror to
provide at least1�2in (1 cm) gap between the overhead
console (if equipped) and the mirror.
•Always wait for the beep before speaking.
•Speak normally, without pausing, just as you would
speak to a person sitting a few feet/meters away from
you.
•Make sure that no one other than you is speaking
during a Voice Command period.
•Performance is maximized under:
•low-to-medium blower setting,
•low-to-medium vehicle speed,
•low road noise,
•smooth road surface,
3
UNDERSTANDING THE FEATURES OF YOUR VEHICLE 141
Page 144 of 679
•fully closed windows,
•dry weather condition.
•Even though the system is designed for users speaking
in North American English, French, and Spanish ac-
cents, the system may not always work for some.
•When navigating through an automated system such
as voice mail, or when sending a page, at the end of
speaking the digit string, make sure to say “Send”.
•Storing names in the phonebook when the vehicle is
not in motion is recommended.
•It is not recommended to store similar sounding
names in the Uconnect™ Phonebook.
•Phonebook (Downloaded and Uconnect™ Phone Lo-
cal) name recognition rate is optimized when the
entries are not similar.
•Numbers must be spoken in single digits. “800” must
be spoken “eight-zero-zero” not “eight hundred”.
•You can say “O” (letter “O”) for “0” (zero).
•Even though international dialing for most number
combinations is supported, some shortcut dialing
number combinations may not be supported.
•In a convertible vehicle, system performance may be
compromised with the convertible top down.
Far End Audio Performance
•
Audio quality is maximized under:
•low-to-medium blower setting,
•low-to-medium vehicle speed,
•low road noise,
•smooth road surface,
142 UNDERSTANDING THE FEATURES OF YOUR VEHICLE
Page 145 of 679
•fully closed windows,
•dry weather conditions, and
•operation from the driver’s seat.
•Performance, such as audio clarity, echo, and loudness
to a large degree rely on the phone and network, and
not the Uconnect™ Phone.
•Echo at the phone far end can sometimes be reduced
by lowering the in-vehicle audio volume.
•In a convertible vehicle, system performance may be
compromised with the convertible top down.
Recent Calls
If your phone supports “Automatic Phonebook Down-
load”, Uconnect™ Phone can list your Outgoing, Incom-
ing and Missed Calls.
SMS
Uconnect™ Phone can read or send new messages on
your phone.
Read Messages:
If you receive a new text message while your phone is
connected to Uconnect™ Phone, an announcement will
be made to notify you that you have a new text message.
If you wish to hear the new message:
•Press thebutton.
•After the “Ready” prompt and the following beep, say
“SMS Read” or “Read Messages.”
•Uconnect™ Phone will play the new text message for
you.
After reading a message, you can “Reply” or “Forward”
the message using Uconnect™ Phone.
3
UNDERSTANDING THE FEATURES OF YOUR VEHICLE 143
Page 158 of 679
Voice Training
For users experiencing difficulty with the system recog-
nizing their voice commands or numbers the Uconnect™
Voice “Voice Training” feature may be used.
1. Press the Voice Command
button, say “System
Setup” and once you are in that menu then say “Voice
Training.” This will train your own voice to the system
and will improve recognition.
2. Repeat the words and phrases when prompted by
Uconnect™ Voice. For best results, the “Voice Training”
session should be completed when the vehicle is parked,
engine running, all windows closed, and the blower fan
switched off. This procedure may be repeated with a new
user. The system will adapt to the last trained voice only.
SEATS
Seats are part of the Occupant Restraint System of the
vehicle.
WARNING!
•It is dangerous to ride in a cargo area, inside or
outside of a vehicle. In a collision, people riding in
these areas are more likely to be seriously injured
or killed.
•Do not allow people to ride in any area of your
vehicle that is not equipped with seats and seat
belts. In a collision, people riding in these areas
are more likely to be seriously injured or killed.
•Be sure everyone in your vehicle is in a seat and
using a seat belt properly.
Power Seats — If Equipped
Some models may be equipped with eight-way power
driver and front passenger seats. The power seat switches
are located on the outboard side of the seat. There are two
switches that control the movement of the seat cushion
and the seatback.
156 UNDERSTANDING THE FEATURES OF YOUR VEHICLE
Page 191 of 679
High/Low Beam Switch
Push the multifunction lever toward the instrument
panel to switch the headlights to high beam. Pulling the
multifunction back toward the steering wheel will turn
the low beams back on, or shut the high beams off.
WINDSHIELD WIPERS AND WASHERS
The windshield wiper/washer control lever is located on
the left side of the steering column. The front wipers are
operated by rotating a switch, located on the end of the
lever. For information on the rear wiper/washer, refer to
“Rear Window Features” in “Understanding The Fea-
tures Of Your Vehicle”.
Windshield Wiper/Washer Switch
3
UNDERSTANDING THE FEATURES OF YOUR VEHICLE 189
Page 255 of 679
NOTE:If three consecutive sunroof close attempts re-
sult in Pinch Protect reversals, the fourth close attempt
will be a Manual Close movement with Pinch Protect
disabled.
Venting Sunroof — Express
Press and release the Vent button within one half second
and the sunroof will open to the vent position. This is
called “Express Vent”, and it will occur regardless of
sunroof position. During Express Vent operation, any
movement of the switch will stop the sunroof.
Sunshade Operation
The sunshade can be opened manually. However, the
sunshade will open automatically as the sunroof opens.
NOTE: The sunshade cannot be closed if the sunroof is
open.
Wind Buffeting
Wind buffeting can be described as the perception of
pressure on the ears or a helicopter-type sound in the
ears. Your vehicle may exhibit wind buffeting with the
windows down, or the sunroof (if equipped) is in certain
open or partially open positions. This is a normal occur-
rence and can be minimized. If the buffeting occurs with
the rear windows open, open the front and rear windows
together to minimize the buffeting. If the buffeting occurs
with the sunroof open, adjust the sunroof opening to
minimize the buffeting or open any window.
Sunroof Maintenance
Use only a nonabrasive cleaner and a soft cloth to clean
the glass panel.
3
UNDERSTANDING THE FEATURES OF YOUR VEHICLE 253
Page 259 of 679
Pinch Protect Feature
This feature will detect an obstruction in the opening of
the sunroof during Express Close operation. If an ob-
struction is detected, the sunroof will automatically re-
tract. Remove the obstruction if this occurs. Next, press
the switch forward and release to Express Close.
NOTE:If three consecutive sunroof close attempts re-
sult in Pinch Protect reversals, the fourth close attempt
will be a Manual Close movement with Pinch Protect
disabled.
Pinch Protect Override
If a known obstruction (ice, debris, etc.) prevents closing
the sunroof, press the switch forward and hold for two
seconds after the reversal occurs. This allows the sunroof
to move toward the closed position.
NOTE: Pinch protection is disabled while the switch is
pressed.
Wind Buffeting
Wind buffeting can be described as the perception of
pressure on the ears or a helicopter-type sound in the
ears. Your vehicle may exhibit wind buffeting with the
windows down, or the sunroof (if equipped) in certain
open or partially open positions. This is a normal occur-
rence and can be minimized. If the buffeting occurs with
the rear windows open, open the front and rear windows
together to minimize the buffeting. If the buffeting occurs
with the sunroof open, adjust the sunroof opening to
minimize the buffeting or open any window.
Sunroof Maintenance
Use only a non-abrasive cleaner and a soft cloth to clean
the glass panel.
Ignition OFF Operation
The power sunroof switches can be programmed to
remain active for up to approximately ten minutes after
3
UNDERSTANDING THE FEATURES OF YOUR VEHICLE 257
Page 276 of 679
WARNING! (Continued)
•Do not carry loads which exceed the load limits
described on the label attached to the left door or
left door center pillar.
•Always place cargo evenly on the cargo floor. Put
heavier objects as low and as far forward as
possible.
•Place as much cargo as possible in front of the rear
axle. Too much weight or improperly placed
weight over or behind the rear axle can cause the
rear of the vehicle to sway.
•Do not pile luggage or cargo higher than the top of
the seatback. This could impair visibility or be-
come a dangerous projectile in a sudden stop or
accident.
REAR WINDOW FEATURES
Rear Window Wiper/Washer
The rear wiper/washer is controlled by a rotary switch
located on the control lever. The control lever is located
on the left side of the steering column.
Rear Wiper/Washer Control
274 UNDERSTANDING THE FEATURES OF YOUR VEHICLE