JEEP GRAND CHEROKEE 2012 WK2 / 4.G SRT Owners Manual
Manufacturer: JEEP, Model Year: 2012, Model line: GRAND CHEROKEE, Model: JEEP GRAND CHEROKEE 2012 WK2 / 4.GPages: 572, PDF Size: 8.69 MB
Page 301 of 572

•Lights on
•Key in Ignition Lights On
•Ignition or Accessory On
•Ignition or Accessory On Lights On
•Turn signal on
•Park assist on
•Warning object detected
•Remote start aborted — Door ajar
•Remote start aborted — Hood ajar
•Remote start aborted — L/Gate ajar
•Remote start aborted — Fuel low
•Remote start disabled — Start Vehicle to Reset
•Remote start active — Insert Key and Turn to Run
•Remote start active — Push Start Button
•Memory 1 profile set
•Memory 2 profile set
•Memory system unavailable — Not in Park
•Memory system unavailable — Seatbelt buckled
•Memory 1 profile recall
•Memory 2 profile recall
•Press Brake Pedal and Push Button to Start
•Wrong Key
•Damaged Key
•Key not programmed
•Function currently unavailable — Power Liftgate
•Unlock to operate — Power Liftgate
4
UNDERSTANDING YOUR INSTRUMENT PANEL 299
Page 302 of 572

•Put in Park to operate — Power Liftgate
•Automatic high beams on
•Automatic high beams off
•Service Four Wheel Drive System
•ECO — Fuel Saver Indicator
•TERRAIN SETTINGS — AUTOMATIC
•TERRAIN SETTINGS — TOW
•TERRAIN SETTINGS — TRACK
•TERRAIN SETTINGS — SNOW
•TERRAIN SETTINGS — SPORT
•Sport Not Available in 4 Low 4 High is Required
•To Tow Vehicle Safely, Read Neutral Shift Procedure in
Owners Manual
•For 4x4 Low Slow Below 5 MPH or 8 KPH Put Trans in
N Press 4 Low
•For 4x4 High Slow Below 5 MPH or 8 KPH Put Trans
in N Press 4 Low
•Terrain System Settings Not Available
•Raising Vehicle Ride Height (with icon)
•Lowering Vehicle Ride Height (with icon)
•Normal Vehicle Ride Height — This message is dis-
played (for 5 seconds) when the vehicle has achieved
the Normal Vehicle Ride Height.
•Off Road Ride Height Level 1 — This message is
displayed (for 5 seconds) when the vehicle has
achieved the Off Road Height Level 1.
•Off Road Ride Height Level 2 — This message is
displayed (for 5 seconds) when the vehicle has
achieved the Off Road Height Level 2.
300 UNDERSTANDING YOUR INSTRUMENT PANEL
Page 303 of 572

•Vehicle Lowered To Entry/Exit (Park) Height — This
message is displayed (for 5 seconds) when the vehicle
has achieved the Park Height.
•Entry/Exit (Park) Height in Progress — This message
is displayed (for 5 seconds) when the request is made
to go into Entry/Exit Height while the vehicle speed is
between 15 and 25 mph. This shows that the request
has been recognized and will lower to Entry/Exit
height when vehicle is below 15 mph.
•Service Air Suspension System — This is displayed
when a fault has occurred in the system. The system
will have limited operation at that point.
•Immediate Air Suspension Service/Repair Required
— This is displayed when a fault has occurred in the
system which results in a complete system shutdown.
The system will be non operational at that point.
•Reduce Speed To Maintain Selected Ride Height —
This message is displayed in advance warning to the
driver that the vehicle will be moved to the next lower
preset position unless the speed is reduced.
•Selected Ride Height Not Permitted — The vehicle
speed is too high to enter one of the preset levels
(Entry/Exit Level/Off Road Ride Height Level 1/Off
Road Ride Height Level 2).
•Air Suspension System Cooling Down – Please Wait —
This message is displayed if the compressor tempera-
ture level is too high. Level control is suspended until
the compressor has cooled down.
•Vehicle Cannot Be Lowered – Door Open — This
message is displayed if a door or the liftgate is ajar and
level control is suspended.
•Air Suspension Temporarily Disabled For Jacking And
Tire Change
4
UNDERSTANDING YOUR INSTRUMENT PANEL 301
Page 304 of 572
•Aerodynamic Ride Height — This is displayed (for
5 seconds) when the vehicle has achieved the Aerody-
namic Height.
EVIC White Telltale Lights
This area will show reconfigurable white caution tell-
tales. These telltales include:
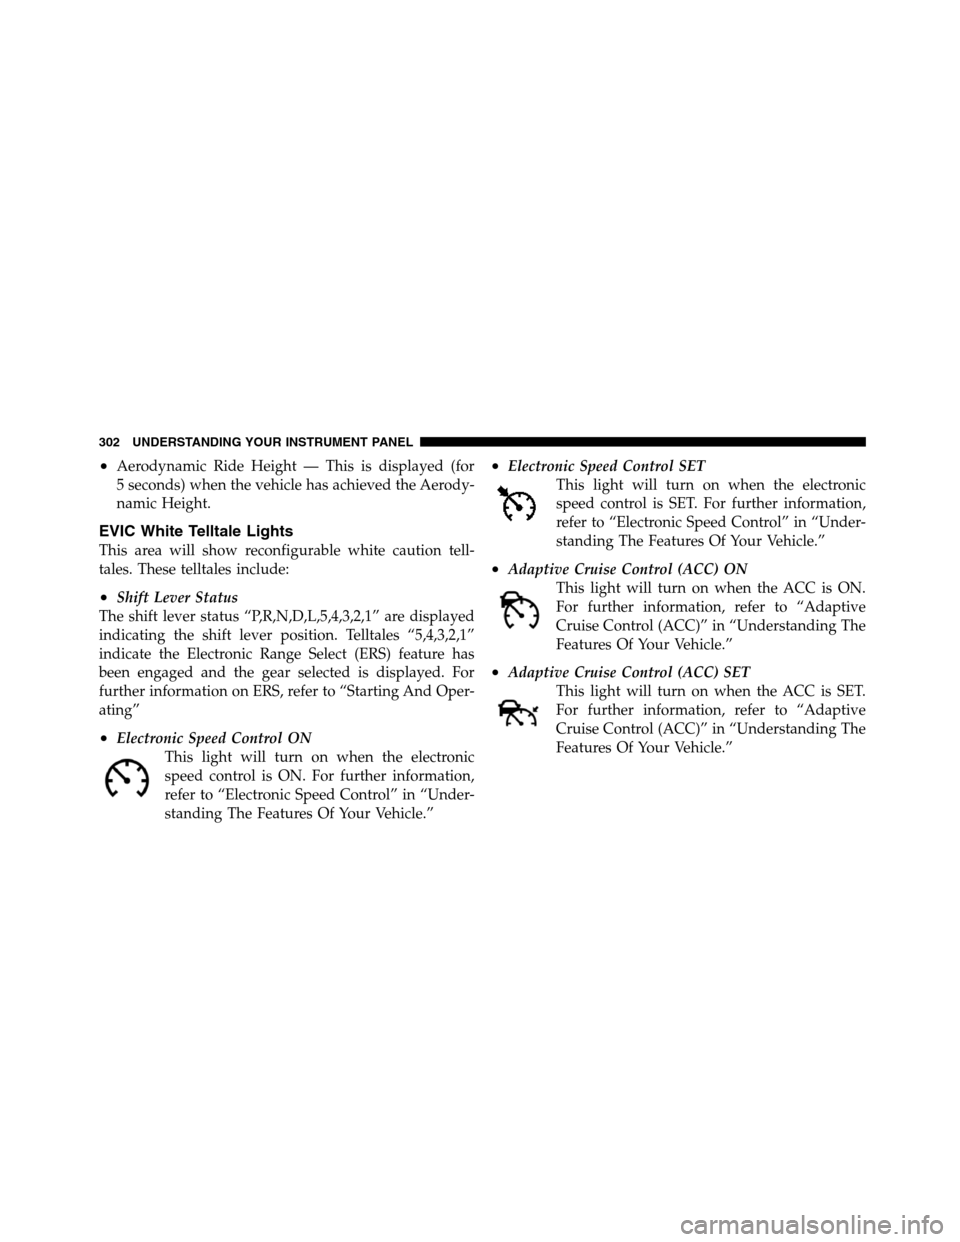
•Shift Lever Status
The shift lever status “P,R,N,D,L,5,4,3,2,1” are displayed
indicating the shift lever position. Telltales “5,4,3,2,1”
indicate the Electronic Range Select (ERS) feature has
been engaged and the gear selected is displayed. For
further information on ERS, refer to “Starting And Oper-
ating”
•Electronic Speed Control ON
This light will turn on when the electronic
speed control is ON. For further information,
refer to “Electronic Speed Control” in “Under-
standing The Features Of Your Vehicle.”
•Electronic Speed Control SET
This light will turn on when the electronic
speed control is SET. For further information,
refer to “Electronic Speed Control” in “Under-
standing The Features Of Your Vehicle.”
•Adaptive Cruise Control (ACC) ON
This light will turn on when the ACC is ON.
For further information, refer to “Adaptive
Cruise Control (ACC)” in “Understanding The
Features Of Your Vehicle.”
•Adaptive Cruise Control (ACC) SET
This light will turn on when the ACC is SET.
For further information, refer to “Adaptive
Cruise Control (ACC)” in “Understanding The
Features Of Your Vehicle.”
302 UNDERSTANDING YOUR INSTRUMENT PANEL
Page 305 of 572
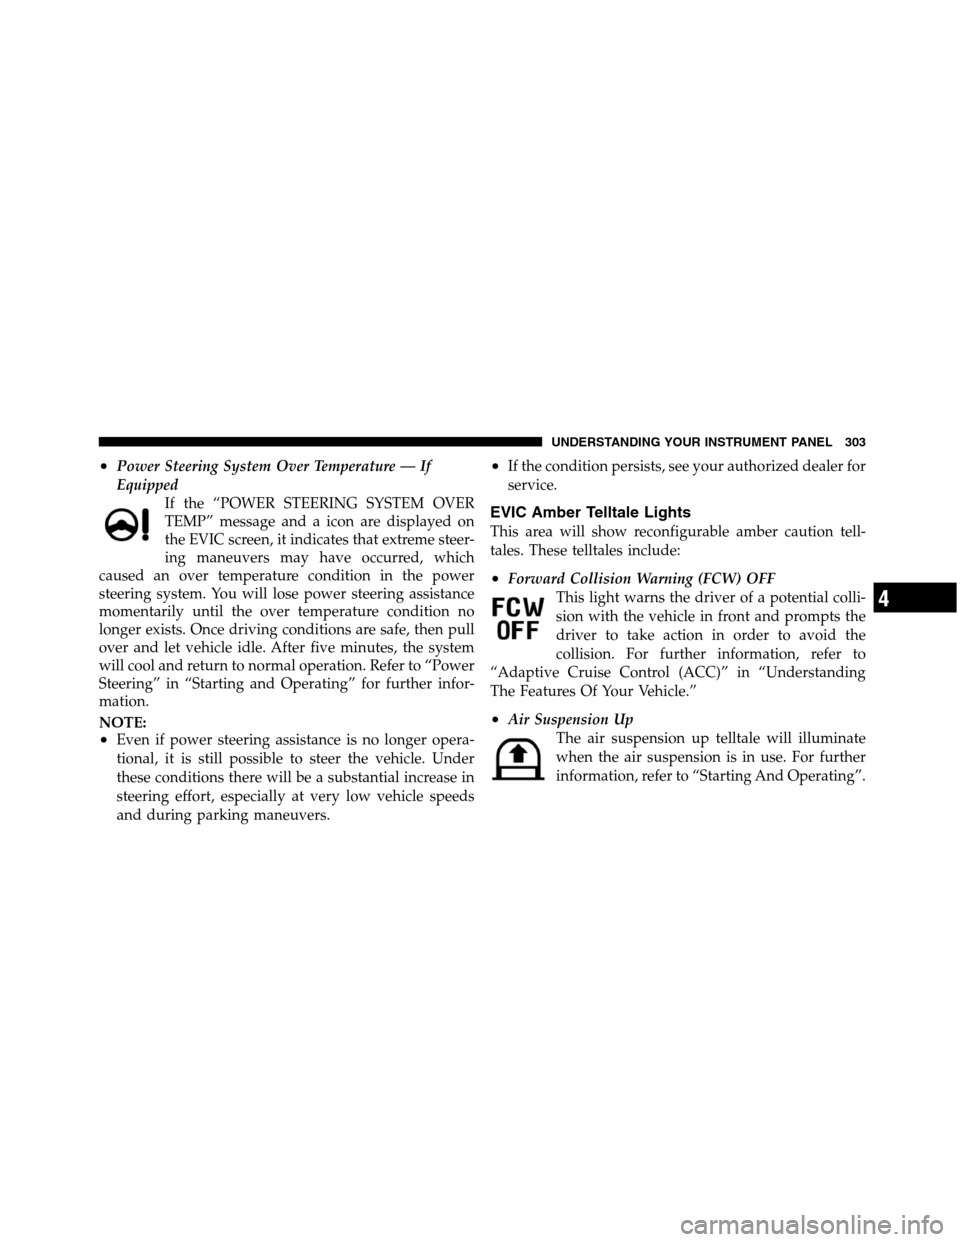
•Power Steering System Over Temperature — If
Equipped
If the “POWER STEERING SYSTEM OVER
TEMP” message and a icon are displayed on
the EVIC screen, it indicates that extreme steer-
ing maneuvers may have occurred, which
caused an over temperature condition in the power
steering system. You will lose power steering assistance
momentarily until the over temperature condition no
longer exists. Once driving conditions are safe, then pull
over and let vehicle idle. After five minutes, the system
will cool and return to normal operation. Refer to “Power
Steering” in “Starting and Operating” for further infor-
mation.
NOTE:
•Even if power steering assistance is no longer opera-
tional, it is still possible to steer the vehicle. Under
these conditions there will be a substantial increase in
steering effort, especially at very low vehicle speeds
and during parking maneuvers.
•If the condition persists, see your authorized dealer for
service.
EVIC Amber Telltale Lights
This area will show reconfigurable amber caution tell-
tales. These telltales include:
•Forward Collision Warning (FCW) OFF
This light warns the driver of a potential colli-
sion with the vehicle in front and prompts the
driver to take action in order to avoid the
collision. For further information, refer to
“Adaptive Cruise Control (ACC)” in “Understanding
The Features Of Your Vehicle.”
•Air Suspension Up
The air suspension up telltale will illuminate
when the air suspension is in use. For further
information, refer to “Starting And Operating”.
4
UNDERSTANDING YOUR INSTRUMENT PANEL 303
Page 306 of 572
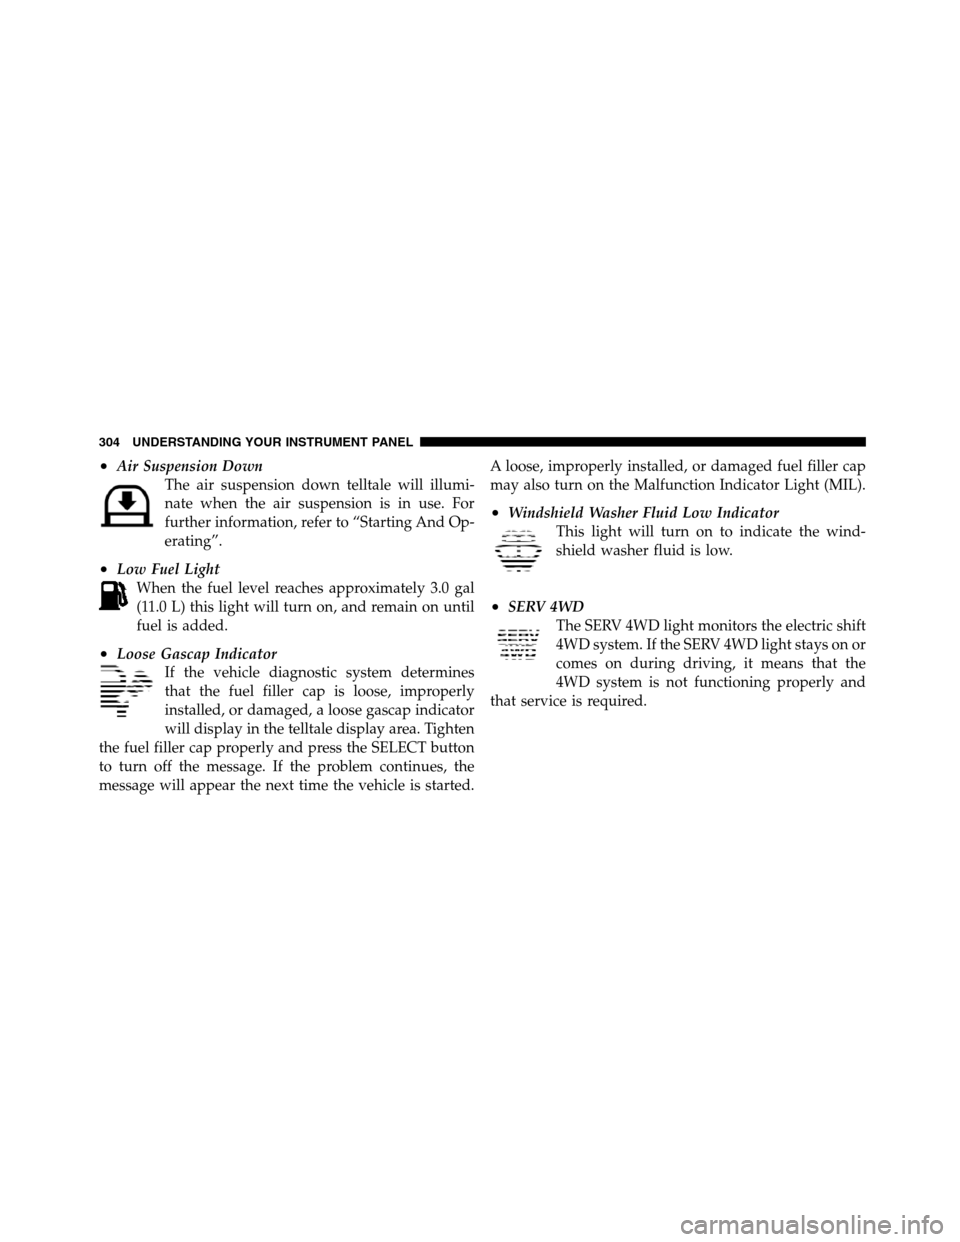
•Air Suspension Down
The air suspension down telltale will illumi-
nate when the air suspension is in use. For
further information, refer to “Starting And Op-
erating”.
•Low Fuel Light
When the fuel level reaches approximately 3.0 gal
(11.0 L) this light will turn on, and remain on until
fuel is added.
•Loose Gascap Indicator
If the vehicle diagnostic system determines
that the fuel filler cap is loose, improperly
installed, or damaged, a loose gascap indicator
will display in the telltale display area. Tighten
the fuel filler cap properly and press the SELECT button
to turn off the message. If the problem continues, the
message will appear the next time the vehicle is started.A loose, improperly installed, or damaged fuel filler cap
may also turn on the Malfunction Indicator Light (MIL).
•Windshield Washer Fluid Low Indicator
This light will turn on to indicate the wind-
shield washer fluid is low.
•SERV 4WD
The SERV 4WD light monitors the electric shift
4WD system. If the SERV 4WD light stays on or
comes on during driving, it means that the
4WD system is not functioning properly and
that service is required.
304 UNDERSTANDING YOUR INSTRUMENT PANEL
Page 307 of 572
EVIC Red Telltale Lights
This area will show reconfigurable red telltales. These
telltales include:
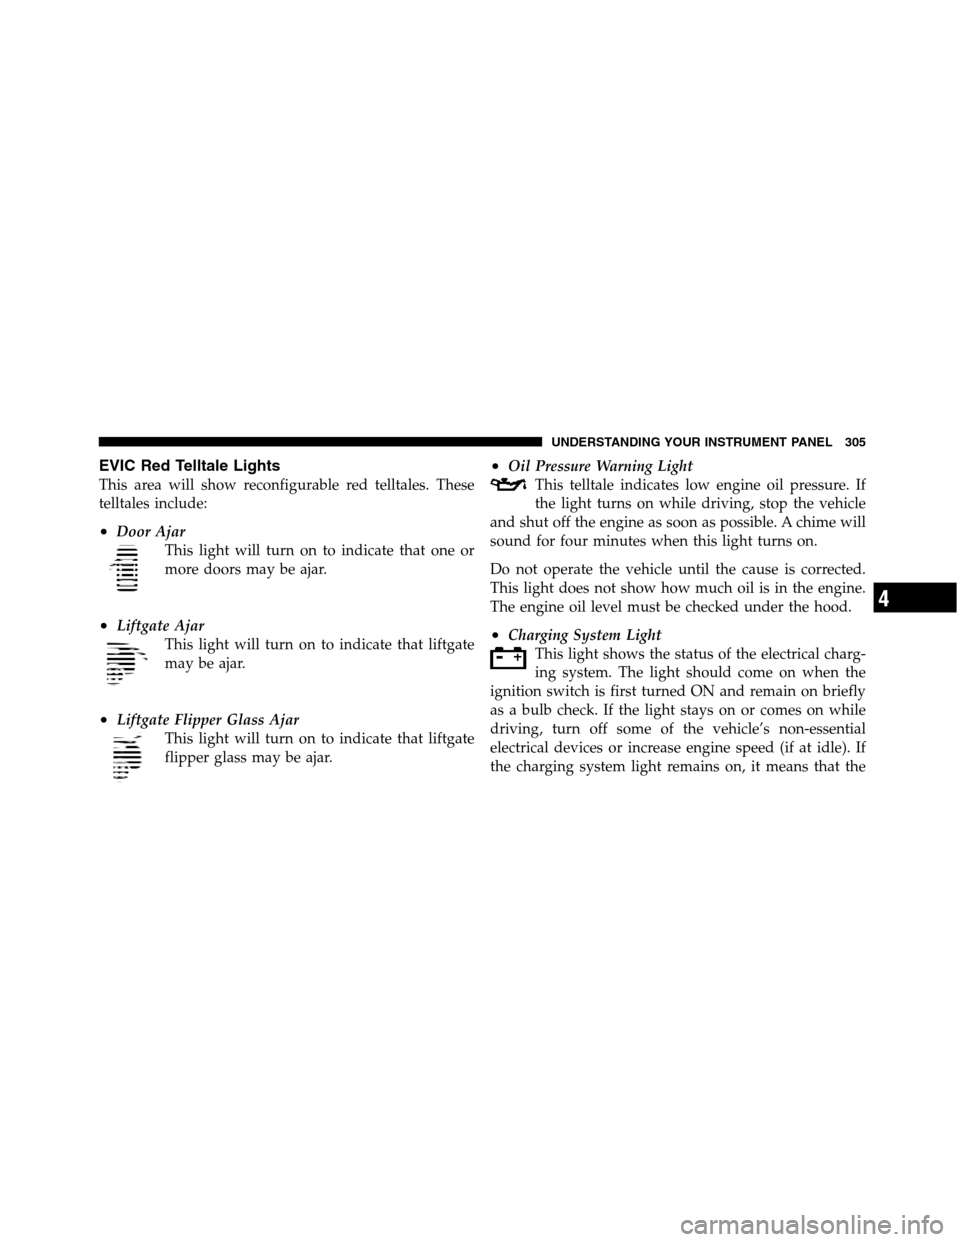
•Door Ajar
This light will turn on to indicate that one or
more doors may be ajar.
•Liftgate Ajar
This light will turn on to indicate that liftgate
may be ajar.
•Liftgate Flipper Glass Ajar
This light will turn on to indicate that liftgate
flipper glass may be ajar.
•Oil Pressure Warning Light
This telltale indicates low engine oil pressure. If
the light turns on while driving, stop the vehicle
and shut off the engine as soon as possible. A chime will
sound for four minutes when this light turns on.
Do not operate the vehicle until the cause is corrected.
This light does not show how much oil is in the engine.
The engine oil level must be checked under the hood.
•Charging System Light
This light shows the status of the electrical charg-
ing system. The light should come on when the
ignition switch is first turned ON and remain on briefly
as a bulb check. If the light stays on or comes on while
driving, turn off some of the vehicle’s non-essential
electrical devices or increase engine speed (if at idle). If
the charging system light remains on, it means that the
4
UNDERSTANDING YOUR INSTRUMENT PANEL 305
Page 308 of 572

vehicle is experiencing a problem with the charging
system. Obtain SERVICE IMMEDIATELY. See an autho-
rized dealer.
If jump starting is required, refer to “Jump Starting
Procedures” in “What To Do In Emergencies”.
•Electronic Throttle Control (ETC) Light
This light informs you of a problem with the
Electronic Throttle Control (ETC) system. The
light will come on when the ignition is first
turned ON and remain on briefly as a bulb
check. If the light does not come on during starting, have
the system checked by an authorized dealer.
If a problem is detected, the light will come on while the
engine is running. Cycle the ignition key when the
vehicle has completely stopped and the shift lever is
placed in the PARK position. The light should turn off.If the light remains lit with the engine running, your
vehicle will usually be drivable. However, see an autho-
rized dealer for service as soon as possible. If the light is
flashing when the engine is running, immediate service is
required. You may experience reduced performance, an
elevated/rough idle or engine stall and your vehicle may
require towing.
•Engine Temperature Warning Light
This light warns of an overheated engine condi-
tion. As temperatures rise and the gauge ap-
proachesH,this indicator will illuminate and a
single chime will sound after reaching a set threshold.
Further overheating will cause the temperature gauge to
passH,the indicator will continuously flash and a
continuous chime will occur until the engine is allowed
to cool.
306 UNDERSTANDING YOUR INSTRUMENT PANEL
Page 309 of 572
If the light turns on while driving, safely pull over and
stop the vehicle. If the A/C system is on, turn it off. Also,
shift the transmission into NEUTRAL and idle the ve-
hicle. If the temperature reading does not return to
normal, turn the engine off immediately and call for
service. Refer to “If Your Engine Overheats” in “What To
Do In Emergencies” for more information.
•Transmission Temperature Warning Light
This light indicates that there is excessive trans-
mission fluid temperature that might occur
with severe usage such as trailer towing. It may
also occur when operating the vehicle in a high
torque converter slip condition, such as 4-wheel-drive
operation (e.g., snow plowing, off- road operation). If this
light comes on, stop the vehicle and run the engine at idle
or faster, with the transmission in NEUTRAL until the
light goes off.
CAUTION!
Continuous driving with the Transmission Tempera-
ture Warning Light illuminated will eventually cause
severe transmission damage or transmission failure.
WARNING!
If the Transmission Temperature Warning Light is
illuminated and you continue operating the vehicle,
in some circumstances you could cause the fluid to
boil over, come in contact with hot engine or exhaust
components and cause a fire.
4
UNDERSTANDING YOUR INSTRUMENT PANEL 307
Page 310 of 572

Engine Oil Change Indicator System
Oil Change Due
Your vehicle is equipped with an engine oil change
indicator system. The “Oil Change Due” message will
flash in the EVIC display for approximately 10 seconds
after a single chime has sounded, to indicate the next
scheduled oil change interval. The engine oil change
indicator system is duty cycle based, which means the
engine oil change interval may fluctuate, dependent
upon your personal driving style.
Unless reset, this message will continue to display each
time you turn the ignition switch to the ON/RUN
position or cycle the ignition to the ON/RUN position if
equipped with Keyless Enter-N-Go. To turn off the
message temporarily, press and release the MENU but-
ton. To reset the oil change indicator system (after
performing the scheduled maintenance) refer to the fol-
lowing procedure.Vehicles Equipped With Keyless Enter-N-Go
1. Without pressing the brake pedal, push the ENGINE
START/STOP button and cycle the ignition to the ON/
RUN position (Do not start the engine.)
2. Fully depress the accelerator pedal, slowly, three times
within 10 seconds.
3. Without pressing the brake pedal, push the ENGINE
START/STOP button once to return the ignition to the
OFF/LOCK position.
Vehicles Not Equipped With Keyless Enter-N-Go
1. Turn the ignition switch to the ON/RUN position (Do
not start the engine.)
2. Fully depress the accelerator pedal, slowly, three times
within 10 seconds.
3. Turn the ignition switch to the OFF/LOCK position.
308 UNDERSTANDING YOUR INSTRUMENT PANEL