JEEP GRAND CHEROKEE 2013 WK2 / 4.G Owners Manual
Manufacturer: JEEP, Model Year: 2013, Model line: GRAND CHEROKEE, Model: JEEP GRAND CHEROKEE 2013 WK2 / 4.GPages: 704, PDF Size: 5.14 MB
Page 421 of 704
Temperature Controls
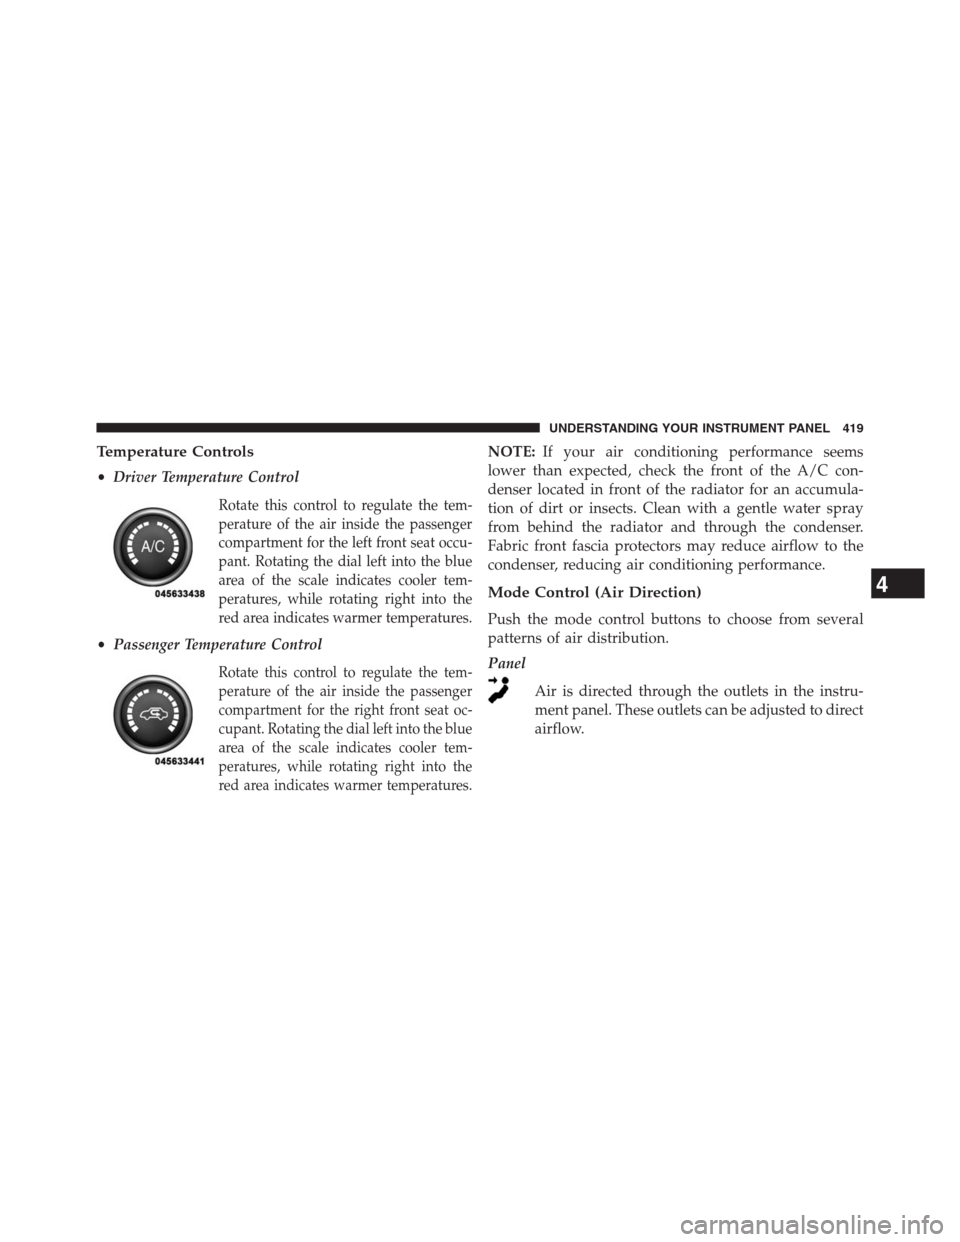
•Driver Temperature Control
Rotate this control to regulate the tem-
perature of the air inside the passenger
compartment for the left front seat occu-
pant. Rotating the dial left into the blue
area of the scale indicates cooler tem-
peratures, while rotating right into the
red area indicates warmer temperatures.
•Passenger Temperature Control
Rotate this control to regulate the tem-
perature of the air inside the passenger
compartment for the right front seat oc-
cupant. Rotating the dial left into the blue
area of the scale indicates cooler tem-
peratures, while rotating right into the
red area indicates warmer temperatures.
NOTE:If your air conditioning performance seems
lower than expected, check the front of the A/C con-
denser located in front of the radiator for an accumula-
tion of dirt or insects. Clean with a gentle water spray
from behind the radiator and through the condenser.
Fabric front fascia protectors may reduce airflow to the
condenser, reducing air conditioning performance.
Mode Control (Air Direction)
Push the mode control buttons to choose from several
patterns of air distribution.
Panel
Air is directed through the outlets in the instru-
ment panel. These outlets can be adjusted to direct
airflow.
4
UNDERSTANDING YOUR INSTRUMENT PANEL 419
Page 422 of 704
NOTE:The center instrument panel outlets can be aimed
so that they are directed toward the rear seat passengers
for maximum airflow to the rear.
Bi-Level
Air is directed through the panel and floor outlets.
NOTE:For all settings, except full cold or full hot, there
is a difference in temperature between the upper and
lower outlets. The warmer air flows to the floor outlets.
This feature gives improved comfort during sunny but
cool conditions.
Floor
Air is directed through the floor outlets with a
small amount flowing through the defrost and
side window demist outlets.Mix
Air is directed through the floor, defrost, and side
window demist outlets. This setting works best in
cold or snowy conditions that require extra heat to the
windshield. This setting is good for maintaining comfort
while reducing moisture on the windshield.
Defrost
Air is directed through the windshield and side
window demist outlets. Use this mode with maxi-
mum blower and temperature settings for best wind-
shield and side window defrosting.
NOTE:
•In Floor, Mix and Defrost modes air will flow through
the outboard panel outlets for occupant comfort. If this
is not desired, the airflow outlet vents can be closed to
stop this.
420 UNDERSTANDING YOUR INSTRUMENT PANEL
Page 423 of 704
•The air conditioning compressor operates in Mix,
Defrost, or a blend of these modes, even if the Air
Conditioning (A/C) button is not pressed. This dehu-
midifies the air to help dry the windshield. To improve
fuel economy, use these modes only when necessary.
Recirculation Control
Pressing the Recirculation Control button will
put the system in recirculation mode. This can
be used when outside conditions such as
smoke, odors, dust, or high humidity are pres-
ent. Activating recirculation will cause the LED in the
control button to illuminate.
NOTE:
•Continuous use of the Recirculation mode may make
the inside air stuffy and window fogging may occur.
Extended use of this mode is not recommended.•The use of the Recirculation mode in cold or damp
weather could cause windows to fog on the inside,
because of moisture buildup inside the vehicle. Select
the outside air position for maximum defogging.
•The A/C will engage automatically to prevent fogging
when the recirculation button is pressed and the mode
control is set to panel or panel / floor.
•The A/C can be deselected manually without disturb-
ing the mode control selection.
•When the ignition switch is turned to the LOCK
position or the ignition switch START/STOP button is
cycled to OFF, the recirculation feature will be can-
celled.
4
UNDERSTANDING YOUR INSTRUMENT PANEL 421
Page 424 of 704
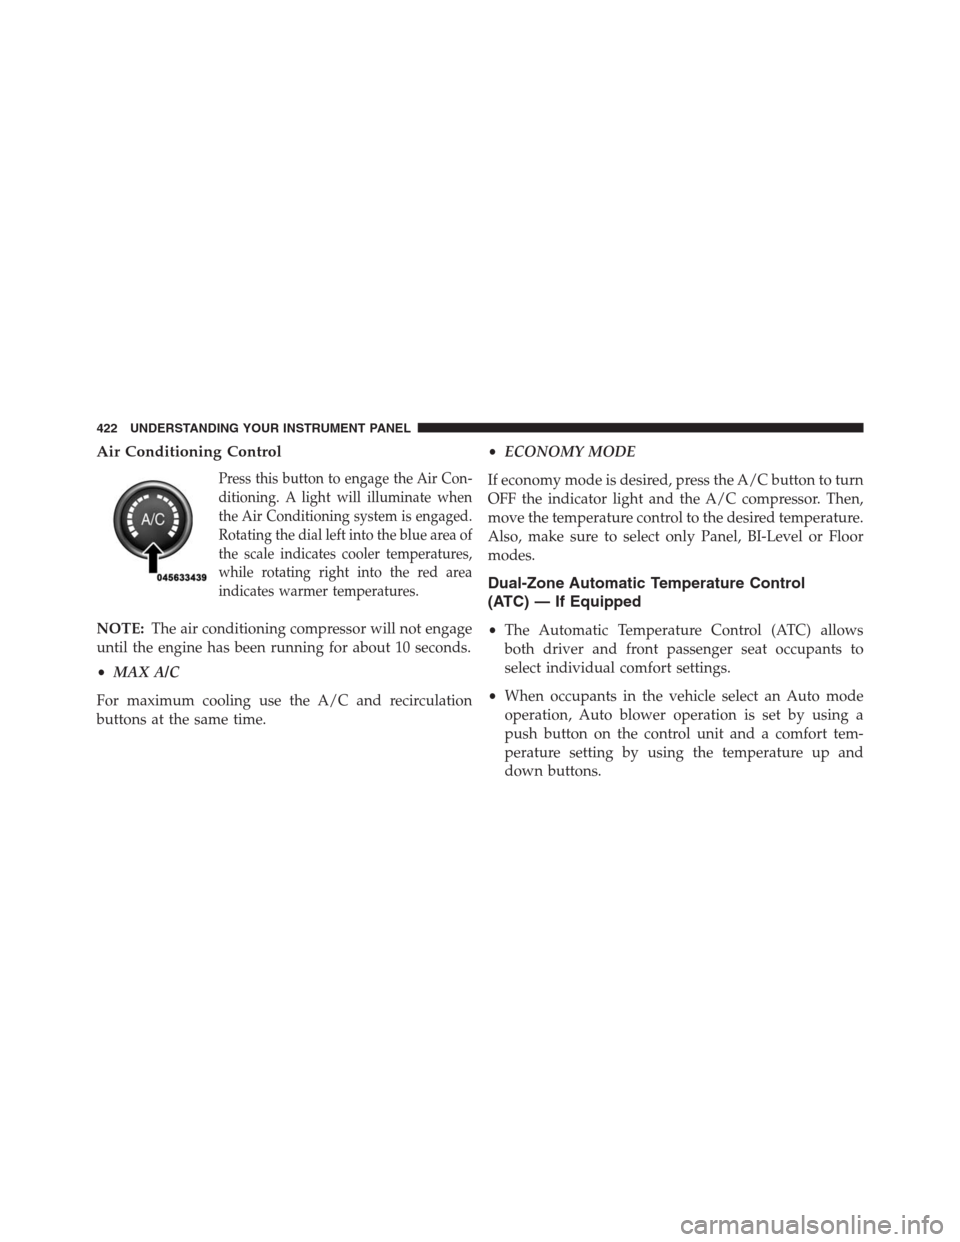
Air Conditioning Control
Press this button to engage the Air Con-
ditioning. A light will illuminate when
the Air Conditioning system is engaged.
Rotating the dial left into the blue area of
the scale indicates cooler temperatures,
while rotating right into the red area
indicates warmer temperatures.
NOTE:The air conditioning compressor will not engage
until the engine has been running for about 10 seconds.
•MAX A/C
For maximum cooling use the A/C and recirculation
buttons at the same time.•ECONOMY MODE
If economy mode is desired, press the A/C button to turn
OFF the indicator light and the A/C compressor. Then,
move the temperature control to the desired temperature.
Also, make sure to select only Panel, BI-Level or Floor
modes.
Dual-Zone Automatic Temperature Control
(ATC) — If Equipped
•The Automatic Temperature Control (ATC) allows
both driver and front passenger seat occupants to
select individual comfort settings.
•When occupants in the vehicle select an Auto mode
operation, Auto blower operation is set by using a
push button on the control unit and a comfort tem-
perature setting by using the temperature up and
down buttons.
422 UNDERSTANDING YOUR INSTRUMENT PANEL
Page 425 of 704
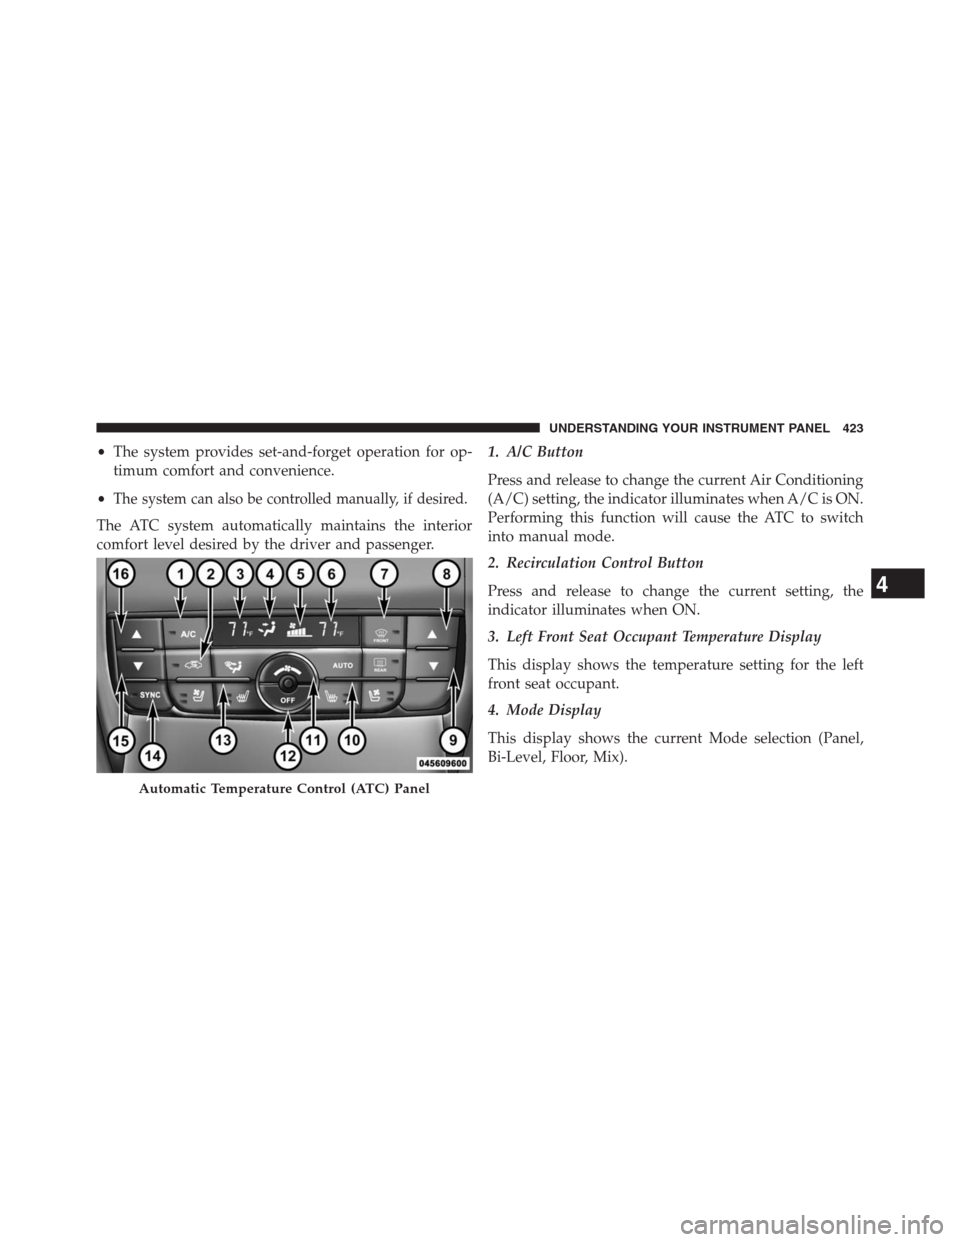
•The system provides set-and-forget operation for op-
timum comfort and convenience.
•
The system can also be controlled manually, if desired.
The ATC system automatically maintains the interior
comfort level desired by the driver and passenger.1. A/C Button
Press and release to change the current Air Conditioning
(A/C) setting, the indicator illuminates when A/C is ON.
Performing this function will cause the ATC to switch
into manual mode.
2. Recirculation Control Button
Press and release to change the current setting, the
indicator illuminates when ON.
3. Left Front Seat Occupant Temperature Display
This display shows the temperature setting for the left
front seat occupant.
4. Mode Display
This display shows the current Mode selection (Panel,
Bi-Level, Floor, Mix).
Automatic Temperature Control (ATC) Panel
4
UNDERSTANDING YOUR INSTRUMENT PANEL 423
Page 426 of 704
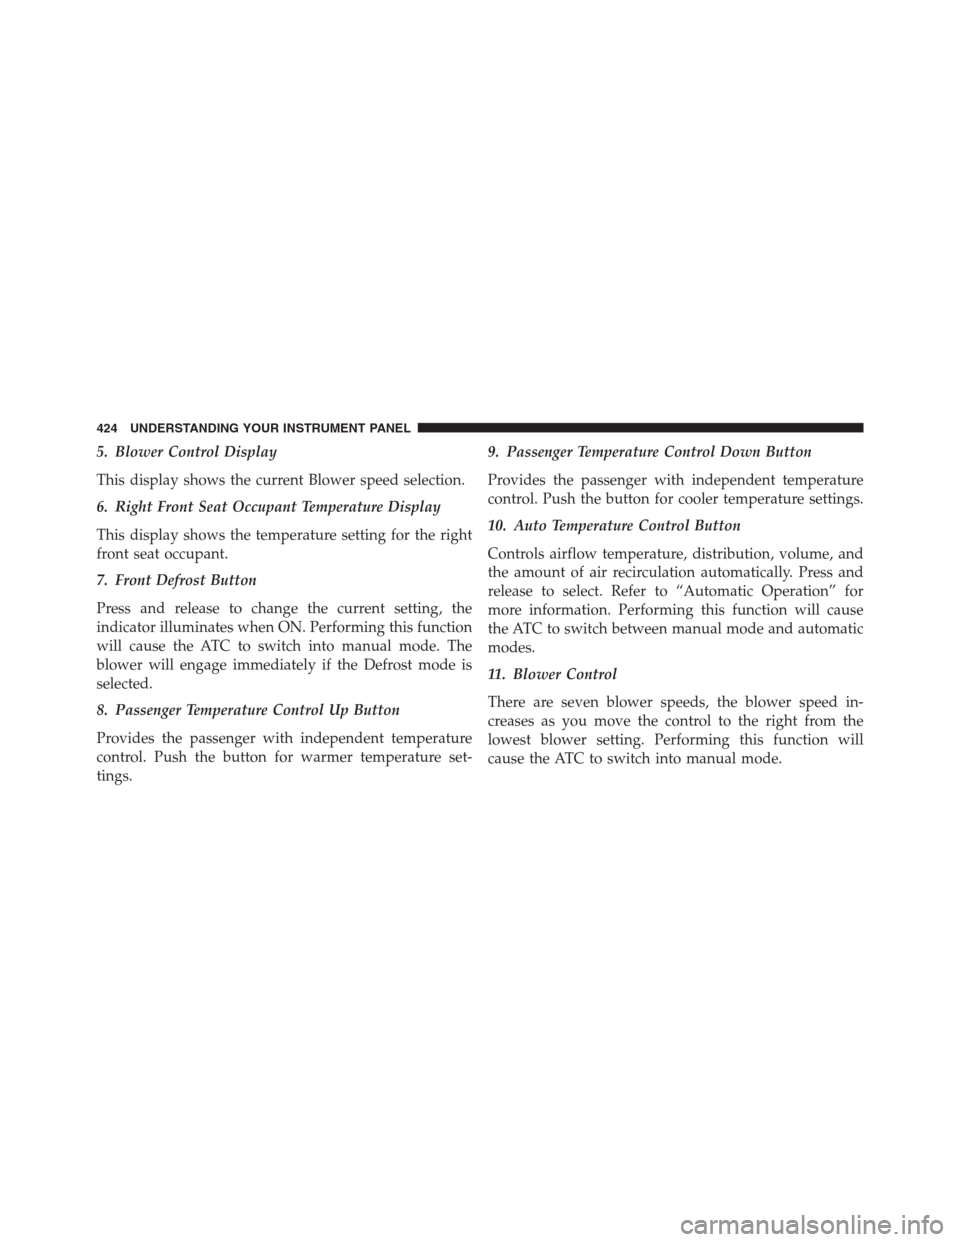
5. Blower Control Display
This display shows the current Blower speed selection.
6. Right Front Seat Occupant Temperature Display
This display shows the temperature setting for the right
front seat occupant.
7. Front Defrost Button
Press and release to change the current setting, the
indicator illuminates when ON. Performing this function
will cause the ATC to switch into manual mode. The
blower will engage immediately if the Defrost mode is
selected.
8. Passenger Temperature Control Up Button
Provides the passenger with independent temperature
control. Push the button for warmer temperature set-
tings.9. Passenger Temperature Control Down Button
Provides the passenger with independent temperature
control. Push the button for cooler temperature settings.
10. Auto Temperature Control Button
Controls airflow temperature, distribution, volume, and
the amount of air recirculation automatically. Press and
release to select. Refer to “Automatic Operation” for
more information. Performing this function will cause
the ATC to switch between manual mode and automatic
modes.
11. Blower Control
There are seven blower speeds, the blower speed in-
creases as you move the control to the right from the
lowest blower setting. Performing this function will
cause the ATC to switch into manual mode.
424 UNDERSTANDING YOUR INSTRUMENT PANEL
Page 427 of 704
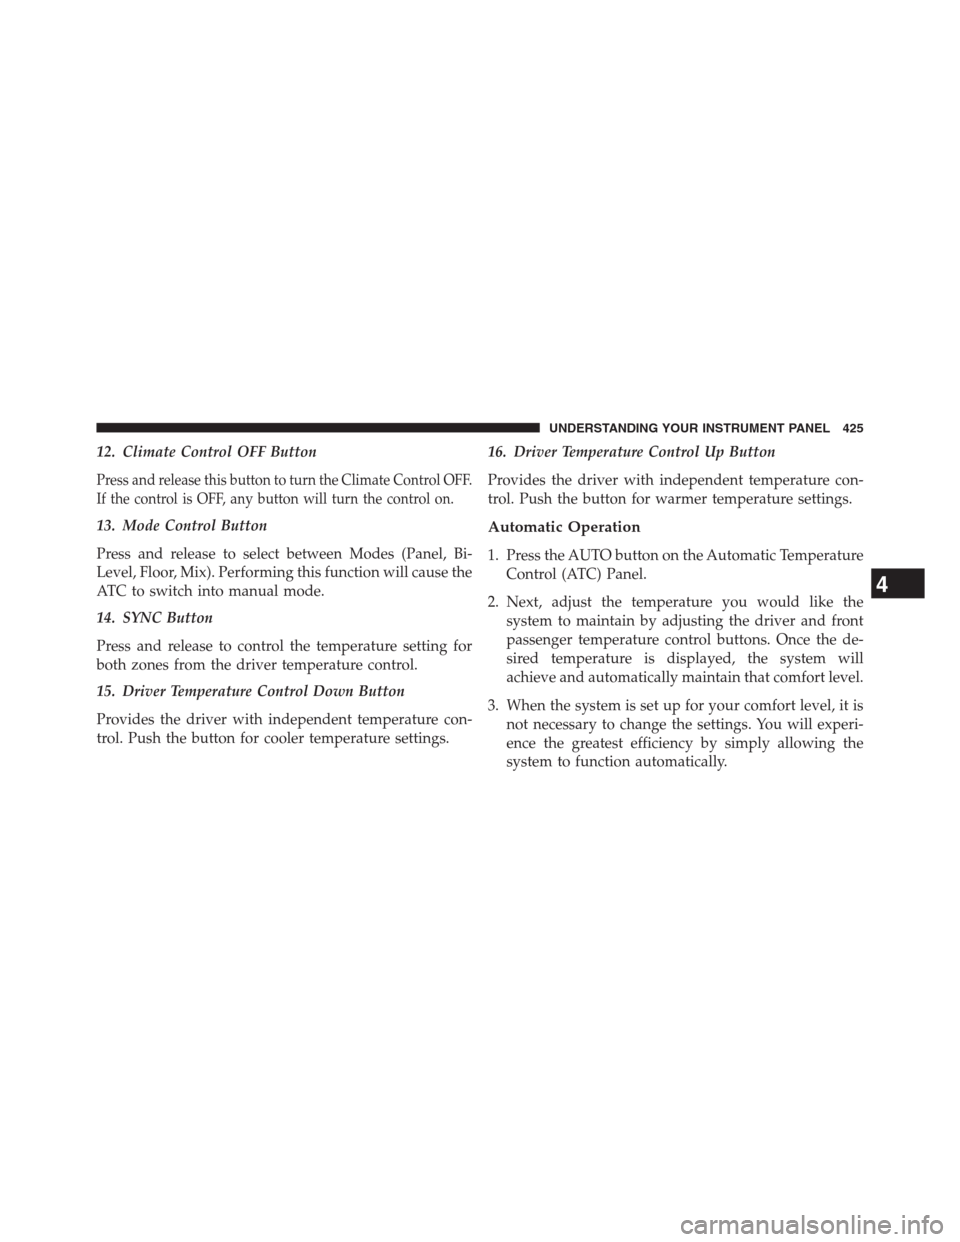
12. Climate Control OFF Button
Press and release this button to turn the Climate Control OFF.
If the control is OFF, any button will turn the control on.
13. Mode Control Button
Press and release to select between Modes (Panel, Bi-
Level, Floor, Mix). Performing this function will cause the
ATC to switch into manual mode.
14. SYNC Button
Press and release to control the temperature setting for
both zones from the driver temperature control.
15. Driver Temperature Control Down Button
Provides the driver with independent temperature con-
trol. Push the button for cooler temperature settings.16. Driver Temperature Control Up Button
Provides the driver with independent temperature con-
trol. Push the button for warmer temperature settings.Automatic Operation
1. Press the AUTO button on the Automatic Temperature
Control (ATC) Panel.
2. Next, adjust the temperature you would like the
system to maintain by adjusting the driver and front
passenger temperature control buttons. Once the de-
sired temperature is displayed, the system will
achieve and automatically maintain that comfort level.
3. When the system is set up for your comfort level, it is
not necessary to change the settings. You will experi-
ence the greatest efficiency by simply allowing the
system to function automatically.
4
UNDERSTANDING YOUR INSTRUMENT PANEL 425
Page 428 of 704
NOTE:
•It is not necessary to move the temperature settings for
cold or hot vehicles. The system automatically adjusts
the temperature, mode and fan speed to provide
comfort as quickly as possible.
•The temperature can be displayed in U.S. or Metric
units by selecting the US/M customer-programmable
feature. Refer to the “Electronic Vehicle Information
Center (EVIC) — Customer-Programmable Features
(SETUP)” in this section of the manual.
To provide you with maximum comfort in the Automatic
mode, during cold start-ups, the blower fan will remain
on low until the engine warms up. The blower will
increase in speed and transition into Auto mode.
Manual Operation
This system offers a full complement of manual override
features.NOTE:Each of these features operate independently
from each other. If any one feature is controlled manually,
temperature control will continue to operate automati-
cally.
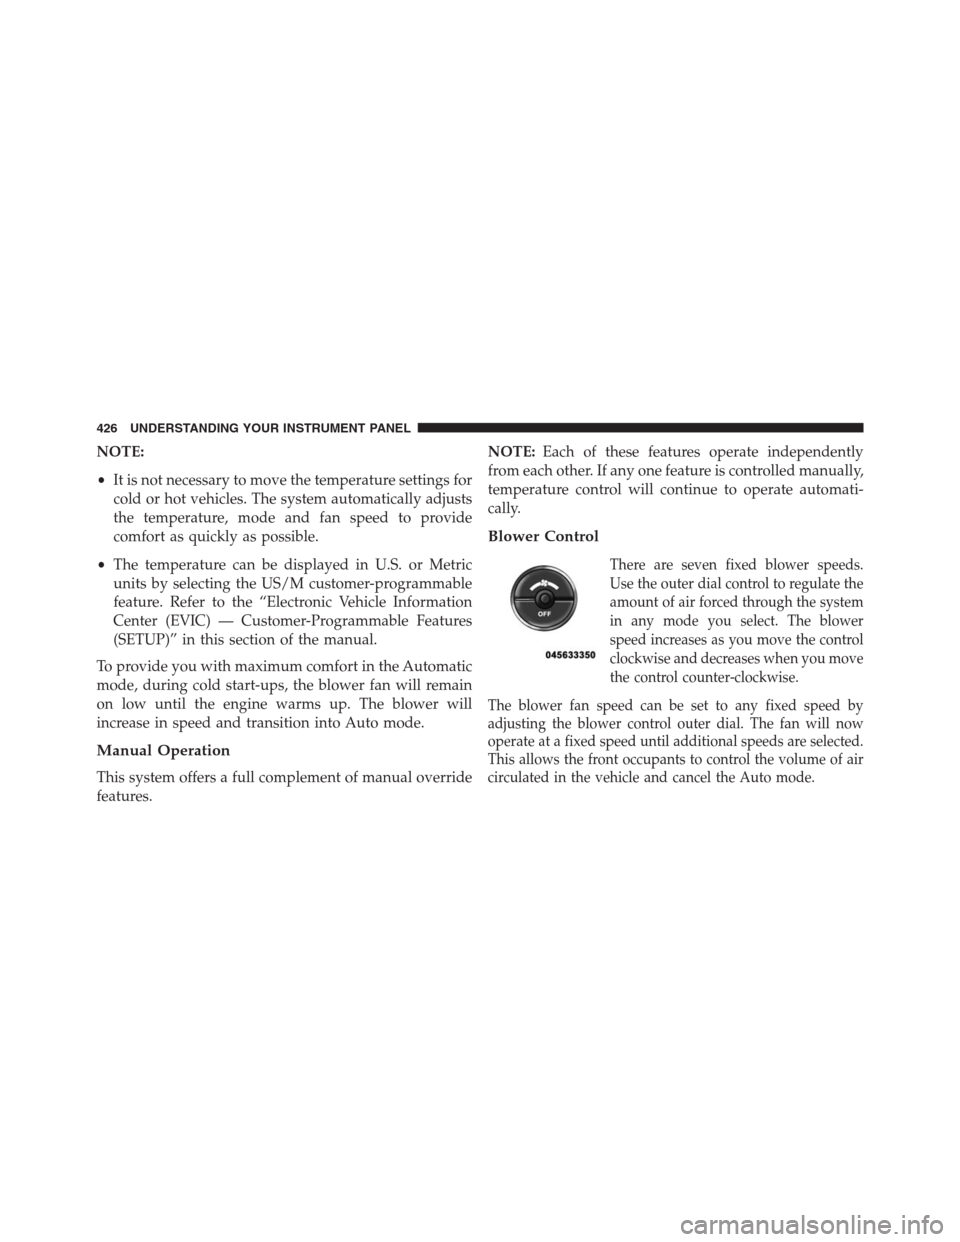
Blower Control
There are seven fixed blower speeds.
Use the outer dial control to regulate the
amount of air forced through the system
in any mode you select. The blower
speed increases as you move the control
clockwise and decreases when you move
the control counter-clockwise.
The blower fan speed can be set to any fixed speed by
adjusting the blower control outer dial. The fan will now
operate at a fixed speed until additional speeds are selected.
This allows the front occupants to control the volume of air
circulated in the vehicle and cancel the Auto mode.
426 UNDERSTANDING YOUR INSTRUMENT PANEL
Page 429 of 704
The operator can also select the direction of the airflow
by selecting one of the following positions.
Panel Mode
Air comes from the outlets in the instrument
panel. Each of these outlets can be individually
adjusted to direct the flow of air. The air vanes of the
center outlets and outboard outlets can be moved up and
down or side to side to regulate airflow direction. There
is a shut off wheel located below the air vanes to shut off
or adjust the amount of airflow from these outlets.
Bi-Level Mode
Air comes from the instrument panel outlets, floor
outlets and defrost outlets.
NOTE:In many temperature positions, the Bi–Level
mode is designed to provide cooler air out of the panel
outlets and warmer air from the floor outlets.Floor Mode
Air comes from the floor outlets. A slight amount
of air is directed through the defrost and side
window demister outlets.
Mix Mode
Air comes from the floor, defrost and side window
demist outlets. This mode works best in cold or
snowy conditions. It allows you to stay comfortable
while keeping the windshield clear.
Defrost Mode
Air comes from the windshield and side window
demist outlets. Use Defrost mode with maximum
temperature settings for best windshield and side win-
dow defrosting. When the defrost mode is selected, the
blower will automatically default to medium-high unless
the blower is controlled manually.
4
UNDERSTANDING YOUR INSTRUMENT PANEL 427
Page 430 of 704
NOTE:While operating in the other modes, the system
will not automatically sense the presence of fog, mist or
ice on the windshield. Defrost mode must be manually
selected to clear the windshield and side glass.
Air Conditioning (A/C)
The Air Conditioning (A/C) button allows the operator
to manually activate or deactivate the air conditioning
system. When in A/C mode and the ATC is set to a cool
temperature, dehumidified air flows through the air
outlets. If Economy mode is desired, press the A/C
button to turn off the A/C mode in the ATC display and
deactivate the A/C system. Also, make sure to select only
Panel, Bi-Level or Floor modes.NOTE:
•If the system is in Mix, Floor or Defrost Mode, the A/C
can be turned off, but the A/C system shall remain
active to prevent fogging of the windows.
•If fog or mist appears on the windshield or side glass,
select Defrost mode and increase blower speed.
Recirculation Control
When outside air contains smoke, odors, or high
humidity, or if rapid cooling is desired, you may
wish to recirculate interior air by pressing the
Recirculation control button. Recirculation mode
should only be used temporarily. The recirculation LED will
illuminate when this button is selected. Push the button a
second time to turn off the Recirculation mode LED and
allow outside air into the vehicle.
428 UNDERSTANDING YOUR INSTRUMENT PANEL