transmission JEEP GRAND CHEROKEE 2013 WK2 / 4.G Owners Manual
[x] Cancel search | Manufacturer: JEEP, Model Year: 2013, Model line: GRAND CHEROKEE, Model: JEEP GRAND CHEROKEE 2013 WK2 / 4.GPages: 704, PDF Size: 5.14 MB
Page 31 of 704
4. To assemble the RKE transmitter case, snap the two
halves together.
General Information
This device complies with part 15 of the FCC rules and
RSS 210 of Industry Canada. Operation is subject to the
following conditions:
•This device may not cause harmful interference.
•This device must accept any interference received,
including interference that may cause undesired op-
eration.
NOTE:Changes or modifications not expressly ap-
proved by the party responsible for compliance could
void the user’s authority to operate the equipment.
If your RKE transmitter fails to operate from a normal
distance, check for these two conditions:
1. A weak battery in the RKE transmitter. The expected
life of the battery is a minimum of three years.2. Closeness to a radio transmitter such as a radio station
tower, airport transmitter, and some mobile or CB
radios.REMOTE STARTING SYSTEM — IF EQUIPPED
This system uses the Remote Keyless Entry
(RKE) transmitter to start the engine conve-
niently from outside the vehicle while still
maintaining security. The system has a range of
approximately 300 ft (91 m).
NOTE:
•The vehicle must be equipped with an automatic
transmission to be equipped with Remote Start.
•Obstructions between the vehicle and RKE transmitter
may reduce this range.
2
THINGS TO KNOW BEFORE STARTING YOUR VEHICLE 29
Page 110 of 704
WARNING!
The top tether anchorages are not visible until the gap
panel is folded down. Do not use the visible cargo tie
down hooks, located on the floor behind the seats, to
attach a child restraint tether anchor.
Installing Child Restraints Using The Top Tether
Anchorage — Center Seating Position
For center seating position route the tether strap over the
seatback and headrest then attach the hook to the tether
anchor located on the back of the seat.
Transporting Pets
Air Bags deploying in the front seat could harm your pet. An
unrestrained pet will be thrown about and possibly injured,
or injure a passenger during panic braking or in a collision.
Pets should be restrained in the rear seat in pet harnesses
or pet carriers that are secured by seat belts.
ENGINE BREAK-IN RECOMMENDATIONS
A long break-in period is not required for the engine and
drivetrain (transmission and axle) in your vehicle.
Drive moderately during the first 300 miles (500 km).
After the initial 60 miles (100 km), speeds up to 50 or
55 mph (80 or 90 km/h) are desirable.
While cruising, brief full-throttle acceleration within the
limits of local traffic laws contributes to a good break-in.
Wide-open throttle acceleration in low gear can be detri-
mental and should be avoided.
The engine oil installed in the engine at the factory is a
high-quality energy conserving type lubricant. Oil
changes should be consistent with anticipated climate
conditions under which vehicle operations will occur. For
the recommended viscosity and quality grades, refer to
“Maintenance Procedures” in “Maintaining Your Ve-
hicle”.
108 THINGS TO KNOW BEFORE STARTING YOUR VEHICLE
Page 202 of 704
To Deactivate
1. Pull the multifunction lever toward you (or rearward
in car) to manually deactivate the system (normal
operation of low beams).
2. Push back on the multifunction lever once again to
reactivate the system.
Daytime Running Lights — If Equipped
The Daytime Running Lights (low intensity) come on
whenever the engine is running, and the transmission is
not in the PARK position. The lights will remain on until
the ignition is switched to the OFF or ACC position or the
parking brake is engaged. The headlight switch must be
used for normal nighttime driving.
NOTE:The Daytime Running Lights will turn off auto-
matically when a turn signal is in operation and turn on
again when the turn signal is not operating.
Automatic Headlight Leveling — HID Headlights
Only
This feature prevents the headlights from interfering
with the vision of oncoming drivers. Headlight leveling
automatically adjusts the height of the headlight beam in
reaction to changes in vehicle pitch.
Headlight Delay
To aid in your exit, your vehicle is equipped with a
headlight delay that will leave the headlights on for
approximately 90 seconds. This delay is initiated when
the ignition is turned OFF while the headlight switch is
on, and then the headlight switch is cycled off. Headlight
delay can be cancelled by either turning the headlight
switch on then off, or by turning the ignition ON.
200 UNDERSTANDING THE FEATURES OF YOUR VEHICLE
Page 213 of 704
•The Rain Sensing feature may not function properly
when ice, or dried salt water is present on the
windshield.
•Use of Rain-X® or products containing wax or silicone
may reduce Rain Sensing performance.
•A customer programmable feature in the Electronic
Vehicle Information Center (EVIC) allows the Rain
Sensing feature to be turned off. Refer to “Electronic
Vehicle Information Center (EVIC)/Personal Settings
(Customer-Programmable Features)” in “Understand-
ing Your Instrument Panel” for further information.
The Rain Sensing system has protection features for the
wiper blades and arms, and will not operate under the
following conditions:
•Low Ambient Temperature— When the ignition is
first turned ON, the Rain Sensing system will notoperate until the wiper switch is moved, vehicle speed
is greater than 0 mph (0 km/h), or the outside tem-
perature is greater than 32°F (0°C).
•Transmission In NEUTRAL Position— When the
ignition is ON, and the transmission is in the NEU-
TRAL position, the Rain Sensing system will not
operate until the wiper switch is moved, vehicle speed
is greater than 5 mph (8 km/h), or the shift lever is
moved out of the NEUTRAL position.
Remote Start Mode Inhibit— On vehicles equipped
with Remote Starting system, Rain Sensing wipers are
not operational when the vehicle is in the remote start
mode. Once the operator is in the vehicle and has placed
the ignition switch in the RUN position, rain sensing
wiper operation can resume, if it has been selected, and
no other inhibit conditions (mentioned previously) exist.
3
UNDERSTANDING THE FEATURES OF YOUR VEHICLE 211
Page 219 of 704
To Resume Speed
To resume a previously set speed, push the RES (+)
button and release. Resume can be used at any speed
above 20 mph (32 km/h).
To Vary The Speed Setting
When the Electronic Speed Control is set, you can in-
crease speed by pushing the RES (+) button. If the button
is continually pressed, the set speed will continue to
increase until the button is released, then the new set
speed will be established.
Pressing the RES (+) button once will result ina1mph
(1.6 km/h) increase in set speed. Each subsequent tap of
the button results in an increase of 1 mph (1.6 km/h).
To decrease speed while the Electronic Speed Control is
set, push the SET (-) button. If the button is continually
held in the SET (-) position, the set speed will continue todecrease until the button is released. Release the button
when the desired speed is reached, and the new set speed
will be established.
Pressing the SET (-) button once will result ina1mph
(1.6 km/h) decrease in set speed. Each subsequent tap of
the button results in a decrease of 1 mph (1.6 km/h).To Accelerate For Passing
Press the accelerator as you would normally. When the
pedal is released, the vehicle will return to the set speed.
Using Electronic Speed Control On Hills
The transmission may downshift on hills to maintain the
vehicle set speed.
3
UNDERSTANDING THE FEATURES OF YOUR VEHICLE 217
Page 224 of 704
NOTE:You cannot enable ACC under the following
conditions:
•When in Four-Wheel Drive Low.
•When you apply the brakes.
•When the parking brake is set.
•When the automatic transmission is in PARK, RE-
VERSE or NEUTRAL.
•When pushing the RES+button without a previously
set speed in memory.
To Activate
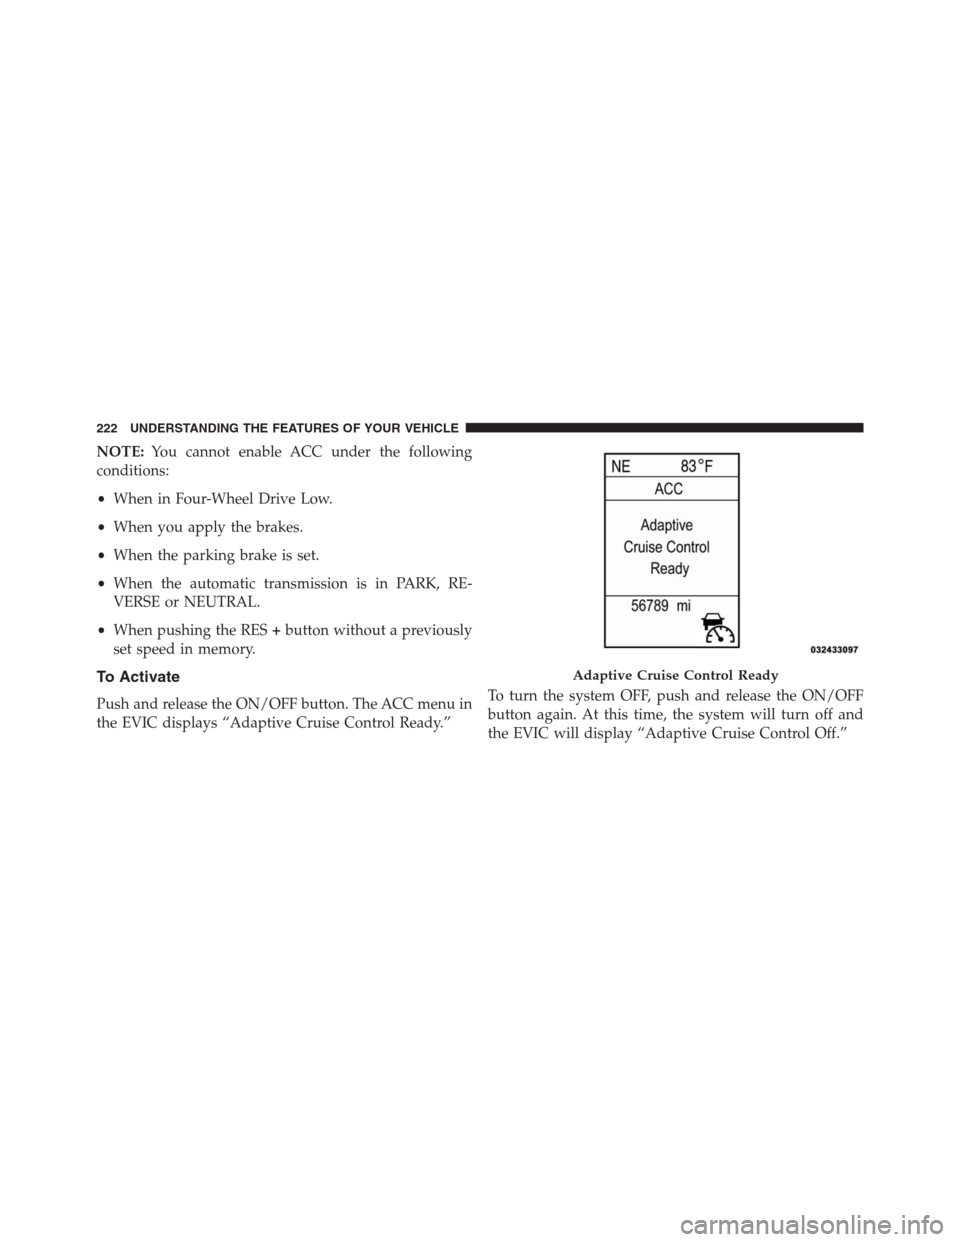
Push and release the ON/OFF button. The ACC menu in
the EVIC displays “Adaptive Cruise Control Ready.”To turn the system OFF, push and release the ON/OFF
button again. At this time, the system will turn off and
the EVIC will display “Adaptive Cruise Control Off.”
Adaptive Cruise Control Ready
222 UNDERSTANDING THE FEATURES OF YOUR VEHICLE
Page 226 of 704
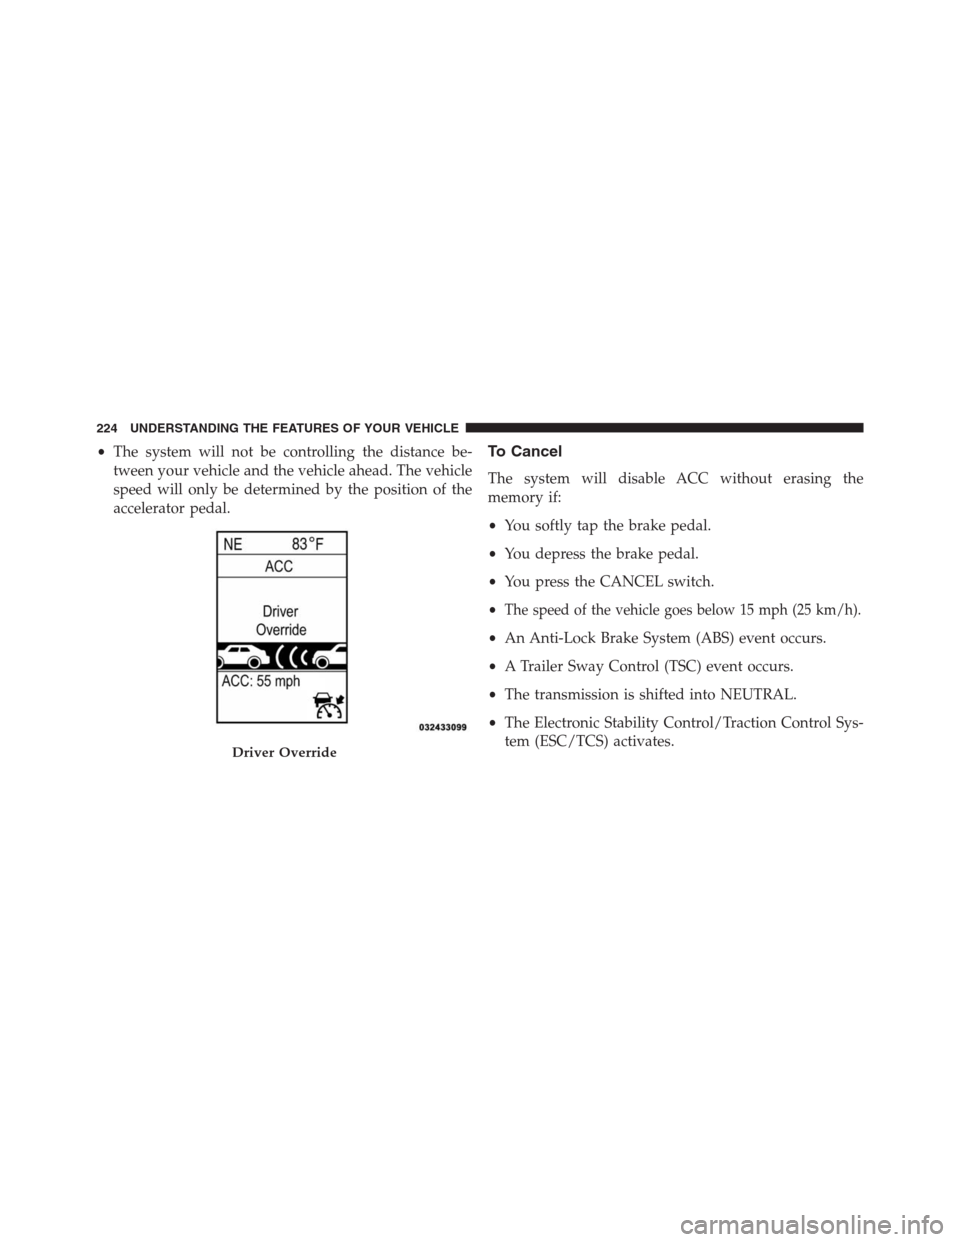
•The system will not be controlling the distance be-
tween your vehicle and the vehicle ahead. The vehicle
speed will only be determined by the position of the
accelerator pedal.To Cancel
The system will disable ACC without erasing the
memory if:
•You softly tap the brake pedal.
•You depress the brake pedal.
•You press the CANCEL switch.
•
The speed of the vehicle goes below 15 mph (25 km/h).
•An Anti-Lock Brake System (ABS) event occurs.
•A Trailer Sway Control (TSC) event occurs.
•The transmission is shifted into NEUTRAL.
•The Electronic Stability Control/Traction Control Sys-
tem (ESC/TCS) activates.
Driver Override
224 UNDERSTANDING THE FEATURES OF YOUR VEHICLE
Page 268 of 704
Canadian/Gate Operator Programming
For programming transmitters in Canada/United States
that require the transmitter signals to “time-out” after
several seconds of transmission.
Canadian radio frequency laws require transmitter sig-
nals to time-out (or quit) after several seconds of trans-
mission – which may not be long enough for HomeLink®
to pick up the signal during programming. Similar to this
Canadian law, some U.S. gate operators are designed to
time-out in the same manner.
It may be helpful to unplug the device during the cycling
process to prevent possible overheating of the garage
door or gate motor.
1. Cycle the ignition to the ON/RUN position.
2.
Place the hand-held transmitter 1 to 3 in (3 to 8 cm)
away from the HomeLink® button you wish to program
while keeping the HomeLink® indicator light in view.
3. Continue to press and hold the HomeLink® button,
while you press and release (“cycle”), your hand-held
transmitter every two seconds until HomeLink® has
successfully accepted the frequency signal. The indi-
cator light will flash slowly and then rapidly when
fully trained.
4. Watch for the HomeLink® indicator to change flash
rates. When it changes, it is programmed. It may take
up to 30 seconds or longer in rare cases. The garage
door may open and close while you are programming.
5. Press and hold the programmed HomeLink® button
and observe the indicator light.
•If the indicator light stays on constantly, program-
ming is complete and the garage door/device should
activate when the HomeLink® button is pressed.
•To program the two remaining HomeLink® buttons,
repeat each step for each remaining button. DO NOT
erase the channels.
266 UNDERSTANDING THE FEATURES OF YOUR VEHICLE
Page 305 of 704
INSTRUMENT CLUSTER DESCRIPTIONS
1. Tachometer
Indicates the engine speed in revolutions per minute
(RPM x 1000).
2. Air Bag Warning Light
This light will turn on for four to eight seconds
as a bulb check when the ignition switch is first
turned to the ON/RUN position. If the light is
either not on during starting, stays on, or turns
on while driving, have the system inspected at an autho-
rized dealer as soon as possible. Refer to “Occupant
Restraints” in “Things To Know Before Starting Your
Vehicle” for further information.3. Malfunction Indicator Light (MIL)
The Malfunction Indicator Light (MIL) is part of
an onboard diagnostic system called OBD II that
monitors engine and automatic transmission con-
trol systems. The light will illuminate when the key is in
the ON/RUN position before engine start. If the bulb
does not come on when turning the key from OFF to
ON/RUN, have the condition checked promptly.
Certain conditions, such as a loose or missing gas cap,
poor fuel quality, etc., may illuminate the light after
engine start. The vehicle should be serviced if the light
stays on through several of your typical driving cycles. In
most situations, the vehicle will drive normally and will
not require towing.
4
UNDERSTANDING YOUR INSTRUMENT PANEL 303
Page 329 of 704
If a problem is detected, the light will come on while the
engine is running. Cycle the ignition key when the
vehicle has completely stopped and the shift lever is
placed in the PARK position. The light should turn off.
If the light remains lit with the engine running, your
vehicle will usually be drivable. However, see an autho-
rized dealer for service as soon as possible. If the light is
flashing when the engine is running, immediate service is
required. You may experience reduced performance, an
elevated/rough idle or engine stall and your vehicle may
require towing.
•Engine Temperature Warning Light
This light warns of an overheated engine condi-
tion. As temperatures rise and the gauge ap-
proachesH,this indicator will illuminate and a single
chime will sound after reaching a set threshold. Further
overheating will cause the temperature gauge to passH,the indicator will continuously flash and a continuous
chime will occur until the engine is allowed to cool.
If the light turns on while driving, safely pull over and
stop the vehicle. If the A/C system is on, turn it off. Also,
shift the transmission into NEUTRAL and idle the ve-
hicle. If the temperature reading does not return to
normal, turn the engine off immediately and call for
service. Refer to “If Your Engine Overheats” in “What To
Do In Emergencies” for more information.
•Transmission Temperature Warning Light
This light indicates that there is excessive trans-
mission fluid temperature that might occur
with severe usage such as trailer towing. It may
also occur when operating the vehicle in a high
torque converter slip condition, such as 4-wheel-drive
operation (e.g., snow plowing, off- road operation). If this
4
UNDERSTANDING YOUR INSTRUMENT PANEL 327