JEEP GRAND CHEROKEE 2013 WK2 / 4.G SRT Owners Manual
Manufacturer: JEEP, Model Year: 2013, Model line: GRAND CHEROKEE, Model: JEEP GRAND CHEROKEE 2013 WK2 / 4.GPages: 661, PDF Size: 4.79 MB
Page 401 of 661
3. Touch the 1 soft-key and then the DISC soft-key in theMEDIA column. To exit touch the back arrow soft-key
at the top left of the screen. NOTE:
The “1” and “2” soft-keys are displayed for the
headphone channels. Touch 1 or 2 based on which
channel you want to change, select the new mode from
the available list on the right. Modes that are unavailable
are greyed-out.
Rear VES Soft-Key
Select Channel/Screen 1 And DISC In The MEDIA Column
4
UNDERSTANDING YOUR INSTRUMENT PANEL 399
Page 402 of 661
NOTE:
•To view a DVD on the radio press the RADIO/MEDIA
hard-key, on the radio faceplate, then touch the DISC
tab soft-key and then the VIEW VIDEO soft-key.
• Viewing a DVD on the Touch-Screen radio screen is
not available in all states/provinces, and the vehicle
must be stopped, and the shift lever must be in the
PARK position for vehicles with automatic transmis-
sion. In vehicles with manual transmission the parking
brake must be engaged.
• Touching the screen on a Touch-Screen radio while a
DVD is playing brings up basic remote control func-
tions for DVD play such as scene selection, Play, Pause,
FF, RW, and Stop. Pressing the X in the upper corner
will turn off the remote control screen functions.Play Video Games
Connect the video game console to the Auxiliary RCA
input jacks located on the back of the center console.
1. Video In – Yellow
2. Left Audio In – White
3. Right Audio In – Red
400 UNDERSTANDING YOUR INSTRUMENT PANEL
Page 403 of 661
When connecting an external source to the AUX input, be
sure to follow the standard color coding for the VES™
jacks:
NOTE:Certain high-end video games, such as Playsta-
tion3 and XBox360 will exceed the power limit of the
vehicle’s Power Inverter. Refer to the Power Inverter
section in your vehicle’s Owner’s Manual for more
information.
Ensure the Remote Control and Headphone switch is on
Channel 1.
Using The Remote Control
1. Press the MODE button on the Remote Control.
2. While looking at the video screen, highlight VES AUX 1, by either pressing Up/Down/Left/Right buttons or
by repeatedly pressing the MODE button, then press
ENTER on the Remote Control.Using The Touch-Screen Radio Controls
1. Press the MENU hard-key on the radio faceplate.
Select VES AUX1 Mode On The VES Screen
4
UNDERSTANDING YOUR INSTRUMENT PANEL 401
Page 404 of 661
2. Touch the Rear VES soft-key to display the Rear VESControls. If a channel list is displayed, press the HIDE
LIST soft-key to display the Rear VES Controls screen. 3. Touch the 1 soft-key and then touch AUX 1 in the VES
column. To exit press the back arrow soft-key at the
top of the screen.
Rear VES Soft-KeySelect Channel/Screen 1 And AUX 1 In The VES
Column
402 UNDERSTANDING YOUR INSTRUMENT PANEL
Page 405 of 661
Listen To An Audio Source On Channel 2 While A
Video Is Playing On Channel 1
Ensure the Remote Control and Headphone switch is on
Channel 2.
Using The Remote Control
1. Press the MODE button on the Remote Control andthe Mode Select Screen will display, unless a video is
playing then only a small banner will appear on the
bottom of the screen.
2. While looking at the video screen, either press Up/ Down/Left/Right on the Remote Control to highlight
the desired audio source or repeatedly press the
MODE button on the remote until the desired audio
source appears on the screen.
Using The Touch-Screen Radio Controls
1. Press the MENU hard-key on the radio faceplate.
Select FM Mode On The VES Screen
4
UNDERSTANDING YOUR INSTRUMENT PANEL 403
Page 406 of 661
2. Touch the Rear VES soft-key to display the Rear VESControls. If a channel list is displayed, press the HIDE
LIST soft-key to display the Rear VES Controls screen. 3. To listen to an audio source on Channel 2 while a
video is playing on Channel 1, touch the 2 soft-key and
choose an audio source. To exit touch the back arrow
soft-key at the top left of the left screen.
Rear VES Soft-Key
Select Channel/Screen 2 And HDD In The Media
Column
404 UNDERSTANDING YOUR INSTRUMENT PANEL
Page 407 of 661
Important Notes For Single Video Screen System
•VES™ is able to transmit two channels of stereo audio
simultaneously.
• In split screen mode the left side equates to Channel 1
and right side equates to Channel 2.
• If a video source is selected on Channel 1, then
Channel 2 is for audio only. Selecting a video source
(DVD) will not show the video on the screen.
• When selecting a video source on Channel 1, the video
will display on the screen and the audio could be
heard on Channel 1 in the headphones.
• Audio can be heard through the headphones even
when the Video Screen is closed.
Play A DVD Using The Touch-Screen Radio
1. Press the OPEN/CLOSE or LOAD hard-key on the radio faceplate (Touch-Screen).
2. Insert the DVD with the label facing up. The radio automatically selects the appropriate mode after the
disc is recognized and displays the menu screen or
starts playing the first track.
3. To watch a DVD on Screen 1 for second row passen- gers, ensure the Remote Control and Headphone
switch is on Channel 1.
4
UNDERSTANDING YOUR INSTRUMENT PANEL 405
Page 408 of 661
Using The Remote Control
1. Press the MODE button on the Remote Control.
2. While looking at Screen 1, highlight DISC by eitherpressing Up/Down/Left/Right buttons or by repeat-
edly pressing the MODE button, then press ENTER. NOTE:
•
Channel/Screen 1 select mode information is shown
on the left side of the screen.
• Channel/Screen 2 select mode information is shown
on the right side of the screen.
Using The Touch-Screen Radio Controls
1. Press the MENU hard-key on the radio faceplate.
Select DISC Mode On The VES Screen
406 UNDERSTANDING YOUR INSTRUMENT PANEL
Page 409 of 661
2. Touch the Rear VES soft-key to display the Rear VESControls. If a channel list is displayed, press the HIDE
LIST soft-key to display the Rear VES Controls screen.
3. Touch the 1 or 2 soft-key and then the DISC soft-key in the MEDIA column. To exit touch the back arrow at
the top left of the screen. NOTE:
•
To view a DVD on the radio press the RADIO/MEDIA
hard-key, on the radio faceplate, then touch the DISC
tab soft-key and then the VIEW VIDEO soft-key.
• Viewing a DVD on the Touch-Screen radio screen is
not available in all states/provinces, and the vehicle
must be stopped, and the shift lever must be in the
PARK position for vehicles with automatic transmis-
sion. In vehicles with manual transmission the parking
brake must be engaged.
• Touching the screen on a Touch-Screen radio while a
DVD is playing brings up basic remote control func-
tions for DVD play such as scene selection, Play, Pause,
FF, RW, and Stop. Pressing the X in the upper corner
will turn off the remote control screen functions.
Rear VES Soft-key
4
UNDERSTANDING YOUR INSTRUMENT PANEL 407
Page 410 of 661
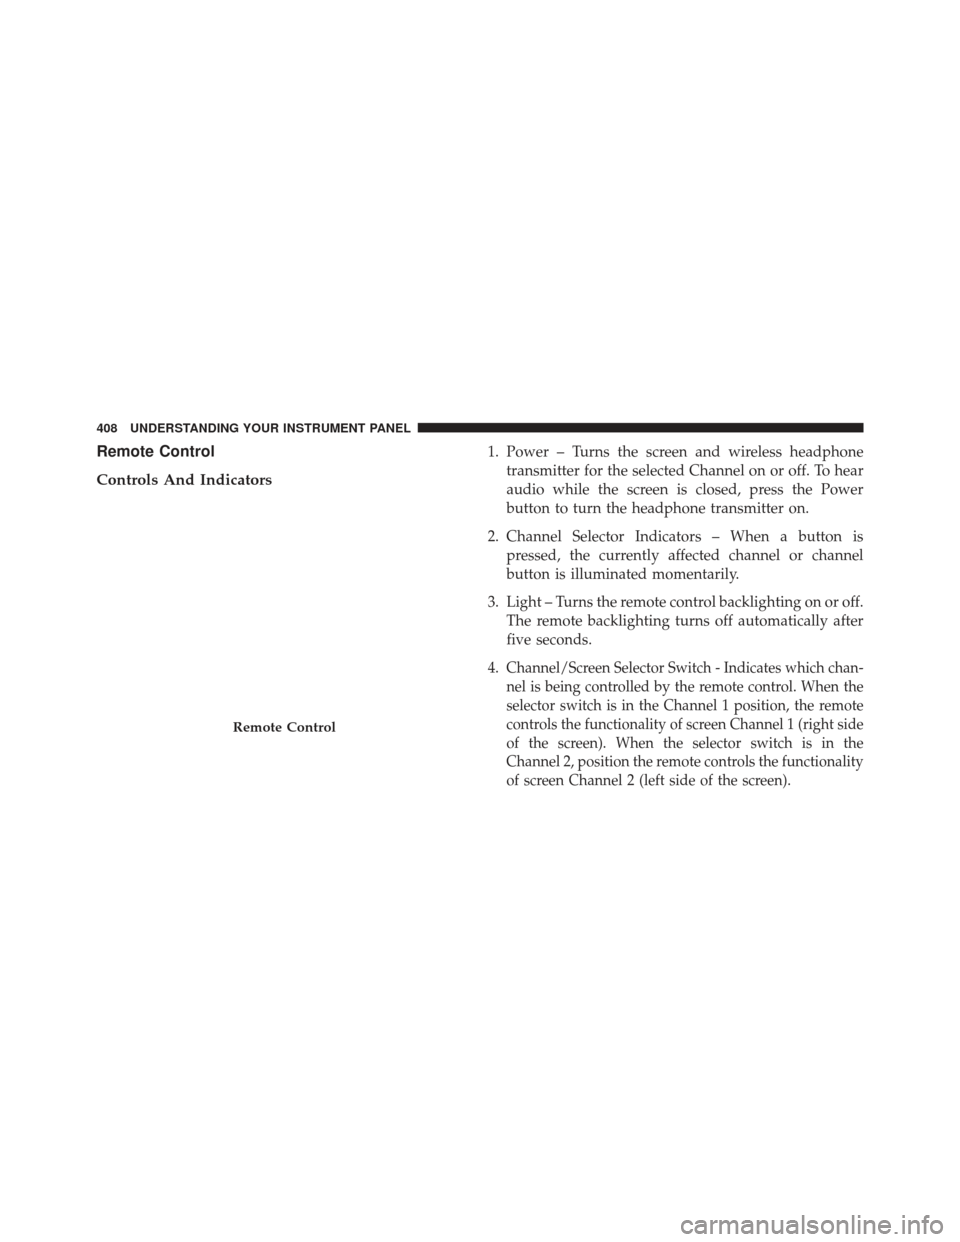
Remote Control
Controls And Indicators1. Power – Turns the screen and wireless headphonetransmitter for the selected Channel on or off. To hear
audio while the screen is closed, press the Power
button to turn the headphone transmitter on.
2. Channel Selector Indicators – When a button is pressed, the currently affected channel or channel
button is illuminated momentarily.
3. Light – Turns the remote control backlighting on or off. The remote backlighting turns off automatically after
five seconds.
4.
Channel/Screen Selector Switch - Indicates which chan-
nel is being controlled by the remote control. When the
selector switch is in the Channel 1 position, the remote
controls the functionality of screen Channel 1 (right side
of the screen). When the selector switch is in the
Channel 2, position the remote controls the functionality
of screen Channel 2 (left side of the screen).
Remote Control
408 UNDERSTANDING YOUR INSTRUMENT PANEL