remote control JEEP GRAND CHEROKEE 2014 WK2 / 4.G SRT User Guide
[x] Cancel search | Manufacturer: JEEP, Model Year: 2014, Model line: GRAND CHEROKEE, Model: JEEP GRAND CHEROKEE 2014 WK2 / 4.GPages: 615, PDF Size: 4.44 MB
Page 355 of 615
•With the Dual Video Screen System, Channel 1 (Rear 1)
on the Remote Control and Headphones refers to
Screen 1 (driver’s side) and Channel 2 (Rear 2) on the
Remote Control and Headphones refers to Screen 2
(passenger’s side).
Rear Seat Entertainment System Channel 1 (Rear 1)
Rear Seat Entertainment System Remote Control
Channel Selector
4
UNDERSTANDING YOUR INSTRUMENT PANEL 353
Page 356 of 615
•The system can be controlled by the front seat occu-
pants utilizing either the touchscreen radio, or by the
rear seat occupants using the remote control.
Dual Video Screen
NOTE: Typically there are two different ways to operate
the features of the Rear Seat Entertainment System.
• The Remote Control
• The Touchscreen Radio (If Equipped)
Blu-ray™ Disc Player
Play A Blu-ray™ Disc
The Blu-ray™ Disc player is located in the center console.
Rear Seat Entertainment System Headphone
Channel Selector
354 UNDERSTANDING YOUR INSTRUMENT PANEL
Page 358 of 615
Using The Remote Control
•Select an audio channel (Rear 1 for driver’s side rear
screen and Rear 2 for passenger’s side rear screen),
then press the source key and using the up and down
arrows, highlight disc from the menu and press the OK
button.
• Press the popup/menu key to navigate the disc menu
and options.
Play Video Games
Connect the video game console to the Auxiliary RCA/
HDMI input jacks located on the side of each seat.
Audio/Video RCA/HDMI Jacks (AUX/HDMI Jacks) on
the side of each seat enable the monitor to display video
directly from a video camera, connect video games for
display on the screen, or play music directly from an MP3
player.
Auxiliary RCA/HDMI Input Jacks
356 UNDERSTANDING YOUR INSTRUMENT PANEL
Page 359 of 615
When connecting an external source to the AUX/HDMI
input, ensure to follow the standard color coding for the
audio/video jacks:
1. HDMI Input
2. Right audio in (red)
3. Left audio in (white)
4. Video in (yellow)
NOTE:Certain high-end video games, such as Play-
station3 and XBox360 will exceed the power limit of the
vehicle’s Power Inverter. Refer to the Power Inverter
section in your vehicle’s Owner’s Manual for more
information.Play A DVD/Blu-ray™ Disc Using The
Touchscreen Radio
1. Insert the DVD/Blu-ray™ Disc with the label facing as indicated on the DVD/Blu-ray™ Disc player. The
radio automatically selects the appropriate mode after
the disc is recognized and displays the menu screen or
starts playing the first track.
2. To watch a DVD/Blu-ray™ Disc on Rear 1 (driver’s side rear passenger) ensure the Remote Control and
Headphone channel selector switch is on Rear 1.
3. To watch a DVD/Blu-ray™ Disc on Rear 2 (passen- ger ’s side rear passenger) ensure the Remote Control
and Headphone channel selector switch is on Rear 2.
4
UNDERSTANDING YOUR INSTRUMENT PANEL 357
Page 360 of 615
Using The Remote Control
1. Press the SOURCE button on the Remote Control.
2. While looking at Rear 1 or 2, highlight DISC by eitherpressing Up/Down/Left/Right buttons, then press
ENTER/OK.
Using The Touchscreen Radio Controls
1. Press the Media soft-key on the Uconnect® radio
touchscreen.
2. Touch the Rear Media soft-key to display the Rear Media Control screen.
Select DISC Mode On The Rear Seat
Entertainment ScreenRear Media Control Screen
358 UNDERSTANDING YOUR INSTRUMENT PANEL
Page 361 of 615
3. Touch the 1 or 2 soft-key, the select source soft-key andthen the DISC soft-key in the MEDIA column. To exit
touch the X at the top right of the screen.
NOTE: Touching the screen on a Touchscreen radio while
a DVD or Blu-ray™ Disc is playing, brings up the basic
remote control functions for DVD play such as scene selection, Play, Pause, FF, RW, and Stop. Pressing the X in
the upper corner will turn OFF the remote control screen
functions.
Important Notes For Dual Video Screen System
•
The Rear Seat Entertainment System is able to transmit
two channels of stereo audio and video simultane-
ously.
• The Blu-ray™ Disc Player can play CDs, DVDs and
Blu-ray™ Discs.
• Selecting a video source on Rear 1, the video source
will display on Rear 1 and can be heard on Rear 1.
• Selecting a video source on Rear 2, the video source
will display on Rear 2 and can be heard on Rear 2.
• Audio can be heard through the headphones even
when the screen(s) are closed.
Rear Seat Entertainment Source Screen
4
UNDERSTANDING YOUR INSTRUMENT PANEL 359
Page 362 of 615
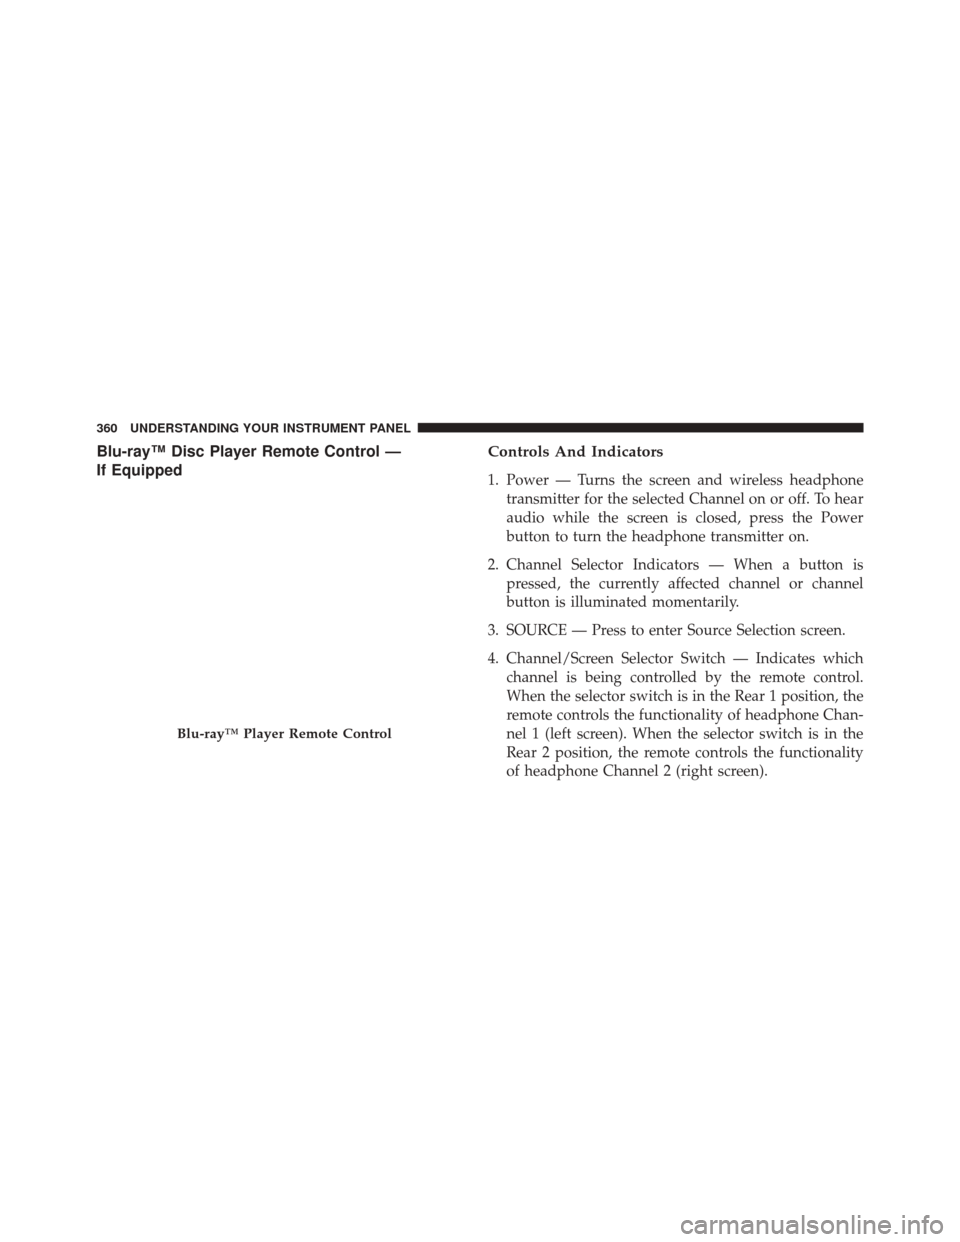
Blu-ray™ Disc Player Remote Control —
If EquippedControls And Indicators
1. Power — Turns the screen and wireless headphone
transmitter for the selected Channel on or off. To hear
audio while the screen is closed, press the Power
button to turn the headphone transmitter on.
2. Channel Selector Indicators — When a button is pressed, the currently affected channel or channel
button is illuminated momentarily.
3. SOURCE — Press to enter Source Selection screen.
4. Channel/Screen Selector Switch — Indicates which channel is being controlled by the remote control.
When the selector switch is in the Rear 1 position, the
remote controls the functionality of headphone Chan-
nel 1 (left screen). When the selector switch is in the
Rear 2 position, the remote controls the functionality
of headphone Channel 2 (right screen).
Blu-ray™ Player Remote Control
360 UNDERSTANDING YOUR INSTRUMENT PANEL
Page 364 of 615
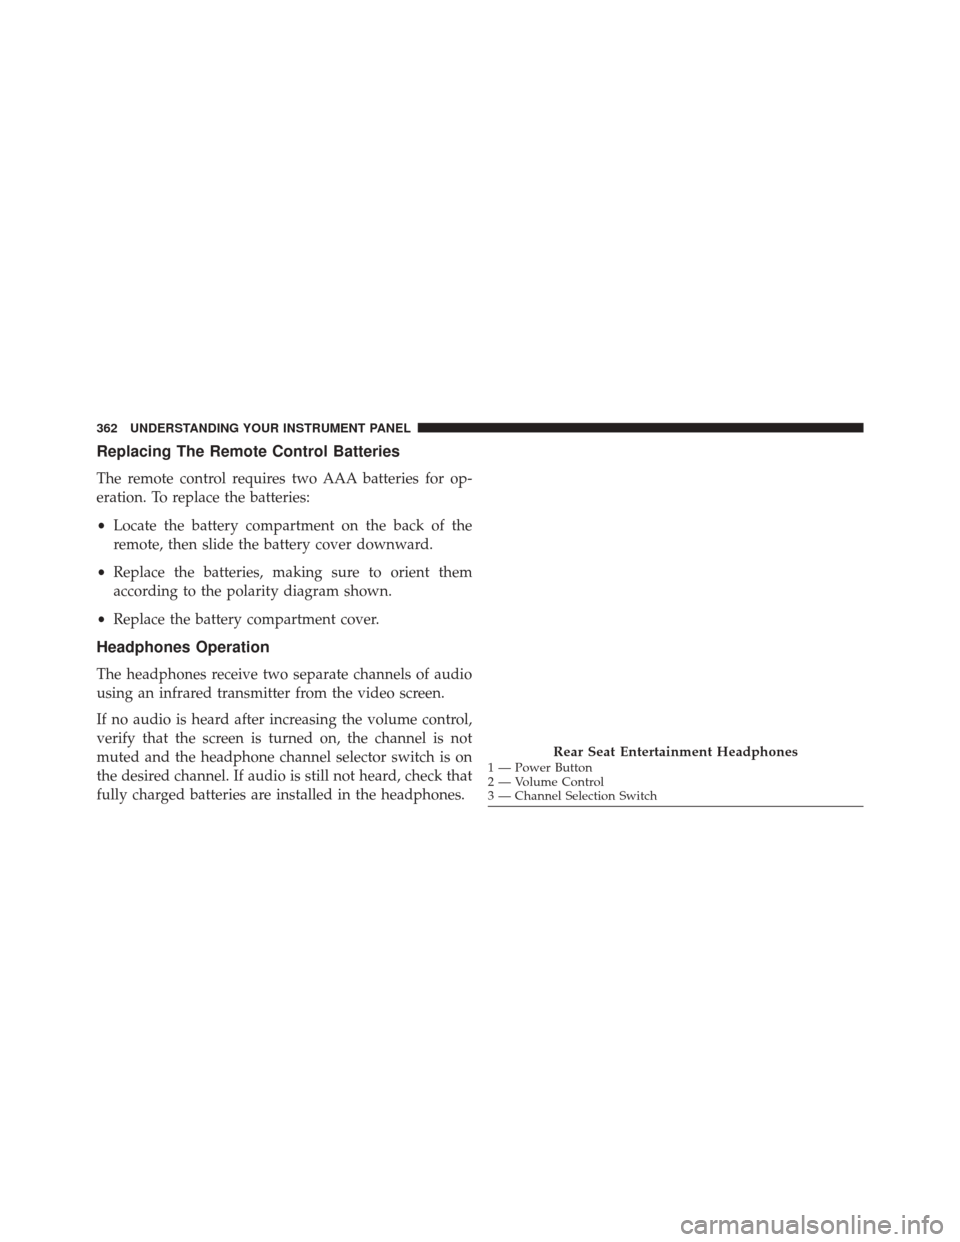
Replacing The Remote Control Batteries
The remote control requires two AAA batteries for op-
eration. To replace the batteries:
•Locate the battery compartment on the back of the
remote, then slide the battery cover downward.
• Replace the batteries, making sure to orient them
according to the polarity diagram shown.
• Replace the battery compartment cover.
Headphones Operation
The headphones receive two separate channels of audio
using an infrared transmitter from the video screen.
If no audio is heard after increasing the volume control,
verify that the screen is turned on, the channel is not
muted and the headphone channel selector switch is on
the desired channel. If audio is still not heard, check that
fully charged batteries are installed in the headphones.
1 — Power Button
2 — Volume Control
3 — Channel Selection SwitchRear Seat Entertainment Headphones
362 UNDERSTANDING YOUR INSTRUMENT PANEL
Page 365 of 615
Controls
The headphone power indicator and controls are located
on the right ear cup.
NOTE:The rear video system must be turned on before
sound can be heard from the headphones. To conserve
battery life, the headphones will automatically turn off
approximately three minutes after the rear video system
is turned off.
Changing the Audio Mode for Headphones
1.
Ensure the Remote Control channel/screen selector
switch is in the same position as the headphone selector
switch.
NOTE:
•When both the headphone and the remote control
channel selector switches are on Channel 1, the
Remote is controlling Channel 1 and the headphones
are tuned to the audio on Channel 1. •
When both the headphone and the remote control
channel selector switches are on Channel 2, the
Remote is controlling Channel 2 and the headphones
are tuned to the audio on Channel 2.
2. Press the SOURCE button on the remote control.
3. Pressing the SOURCE button will advance to the next mode.
4. When the Mode Selection menu appears on screen, use the cursor buttons on the remote control to navi-
gate to the available modes and press the OK button to
select the new mode.
5. To cancel out of the Mode Selection menu, press the BACK button on the remote control.
4
UNDERSTANDING YOUR INSTRUMENT PANEL 363
Page 367 of 615
OTHER DAMAGES OF ANY KIND OR NATURE WHAT-
SOEVER. Some states and jurisdictions may not allow
the exclusion or limitation of incidental or consequential
damages, so the above limitation may not apply to you.
This warranty gives you specific legal rights. You may
also have other rights, which vary from jurisdiction to
jurisdiction.
What Will Unwired® Do?Unwired®, at its option, will
repair or replace any defective Product. Unwired® re-
serves the right to replace any discontinued Product with
a comparable model. THIS WARRANTY IS THE SOLE
WARRANTY FOR THIS PRODUCT, SETS FORTH YOUR
EXCLUSIVE REMEDY REGARDING DEFECTIVE
PRODUCTS, AND IS IN LIEU OF ALL OTHER WAR-
RANTIES (EXPRESS OR IMPLIED), INCLUDING ANY
WARRANTY OR MERCHANTABILITY OR FITNESS
FOR A PARTICULAR PURPOSE.
If you have any questions or comments regarding your
Unwired® wireless headphones, please phone 1-888-293-
3332 or email [email protected].
You may register your Unwired® wireless headphones
online at www.unwiredtechnology.com or by phone at
1-888-293-3332.
System Information
Disc Menu
When listening to a CD Audio or CD Data disc, pressing
the remote control’s POP UP/MENU button displays a
list of all commands which control playback of the disc.
4
UNDERSTANDING YOUR INSTRUMENT PANEL 365