buttons JEEP GRAND CHEROKEE 2015 WK2 / 4.G Owner's Manual
[x] Cancel search | Manufacturer: JEEP, Model Year: 2015, Model line: GRAND CHEROKEE, Model: JEEP GRAND CHEROKEE 2015 WK2 / 4.GPages: 717, PDF Size: 18.54 MB
Page 254 of 717
2. Place the hand-held transmitter 1 to 3 inches (3 to
8 cm) away from the HomeLink® button you wish to
program while keeping the HomeLink® indicator
light in view.
3. Push and hold the Homelink® button you want to
program while you push and hold the hand-held
transmitter button.
4. Continue to hold both buttons and observe the indi-
cator light. The Homelink® indicator will flash slowly
and then rapidly after HomeLink® has received the
frequency signal from the hand-held transmitter. Re-
lease both buttons after the indicator light changes
from slow to rapid.
5. Push and hold the programmed HomeLink® button
and observe the indicator light.
•If the indicator light stays on constantly, program-
ming is complete and the garage door/device should
activate when the HomeLink® button is pushed.
•To program the two remaining HomeLink® buttons,
repeat each step for each remaining button. DO NOT
erase the channels.
Reprogramming A Single HomeLink® Button
(Non-Rolling Code)
To reprogram a channel that has been previously trained,
follow these steps:
1. Cycle the ignition to the ON/RUN position.
2. Push and hold the desired HomeLink® button until
the indicator light begins to flash after 20 seconds.Do
not release the button.
3.Without releasing the buttonproceed with “Program-
ming A Non-Rolling Code” step 2 and follow all
remaining steps.
252 UNDERSTANDING THE FEATURES OF YOUR VEHICLE
Page 256 of 717
•If the indicator light stays on constantly, program-
ming is complete and the garage door/device should
activate when the HomeLink® button is pushed.
•To program the two remaining HomeLink® buttons,
repeat each step for each remaining button. DO NOT
erase the channels.
If you unplugged the garage door opener/device for
programming, plug it back in at this time.
Reprogramming A Single HomeLink® Button
(Canadian/Gate Operator)
To reprogram a channel that has been previously trained,
follow these steps:
1. Cycle the ignition to the ON/RUN position.
2. Push and hold the desired HomeLink® button until
the indicator light begins to flash after 20 seconds.Do
not release the button.
3.Without releasing the buttonproceed with
“Canadian/Gate Operator Programming” step 2 and
follow all remaining steps.
Using HomeLink®
To operate, push and release the programmed
HomeLink® button. Activation will now occur for the
programmed device (i.e., garage door opener, gate opera-
tor, security system, entry door lock, home/office light-
ing, etc.,). The hand-held transmitter of the device may
also be used at any time.
Security
It is advised to erase all channels before you sell or turn
in your vehicle.
To do this, push and hold the two outside buttons for 20
seconds until the red indicator flashes. Note that all
channels will be erased. Individual channels cannot be
erased.
254 UNDERSTANDING THE FEATURES OF YOUR VEHICLE
Page 289 of 717
UNDERSTANDING YOUR INSTRUMENT PANEL
CONTENTS
!INSTRUMENT PANEL FEATURES..........290
!INSTRUMENT CLUSTER.................291
!INSTRUMENT CLUSTER DESCRIPTIONS.....292
!DRIVER INFORMATION DISPLAY (DID)......301
▫DID Displays........................303
▫Engine Oil Life Reset..................305
▫DID Messages.......................306
▫DID White Telltales....................309
▫DID Amber Telltales...................310
▫DID Red Telltales......................311
▫DID Green Telltales....................314
▫DID Selectable Menu Items..............314
▫Screen Setup Driver Selectable Items........319
!Uconnect® SETTINGS....................320
▫Buttons On The Faceplate................321
▫Buttons On The Touchscreen..............322
▫Customer Programmable Features —
Uconnect® 5.0 Personal Settings...........322
▫Customer Programmable Features —
Uconnect® 8.4 Personal Settings...........339
4
Page 304 of 717
The DID Menu items consists of the following:
•Digital Speedometer
•Vehicle Info
•Terrain — If Equipped
•SRT Performance— If Equipped
•Driver Assist
•Fuel Economy
•Trip
•Stop/Start — If Equipped
•Audio
•Stored Messages
•Screen Setup
•Speed Warning — If Equipped
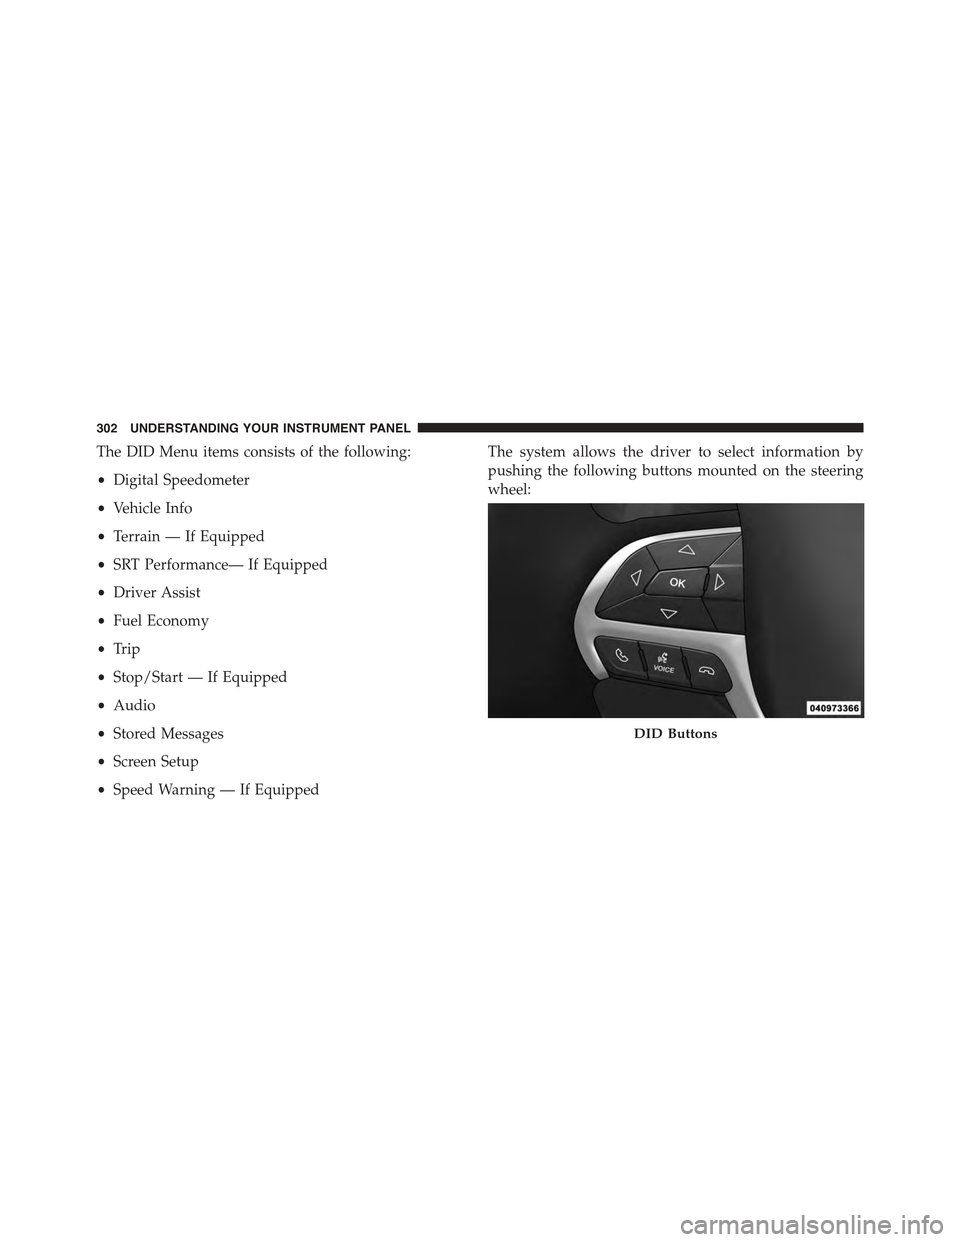
The system allows the driver to select information by
pushing the following buttons mounted on the steering
wheel:
DID Buttons
302 UNDERSTANDING YOUR INSTRUMENT PANEL
Page 316 of 717
•Air Bag Warning Light
This light will turn on for four to eight seconds
as a bulb check when the ignition switch is first
turned to the ON/RUN position. Refer to “Oc-
cupant Restraints” in “Things To Know Before
Starting Your Vehicle” of your owners manual for further
information.
DID Green Telltales
•Electronic Speed Control SET
This telltale will illuminate green when the elec-
tronic speed control is SET. For further informa-
tion, refer to “Electronic Speed Control” in “Un-
derstanding The Features Of Your Vehicle.”
•Front Fog Light Indicator — If Equipped
This telltale will illuminate when the front fog
lights are on.
•Park/Headlight ON Indicator — If Equipped
This telltale will illuminate when the park
lights or headlights are turned on.
DID Selectable Menu Items
Push and release theUPorDOWNarrow buttons until
the desired Selectable Menu icon/title is highlighted in
the DID.
314 UNDERSTANDING YOUR INSTRUMENT PANEL
Page 322 of 717
Restore To Defaults (Restores All Settings To Default
Settings)
•Cancel
•Okay
Uconnect® SETTINGS
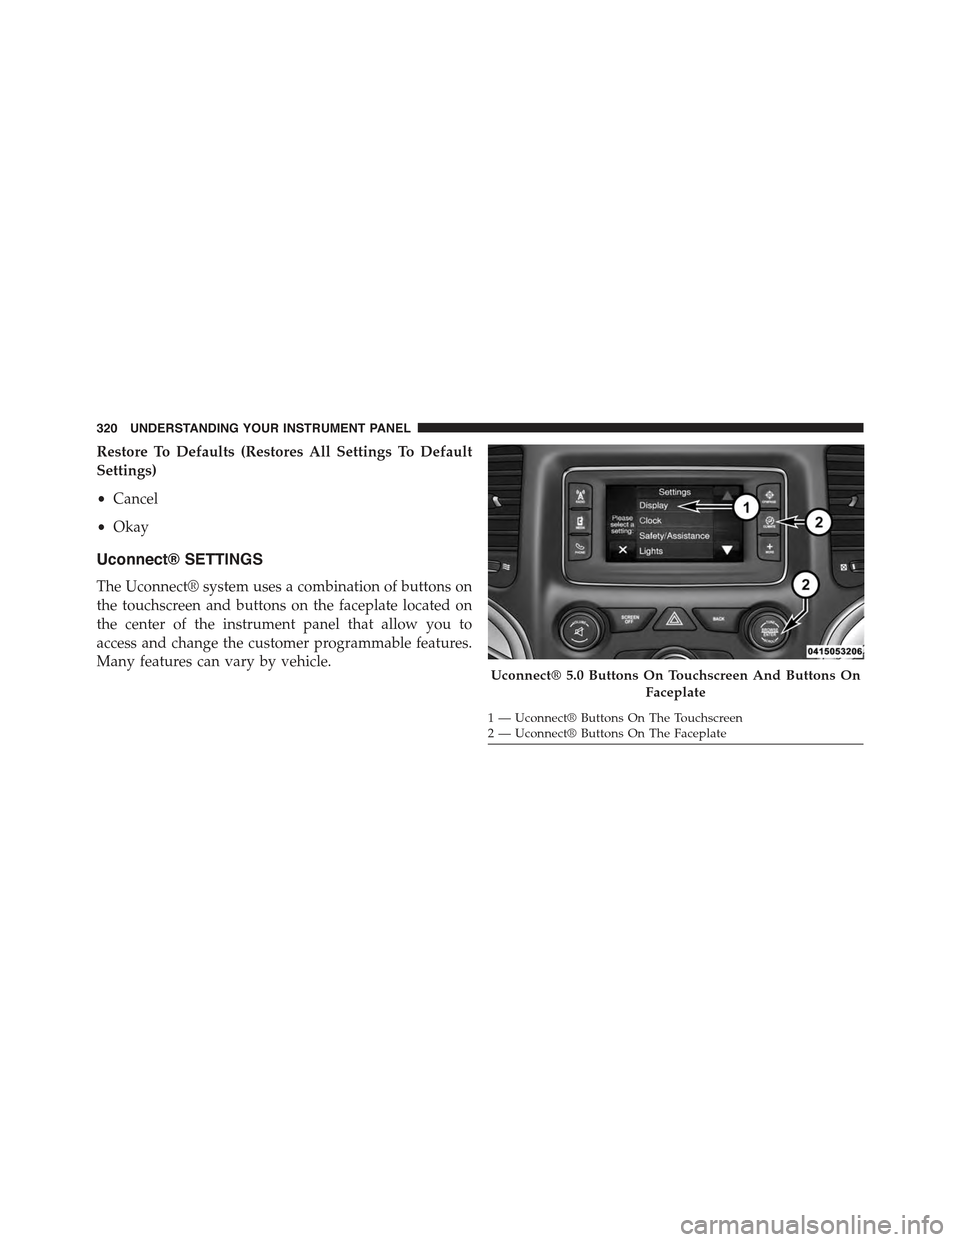
The Uconnect® system uses a combination of buttons on
the touchscreen and buttons on the faceplate located on
the center of the instrument panel that allow you to
access and change the customer programmable features.
Many features can vary by vehicle.Uconnect® 5.0 Buttons On Touchscreen And Buttons On
Faceplate
1—Uconnect®ButtonsOnTheTouchscreen2—Uconnect®ButtonsOnTheFaceplate
320 UNDERSTANDING YOUR INSTRUMENT PANEL
Page 323 of 717
Buttons On The Faceplate
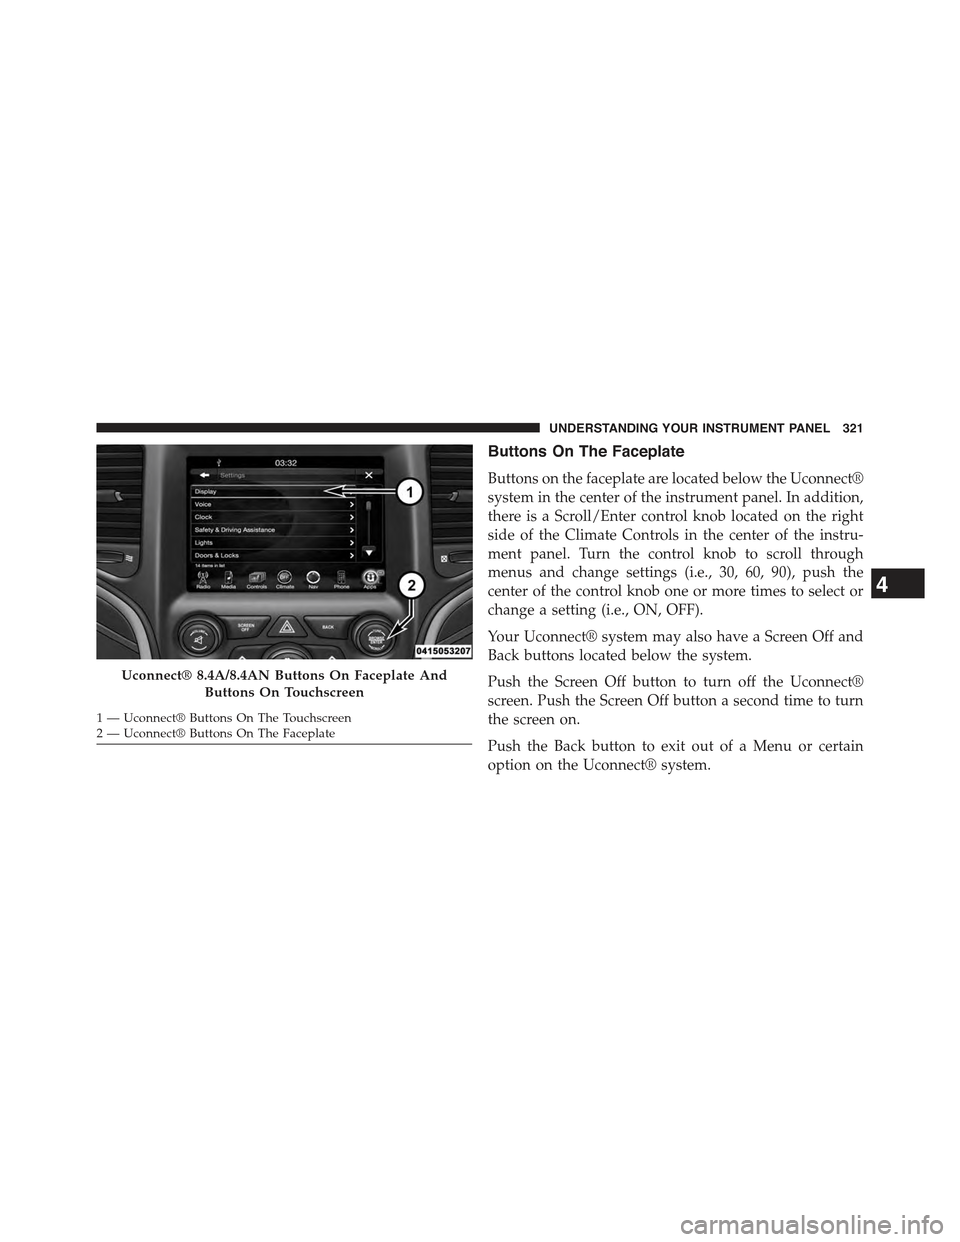
Buttons on the faceplate are located below the Uconnect®
system in the center of the instrument panel. In addition,
there is a Scroll/Enter control knob located on the right
side of the Climate Controls in the center of the instru-
ment panel. Turn the control knob to scroll through
menus and change settings (i.e., 30, 60, 90), push the
center of the control knob one or more times to select or
change a setting (i.e., ON, OFF).
Your Uconnect® system may also have a Screen Off and
Back buttons located below the system.
Push the Screen Off button to turn off the Uconnect®
screen. Push the Screen Off button a second time to turn
the screen on.
Push the Back button to exit out of a Menu or certain
option on the Uconnect® system.
Uconnect® 8.4A/8.4AN Buttons On Faceplate And
Buttons On Touchscreen
1—Uconnect®ButtonsOnTheTouchscreen2—Uconnect®ButtonsOnTheFaceplate
4
UNDERSTANDING YOUR INSTRUMENT PANEL 321
Page 324 of 717
Buttons On The Touchscreen
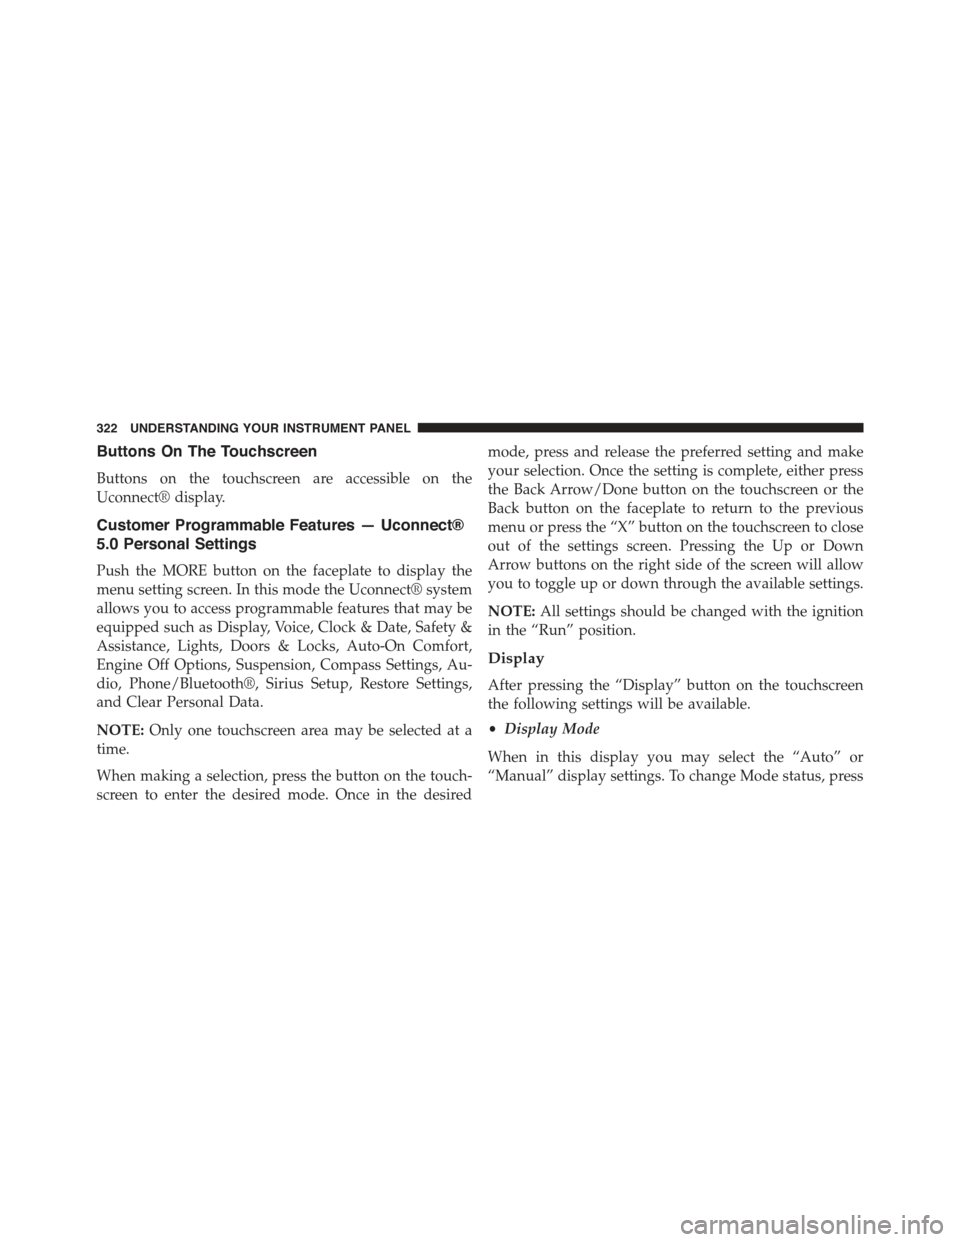
Buttons on the touchscreen are accessible on the
Uconnect® display.
Customer Programmable Features — Uconnect®
5.0 Personal Settings
Push the MORE button on the faceplate to display the
menu setting screen. In this mode the Uconnect® system
allows you to access programmable features that may be
equipped such as Display, Voice, Clock & Date, Safety &
Assistance, Lights, Doors & Locks, Auto-On Comfort,
Engine Off Options, Suspension, Compass Settings, Au-
dio, Phone/Bluetooth®, Sirius Setup, Restore Settings,
and Clear Personal Data.
NOTE:Only one touchscreen area may be selected at a
time.
When making a selection, press the button on the touch-
screen to enter the desired mode. Once in the desired
mode, press and release the preferred setting and make
your selection. Once the setting is complete, either press
the Back Arrow/Done button on the touchscreen or the
Back button on the faceplate to return to the previous
menu or press the “X” button on the touchscreen to close
out of the settings screen. Pressing the Up or Down
Arrow buttons on the right side of the screen will allow
you to toggle up or down through the available settings.
NOTE:All settings should be changed with the ignition
in the “Run” position.
Display
After pressing the “Display” button on the touchscreen
the following settings will be available.
•Display Mode
When in this display you may select the “Auto” or
“Manual” display settings. To change Mode status, press
322 UNDERSTANDING YOUR INSTRUMENT PANEL
Page 325 of 717
and release the “Auto” or “Manual” button on the
touchscreen. Then press the arrow back button on the
touchscreen.
NOTE:When Day or Night is selected for the Display
Mode, the usage of the Parade Mode feature will cause
the radio to activate the Display Brightness Day control
even though the headlights are on.
•Display Brightness With Headlights ON
When in this display, you may select the overall screen
brightness with the headlights on. Adjust the brightness
with the “+” and “–” setting buttons on the touchscreen
or by selecting any point on the scale between the “+”
and “–” buttons on the touchscreen. Then press the arrow
back button on the touchscreen.
NOTE:To make changes to the#Display Brightness with
Headlights ON#setting, the headlights must be on and
the interior dimmer switch must not be in the#party#or
#parade#positions.
•Display Brightness With Headlights OFF
When in this display, you may select the overall screen
brightness with the headlights off. Adjust the brightness
with the “+” and “–” setting buttons on the touchscreen
or by selecting any point on the scale between the “+”
and “–” buttons on the touchscreen. Then press the arrow
back button on the touchscreen.
NOTE:To make changes to the#Display Brightness with
Headlights OFF#setting, the headlights must be off and
the interior dimmer switch must not be in the#party#or
#parade#positions.
4
UNDERSTANDING YOUR INSTRUMENT PANEL 323
Page 333 of 717
NOTE:Passive Entry — If Equipped. If “All” is selected,
all doors will unlock no matter which Passive Entry door
handle is grasped. If “Driver” is selected, only the
driver ’s door will unlock when the driver ’s door is
grasped.
•Passive Entry
This feature allows you to lock and unlock the vehicle’s
door(s) without having to press the Remote Keyless
Entry (RKE) transmitter lock or unlock buttons. To make
your selection, press the “Passive Entry” button on the
touchscreen and select from “On” or “Off. Press the back
arrow button on the touchscreen to return to the previous
menu. Refer to “Keyless Enter-N-Go™” in “Things To
Know Before Starting Your Vehicle” for further informa-
tion.
•Memory Linked to Fob — If Equipped
This feature provides automatic driver seat positioning to
enhance driver mobility when entering and exiting the
vehicle. To make your selection, press the “Memory
Linked to Fob” button on the touchscreen and select from
“On” or “Off.” Press the back arrow button on the
touchscreen to return to the previous menu.
NOTE:The seat will return to the memorized seat
location if “Memory Linked to Fob” is set to (ON) when
the Remote Keyless Entry (RKE) transmitter is used to
unlock the door. Refer to “Driver Memory Seat” in
“Understanding The Features Of Your Vehicle” for fur-
ther information.
•Power Lift Gate Alert — If Equipped
This feature plays an alert when the power lift gate is
raising or lowering. To make your selection, press the
“Power Lift Gate Alert” button on the touchscreen and
select from “On” or “Off.” Press the back arrow button on
the touchscreen to return to the previous menu.
4
UNDERSTANDING YOUR INSTRUMENT PANEL 331