JEEP GRAND CHEROKEE 2016 WK2 / 4.G Manual PDF
Manufacturer: JEEP, Model Year: 2016, Model line: GRAND CHEROKEE, Model: JEEP GRAND CHEROKEE 2016 WK2 / 4.GPages: 276, PDF Size: 10.84 MB
Page 71 of 276
• Press and release to toggle between MAX A/C and the prior settings. The button onthe touchscreen illuminates when MAX A/C is ON.
• In MAX A/C, the blower level and mode position can be adjusted to desired user settings. Pushing other settings will cause the MAX A/C operation to switch to the
prior settings and the MAX A/C indicator will turn off.
SYNC Temperature Button
• Press the “SYNC” button on the touchscreen to control the driver and passengertemperatures simultaneously. Press the “SYNC” button on the touchscreen a
second time to control the temperatures individually.
Air Recirculation
• Use Recirculation for maximum A/C operation.
• For window defogging, turn the recirculation button off.
• If the recirculation button is pushed while in the AUTO mode, the indicator lightmay flash three times to indicate the cabin air is being controlled automatically.
Heated Mirrors
The mirrors are heated to melt frost or ice. This feature is activated whenever you turn
on the rear window defroster.
PARKSENSE FRONT AND REAR PARK ASSIST
ParkSense can be enabled and disabled by pushing the ParkSense switch located
below the climate controls, on the switch panel.
The four ParkSense sensors, located in the rear fascia/bumper, monitor the area
behind the vehicle that is within the sensors field of view. The sensors can detect
obstacles from approximately 12 inches (30 cm) up to 79 inches (200 cm) from the
rear fascia/bumper in the horizontal direction, depending on the location, type and
orientation of the obstacle.
The six ParkSense sensors, located in the front fascia/bumper, monitor the area in
front of the vehicle that is within the sensors’ field of view. The sensors can detect
obstacles from approximately 12 inches (30 cm) up to 47 inches (120 cm) from the
front fascia/bumper in the horizontal direction, depending on the location, type and
orientation of the obstacle.
When an object is detected within 79 inches (200 cm) behind the rear bumper while
the vehicle is in REVERSE, a warning will display in the Driver Information Display
(DID). In addition a chime will sound (when Sound and Display is selected from the
Customer Programmable Features section of the Uconnect System screen). As the
vehicle moves closer to the object, the chime rate will change from single 1/2 second
tone (for rear only), to slow (for rear only), to fast, to continuous.
Refer to your Owner's Manual on the DVD for further details.
OPERATING YOUR VEHICLE
69
Page 72 of 276
Parksense Rear Park Assist — If Equipped
The ParkSense Rear Park Assist system provides visual and audible indications of the
distance between the rear fascia and a detected obstacle when backing up, e.g.
during a parking maneuver. If your vehicle is equipped with this feature, the vehicle
brakes may be automatically applied and released when performing a reverse parking
maneuver if the system detects a possible collision with an obstacle.
The automatic braking function can be enabled/disabled from the Customer-
Programmable Features section of the Uconnect System.
ParkSense can be active only when the gear selector is in REVERSE. If ParkSense is
enabled at this gear selector position, the system will remain active until the vehicle
speed is increased to approximately 7 mph (11 km/h) or above. When in REVERSE
and above the system's operating speed, a warning will appear within the Driver
Information Display (DID) indicating the vehicle speed is too fast. The system will
become active again if the vehicle speed is decreased to speeds less than approxi-
mately 6 mph (9 km/h).
Cleaning The ParkSense Sensors
If “PARKSENSE UNAVAILABLE WIPE REAR SENSORS" or "PARKSENSE UNAVAIL-
ABLE WIPE FRONT SENSORS” appears in the “Driver Information Display (DID),”
clean the ParkSense sensors with water, car wash soap and a soft cloth. Do not use
rough or hard cloths. Do not scratch or poke the sensors. Otherwise, you could
damage the sensors.
PARKVIEW REAR BACK-UP CAMERA
You can see an on-screen image of the rear of your vehicle whenever the transmission
is shifted into REVERSE. The ParkView Rear Back-Up Camera image will be
displayed on the radio display screen, located on the center stack of the instrument
panel.
If the radio display screen appears foggy, clean the camera lens located on the rear
of the vehicle above the rear license plate.
Refer to “ParkView Rear Back-Up Camera — If Equipped” in “Understanding The
Features Of Your Vehicle” in your Owner's Manual on the DVD for further details.
WARNING!
Drivers must be careful when backing up; even when using the ParkView Rear
Back-Up Camera. Always check carefully behind your vehicle, and be sure to
check for pedestrians, animals, other vehicles, obstructions, or blind spots before
backing up. You must continue to pay attention while backing up. Failure to do so
can result in serious injury or death.
OPERATING YOUR VEHICLE
70
Page 73 of 276
BLIND SPOT MONITORING
The Blind Spot Monitoring (BSM) system uses two radar-based sensors, located
inside the rear bumper fascia, to detect Highway licensable vehicles (automobiles,
trucks, motorcycles etc.) that enter the blind spot zones from the rear/front/side of
the vehicle.
The BSM warning light, located in the outside mirrors, will illuminate if a vehicle
moves into a blind spot zone.
The BSM system can also be configured to sound an audible (chime) alert and mute
the radio to notify you of objects that have entered the detection zones.
Refer to “Blind Spot Monitoring” in “Understanding The Features Of Your Vehicle”
in your Owner's Manual on the DVD for further details.
POWER SUNROOF
The power sunroof switch is located on the overhead console.
Opening Sunroof
Express Open
Push the switch rearward and release it
within one-half second. The sunroof will
fully open and stop automatically.
Manual Open
Push and hold the switch rearward to
open the sunroof. Any release of the
switch will stop the movement, and the
sunroof will remain in a partially open
position until the switch is pushed again.
Venting Sunroof
Push and release the button and the
sunroof will open to the vent position.
This is called “Express Vent” and will
occur regardless of sunroof position. Dur-
ing Express Vent operation, any move-
ment of the switch will stop the sunroof.
Closing Sunroof
Express Closing
Push the switch forward and release it within one-half second. The sunroof will fully
close automatically from any position.
Power Sunroof Switch
1 — Opening Sunroof
2 — Venting Sunroof
3 — Closing Sunroof
OPERATING YOUR VEHICLE
71
Page 74 of 276
Manual Closing
Push and hold the switch forward to close the sunroof. Any release of the switch will
stop the movement, and the sunroof will remain in a partially closed position until the
switch is pushed again.
COMMANDVIEW SUNROOF WITH POWER SHADE
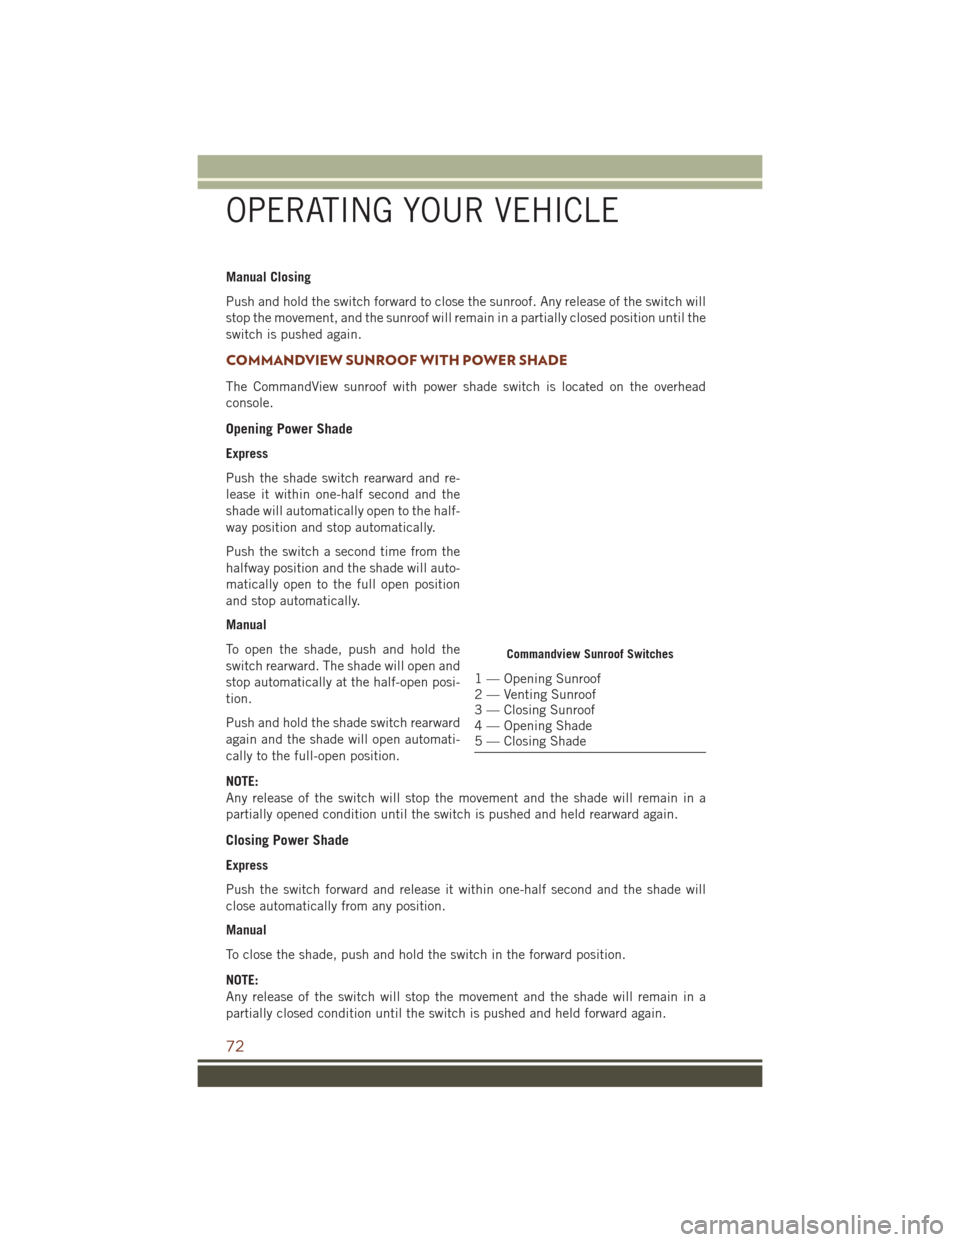
The CommandView sunroof with power shade switch is located on the overhead
console.
Opening Power Shade
Express
Push the shade switch rearward and re-
lease it within one-half second and the
shade will automatically open to the half-
way position and stop automatically.
Push the switch a second time from the
halfway position and the shade will auto-
matically open to the full open position
and stop automatically.
Manual
To open the shade, push and hold the
switch rearward. The shade will open and
stop automatically at the half-open posi-
tion.
Push and hold the shade switch rearward
again and the shade will open automati-
cally to the full-open position.
NOTE:
Any release of the switch will stop the movement and the shade will remain in a
partially opened condition until the switch is pushed and held rearward again.
Closing Power Shade
Express
Push the switch forward and release it within one-half second and the shade will
close automatically from any position.
Manual
To close the shade, push and hold the switch in the forward position.
NOTE:
Any release of the switch will stop the movement and the shade will remain in a
partially closed condition until the switch is pushed and held forward again.
Commandview Sunroof Switches
1 — Opening Sunroof
2 — Venting Sunroof
3 — Closing Sunroof
4 — Opening Shade
5 — Closing Shade
OPERATING YOUR VEHICLE
72
Page 75 of 276
Pinch Protection Feature
This feature will detect an obstruction in the opening of the sunroof during Express
Close operation. If an obstruction in the path of the sunroof is detected, the sunroof
will automatically retract. Remove the obstruction if this occurs. Next, push the
switch forward and release to Express Close.
NOTE:
If three consecutive sunroof close attempts result in Pinch Protect reversals, the
fourth close attempt will be a Manual Close movement with Pinch Protect disabled.
WARNING!
• Do not let children play with the sunroof. Never leave children unattended in avehicle, or with access to an unlocked vehicle. Do not leave the Key Fob in or
near the vehicle, and do not leave the ignition of a vehicle equipped with
Keyless Enter-N-Go in the ACC or ON/RUN mode. Occupants, particularly
unattended children, can become entrapped by the power sunroof while
operating the power sunroof switch. Such entrapment may result in serious
injury or death.
• In a collision, there is a greater risk of being thrown from a vehicle with an open
sunroof. You could also be severely injured or killed. Always fasten your seat
belt properly and make sure all passengers are properly secured.
• Do not allow small children to operate the sunroof. Never allow your fingers,
other body parts, or any object to project through the sunroof opening. Injury
may result.
WIND BUFFETING
Wind buffeting can be described as a helicopter-type percussion sound. If buffeting
occurs with the rear windows open, adjust the front and rear windows together.
If buffeting occurs with the sunroof open, adjust the sunroof opening, or adjust any
window. This will minimize buffeting.
OPERATING YOUR VEHICLE
73
Page 76 of 276
YOUR VEHICLE'S SOUND SYSTEM
1. Uconnect Phone Button pg. 133
2. Uconnect Voice Command Button pg. 115
3. Phone Hang Up Button pg. 133
4. Steering Wheel Audio control (Left- Behind Steering Wheel) pg. 146
5. Steering Wheel Audio control (Right- Behind Steering Wheel) pg. 146
6. Volume Knob/Mute Button
7. Screen Off Button
ELECTRONICS
74
Page 77 of 276
8. Uconnect System pg. 100
9. Back Button
10. Tune/Scroll Knob — Browse/Enter Button
11. AUX Jack pg. 107
12. USB Port pg. 107
13. SD Card Slot pg. 107
14. Power Outlet pg. 153
ELECTRONICS
75
Page 78 of 276
CYBERSECURITY
Your vehicle may be a connected vehicle and may be equipped with both wired and
wireless networks. These networks allow your vehicle to send and receive informa-
tion. This information allows systems and features in your vehicle to function
properly.
Your vehicle may be equipped with certain security features to reduce the risk of
unauthorized and unlawful access to vehicle systems and wireless communications.
Vehicle software technology continues to evolve over time and FCA US LLC, working
with its suppliers, evaluates and takes appropriate steps as needed. Similar to a
computer or other devices, your vehicle may require software updates to improve the
usability and performance of your systems or to reduce the potential risk of
unauthorized and unlawful access to your vehicle systems.
The risk of unauthorized and unlawful access to your vehicle systems may still exist,
even if the most recent version of vehicle software (such as Uconnect software) is
installed.
WARNING!
• It is not possible to know or to predict all of the possible outcomes if yourvehicle’s systems are breached. It may be possible that vehicle systems,
including safety related systems, could be impaired or a loss of vehicle control
could occur that may result in an accident involving serious injury or death.
• ONLY insert media (e.g., USB, SD card, or CD) into your vehicle if it came from
a trusted source. Media of unknown origin could possibly contain malicious
software, and if installed in your vehicle, it may increase the possibility for
vehicle systems to be breached.
• As always, if you experience unusual vehicle behavior, take your vehicle to your
nearest authorized dealer immediately.
NOTE:
• FCA or your dealer may contact you directly regarding software updates.
• To help further improve vehicle security and minimize the potential risk of a security breach, vehicle owners should:• Routinely check www.driveuconnect.com/software-update to learn about avail-
able Uconnect software updates.
• Only connect and use trusted media devices (e.g. personal mobile phones, USBs, CDs).
Privacy of any wireless and wired communications cannot be assured. Third parties
may unlawfully intercept information and private communications without your
consent. For further information, refer to “Privacy Practices – If Equipped with
Uconnect 8.4 radio” in “All About Uconnect Access” in your Owner’s Manual Radio
Supplement and “Onboard Diagnostic System (OBD II) Cybersecurity” in “Maintain-
ing Your Vehicle” in your Owner’s Manual on the DVD.
ELECTRONICS
76
Page 79 of 276
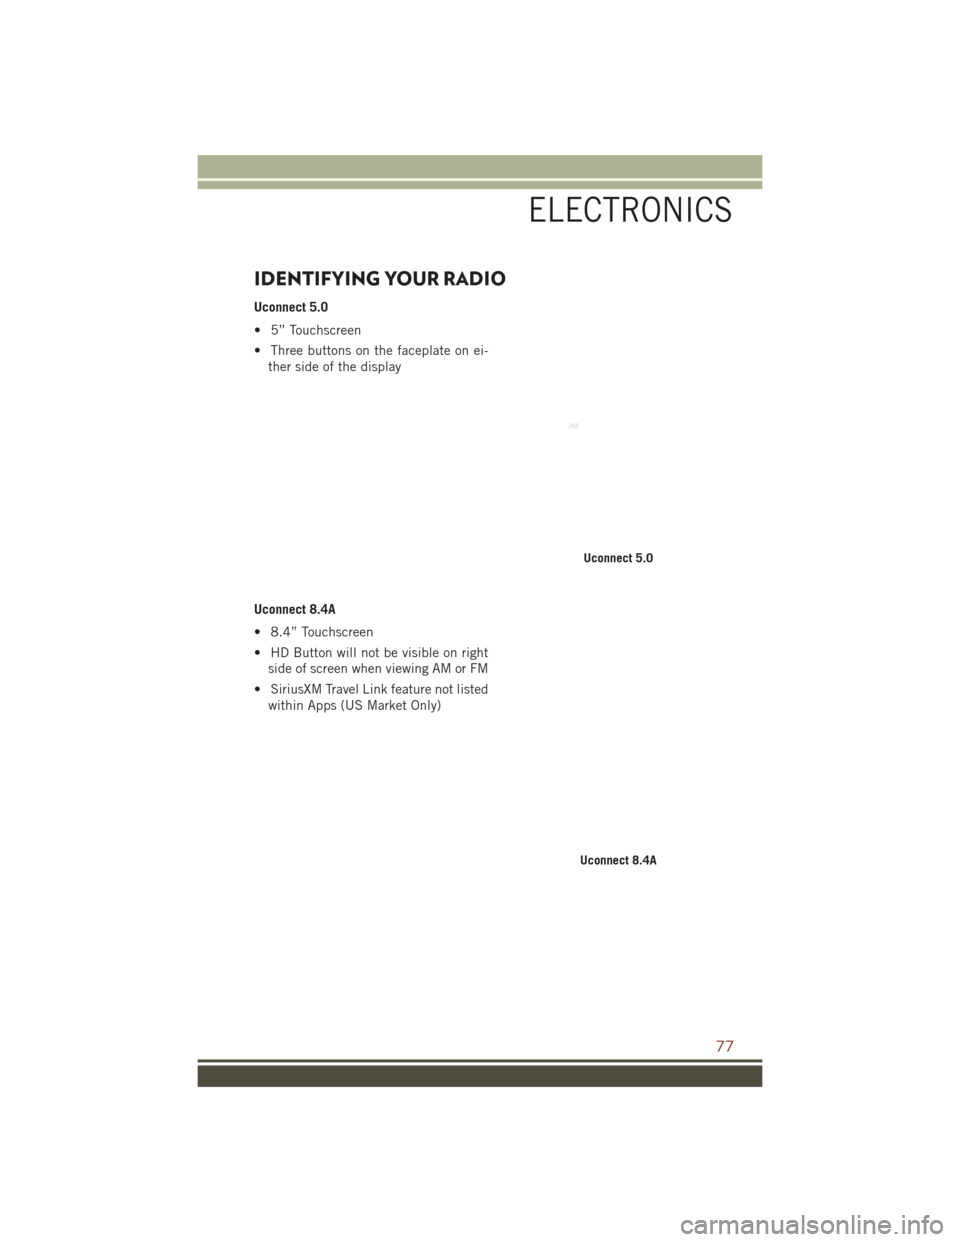
IDENTIFYING YOUR RADIO
Uconnect 5.0
• 5” Touchscreen
• Three buttons on the faceplate on ei-ther side of the display
Uconnect 8.4A
• 8.4” Touchscreen
• HD Button will not be visible on right side of screen when viewing AM or FM
• SiriusXM Travel Link feature not listed within Apps (US Market Only)
Uconnect 5.0
Uconnect 8.4A
ELECTRONICS
77
Page 80 of 276
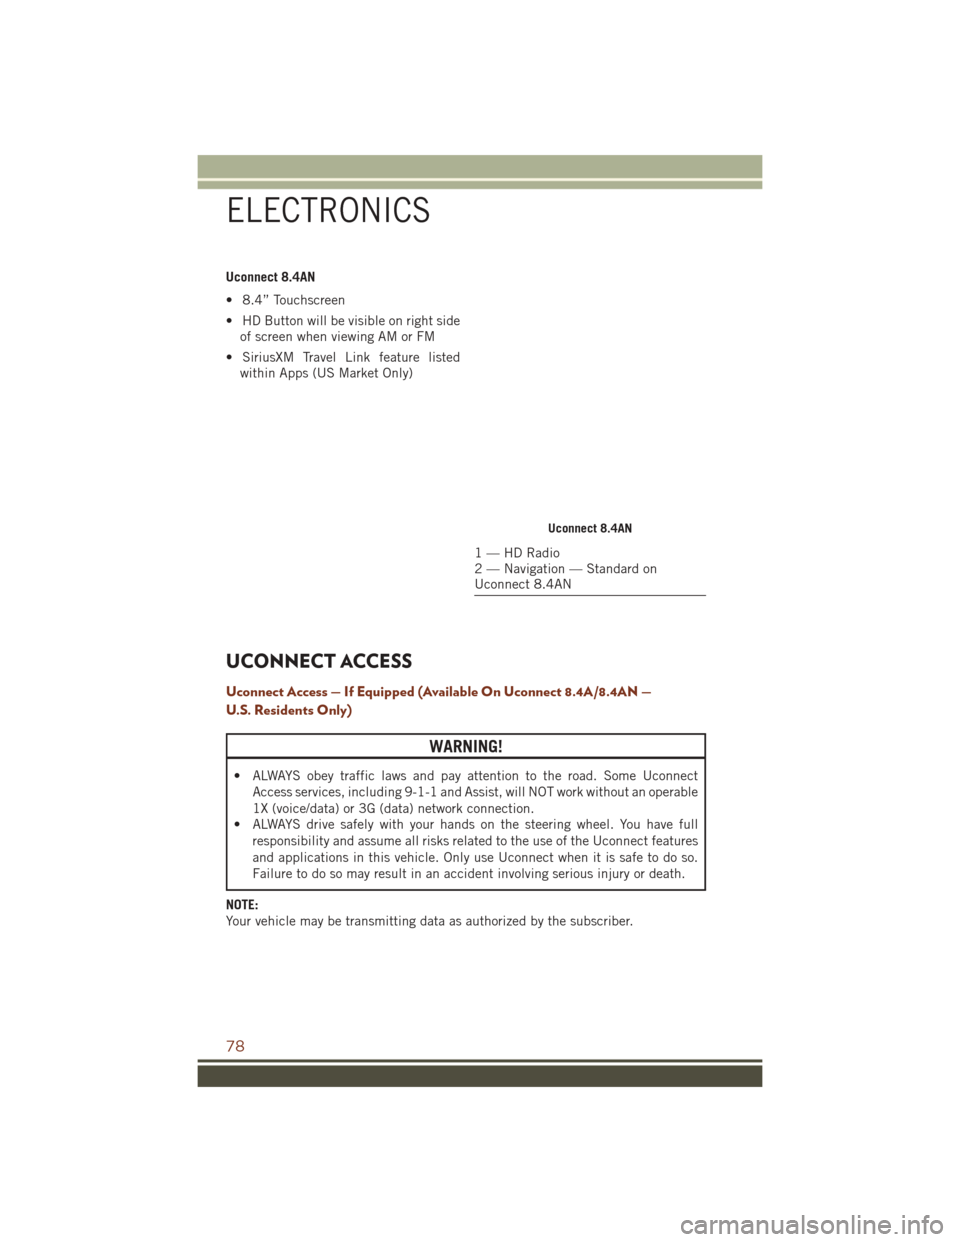
Uconnect 8.4AN
• 8.4” Touchscreen
• HD Button will be visible on right sideof screen when viewing AM or FM
• SiriusXM Travel Link feature listed within Apps (US Market Only)
UCONNECT ACCESS
Uconnect Access — If Equipped (Available On Uconnect 8.4A/8.4AN —
U.S. Residents Only)
WARNING!
• ALWAYS obey traffic laws and pay attention to the road. Some Uconnect
Access services, including 9-1-1 and Assist, will NOT work without an operable
1X (voice/data) or 3G (data) network connection.
• ALWAYS drive safely with your hands on the steering wheel. You have full
responsibility and assume all risks related to the use of the Uconnect features
and applications in this vehicle. Only use Uconnect when it is safe to do so.
Failure to do so may result in an accident involving serious injury or death.
NOTE:
Your vehicle may be transmitting data as authorized by the subscriber.
Uconnect 8.4AN
1 — HD Radio
2 — Navigation — Standard on
Uconnect 8.4AN
ELECTRONICS
78