ECU JEEP GRAND CHEROKEE 2016 WK2 / 4.G User Guide
[x] Cancel search | Manufacturer: JEEP, Model Year: 2016, Model line: GRAND CHEROKEE, Model: JEEP GRAND CHEROKEE 2016 WK2 / 4.GPages: 276, PDF Size: 10.84 MB
Page 3 of 276
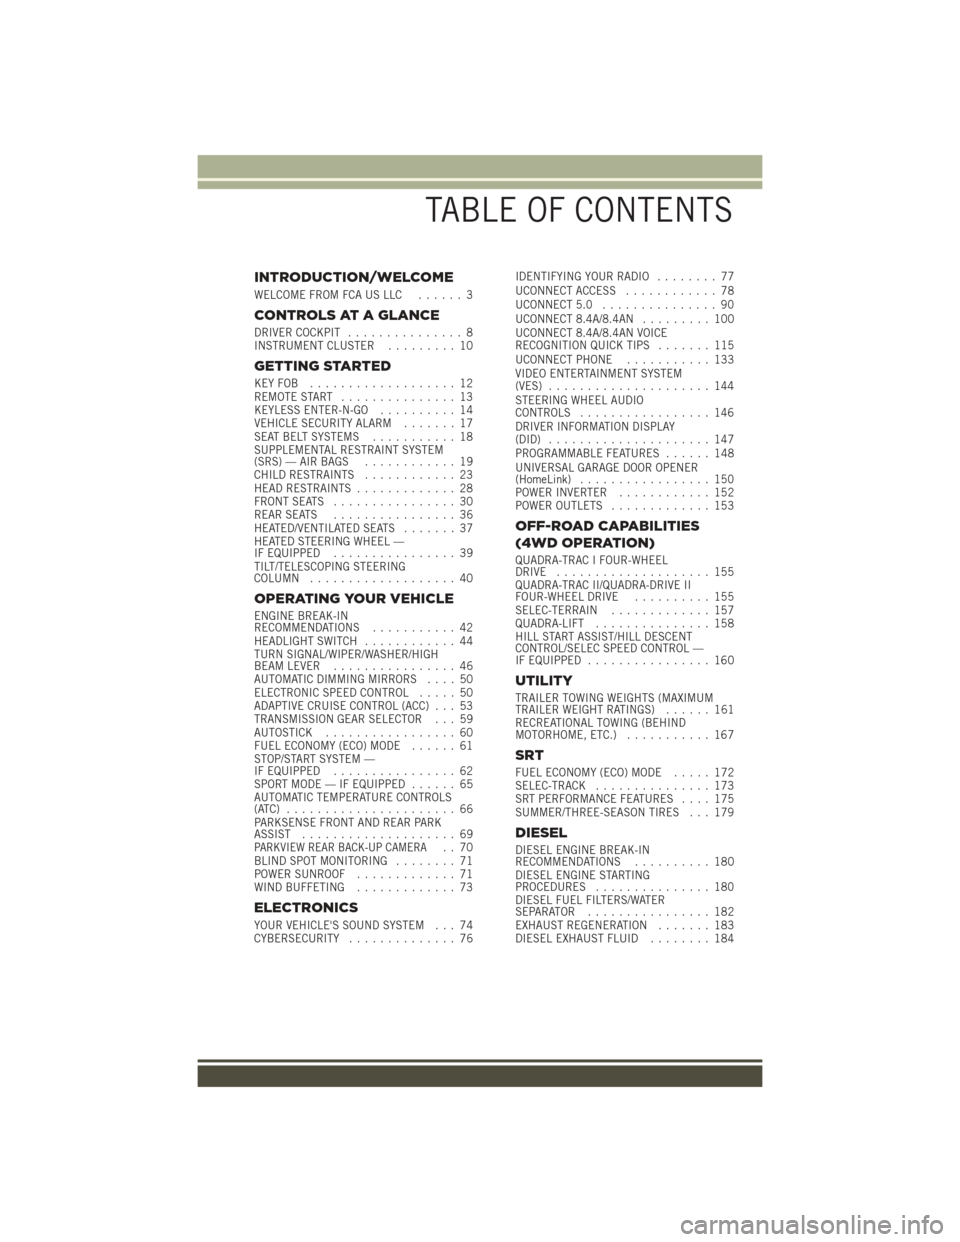
INTRODUCTION/WELCOME
WELCOME FROM FCA US LLC...... 3
CONTROLS AT A GLANCE
DRIVER COCKPIT............... 8
INSTRUMENT CLUSTER ......... 10
GETTING STARTED
KEYFOB ................... 12
REMOTE START............... 13
KEYLESS ENTER-N-GO .......... 14
VEHICLE SECURITY ALARM ....... 17
SEAT BELT SYSTEMS ........... 18
SUPPLEMENTAL RESTRAINT SYSTEM
(SRS) — AIR BAGS ............ 19
CHILD RESTRAINTS ............ 23
HEAD RESTRAINTS ............. 28
FRONT SEATS ................ 30
REAR SEATS ................ 36
HEATED/VENTILATED SEATS ....... 37
HEATED STEERING WHEEL —
IF EQUIPPED ................ 39
TILT/TELESCOPING STEERING
COLUMN ................... 40
OPERATING YOUR VEHICLE
ENGINE BREAK-IN
RECOMMENDATIONS ........... 42
HEADLIGHT SWITCH ............ 44
TURN SIGNAL/WIPER/WASHER/HIGH
BEAM LEVER ................ 46
AUTOMATIC DIMMING MIRRORS .... 50
ELECTRONIC SPEED CONTROL ..... 50
ADAPTIVE CRUISE CONTROL (ACC) . . . 53
TRANSMISSION GEAR SELECTOR . . . 59
AUTOSTICK ................. 60
FUEL ECONOMY (ECO) MODE ...... 61
STOP/START SYSTEM —
IF EQUIPPED ................ 62
SPORT MODE — IF EQUIPPED ...... 65
AUTOMATIC TEMPERATURE CONTROLS
(ATC) ...................... 66
PARKSENSE FRONT AND REAR PARK
ASSIST .................... 69
PARKVIEW REAR BACK-UP CAMERA.. 70
BLIND SPOT MONITORING ........ 71
POWER SUNROOF ............. 71
WIND BUFFETING ............. 73
ELECTRONICS
YOUR VEHICLE'S SOUND SYSTEM . . . 74
CYBERSECURITY.............. 76 IDENTIFYING YOUR RADIO
........ 77
UCONNECT ACCESS ............ 78
UCONNECT 5.0 ............... 90
UCONNECT 8.4A/8.4AN ......... 100
UCONNECT 8.4A/8.4AN VOICE
RECOGNITION QUICK TIPS ....... 115
UCONNECT PHONE ........... 133
VIDEO ENTERTAINMENT SYSTEM
(VES) ..................... 144
STEERING WHEEL AUDIO
CONTROLS ................. 146
DRIVER INFORMATION DISPLAY
(DID) ..................... 147
PROGRAMMABLE FEATURES ...... 148
UNIVERSAL GARAGE DOOR OPENER
(HomeLink) ................. 150
POWER INVERTER ............ 152
POWER OUTLETS ............. 153
OFF-ROAD CAPABILITIES
(4WD OPERATION)
QUADRA-TRAC I FOUR-WHEEL
DRIVE .................... 155
QUADRA-TRAC II/QUADRA-DRIVE II
FOUR-WHEEL DRIVE .......... 155
SELEC-TERRAIN ............. 157
QUADRA-LIFT ............... 158
HILL START ASSIST/HILL DESCENT
CONTROL/SELEC SPEED CONTROL —
IF EQUIPPED ................ 160
UTILITY
TRAILER TOWING WEIGHTS (MAXIMUM
TRAILER WEIGHT RATINGS) ...... 161
RECREATIONAL TOWING (BEHIND
MOTORHOME, ETC.) ........... 167
SRT
FUEL ECONOMY (ECO) MODE ..... 172
SELEC-TRACK ............... 173
SRT PERFORMANCE FEATURES .... 175
SUMMER/THREE-SEASON TIRES . . . 179
DIESEL
DIESEL ENGINE BREAK-IN
RECOMMENDATIONS .......... 180
DIESEL ENGINE STARTING
PROCEDURES ............... 180
DIESEL FUEL FILTERS/WATER
SEPARATOR ................ 182
EXHAUST REGENERATION ....... 183
DIESEL EXHAUST FLUID ........ 184
TABLE OF CONTENTS
Page 15 of 276
REMOTE START
Push the REMOTE START buttonon the Key Fob twice within five seconds.
Pushing the REMOTE START button a third time shuts the engine off.
To drive the vehicle, with a valid Keyless Enter-N-Go Key Fob within 5 ft (1.5m) of the
driver's side of the vehicle, grab the front driver door handle to unlock the driver's
door automatically, then push the START/STOP button.
With Remote Start, the engine will only run for 15 minutes (timeout) unless the
ignition is placed in the ON/RUN position.
The vehicle must be started with the ENGINE START/STOP button after two
consecutive timeouts.
NOTE:
For 3.0L Diesel Engine, please refer to “Things To Know Before Starting Your
Vehicle” located in your Diesel Supplement.
WARNING!
• Do not start or run an engine in a closed garage or confined area. Exhaust gas contains Carbon Monoxide (CO) which is odorless and colorless. Carbon
Monoxide is poisonous and can cause you or others to be severely injured or
killed when inhaled.
• Keep Key Fob transmitters away from children. Operation of the Remote Start
System, windows, door locks or other controls could cause you and others to be
severely injured or killed.
GETTING STARTED
13
Page 19 of 276
3. Push the ENGINE START/STOP button a third time to return the ignition to theOFF position.
NOTE:
If the ignition is left in the ACC or ON/
RUN (engine not running) position and
the transmission is in PARK, the system
will automatically time out after 30 min-
utes of inactivity, and the ignition is re-
turned to the OFF position.
VEHICLE SECURITY ALARM
The Vehicle Security Alarm monitors the vehicle doors for unauthorized entry and the
ignition for unauthorized operation. While the Vehicle Security Alarm is armed,
interior switches for door locks and decklid release are disabled. If something triggers
the alarm, the Vehicle Security Alarm will provide the following audible and visible
signals: the horn will pulse, the park lamps and/or turn signals will flash, and the
Vehicle Security Light in the instrument cluster will flash.
To A r m
Cycle the Keyless Enter-N-Go START/STOP button until the button display indicates
that the vehicle ignition is “OFF.” Push the power door lock switch while the door is
open, push the Key Fob LOCK button, or with one of the Key Fobs located outside the
vehicle and within 5 ft (1.5 m) of the driver's and passenger front door handles, push
the Keyless Enter-N-Go LOCK button located on the door handle.
NOTE:
After pushing the Keyless Enter-N-Go LOCK button, you must wait two seconds
before you can lock or unlock the vehicle via the door handle.
To Disarm
Push the Key Fob UNLOCK button or with one of the Key Fobs located outside the
vehicle and within 5 ft (1.5 m) of the driver's and passenger front door handles. Grab
the Keyless Enter-N-Go door handle and enter the vehicle, then push the Keyless
Enter-N-Go START/STOP button (requires at least one valid Key Fob in the vehicle).
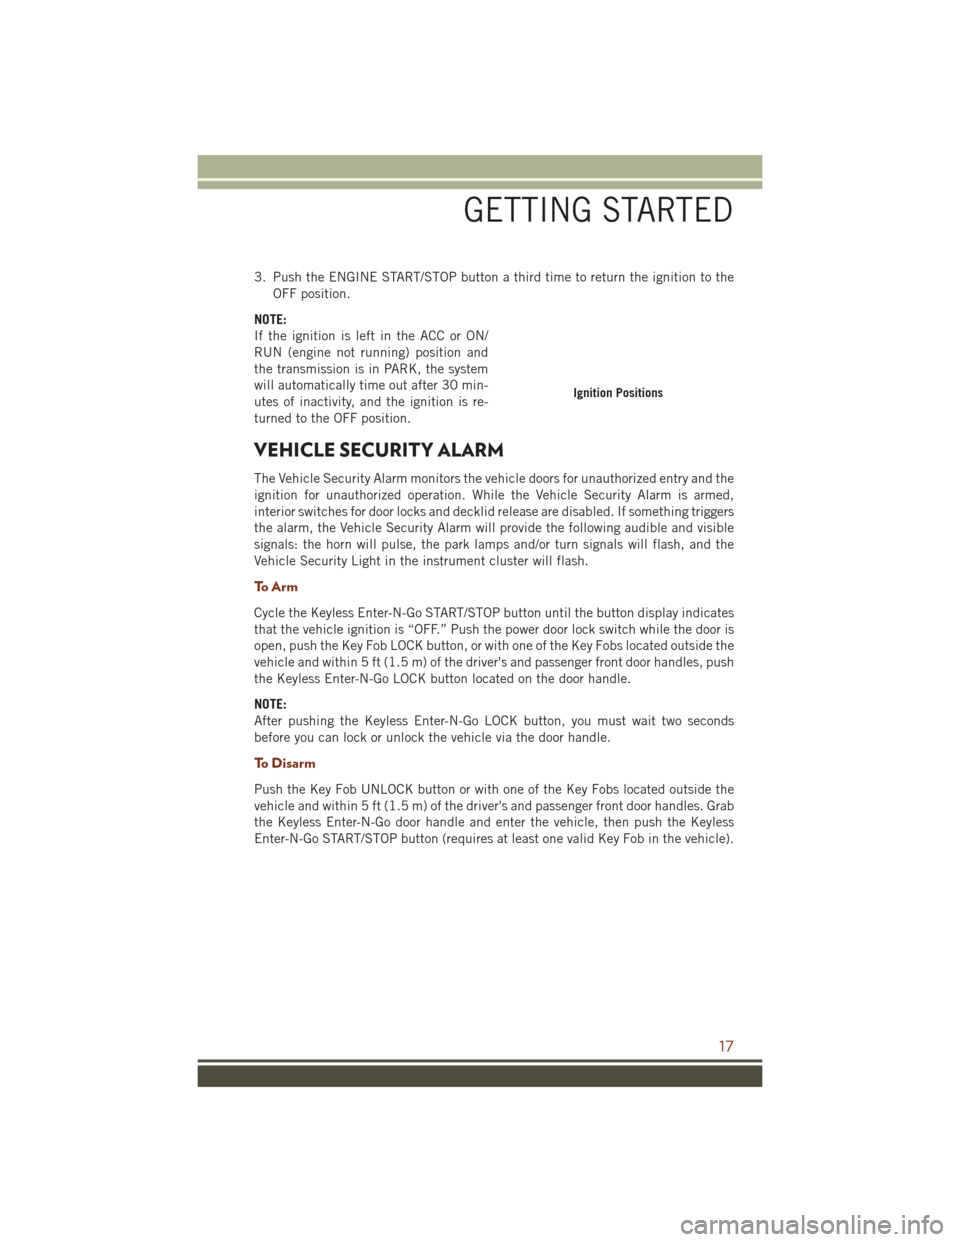
Ignition Positions
GETTING STARTED
17
Page 25 of 276
These data can help provide a better understanding of the circumstances in which
crashes and injuries occur.
NOTE:
EDR data are recorded by your vehicle only if a non-trivial crash situation occurs; no
data are recorded by the EDR under normal driving conditions and no personal data
(e.g., name, gender, age, and crash location) are recorded. However, other parties,
such as law enforcement, could combine the EDR data with the type of personally
identifying data routinely acquired during a crash investigation.
To read data recorded by an EDR, special equipment is required, and access to the
vehicle or the EDR is needed. In addition to the vehicle manufacturer, other parties,
such as law enforcement, that have the special equipment, can read the information
if they have access to the vehicle or the EDR.
CHILD RESTRAINTS
Children 12 years or younger should ride properly buckled up in a rear seat, if
available. According to crash statistics, children are safer when properly restrained in
the rear seats rather than in the front.
Every state in the United States and all Canadian provinces require that small
children ride in proper restraint systems. This is the law, and you can be prosecuted
for ignoring it.
NOTE:
• For additional information, refer to www.Seatcheck.org or call:
1-866-732-8243
• Canadian residents should refer to Transport Canada’s website for additionalinformation:
http://www.tc.gc.ca/eng/motorvehiclesafety/safedrivers-childsafety-index-53.htm
LATCH – Lower Anchors And Tethers For CHildren
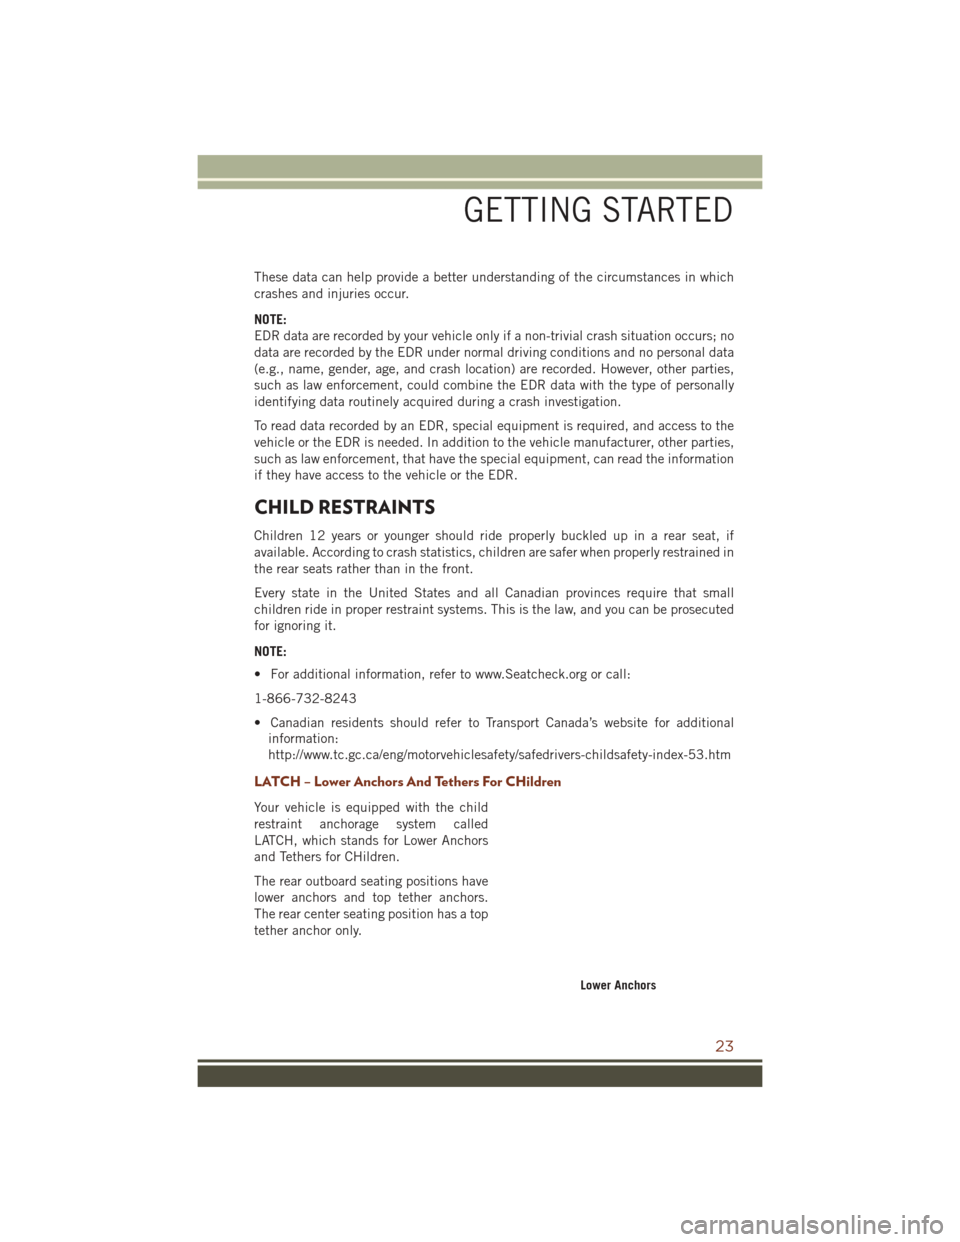
Your vehicle is equipped with the child
restraint anchorage system called
LATCH, which stands for Lower Anchors
and Tethers for CHildren.
The rear outboard seating positions have
lower anchors and top tether anchors.
The rear center seating position has a top
tether anchor only.
Lower Anchors
GETTING STARTED
23
Page 27 of 276
Center Arm Rest Tether
For rearward facing infant seats secured in the center seat position with the vehicle
seat belts, the rear center seat position has an armrest tether that secures the arm
rest in the upward position.
1. To access the center seat arm rest tether, first lower the arm rest. The tether islocated behind the armrest and hooked onto the plastic seat backing.
2. Pull down on the tether to unhook it from the plastic seat backing.
3. Raise the armrest and attach the tether hook to the strap located on the front of the arm rest.
Center Seat Position Arm Rest Tether
Center Seat Arm Rest Raised Displaying The Tether
GETTING STARTED
25
Page 29 of 276
7. If the child restraint has a top tether strap and the seating position has a top tetheranchorage, connect the tether strap to the anchorage and tighten the tether strap.
See below for directions to attach a tether anchor.
8. Test that the child restraint is installed tightly by pulling back and forth on the child seat at the belt path. It should not move more than 1 inch (25.4 mm) in any
direction.
Installing The Top Tether Strap (With Either Lower Anchors Or Vehicle Seat
Belt)
When installing a forward-facing child restraint, always secure the top tether strap,
up to the tether anchor weight limit, whether the child restraint is installed with the
lower anchors or the vehicle seat belt.
Tether Strap Installation
1. To access the top tether strap anchorages behind the rear seat, pull the carpetedfloor panel away from the seat back, this will expose the top tether strap
anchorages.
2. Route the tether strap to provide the most direct path for the strap between
the anchor and the child seat.
3. If your vehicle is equipped with ad- justable rear head restraints, raise the
head restraint, and where possible,
route the tether strap under the head
restraint and between the two posts. If
not possible, lower the head restraint
and pass the tether strap around the
outboard side of the head restraint.
4. For the center seating position, route the tether strap over the seatback and
headrest.
5. Attach the tether strap hook of the child restraint to the top tether anchorage and remove slack in the tether strap according to the child restraint manufacturer’s
instructions. DO NOT USE the cargo tie down loops located on the load floor as
tether anchorages.
Top Tether Strap Mounting
GETTING STARTED
27
Page 30 of 276
WARNING!
• In a collision, an unrestrained child, even a tiny baby, can become a projectileinside the vehicle. The force required to hold even an infant on your lap could
become so great that you could not hold the child, no matter how strong you
are. The child and others could be severely injured or killed. Any child riding in
your vehicle should be in a proper restraint for the child's size.
• Never place a rear-facing child restraint in front of an air bag. A deploying
Passenger Advanced Front Air Bag can cause death or serious injury to a child
12 years or younger, including a child in a rear-facing child restraint.
• Only use a rear-facing child restraint in a vehicle with a rear seat.
• Improper installation of a child restraint to the LATCH anchorages can lead to
failure of an infant or child restraint. The child could be severely injured or
killed. Follow the manufacturer’s directions exactly when installing an infant or
child restraint.
• An incorrectly anchored tether strap could lead to increased head motion and
possible injury to the child. Use only the anchor positions directly behind the
child seat to secure a child restraint top tether strap.
• If your vehicle is equipped with a split rear seat, make sure the tether strap
does not slip into the opening between the seatbacks as you remove slack in
the strap.
HEAD RESTRAINTS
Head restraints are designed to reduce the risk of injury by restricting head
movement in the event of a rear impact. Head restraints should be adjusted so that
the top of the head restraint is located above the top of your ear.
WARNING!
The head restraints for all occupants must be properly installed and adjusted prior
to operating the vehicle or occupying a seat. Head restraints should never be
adjusted while the vehicle is in motion. Driving a vehicle with the head restraints
improperly adjusted or removed could cause serious injury or death in the event of
a collision.
Supplemental Active Head Restraints — Front Seats
Active Head Restraints are passive, deployable components, and vehicles with this
equipment cannot be readily identified by any markings, only through visual
inspection of the head restraint. The Active Head Restraints (AHR) will be split in two
halves, with the front half being soft foam and trim, the back half being decorative
plastic.
GETTING STARTED
28
Page 31 of 276
When AHRs deploy during a rear impact, the front half of the head restraint extends
forward to minimize the gap between the back of the occupant’s head and the AHR.
This system is designed to help prevent or reduce the extent of injuries to the driver
and front passenger in certain types of rear impacts. Refer to “Occupant Restraints”
in “Things To Know Before Starting” in your Owner’s Manual on the DVD for further
information.
To raise the head restraint, pull upward on the head restraint. To lower the head
restraint, push the adjustment button, located at the base of the head restraint, and
push downward on the head restraint.
For comfort the Active Head Restraints can be tilted forward and rearward. To tilt the
head restraint closer to the back of your head, pull forward on the bottom of the head
restraint. Push rearward on the bottom of the head restraint to move the head
restraint away from your head.
NOTE:
• The head restraints should only be removed by qualified technicians, for servicepurposes only. If either of the head restraints require removal, see your authorized
dealer.
• In the event of deployment of an Active Head Restraint, refer to “Occupant Restraints” in “Things To Know Before Starting” in your Owner’s Manual on the
DVD for further information.
WARNING!
• All occupants, including the driver, should not operate a vehicle or sit in a
vehicle’s seat until the head restraints are placed in their proper positions in
order to minimize the risk of neck injury in the event of a collision.
• Do not place items over the top of the Active Head Restraint, such as coats,
seat covers or portable DVD players. These items may interfere with the
operation of the Active Head Restraint in the event of a collision and could
result in serious injury or death.
• Active Head Restraints may be deployed if they are struck by an object such as
a hand, foot or loose cargo. To avoid accidental deployment of the Active Head
Restraint ensure that all cargo is secured, as loose cargo could contact the
Active Head Restraint during sudden stops. Failure to follow this warning could
cause personal injury if the Active Head Restraint is deployed.
GETTING STARTED
29
Page 39 of 276
WARNING!
• Be certain that the seatback is securely locked into position. If the seatback isnot securely locked into position the seat will not provide the proper stability
for child seats and/or passengers. An improperly latched seat could cause
serious injury.
• The cargo area in the rear of the vehicle (with the rear seatbacks in the
locked-up or folded down position) should not be used as a play area by
children when the vehicle is in motion. They could be seriously injured in a
collision. Children should be seated and using the proper restraint system.
Reclining Rear Seat
To recline the seatback, lift the lever located on the outboard side of the seat, lean
back and release the lever at the desired position. To return the seatback, lift the
lever, lean forward and release the lever.
WARNING!
Do not ride with the seatback reclined so that the shoulder belt is no longer resting
against your chest. In a collision you could slide under the seat belt, which could
result in serious injury or death.
HEATED/VENTILATED SEATS
Front Heated Seats
The front heated seats control buttons are located within the climate or controls
screen of the touchscreen.
You can choose from HI, LO or OFF heat settings. The indicator arrows in touchscreen
buttons indicate the level of heat in use. Two indicator arrows will illuminate for HI,
one for LO and none for OFF.
• Press the heated seat button
once to turn the HI setting ON.
• Press the heated seat button
a second time to turn the LO setting ON.
• Press the heated seat button
a third time to turn the heating elements OFF.
If the HI-level setting is selected, the system will automatically switch to LO-level
after approximately 60 minutes of continuous operation. At that time, the display will
change from HI to LO, indicating the change. The LO-level setting will turn OFF
automatically after approximately 45 minutes.
NOTE:
• Once a heat setting is selected, heat will be felt within two to five minutes.
• The engine must be running for the heated seats to operate.
GETTING STARTED
37
Page 75 of 276
Pinch Protection Feature
This feature will detect an obstruction in the opening of the sunroof during Express
Close operation. If an obstruction in the path of the sunroof is detected, the sunroof
will automatically retract. Remove the obstruction if this occurs. Next, push the
switch forward and release to Express Close.
NOTE:
If three consecutive sunroof close attempts result in Pinch Protect reversals, the
fourth close attempt will be a Manual Close movement with Pinch Protect disabled.
WARNING!
• Do not let children play with the sunroof. Never leave children unattended in avehicle, or with access to an unlocked vehicle. Do not leave the Key Fob in or
near the vehicle, and do not leave the ignition of a vehicle equipped with
Keyless Enter-N-Go in the ACC or ON/RUN mode. Occupants, particularly
unattended children, can become entrapped by the power sunroof while
operating the power sunroof switch. Such entrapment may result in serious
injury or death.
• In a collision, there is a greater risk of being thrown from a vehicle with an open
sunroof. You could also be severely injured or killed. Always fasten your seat
belt properly and make sure all passengers are properly secured.
• Do not allow small children to operate the sunroof. Never allow your fingers,
other body parts, or any object to project through the sunroof opening. Injury
may result.
WIND BUFFETING
Wind buffeting can be described as a helicopter-type percussion sound. If buffeting
occurs with the rear windows open, adjust the front and rear windows together.
If buffeting occurs with the sunroof open, adjust the sunroof opening, or adjust any
window. This will minimize buffeting.
OPERATING YOUR VEHICLE
73