display JEEP GRAND CHEROKEE 2016 WK2 / 4.G User Guide
[x] Cancel search | Manufacturer: JEEP, Model Year: 2016, Model line: GRAND CHEROKEE, Model: JEEP GRAND CHEROKEE 2016 WK2 / 4.GPages: 276, PDF Size: 10.84 MB
Page 3 of 276
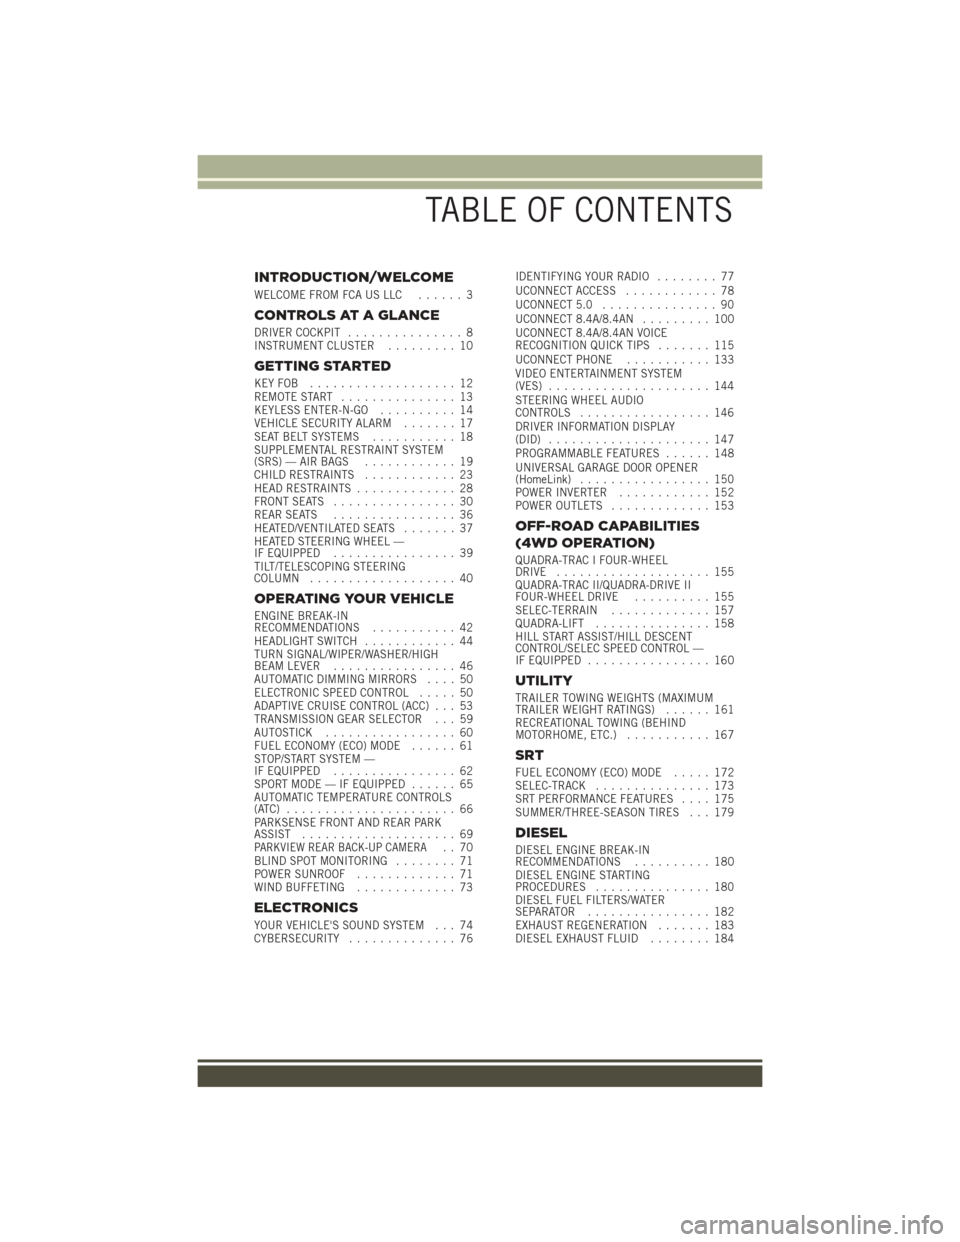
INTRODUCTION/WELCOME
WELCOME FROM FCA US LLC...... 3
CONTROLS AT A GLANCE
DRIVER COCKPIT............... 8
INSTRUMENT CLUSTER ......... 10
GETTING STARTED
KEYFOB ................... 12
REMOTE START............... 13
KEYLESS ENTER-N-GO .......... 14
VEHICLE SECURITY ALARM ....... 17
SEAT BELT SYSTEMS ........... 18
SUPPLEMENTAL RESTRAINT SYSTEM
(SRS) — AIR BAGS ............ 19
CHILD RESTRAINTS ............ 23
HEAD RESTRAINTS ............. 28
FRONT SEATS ................ 30
REAR SEATS ................ 36
HEATED/VENTILATED SEATS ....... 37
HEATED STEERING WHEEL —
IF EQUIPPED ................ 39
TILT/TELESCOPING STEERING
COLUMN ................... 40
OPERATING YOUR VEHICLE
ENGINE BREAK-IN
RECOMMENDATIONS ........... 42
HEADLIGHT SWITCH ............ 44
TURN SIGNAL/WIPER/WASHER/HIGH
BEAM LEVER ................ 46
AUTOMATIC DIMMING MIRRORS .... 50
ELECTRONIC SPEED CONTROL ..... 50
ADAPTIVE CRUISE CONTROL (ACC) . . . 53
TRANSMISSION GEAR SELECTOR . . . 59
AUTOSTICK ................. 60
FUEL ECONOMY (ECO) MODE ...... 61
STOP/START SYSTEM —
IF EQUIPPED ................ 62
SPORT MODE — IF EQUIPPED ...... 65
AUTOMATIC TEMPERATURE CONTROLS
(ATC) ...................... 66
PARKSENSE FRONT AND REAR PARK
ASSIST .................... 69
PARKVIEW REAR BACK-UP CAMERA.. 70
BLIND SPOT MONITORING ........ 71
POWER SUNROOF ............. 71
WIND BUFFETING ............. 73
ELECTRONICS
YOUR VEHICLE'S SOUND SYSTEM . . . 74
CYBERSECURITY.............. 76 IDENTIFYING YOUR RADIO
........ 77
UCONNECT ACCESS ............ 78
UCONNECT 5.0 ............... 90
UCONNECT 8.4A/8.4AN ......... 100
UCONNECT 8.4A/8.4AN VOICE
RECOGNITION QUICK TIPS ....... 115
UCONNECT PHONE ........... 133
VIDEO ENTERTAINMENT SYSTEM
(VES) ..................... 144
STEERING WHEEL AUDIO
CONTROLS ................. 146
DRIVER INFORMATION DISPLAY
(DID) ..................... 147
PROGRAMMABLE FEATURES ...... 148
UNIVERSAL GARAGE DOOR OPENER
(HomeLink) ................. 150
POWER INVERTER ............ 152
POWER OUTLETS ............. 153
OFF-ROAD CAPABILITIES
(4WD OPERATION)
QUADRA-TRAC I FOUR-WHEEL
DRIVE .................... 155
QUADRA-TRAC II/QUADRA-DRIVE II
FOUR-WHEEL DRIVE .......... 155
SELEC-TERRAIN ............. 157
QUADRA-LIFT ............... 158
HILL START ASSIST/HILL DESCENT
CONTROL/SELEC SPEED CONTROL —
IF EQUIPPED ................ 160
UTILITY
TRAILER TOWING WEIGHTS (MAXIMUM
TRAILER WEIGHT RATINGS) ...... 161
RECREATIONAL TOWING (BEHIND
MOTORHOME, ETC.) ........... 167
SRT
FUEL ECONOMY (ECO) MODE ..... 172
SELEC-TRACK ............... 173
SRT PERFORMANCE FEATURES .... 175
SUMMER/THREE-SEASON TIRES . . . 179
DIESEL
DIESEL ENGINE BREAK-IN
RECOMMENDATIONS .......... 180
DIESEL ENGINE STARTING
PROCEDURES ............... 180
DIESEL FUEL FILTERS/WATER
SEPARATOR ................ 182
EXHAUST REGENERATION ....... 183
DIESEL EXHAUST FLUID ........ 184
TABLE OF CONTENTS
Page 10 of 276
DRIVER COCKPIT
1. Headlight Switch pg. 44
2. Turn Signal/Wiper/Washer/High Beams Lever (Behind Steering Wheel) pg. 46
3. AutoStick pg. 60
4. Driver Information Display (DID) Controls pg. 147
5. Instrument Cluster pg. 10
6. Speed Control pg. 50
7. Engine Start/Stop Button (Behind Steering Wheel) pg. 16
8. Audio System (Touchscreen Radio Shown) pg. 74
CONTROLS AT A GLANCE
8
Page 12 of 276
INSTRUMENT CLUSTER
1. Tachometer
2. Speedometer
3. Driver Information Display (DID) pg. 147
(See page 189 for Instrument Cluster Warning Lights.)
CONTROLS AT A GLANCE
10
Page 19 of 276
3. Push the ENGINE START/STOP button a third time to return the ignition to theOFF position.
NOTE:
If the ignition is left in the ACC or ON/
RUN (engine not running) position and
the transmission is in PARK, the system
will automatically time out after 30 min-
utes of inactivity, and the ignition is re-
turned to the OFF position.
VEHICLE SECURITY ALARM
The Vehicle Security Alarm monitors the vehicle doors for unauthorized entry and the
ignition for unauthorized operation. While the Vehicle Security Alarm is armed,
interior switches for door locks and decklid release are disabled. If something triggers
the alarm, the Vehicle Security Alarm will provide the following audible and visible
signals: the horn will pulse, the park lamps and/or turn signals will flash, and the
Vehicle Security Light in the instrument cluster will flash.
To A r m
Cycle the Keyless Enter-N-Go START/STOP button until the button display indicates
that the vehicle ignition is “OFF.” Push the power door lock switch while the door is
open, push the Key Fob LOCK button, or with one of the Key Fobs located outside the
vehicle and within 5 ft (1.5 m) of the driver's and passenger front door handles, push
the Keyless Enter-N-Go LOCK button located on the door handle.
NOTE:
After pushing the Keyless Enter-N-Go LOCK button, you must wait two seconds
before you can lock or unlock the vehicle via the door handle.
To Disarm
Push the Key Fob UNLOCK button or with one of the Key Fobs located outside the
vehicle and within 5 ft (1.5 m) of the driver's and passenger front door handles. Grab
the Keyless Enter-N-Go door handle and enter the vehicle, then push the Keyless
Enter-N-Go START/STOP button (requires at least one valid Key Fob in the vehicle).
Ignition Positions
GETTING STARTED
17
Page 27 of 276
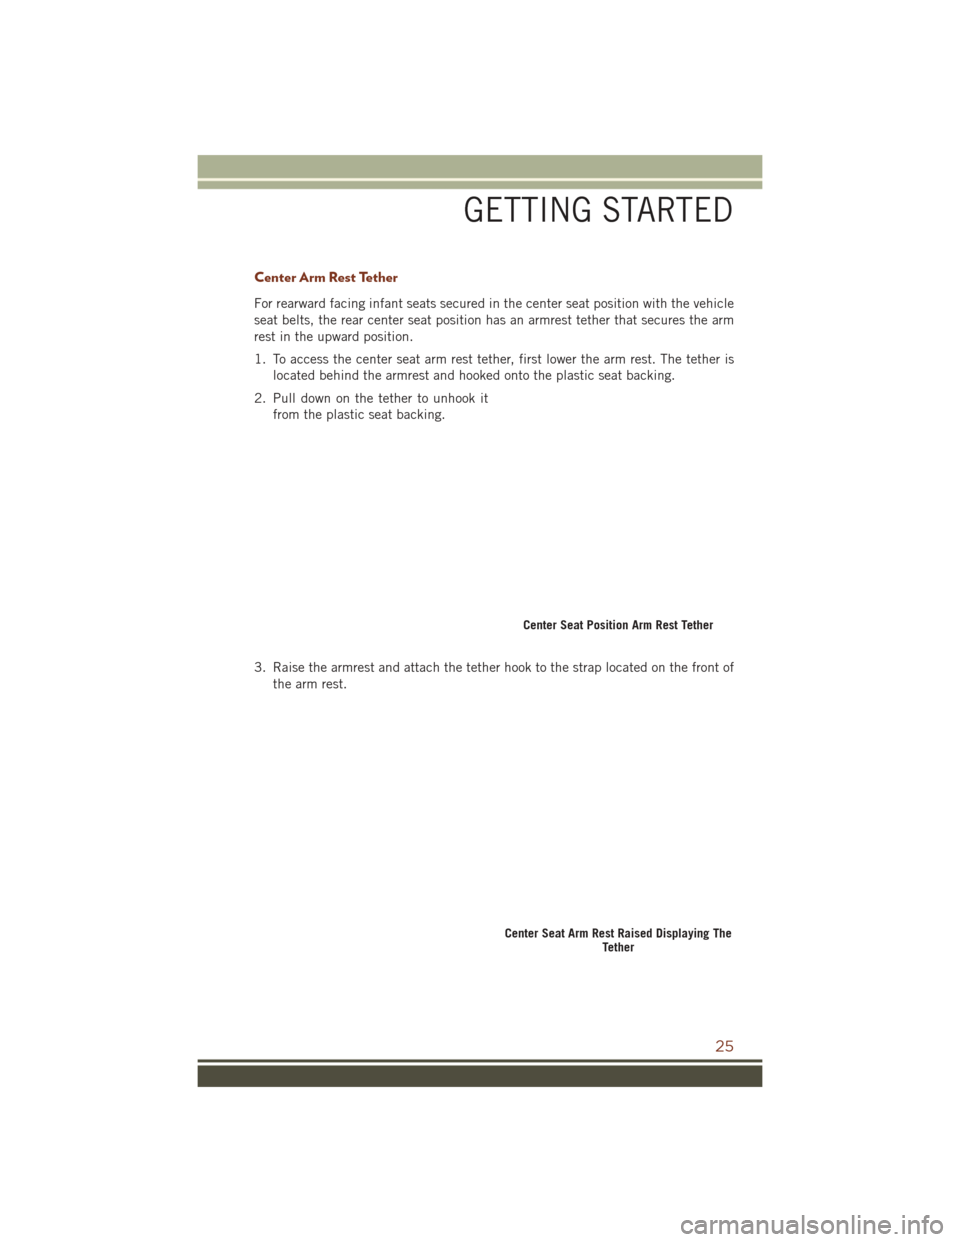
Center Arm Rest Tether
For rearward facing infant seats secured in the center seat position with the vehicle
seat belts, the rear center seat position has an armrest tether that secures the arm
rest in the upward position.
1. To access the center seat arm rest tether, first lower the arm rest. The tether islocated behind the armrest and hooked onto the plastic seat backing.
2. Pull down on the tether to unhook it from the plastic seat backing.
3. Raise the armrest and attach the tether hook to the strap located on the front of the arm rest.
Center Seat Position Arm Rest Tether
Center Seat Arm Rest Raised Displaying The Tether
GETTING STARTED
25
Page 34 of 276
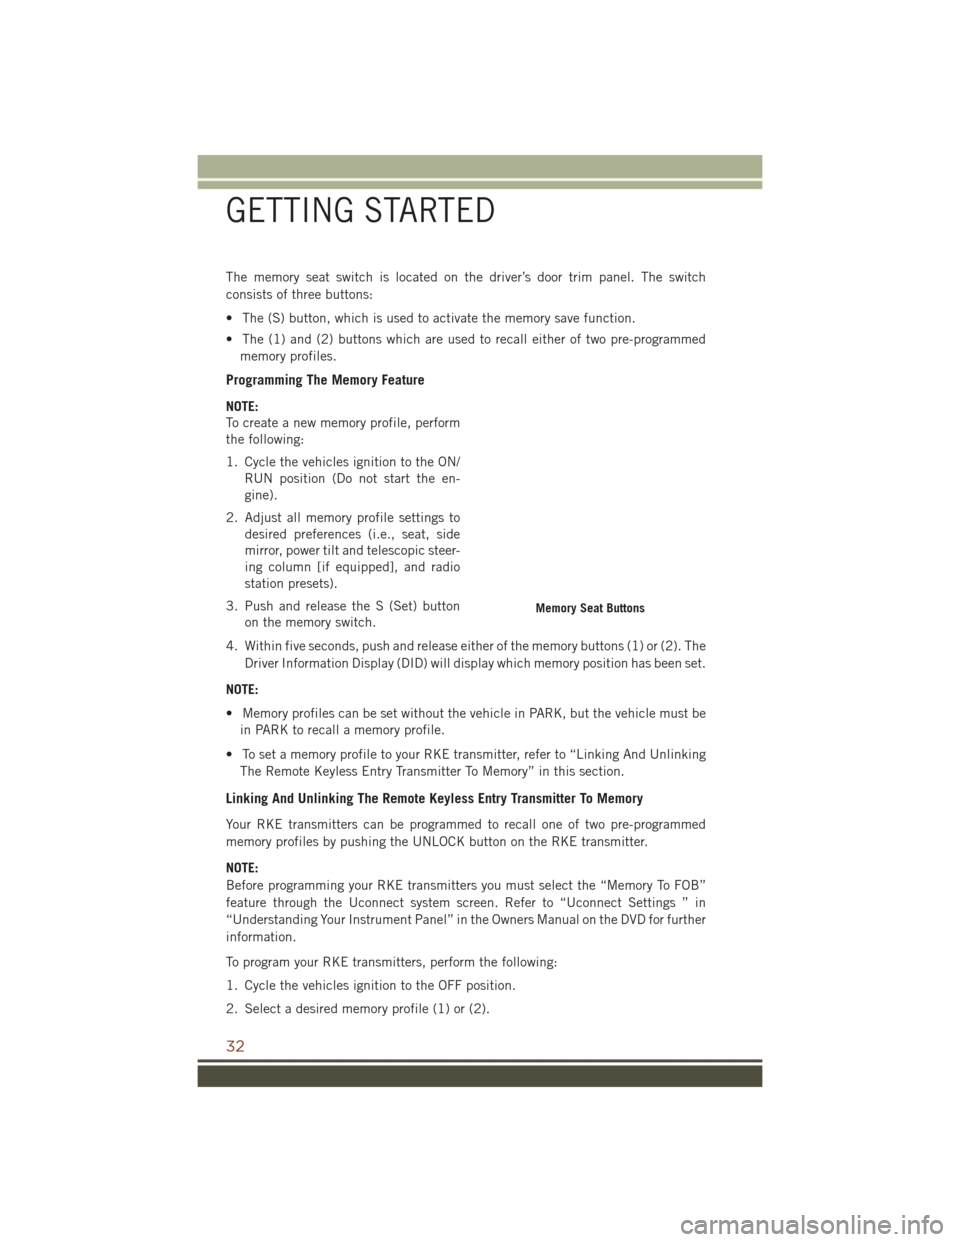
The memory seat switch is located on the driver’s door trim panel. The switch
consists of three buttons:
• The (S) button, which is used to activate the memory save function.
• The (1) and (2) buttons which are used to recall either of two pre-programmedmemory profiles.
Programming The Memory Feature
NOTE:
To create a new memory profile, perform
the following:
1. Cycle the vehicles ignition to the ON/ RUN position (Do not start the en-
gine).
2. Adjust all memory profile settings to desired preferences (i.e., seat, side
mirror, power tilt and telescopic steer-
ing column [if equipped], and radio
station presets).
3. Push and release the S (Set) button on the memory switch.
4. Within five seconds, push and release either of the memory buttons (1) or (2). The Driver Information Display (DID) will display which memory position has been set.
NOTE:
• Memory profiles can be set without the vehicle in PARK, but the vehicle must be in PARK to recall a memory profile.
• To set a memory profile to your RKE transmitter, refer to “Linking And Unlinking The Remote Keyless Entry Transmitter To Memory” in this section.
Linking And Unlinking The Remote Keyless Entry Transmitter To Memory
Your RKE transmitters can be programmed to recall one of two pre-programmed
memory profiles by pushing the UNLOCK button on the RKE transmitter.
NOTE:
Before programming your RKE transmitters you must select the “Memory To FOB”
feature through the Uconnect system screen. Refer to “Uconnect Settings ” in
“Understanding Your Instrument Panel” in the Owners Manual on the DVD for further
information.
To program your RKE transmitters, perform the following:
1. Cycle the vehicles ignition to the OFF position.
2. Select a desired memory profile (1) or (2).
Memory Seat Buttons
GETTING STARTED
32
Page 35 of 276
NOTE:
If a memory profile has not already been set, refer to "Programming The Memory
Feature" in this section for instructions on how to set a memory profile.
3. Once the profile has been recalled, push and release the SET (S) button on thememory switch.
4. Within five seconds, push and release button (1) or (2) accordingly. “Memory Profile Set” (1 or 2) will display in the instrument cluster.
5. Push and release the LOCK button on the RKE transmitter within 10 seconds.
NOTE:
Your RKE transmitters can be unlinked to your memory settings by pushing the SET
(S) button, and within 10 seconds, followed by pushing the UNLOCK button on the
RKE transmitter.
Memory Position Recall
NOTE:
The vehicle must be in PARK to recall memory positions. If a recall is attempted
when the vehicle is not in PARK, a message will be displayed in the Driver
Information Display (DID).
Driver One Memory Position Recall
• To recall the memory settings for driver one using the memory switch , push MEMORY button number 1 on the memory switch.
• To recall the memory settings for driver one using the RKE transmitter, push the UNLOCK button on the RKE transmitter linked to memory position 1.
Driver Two Memory Position Recall
• To recall the memory setting for driver two using the memory switch, push MEMORY button number 2 on the memory switch.
• To recall the memory settings for driver two using the RKE transmitter, push the UNLOCK button on the RKE transmitter linked to memory position 2.
A recall can be cancelled by pushing any of the MEMORY buttons during a recall (S,
1, or 2). When a recall is cancelled, the driver's seat and steering column (if
equipped) stop moving. A delay of one second will occur before another recall can be
selected.
GETTING STARTED
33
Page 39 of 276
WARNING!
• Be certain that the seatback is securely locked into position. If the seatback isnot securely locked into position the seat will not provide the proper stability
for child seats and/or passengers. An improperly latched seat could cause
serious injury.
• The cargo area in the rear of the vehicle (with the rear seatbacks in the
locked-up or folded down position) should not be used as a play area by
children when the vehicle is in motion. They could be seriously injured in a
collision. Children should be seated and using the proper restraint system.
Reclining Rear Seat
To recline the seatback, lift the lever located on the outboard side of the seat, lean
back and release the lever at the desired position. To return the seatback, lift the
lever, lean forward and release the lever.
WARNING!
Do not ride with the seatback reclined so that the shoulder belt is no longer resting
against your chest. In a collision you could slide under the seat belt, which could
result in serious injury or death.
HEATED/VENTILATED SEATS
Front Heated Seats
The front heated seats control buttons are located within the climate or controls
screen of the touchscreen.
You can choose from HI, LO or OFF heat settings. The indicator arrows in touchscreen
buttons indicate the level of heat in use. Two indicator arrows will illuminate for HI,
one for LO and none for OFF.
• Press the heated seat button
once to turn the HI setting ON.
• Press the heated seat button
a second time to turn the LO setting ON.
• Press the heated seat button
a third time to turn the heating elements OFF.
If the HI-level setting is selected, the system will automatically switch to LO-level
after approximately 60 minutes of continuous operation. At that time, the display will
change from HI to LO, indicating the change. The LO-level setting will turn OFF
automatically after approximately 45 minutes.
NOTE:
• Once a heat setting is selected, heat will be felt within two to five minutes.
• The engine must be running for the heated seats to operate.
GETTING STARTED
37
Page 55 of 276
ADAPTIVE CRUISE CONTROL (ACC)
If your vehicle is equipped with Adaptive
Cruise Control the controls operate ex-
actly the same as the electronic speed
control with only a couple of differences.
With this option you can set a specified
distance you would like to maintain be-
tween you and the vehicle in front of you.
If the ACC sensor detects a vehicle
ahead, ACC will apply limited braking or
acceleration automatically to maintain a
preset following distance, while match-
ing the speed of the vehicle ahead.
If the sensor does not detect a vehicle
ahead of you, ACC will maintain a fixed
set speed.
ACC ON/OFF
• Push and release the Adaptive CruiseControl (ACC) ON/OFF button.
ACC READY will appear in the Driver
Information Display (DID) to indicate the ACC is on.
• Push and release the Adaptive Cruise Control (ACC) ON/OFF button a second time to turn the system off.
Adaptive Cruise Control (ACC) Off will appear in the Driver Information Display (DID)
to indicate the ACC is off.
To Vary The Speed Setting
To Increase Speed
While ACC is set, you can increase the set speed by pushing the SET +button.
The drivers preferred units can be selected through the instrument panel settings if
equipped. Refer to “Understanding Your Instrument Panel” in the Owner’s Manual
on the DVD for more information. The speed increment shown is dependant on the
speed of U.S. (mph) or Metric (km/h) units:
U.S. Speed (mph)
• Pushing the SET +button once will result in a 1 mph increase in set speed. Each
subsequent tap of the button results in an increase of 1 mph.
• If the button is continually pushed, the set speed will continue to increase in 5 mph increments until the button is released. The increase in set speed is
reflected in the DID.
Adaptive Cruise Switches
1 — Adaptive Cruise Control (ACC)
On/Off
2 — Distance Setting – Decrease
3 — Distance Setting – Increase
OPERATING YOUR VEHICLE
53
Page 57 of 276
Distance Setting (ACC Only)
The specified following distance for ACC can be set by varying the distance setting
between four bars (longest), three bars (long), two bars (medium) and one bar (short).
Using this distance setting and the vehicle speed, ACC calculates and sets the
distance to the vehicle ahead. This distance setting displays in the DID.
• To increase the distance setting, push the Distance Setting—Increase button andrelease. Each time the button is pushed, the distance setting increases by one bar
(longer).
• To decrease the distance setting, push the Distance Setting—Decrease button and release. Each time the button is pushed, the distance setting decreases by one
bar (shorter).
ACC Operation At Stop
If the ACC system brings your vehicle to a standstill while following a target vehicle,
if the target vehicle starts moving within two seconds of your vehicle coming to a
standstill, your vehicle will resume motion without the need for any driver action.
If the target vehicle does not start moving within two seconds of your vehicle coming
to a standstill, the driver will either have to push the RES (resume) button, or apply
the accelerator pedal to reengage the ACC to the existing Set Speed.
While the ACC system is holding your vehicle at a standstill, if the driver seatbelt is
unbuckled or the driver door is opened, the parking brake will be activated, and the
ACC system will be cancelled.
Changing Modes (ACC Only)
If desired, the Adaptive Cruise Control mode can be turned off and the system can be
operated as a normal (Fixed Speed) Speed Control mode. When in the normal (Fixed
Speed) Speed Control mode the distance setting feature will be disabled and the
system will maintain the speed you set.
• To change between the different cruise control modes, push the ADAPTIVECRUISE CONTROL (ACC) ON/OFF button which turns the ACC and the normal
(Fixed Speed) Speed Control OFF.
• Pushing the normal (Fixed Speed) SPEED CONTROL ON/OFF button will result in turning ON (changing to) the normal (Fixed Speed) Speed Control mode.
Refer to your Owner's Manual on the DVD for further information.
OPERATING YOUR VEHICLE
55