manual radio set JEEP GRAND CHEROKEE 2016 WK2 / 4.G User Guide
[x] Cancel search | Manufacturer: JEEP, Model Year: 2016, Model line: GRAND CHEROKEE, Model: JEEP GRAND CHEROKEE 2016 WK2 / 4.GPages: 276, PDF Size: 10.84 MB
Page 34 of 276
The memory seat switch is located on the driver’s door trim panel. The switch
consists of three buttons:
• The (S) button, which is used to activate the memory save function.
• The (1) and (2) buttons which are used to recall either of two pre-programmedmemory profiles.
Programming The Memory Feature
NOTE:
To create a new memory profile, perform
the following:
1. Cycle the vehicles ignition to the ON/ RUN position (Do not start the en-
gine).
2. Adjust all memory profile settings to desired preferences (i.e., seat, side
mirror, power tilt and telescopic steer-
ing column [if equipped], and radio
station presets).
3. Push and release the S (Set) button on the memory switch.
4. Within five seconds, push and release either of the memory buttons (1) or (2). The Driver Information Display (DID) will display which memory position has been set.
NOTE:
• Memory profiles can be set without the vehicle in PARK, but the vehicle must be in PARK to recall a memory profile.
• To set a memory profile to your RKE transmitter, refer to “Linking And Unlinking The Remote Keyless Entry Transmitter To Memory” in this section.
Linking And Unlinking The Remote Keyless Entry Transmitter To Memory
Your RKE transmitters can be programmed to recall one of two pre-programmed
memory profiles by pushing the UNLOCK button on the RKE transmitter.
NOTE:
Before programming your RKE transmitters you must select the “Memory To FOB”
feature through the Uconnect system screen. Refer to “Uconnect Settings ” in
“Understanding Your Instrument Panel” in the Owners Manual on the DVD for further
information.
To program your RKE transmitters, perform the following:
1. Cycle the vehicles ignition to the OFF position.
2. Select a desired memory profile (1) or (2).
Memory Seat Buttons
GETTING STARTED
32
Page 94 of 276
Store Radio Presets Manually
The Radio stores up to 12 presets in each of the Radio modes. There are four visible
presets at the top of the radio screen. Pressing the “All” button on the touchscreen
on the radio home screen will display all of the preset stations for that mode.
To store a radio preset manually, follow the steps below:
1. Tune to the desired station.
2. Press and hold the desired numbered button on the touchscreen for more that twoseconds or until you hear a confirmation beep.
SiriusXM Premier Over 160 Channels
• Get every channel available on your satellite radio, and enjoy all you want, all inone place. Hear commercial-free music plus sports, news, talk and entertainment.
Get all the premium programming, including Howard Stern, every NFL game,
Oprah Radio, every MLB and NHL game, every NASCAR race, Martha Stewart and
more. And get 20+ extra channels, including SiriusXM Latino, offering 20
channels of commercial free music, news, talk, comedy, sports and more dedi-
cated to Spanish language programming.
• To access SiriusXM Satellite Radio, push the RADIO button on the faceplate and then press the “SXM” button on the touchscreen.
• SiriusXM services require subscriptions, sold separately after the 12-month trial included with the new vehicle purchase. If you decide to continue your service at the
end of your trial subscription, the plan you choose will automatically renew and bill at
then-current rates until you call SiriusXM at 1-866-635-2349 for U.S. residents and
1-888-539-7474 for Canadian residents to cancel. See SiriusXM Customer Agreement
for complete terms at www.siriusxm.com for U.S. residents and www.siriusxm.ca for
Canadian residents. All fees and programming subject to change. Our satellite
service is available only to those at least 18 and older in the 48 contiguous USA
and D.C. Our Sirius satellite service is also available in PR (with coverage
limitations). Our Internet radio service is available throughout our satellite service
area and in AK and HI. ©2015 Sirius XM Radio Inc. Sirius, XM and all related
marks and logos are trademarks of Sirius XM Radio Inc.
Disc Operation
Your vehicle may have a remote CD player located in the lower center console storage
bin.
• CD/Disc Mode is entered by either inserting a CD/Disc or by pushing the MEDIA button on the faceplate. Once in Media Mode, select “Disc.”
• Gently insert one CD into the CD player with the CD label facing as indicated on the illustration located on the Disc player.
Seek Up/Down Buttons
• Press to seek through Disc tracks.
• Hold either button to bypass tracks without stopping.
ELECTRONICS
92
Page 103 of 276
CAUTION!
Do NOT attach any object to the touchscreen, doing so can result in damage to the
screen.
Setting The Time
• Model 8.4AN synchronizes time automatically via GPS, so it should not require any time adjustment. If you do need to set the time manually, follow the
instructions below for Model 8.4A.
• For Model 8.4A, turn the unit on, then press the time display at the top of the screen. Press “Yes.”
• If the time is not displayed at the top of the screen, press the “Settings” button on the touchscreen. In the Settings screen, press the “Clock” button on the touch-
screen, then check or uncheck this option.
• Press “+” or “–” next to Set Time Hours and Set Time Minutes to adjust the time.
• If these features are not available, uncheck the Sync Time box.
• Press “X” to save your settings and exit out of the Clock Setting screen.
Background Themes
• Screen background themes are selectable from a pre-loaded list of themes. If you’d like to set a theme, follow the instructions below.
• Press the “Settings” button on the touchscreen.
• Press the “Display” button on the touchscreen.
• Then press “Set Theme” button on the touchscreen and select a theme.
Audio Settings
• Press of the “Audio” button on the touchscreen to activate the Audio settings screen to adjust Balance\Fade, Equalizer, and Speed Adjusted Volume.
• You can return to the Radio screen by pressing the “X” located at the top right.
Balance/Fade
• Press the “Balance/Fade” button on the touchscreen to Balance audio between the front speakers or fade the audio between the rear and front speakers.
• Pressing the “Front,” “Rear,” “Left,” or “Right” buttons on the touchscreen or press and drag the Speaker Icon to adjust the Balance/Fade.
Equalizer
• Press the “Equalizer” button on the touchscreen to activate the Equalizer screen.
• Press the “+” or “–” buttons on the touchscreen, or press and drag over the level bar for each of the equalizer bands. The level value, which spans between plus or
minus 9, is displayed at the bottom of each of the Bands.
ELECTRONICS
101
Page 106 of 276
Seek Up/Seek Down
• Press the Seek up or down arrow buttons on the touchscreen for less than twoseconds to seek through radio stations.
• Press and hold either arrow button on the touchscreen for more than two seconds to bypass stations without stopping. The radio will stop at the next listenable
station once the arrow button on the touchscreen is released.
Direct Tune
• Tune directly to a radio station by pressing the “Tune” button on the screen, and entering the desired station number.
Store Radio Presets Manually
Your radio can store 36 total preset stations, 12 presets per band (AM, FM and SXM).
They are shown at the top of your radio screen. To see the 12 preset stations per band,
press the arrow button on the touchscreen at the top right of the screen to toggle
between the two sets of six presets.
To store a radio preset manually, follow the steps below:
1. Tune to the desired station.
2. Press and hold the desired numbered button on the touchscreen for more than two seconds or until you hear a confirmation beep.
HD Radio — If Equipped
• HD Radio (available on Uconnect 8.4AN) operates similar to conventional radio except it allows broadcasters to transmit a high-quality digital signal.
• With an HD radio receiver, the listener is provided with a clear sound that enhances the listening experience. HD radio can also transmit data such as song
title or artist.
SiriusXM Premier Over 160 Channels
Get every channel available on your satellite radio, and enjoy all you want, all in one
place. Hear commercial-free music plus sports, news, talk and entertainment. Get all
the premium programming, including Howard Stern, every NFL game, Oprah Radio,
every MLB and NHL game, every NASCAR race, Martha Stewart and more. And get
20+ extra channels, including SiriusXM Latino, offering 20 channels of commercial
free music, news, talk, comedy, sports and more dedicated to Spanish language
programming.
• To access SiriusXM Satellite Radio, press the “SXM” button on the touchscreen onthe main Radio screen.
ELECTRONICS
104
Page 137 of 276
Refer to the “Understanding The Features Of Your Vehicle” section of your vehicle's
Owner's Manual on the DVD for further details.
NOTE:
• The Uconnect Phone requires a mobile phone equipped with the BluetoothHands-Free Profile, Version 1.0 or higher.
• Most mobile phones/devices are compatible with the Uconnect system, however some mobile phones/devices may not be equipped with all of the required features
to utilize all of the Uconnect system features.
• For Uconnect Customer Care: • U.S. residents visit UconnectPhone.com or call 1-877-855-8400.
Pairing (Wirelessly Connecting) Your Mobile Phone To The Uconnect System
Mobile phone pairing is the process of establishing a wireless connection between a
cellular phone and the Uconnect system.
NOTE:
• To use the Uconnect Phone feature, you first must determine if your mobile phoneand software are compatible with the Uconnect system. Please visit
UconnectPhone.com for complete mobile phone compatibility information.
• Mobile phone pairing is not available while the vehicle is in motion.
• A maximum of 10 mobile phones can be paired to the Uconnect system.
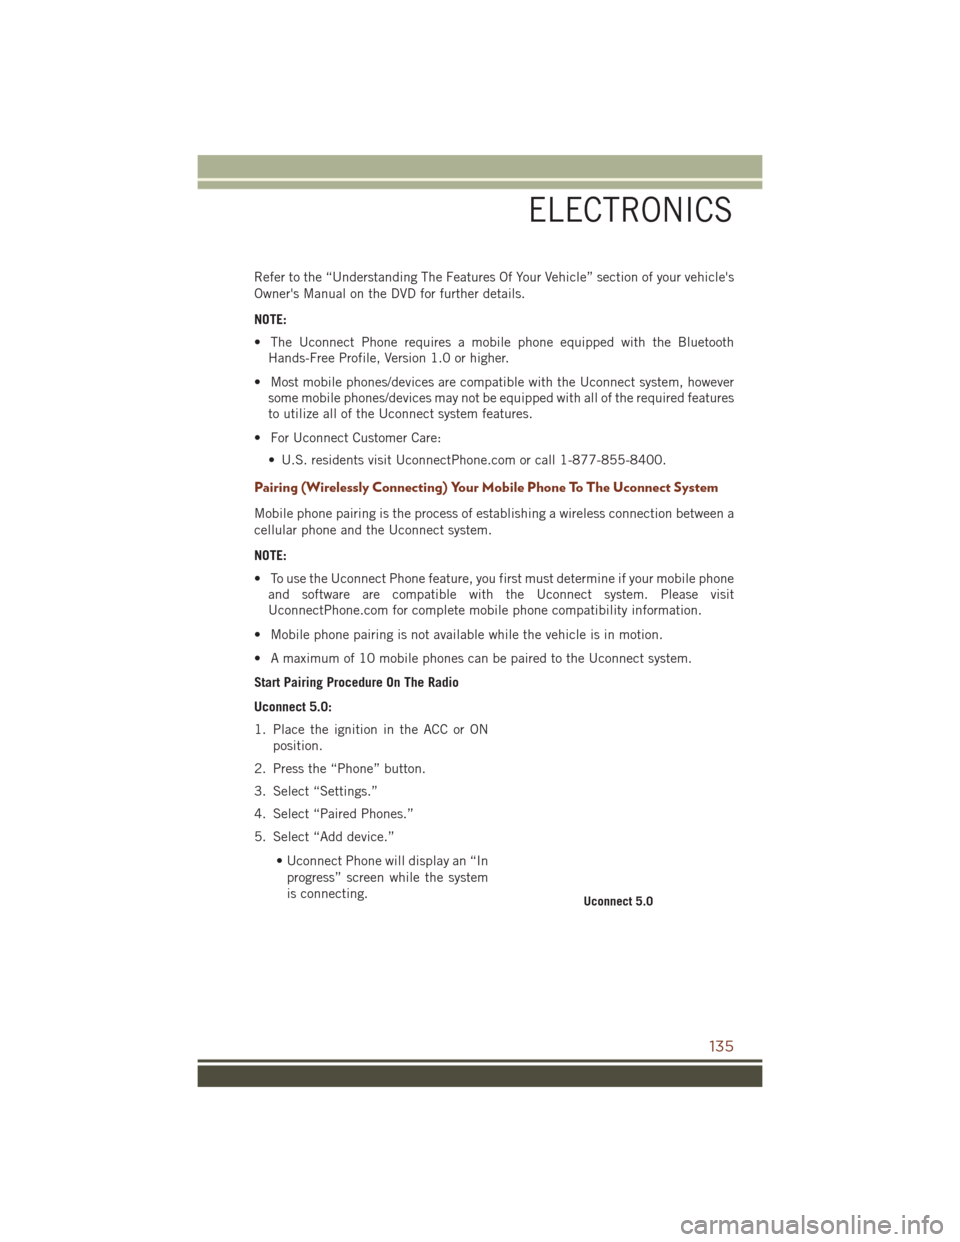
Start Pairing Procedure On The Radio
Uconnect 5.0:
1. Place the ignition in the ACC or ON position.
2. Press the “Phone” button.
3. Select “Settings.”
4. Select “Paired Phones.”
5. Select “Add device.”
• Uconnect Phone will display an “Inprogress” screen while the system
is connecting.
Uconnect 5.0
ELECTRONICS
135
Page 148 of 276
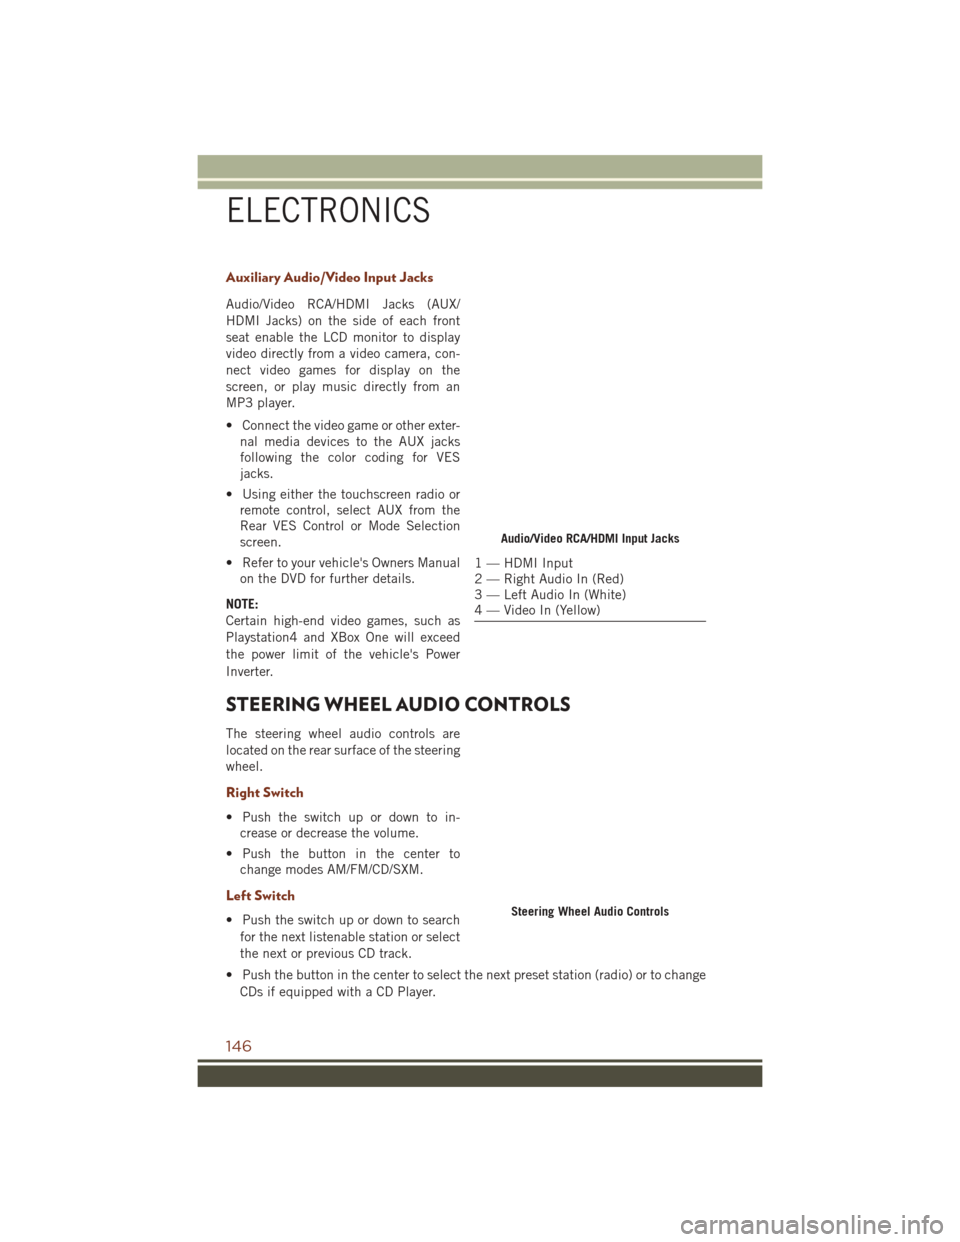
Auxiliary Audio/Video Input Jacks
Audio/Video RCA/HDMI Jacks (AUX/
HDMI Jacks) on the side of each front
seat enable the LCD monitor to display
video directly from a video camera, con-
nect video games for display on the
screen, or play music directly from an
MP3 player.
• Connect the video game or other exter-nal media devices to the AUX jacks
following the color coding for VES
jacks.
• Using either the touchscreen radio or remote control, select AUX from the
Rear VES Control or Mode Selection
screen.
• Refer to your vehicle's Owners Manual on the DVD for further details.
NOTE:
Certain high-end video games, such as
Playstation4 and XBox One will exceed
the power limit of the vehicle's Power
Inverter.
STEERING WHEEL AUDIO CONTROLS
The steering wheel audio controls are
located on the rear surface of the steering
wheel.
Right Switch
• Push the switch up or down to in- crease or decrease the volume.
• Push the button in the center to change modes AM/FM/CD/SXM.
Left Switch
• Push the switch up or down to search
for the next listenable station or select
the next or previous CD track.
• Push the button in the center to select the next preset station (radio) or to change CDs if equipped with a CD Player.
Audio/Video RCA/HDMI Input Jacks
1 — HDMI Input
2 — Right Audio In (Red)
3 — Left Audio In (White)
4 — Video In (Yellow)
Steering Wheel Audio Controls
ELECTRONICS
146
Page 269 of 276
Phone (Pairing).........116, 135
Phone (Uconnect) .....99,123, 133
Pinch Protection ............73
Placard, Tire And Loading Information .............252
Power Distribution Center (Fuses) . . .249
Glass Sunroof ...........71
Inverter ..............152
LiftGate ..............12
Outlet (Auxiliary Electrical
Outlet) ..............153
Seats ................30
Tilt/Telescoping Steering
Column ...............41
Power Shade Close.................72
Open.................72
Power Steering Fluid . .228, 229, 231
Preparation For Jacking .......200
Programmable Electronic Features ..............148
Purchase Apps UconnectAccess ......82,129
Quadra-Lift ..............158
Quadra-Trac ..............155
Radio ...............97,118 Presets ............91,103
Radio Operation ............91
Radio Screens .............100
Radio (Sound Systems) ......91,97
Rain Sensitive Wiper System .....48
RearCamera ..............70
Rear Cross Path .............71
Rear ParkSense System ......69,70
Rear Seat, Folding ...........36
Rear Wiper/Washer ...........49
Reclining Front Seats .........35
Recreational Towing .........167
Shifting Into Transfer Case
Neutral (N) ............169
Shifting Out Of Transfer Case
Neutral (N) ............170
Refrigerant ...............232
Remote Keyless Entry (RKE) Arm The Alarm ...........17 Disarm The Alarm
.........17
Lock The Doors ...........12
Unlock The Doors .........12
Remote Starting Enter Remote Start Mode .....13
How To Use Remote Start .....13
KeyFob ...............13
Remote Starting System .....13
Replacement Bulbs ..........257
Reporting Safety Defects .......259
Restraint, Head .............28
RollOverWarning ............5
Schedule, Maintenance .....232, 237, 243
SDCardPort .............107
Seat Belt Seat Belt Pretensioner ......18
SeatBeltMaintenance........232
Seat Belts ................18
Adjustable Shoulder Belt .....18
Pretensioners ...........18
Reminder .............192
Seats ...........30,34,37,38
Adjustment .............34
E a
syEntry .............34
Heated .............37,38
Manual ...............34
Memory ...............31
Rear Folding ............36
Reclining ..............35
Vented................39
Ventilated .............39
Security Alarm ............195
Arm The System ..........17
Disarm The System ........17
Security Alarm ...........17
Selec-Terrain .............157
Selection Of Coolant (Antifreeze) ......226, 229, 230
Signals, Turn .............195
Siri................ 119, 120
Sirius Satellite Radio .........104
Traffic & Weather .........113
SIRIUS Travel Link ..........114
Sound Systems (Radio) ....107, 109
SpareTire......... 199, 255, 256
SparkPlugs........... 226, 229
INDEX
267