buttons JEEP GRAND CHEROKEE 2017 WK2 / 4.G Owner's Manual
[x] Cancel search | Manufacturer: JEEP, Model Year: 2017, Model line: GRAND CHEROKEE, Model: JEEP GRAND CHEROKEE 2017 WK2 / 4.GPages: 372
Page 65 of 372
NOTE:
Erasing all channels should only be per-
formed when programming HomeLink for the
first time. Do not erase channels when pro-
gramming additional buttons.
If you have any problems, or require assis-
tance, please call toll-free 1-800-355-3515
or, on the Internet at HomeLink.com for in-
formation or assistance.
Programming A Rolling Code
NOTE:
For programming Garage Door Openers that
were manufactured after 1995. These Ga-
rage Door Openers can be identified by the
“LEARN” or “TRAIN” button located where
the hanging antenna is attached to the Ga-
rage Door Opener. It is NOT the button that is
normally used to open and close the door. The
name and color of the button may vary by
manufacturer.
1. Place the ignition switch into the ON/RUNposition. 2. Place the hand-held transmitter 1 to
3 inches (3 to 8 cm) away from the
HomeLink button you wish to program
while keeping the HomeLink indicator
light in view.
3. Push and hold the HomeLink button you want to program while you push and hold
the hand-held transmitter button.
4. Continue to hold both buttons and ob- serve the indicator light. The HomeLink
indicator will flash slowly and then rapidly
after HomeLink has received the fre-
quency signal from the hand-held trans-
mitter. Release both buttons after the in-
dicator light changes from slow to rapid.
5. At the garage door opener motor (in the garage), locate the “LEARN” or “TRAIN-
ING” button. This can usually be found
where the hanging antenna wire is at-
tached to the garage door opener motor.
Firmly push and release the “LEARN” or
“TRAINING” button.
NOTE:
You have 30 seconds in which to initiate
the next step after the LEARN button has
been pushed. 6. Return to the vehicle and push the pro-
grammed HomeLink button twice (hold-
ing the button for two seconds each time).
If the device is plugged in and activates,
programming is complete.
NOTE:
If the device does not activate, push the
button a third time (for two seconds) to
complete the training.
7. To program the remaining two HomeLink buttons, repeat each step for each re-
maining button. DO NOT erase the
channels.
Programming A Non-Rolling Code
NOTE:
For programming Garage Door Openers
manufactured before 1995.
1. Place the ignition switch to the ON/RUNposition.
2. Place the hand-held transmitter 1 to 3 inches (3 to 8 cm) away from the
HomeLink button you wish to program
while keeping the HomeLink indicator
light in view.
63
Page 66 of 372
3. Push and hold the HomeLink button youwant to program while you push and hold
the hand-held transmitter button.
4. Continue to hold both buttons and ob- serve the indicator light. The HomeLink
indicator will flash slowly and then rapidly
after HomeLink has received the fre-
quency signal from the hand-held trans-
mitter. Release both buttons after the
indicator light changes from slow to rapid.
5. Push and hold the programmed HomeLink button and observe the indica-
tor light. If the indicator light stays on
constantly, programming is complete and
the garage door (or device) should activate
when the HomeLink button is pushed.
6. To program the two remaining HomeLink buttons, repeat each step for each re-
maining button. DO NOT erase the
channels.Using HomeLink
To operate, push and release the pro-
grammed HomeLink button. Activation will
now occur for the programmed device (i.e.,
garage door opener, gate operator, security
system, entry door lock, home/office lighting,
etc.). The hand-held transmitter of the device
may also be used at any time.
WARNING!
• Your motorized door or gate will openand close while you are programming
the universal transceiver. Do not pro-
gram the transceiver if people or pets are
in the path of the door or gate.
• Do not run your vehicle in a closed
garage or confined area while program-
ming the transceiver. Exhaust gas from
your vehicle contains Carbon Monoxide
(CO) which is odorless and colorless.
Carbon Monoxide is poisonous when in-
haled and can cause you and others to
be severely injured or killed.
INTERNAL EQUIPMENT
Power Outlets
There are three 12 Volt electrical power out-
lets on this vehicle.
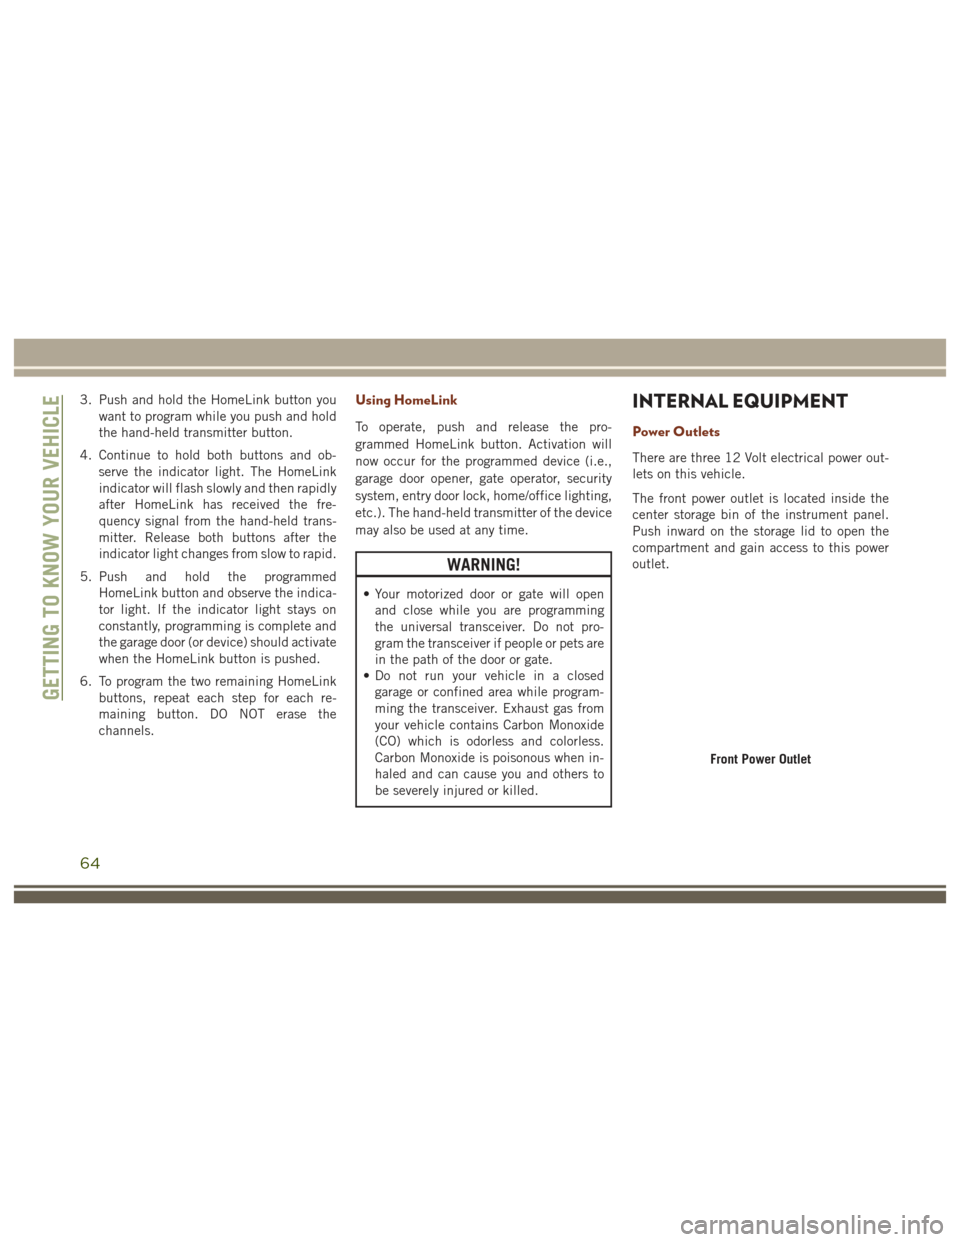
The front power outlet is located inside the
center storage bin of the instrument panel.
Push inward on the storage lid to open the
compartment and gain access to this power
outlet.
Front Power Outlet
GETTING TO KNOW YOUR VEHICLE
64
Page 168 of 372
QUADRA-LIFT — IF
EQUIPPED
Description
The Quadra-Lift air suspension system pro-
vides full time load leveling capability along
with the benefit of vehicle height adjustment
by the push of a button. The vehicle will
automatically raise and lower the ride height
to adapt to the appropriate driving condi-
tions. At higher speeds, the vehicle will lower
to an aerodynamic ride height and when
operating in off-road modes, the vehicle will
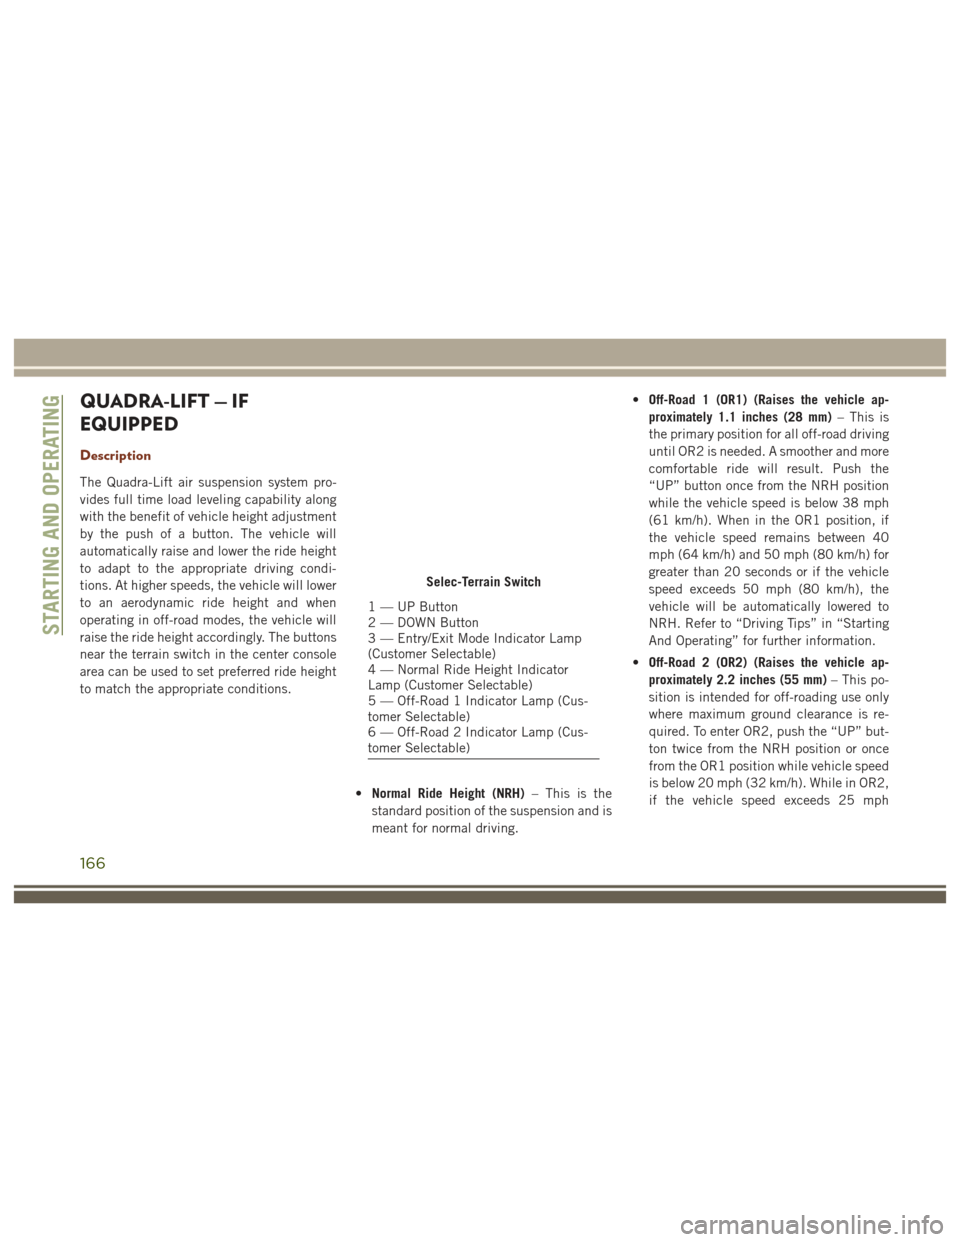
raise the ride height accordingly. The buttons
near the terrain switch in the center console
area can be used to set preferred ride height
to match the appropriate conditions.•Normal Ride Height (NRH) – This is the
standard position of the suspension and is
meant for normal driving. •
Off-Road 1 (OR1) (Raises the vehicle ap-
proximately 1.1 inches (28 mm) – This is
the primary position for all off-road driving
until OR2 is needed. A smoother and more
comfortable ride will result. Push the
“UP” button once from the NRH position
while the vehicle speed is below 38 mph
(61 km/h). When in the OR1 position, if
the vehicle speed remains between 40
mph (64 km/h) and 50 mph (80 km/h) for
greater than 20 seconds or if the vehicle
speed exceeds 50 mph (80 km/h), the
vehicle will be automatically lowered to
NRH. Refer to “Driving Tips” in “Starting
And Operating” for further information.
• Off-Road 2 (OR2) (Raises the vehicle ap-
proximately 2.2 inches (55 mm) – This po-
sition is intended for off-roading use only
where maximum ground clearance is re-
quired. To enter OR2, push the “UP” but-
ton twice from the NRH position or once
from the OR1 position while vehicle speed
is below 20 mph (32 km/h). While in OR2,
if the vehicle speed exceeds 25 mph
Selec-Terrain Switch
1 — UP Button
2 — DOWN Button
3 — Entry/Exit Mode Indicator Lamp
(Customer Selectable)
4 — Normal Ride Height Indicator
Lamp (Customer Selectable)
5 — Off-Road 1 Indicator Lamp (Cus-
tomer Selectable)
6 — Off-Road 2 Indicator Lamp (Cus-
tomer Selectable)
STARTING AND OPERATING
166
Page 169 of 372
(40 km/h) the vehicle height will be auto-
matically lowered to OR1. Refer to “Driv-
ing Tips” in “Starting And Operating” for
further information.
• Aero Mode (Lowers the vehicle approxi-
mately 0.6 inches (15 mm) – This position
provides improved aerodynamics by lower-
ing the vehicle. The vehicle will automati-
cally enter Aero Mode when the vehicle
speed remains between 52 mph (83 km/h)
and 56 mph (90 km/h) for greater than
20 seconds or if the vehicle speed exceeds
56 mph (90 km/h). The vehicle will return
to NRH from Aero Mode if the vehicle
speed remains between 20 mph (32 km/h)
and 25 mph (40 km/h) for greater than
20 seconds or if the vehicle speed falls
below 20 mph (32 km/h). The vehicle will
enter Aero Mode, regardless of vehicle
speed if the vehicle is in “SPORT” mode.
• Entry/Exit Mode (Lowers the vehicle approxi-
mately 1.6 inces (40 mm) – This position
lowers the vehicle for easier passenger
entry and exit as well as lowering the rear
of the vehicle for easier loading and un-
loading of cargo. To enter Entry/Exit Mode,
push the “DOWN” button once from (NRH) while the vehicle speed is below
25 mph (40 km/h). Once the vehicle
speed goes below 15 mph (24 km/h) the
vehicle height will begin to lower. If the
vehicle speed remains between 15 mph
(24 km/h) and 25 mph (40 km/h) for
greater than 60 seconds, or the vehicle
speed exceeds 25 mph (40 km/h) the
Entry/Exit Mode change will be cancelled.
To exit Entry/Exit Mode, press the “Up”
button once while in Entry/Exit Mode or
drive the vehicle over 15 mph (24 km/h).
NOTE:
Automatic lowering of the vehicle into Entry/
Exit Mode can be enabled through the
Uconnect Touch-Screen Radio. If this feature
is enabled, the vehicle will only lower if the
gear selector is in "PARK", the terrain switch
is in "AUTO", the transfer-case is in "AUTO”
and the vehicle level should be either in
Normal or Aero Mode. The Vehicle will not
automatically lower if the air suspension level
is in Off Rd 2 or Off Rd 1. If the vehicle is
equipped with Intrusion Theft Module (ITM),
the lowering will be suppressed when the
ignition is switched OFF and the door is open
to prevent setting the alarm off. The Selec-Terrain switch will automatically
change the vehicle to the proper height based
on the position of the Selec-Terrain switch.
The height can be changed from the default
Selec-Terrain setting by normal use of the air
suspension buttons. Refer to “Selec-Terrain”
in “Starting And Operating” for further infor-
mation.
The system requires that the engine be run-
ning for all changes. When lowering the ve-
hicle all of the doors, including the liftgate,
must be closed. If a door is opened at any
time while the vehicle is lowering the change
will not be completed until the open door(s) is
closed.
The Quadra-Lift air suspension system uses a
lifting and lowering pattern which keeps the
headlights from incorrectly shining into on-
coming traffic. When raising the vehicle, the
rear of the vehicle will move up first and then
the front. When lowering the vehicle, the
front will move down first and then the rear.
167
Page 174 of 372
ing, Suspension, all-wheel drive set up, and
Paddle shifter settings may be configured
through the custom mode set-up.
NOTE:
Refer to “Drive Modes” in the “Multimedia”
section in your Owner’s Manual at
www.jeep.com/en/owners/manuals/ for fur-
ther information.
Active Damping System
This vehicle is equipped with an electronic
controlled damping system. This system re-
duces body roll and pitch in many driving
situations including cornering, acceleration
and braking. There are 3 modes:
•Street Mode (Available in terrain positions
AUTO, SNOW and CUSTOM.) — Used
during highway speeds where a touring
suspension feel is desired.
• Sport Mode (Available in terrain positions
AUTO, SPORT, CUSTOM and TOW.) —
Provides a firm suspension for better han-
dling. •
Track Firm (Available in terrain positions
AUTO, TRACK and CUSTOM.) — Provides
a full firm suspension for an aggressive
track experience.
Refer to “Drive Modes” in the “Multimedia”
section in your Owner’s Manual at
www.jeep.com/en/owners/manuals/ for fur-
ther information.
ELECTRONIC SPEED
CONTROL
When engaged, the Electronic Speed Control
takes over accelerator operations at speeds
greater than 25 mph (40 km/h).
The Electronic Speed Control buttons are
located on the right side of the steering
wheel.
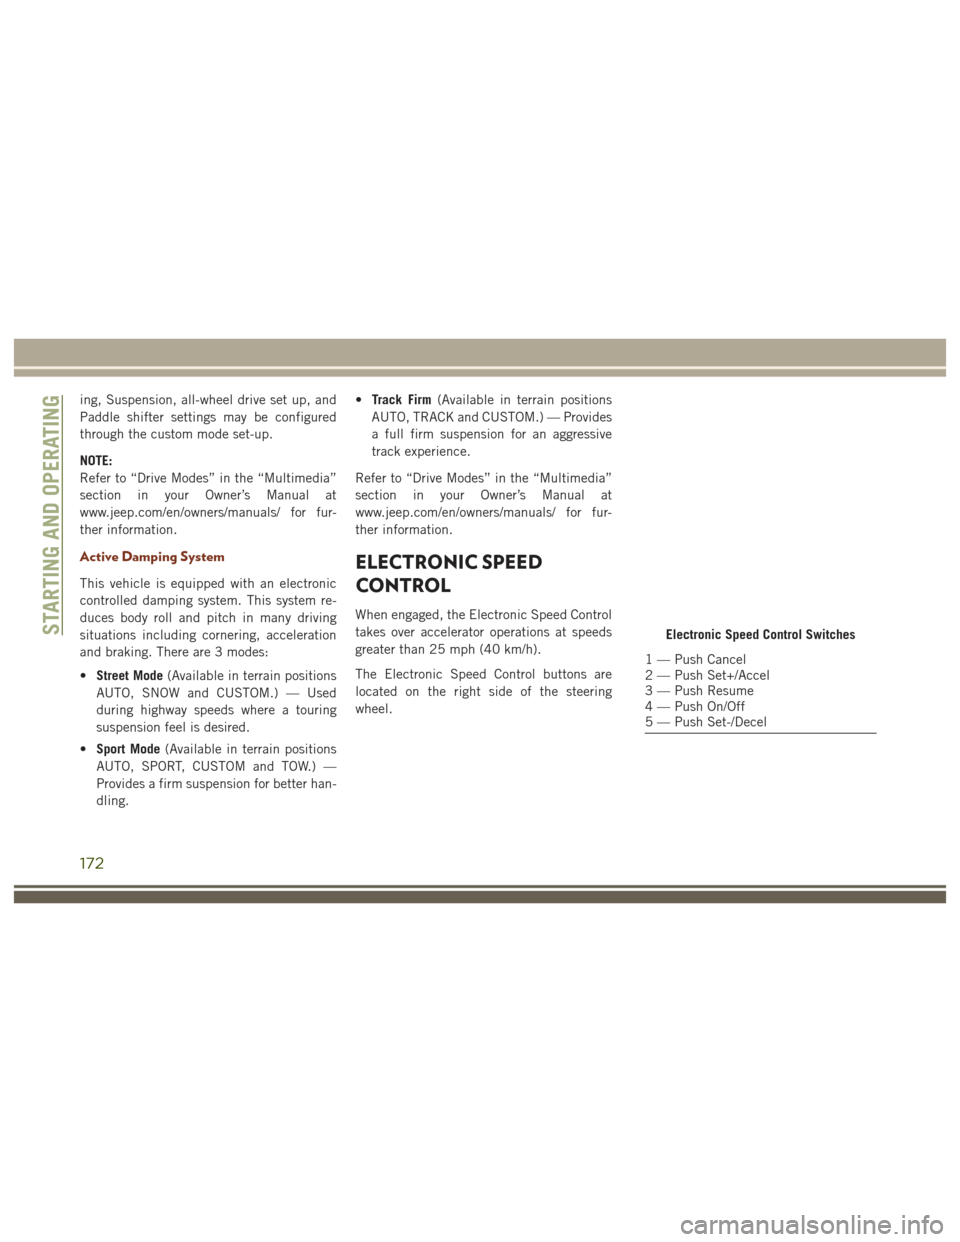
Electronic Speed Control Switches
1 — Push Cancel
2 — Push Set+/Accel
3 — Push Resume
4 — Push On/Off
5 — Push Set-/Decel
STARTING AND OPERATING
172
Page 177 of 372
If the ACC sensor detects a vehicle ahead,
ACC will apply limited braking or acceleration
automatically to maintain a preset following
distance, while matching the speed of the
vehicle ahead.If the sensor does not detect a vehicle ahead
of you, ACC will maintain a fixed set speed.
Activation
Push and release the Adaptive Cruise Control
(ACC) ON/OFF button.
ACC READY will appear in the instrument
cluster display to indicate the ACC is on.
Setting A Desired Speed
When the vehicle reaches the speed desired,
push the SET
+button or the SET -button
and release. The instrument cluster display
will show the set speed.
If the system is Set when the vehicle speed is
below 20 mph (32 km/h), the Set Speed shall
be defaulted to 20 mph (32 km/h). If the
system is Set when the vehicle speed is above
20 mph (32 km/h), the Set Speed shall be
the current speed of the vehicle.
NOTE:
ACC cannot be set if there is a stationary
vehicle in front of your vehicle in close prox-
imity. Remove your foot from the accelerator pedal.
If you do not, the vehicle may continue to
accelerate beyond the set speed. If this oc-
curs:
• The message “DRIVER OVERRIDE” will
appear in the instrument cluster display.
• The system will not be controlling the distance between your vehicle and the
vehicle ahead. The vehicle speed will only
be determined by the position of the ac-
celerator pedal.
Varying The Speed
Once the ACC has been activated, the speed
can be increased or decreased.
NOTE:
• When you override and push the SET +
button or SET -buttons, the new Set
Speed will be the current speed of the
vehicle.
• When you use the SET -button to decel-
erate, if the engine’s braking power does
not slow the vehicle sufficiently to reach
the set speed, the brake system will auto-
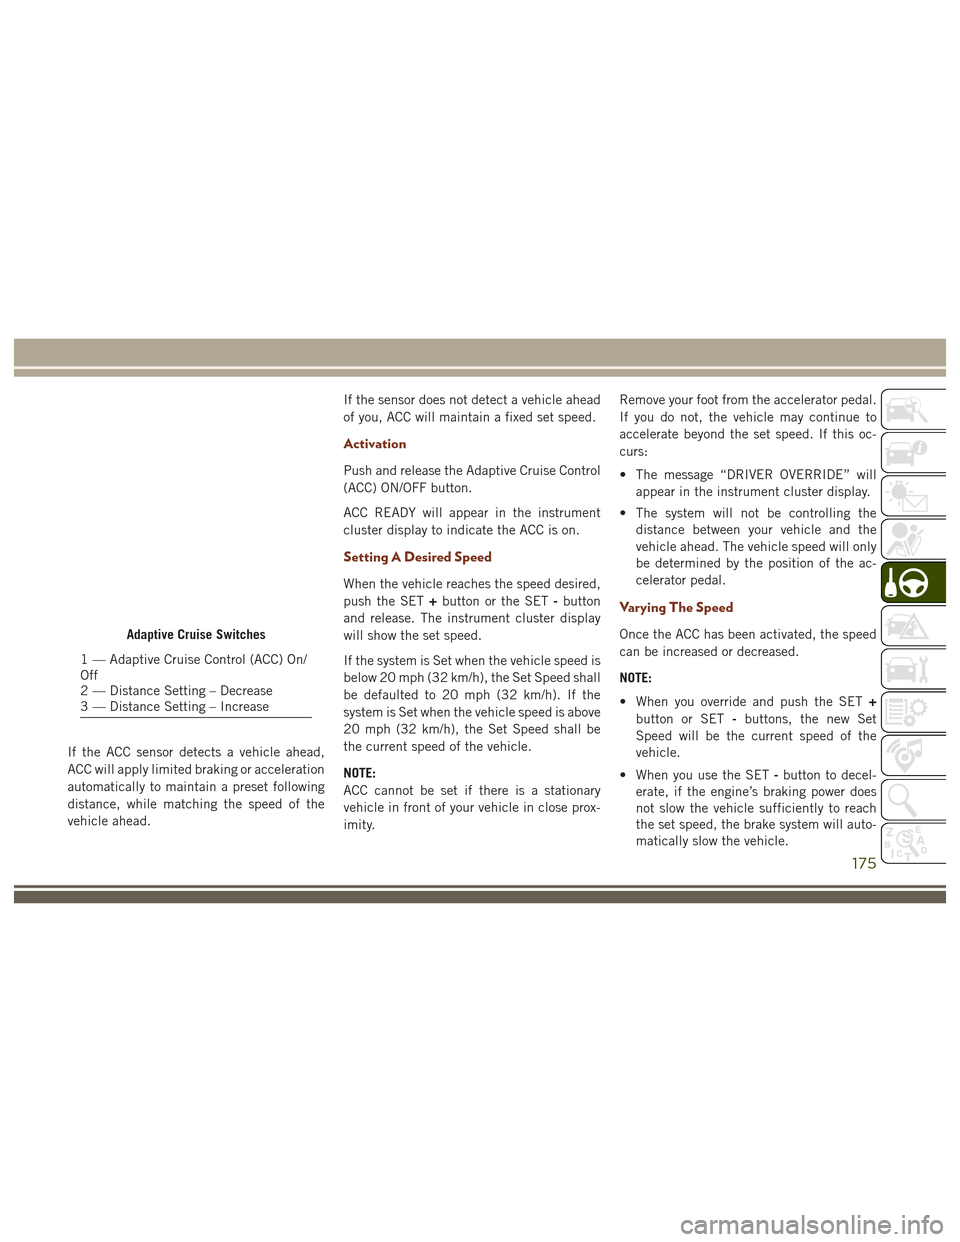
matically slow the vehicle.Adaptive Cruise Switches
1 — Adaptive Cruise Control (ACC) On/
Off
2 — Distance Setting – Decrease
3 — Distance Setting – Increase
175
Page 180 of 372
• Pushing the normal (Fixed Speed) SPEEDCONTROL ON/OFF button will result in
turning ON (changing to) the normal
(Fixed Speed) Speed Control mode.
Refer to your Owner's Manual at
www.jeep.com/en/owners/manuals/ for fur-
ther information.
WARNING!
Adaptive Cruise Control (ACC) is a conve-
nience system. It is not a substitute for
active driving involvement. It is always the
driver’s responsibility to be attentive of
road, traffic, and weather conditions, ve-
hicle speed, distance to the vehicle ahead;
and, most importantly, brake operation to
ensure safe operation of the vehicle under
all road conditions. Your complete atten-
tion is always required while driving to
maintain safe control of your vehicle. Fail-
ure to follow these warnings can result in a
collision and death or serious personal
injury.
The ACC system:
• Does not react to pedestrians, oncoming vehicles, and stationary objects (e.g., a
WARNING!
stopped vehicle in a traffic jam or a
disabled vehicle).
• Cannot take street, traffic, and weather
conditions into account, and may be
limited upon adverse sight distance con-
ditions.
• Does not always fully recognize complex
driving conditions, which can result in
wrong or missing distance warnings.
• Will bring the vehicle to a complete stop
while following a target vehicle and hold
the vehicle for 2 seconds in the stop
position. If the target vehicle does not
start moving within two seconds the ACC
system will display a message that the
system will release the brakes and that
the brakes must be applied manually. An
audible chime will sound when the
brakes are released.
You should switch off the ACC system:
• When driving in fog, heavy rain, heavy
snow, sleet, heavy traffic, and complex
driving situations (i.e., in highway con-
struction zones).
WARNING!
• When entering a turn lane or highway offramp; when driving on roads that are
winding, icy, snow-covered, slippery, or
have steep uphill or downhill slopes.
• When towing a trailer up or down steep
slopes.
• When circumstances do not allow safe
driving at a constant speed.
The Cruise Control system has two control
modes:
• Adaptive Cruise Control mode for main-
taining an appropriate distance between
vehicles.
• Normal (fixed speed) electronic speed
control mode for cruising at a constant
preset speed. For additional informa-
tion, refer to “Normal (Fixed Speed)
Cruise Control Mode” in your Owner’s
Manual at
www.jeep.com/en/owners/manuals/
Normal (fixed speed) electronic speed con-
trol will not react to preceding vehicles. Al-
ways be aware of the mode selected.
You can change the mode by using the
Cruise Control buttons. The two control
STARTING AND OPERATING
178
Page 294 of 372
Uconnect Access enhances your ownership
and driving experience by connecting your
vehicle to an operable 1X (voice/data) or 3G
(data) network. When connected to an oper-
able 1X (voice/data) or 3G (data) network,
you can:
• Place a call to a local 9-1-1 Operator foremergency assistance.
• Remotely lock/unlock your doors and start your vehicle from virtually anywhere, using
the Uconnect Access App from your de-
vice. You can also do so by logging into
your owner site, or by calling Uconnect
Access Care when your vehicle has an
operable 1X (voice/data) or 3G (data) net-
work connection. Services can only be
used where coverage is available; see cov-
erage map for details.
• Turn your vehicle into a 3G Wi-Fi Hotspot and connect your devices to the internet.
• Receive text or email notifications if your vehicle's security alarm goes off.
• Receive stolen vehicle assistance, using GPS technology to help authorities locate
your vehicle if it is stolen. • Listen to your text messages or send free-
form text messages with your voice while
keeping your hands on the wheel, using
the Voice Texting feature. Requires a de-
vice that supports Bluetooth Message Ac-
cess Profile (MAP).
• Search for places to eat, shop, relax and play with Yelp, using your voice or on-
screen menu. Then navigate to them
(navigation standard on Uconnect
8.4 NAV, optional on Uconnect 8.4).
• Get operator assistance using the ASSIST button on your interior rearview mirror.
Before you drive, familiarize yourself with the
easy-to-use Uconnect Access services.
1. The ASSIST and 9-1-1 buttons are lo- cated on your rearview mirror. The ASSIST
button is used for contacting Roadside
Assistance, Vehicle Care and Uconnect
Access Care. The 9-1-1 button connects
you to emergency services. NOTE:
Vehicles sold in Canada and Mexico DO
NOT have 9-1-1 call system capabilities.
9-1-1 or other emergency line operators in
Canada and Mexico may not answer or
respond to 9-1-1 system calls.
2. The Uconnect “Apps
” button is lo-
cated in the center of the menu bar of the
radio touchscreen. This is where you can
manage your Apps and purchase 3G Wi-Fi
on demand.
3. The Uconnect Voice Command and Uconnect Phone buttons are located on
the left side of your steering wheel. These
buttons let you use your voice to give
commands, make phone calls, send and
receive text messages hands-free, enter
navigation destinations, and control your
radio and media devices.
Included Trial Period For New Vehicles
Your new vehicle may come with an included
trial period for use of the Uconnect Access
Services starting at the date of vehicle pur-
chase (date based on vehicle sales notifica-
tion from your dealer). To activate the trial, you
must first register with Uconnect Access. After
MULTIMEDIA
292
Page 309 of 372
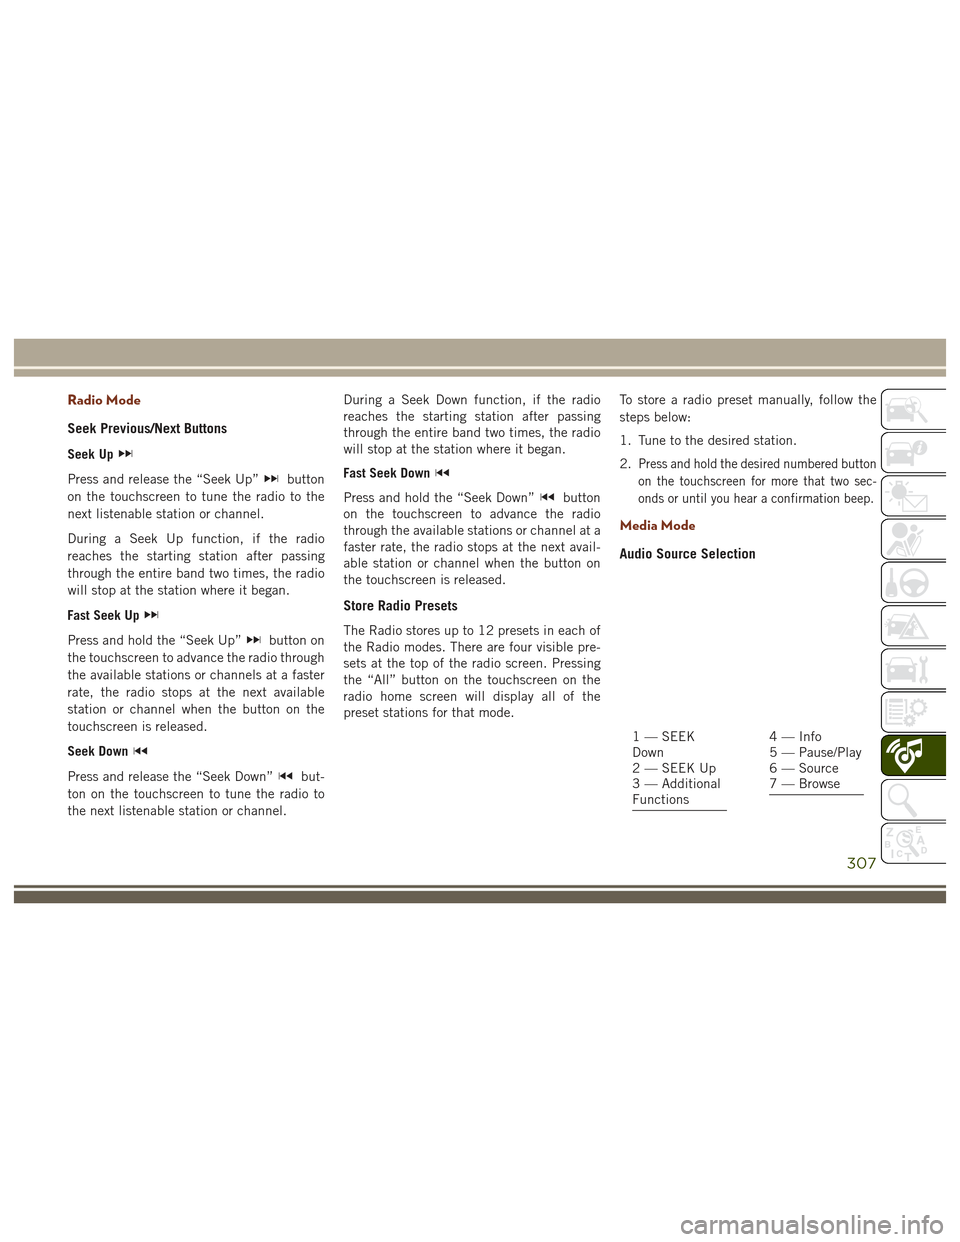
Radio Mode
Seek Previous/Next Buttons
Seek Up
Press and release the “Seek Up”button
on the touchscreen to tune the radio to the
next listenable station or channel.
During a Seek Up function, if the radio
reaches the starting station after passing
through the entire band two times, the radio
will stop at the station where it began.
Fast Seek Up
Press and hold the “Seek Up”button on
the touchscreen to advance the radio through
the available stations or channels at a faster
rate, the radio stops at the next available
station or channel when the button on the
touchscreen is released.
Seek Down
Press and release the “Seek Down”but-
ton on the touchscreen to tune the radio to
the next listenable station or channel. During a Seek Down function, if the radio
reaches the starting station after passing
through the entire band two times, the radio
will stop at the station where it began.
Fast Seek Down
Press and hold the “Seek Down”button
on the touchscreen to advance the radio
through the available stations or channel at a
faster rate, the radio stops at the next avail-
able station or channel when the button on
the touchscreen is released.
Store Radio Presets
The Radio stores up to 12 presets in each of
the Radio modes. There are four visible pre-
sets at the top of the radio screen. Pressing
the “All” button on the touchscreen on the
radio home screen will display all of the
preset stations for that mode. To store a radio preset manually, follow the
steps below:
1. Tune to the desired station.
2.
Press and hold the desired numbered button
on the touchscreen for more that two sec-
onds or until you hear a confirmation beep.
Media Mode
Audio Source Selection
1 — SEEK
Down
2 — SEEK Up
3 — Additional
Functions4 — Info
5 — Pause/Play
6 — Source
7 — Browse
307
Page 314 of 372
Audio Jack (AUX)
The AUX allows a portable device, such as an
MP3 player or an iPod, to be plugged into the
radio and utilize the vehicle’s audio system,
using a 3.5 mm audio cable, to amplify the
source and play through the vehicle speakers.
The functions of the portable device are con-
trolled using the device buttons, not the
buttons on the radio. The volume may be
controlled using the radio or portable device.
Bluetooth
If using a Bluetooth - equipped device, you
may also be able to stream music to your
vehicle's sound system.
SD Card
Play songs stored on an SD card inserted into
the SD card slot.
Song playback can be controlled using the
radio or Steering Wheel Audio Controls to
play, skip to the next or previous track,
browse, and list the contents.
Phone Mode
Making and answering hands-free phone
calls is easy with Uconnect. When the Phone-
book button is illuminated on your touch-
screen, your system is ready.
U.S. residents can visit UconnectPhone.com
to check device and feature compatibility
and to find device pairing instructions.
Push the Phone button
. After the beep,
say one of the following commands…
• Call John Smith
• Dial 123-456-7890 and follow the system
prompts
• Redial (call previous outgoing phone num-
ber)
• Call back (call previous incoming phone
number)
TIP: When providing a Voice Command, push
the Phone button
and say “Call,”then
pronounce the name exactlyas it appears in
your phone book. When a contact has mul-
tiple phone numbers, you can say “CallJohn
Smith work.”
Activating The Phone Mode
The Uconnect Phone is a voice-activated,
hands-free, in-vehicle communications sys-
tem with Voice Command Capability (see
Voice Command section).
The Uconnect Phone allows you to dial a
phone number with your mobile phone using
simple voice commands.
NOTE:
The Uconnect Phone requires a mobile
phone equipped with the Bluetooth Hands-
Free Profile. To check mobile phone compat-
ibility please visit UconnectPhone.com.
Uconnect 5.0 Phone
MULTIMEDIA
312