seats JEEP GRAND CHEROKEE 2017 WK2 / 4.G Owner's Manual
[x] Cancel search | Manufacturer: JEEP, Model Year: 2017, Model line: GRAND CHEROKEE, Model: JEEP GRAND CHEROKEE 2017 WK2 / 4.GPages: 372
Page 37 of 372
NOTE:
The Electrochromatic Mirror feature is dis-
abled when the vehicle is in reverse gear to
improve rear view viewing.
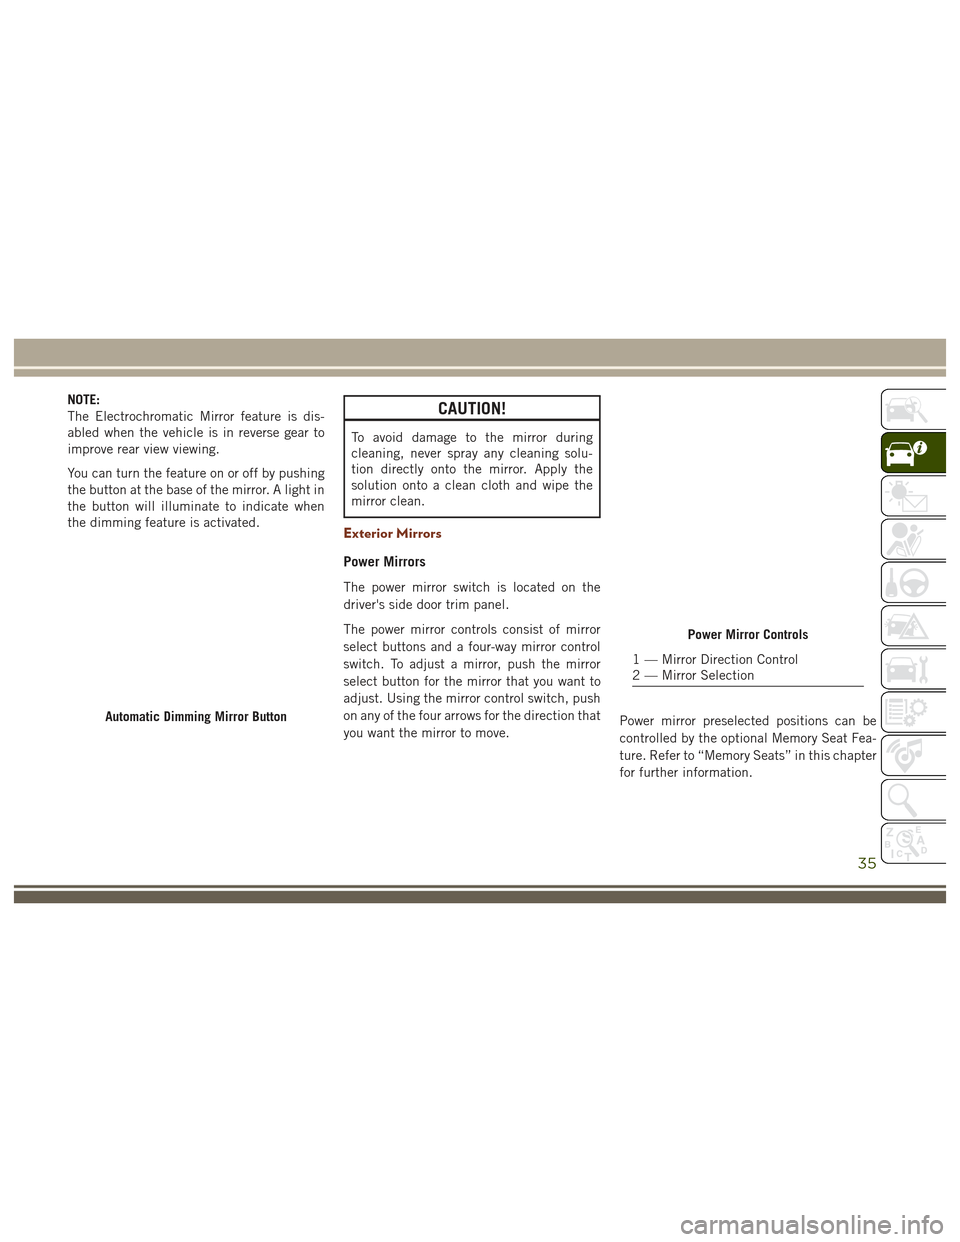
You can turn the feature on or off by pushing
the button at the base of the mirror. A light in
the button will illuminate to indicate when
the dimming feature is activated.CAUTION!
To avoid damage to the mirror during
cleaning, never spray any cleaning solu-
tion directly onto the mirror. Apply the
solution onto a clean cloth and wipe the
mirror clean.
Exterior Mirrors
Power Mirrors
The power mirror switch is located on the
driver's side door trim panel.
The power mirror controls consist of mirror
select buttons and a four-way mirror control
switch. To adjust a mirror, push the mirror
select button for the mirror that you want to
adjust. Using the mirror control switch, push
on any of the four arrows for the direction that
you want the mirror to move.Power mirror preselected positions can be
controlled by the optional Memory Seat Fea-
ture. Refer to “Memory Seats” in this chapter
for further information.
Automatic Dimming Mirror Button
Power Mirror Controls
1 — Mirror Direction Control
2 — Mirror Selection
35
Page 63 of 372
Cargo Area Features
Rechargeable Flashlight
The rechargeable flashlight is mounted on
the left side of the cargo area. The flashlight
snaps out of the bezel when needed. The
flashlight features two bright LED light bulbs
and is powered by rechargeable lithium bat-
teries that recharge when snapped back into
place.
Push in on the flashlight to release it.
To operate the flashlight, push the switch
once for high, twice for low, and a third time
to return to off.
Cargo Storage Bins
There are up to four removable storage bins
located in the rear cargo area. There are two
storage bins located on either side of the
cargo area.
NOTE:
If your vehicle is equipped with a rear sub-
woofer, the passenger side cargo area will not
be available.Two additional storage bins are located under
the load floor. To access the lower storage
bins, raise the load floor and attach the tether
strap (attached to the bottom of the load
floor) to the liftgate opening.
Retractable Cargo Area Cover — If
Equipped
NOTE:
The purpose of this cover is for privacy, not to
secure loads. It will not prevent cargo from
shifting or protect passengers from loose
cargo.
To cover the cargo area:
1. Grasp the cover at the center handle. Pull
it over the cargo area.
2. Insert the pins on the ends of the cover into the slots in the pillar trim cover.
3. The liftgate may be opened with the cargo cover in place.
WARNING!
In a collision, a loose cargo cover in the
vehicle could cause injury. It could fly
WARNING!
around in a sudden stop and strike some-
one in the vehicle. Do not store the cargo
cover on the cargo floor or in the passenger
compartment. Remove the cover from the
vehicle when taken from its mounting. Do
not store it in the vehicle.
Rear Cargo Tie-Downs
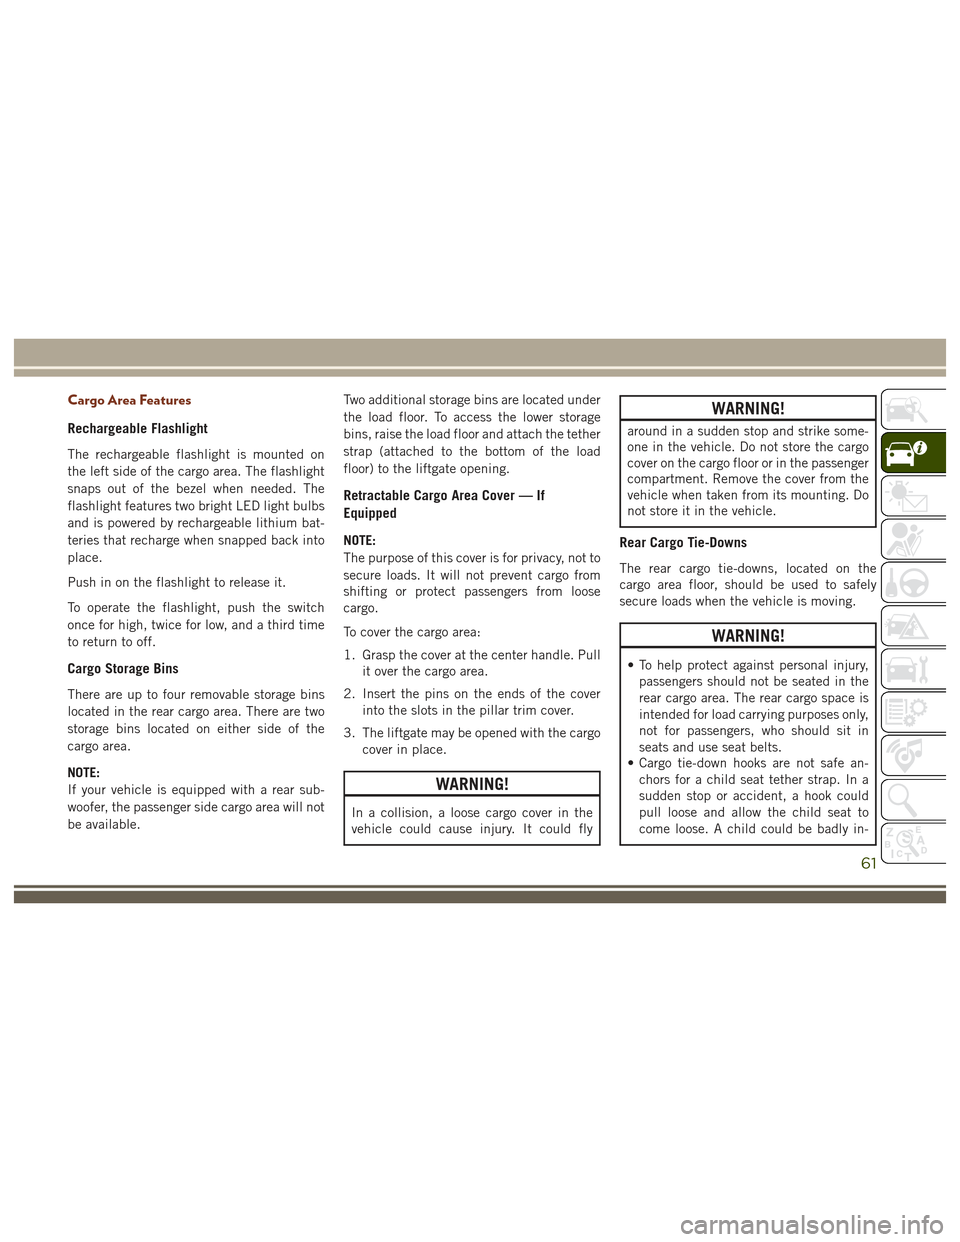
The rear cargo tie-downs, located on the
cargo area floor, should be used to safely
secure loads when the vehicle is moving.
WARNING!
• To help protect against personal injury,passengers should not be seated in the
rear cargo area. The rear cargo space is
intended for load carrying purposes only,
not for passengers, who should sit in
seats and use seat belts.
• Cargo tie-down hooks are not safe an-
chors for a child seat tether strap. In a
sudden stop or accident, a hook could
pull loose and allow the child seat to
come loose. A child could be badly in-
61
Page 114 of 372
2. If a child from 2 to 12 years old (not in arear-facing child restraint) must ride in
the front passenger seat, move the seat as
far back as possible and use the proper
child restraint (Refer to “Child
Restraints”).
3. Children that are not big enough to wear the vehicle seat belt properly (Refer to
"Child Restraints") should be secured in a
vehicle with a rear seat in child restraints
or belt-positioning booster seats. Older
children who do not use child restraints or
belt-positioning booster seats should ride
properly buckled up in a vehicle with a
rear seat.
4. Never allow children to slide the shoulder belt behind them or under their arm.
5. You should read the instructions provided with your child restraint to make sure that
you are using it properly.
6. All occupants should always wear their lap and shoulder belts properly.
7. The driver and front passenger seats should be moved back as far as practical
to allow the front air bags room to inflate. 8. Do not lean against the door or window. If
your vehicle has side air bags, and deploy-
ment occurs, the side air bags will inflate
forcefully into the space between occu-
pants and the door and occupants could
be injured.
9. If the air bag system in this vehicle needs to be modified to accommodate a dis-
abled person, contact the Customer Cen-
ter. Phone numbers are provided under
"Customer Assistance.”
WARNING!
• Never place a rear-facing child restraintin front of an air bag. A deploying pas-
senger front air bag can cause death or
serious injury to a child 12 years or
younger, including a child in a rear-
facing child restraint.
• Only use a rear-facing child restraint in a
vehicle with a rear seat.
Seat Belt Systems
Buckle up even though you are an excellent
driver, even on short trips. Someone on the
road may be a poor driver and could cause a
collision that includes you. This can happen
far away from home or on your own street.
Research has shown that seat belts save
lives, and they can reduce the seriousness of
injuries in a collision. Some of the worst
injuries happen when people are thrown from
the vehicle. Seat belts reduce the possibility
of ejection and the risk of injury caused by
striking the inside of the vehicle. Everyone in
a motor vehicle should be belted at all times.
Enhanced Seat Belt Use Reminder System
(BeltAlert)
Driver and Passenger BeltAlert (If Equipped)
BeltAlert is a feature intended to remind
the driver and outboard front seat passenger
(if equipped with outboard front passenger
seat BeltAlert) to buckle their seat belts. The
Belt Alert feature is active whenever the igni-
tion switch is in the START or ON/RUN posi-
tion.
SAFETY
112
Page 116 of 372
WARNING!
restrain you properly. In some collisions,
the air bags won’t deploy at all. Always
wear your seat belt even though you have
air bags.
• In a collision, you and your passengers
can suffer much greater injuries if you
are not properly buckled up. You can
strike the interior of your vehicle or other
passengers, or you can be thrown out of
the vehicle. Always be sure you and
others in your vehicle are buckled up
properly.
• It is dangerous to ride in a cargo area,
inside or outside of a vehicle. In a colli-
sion, people riding in these areas are
more likely to be seriously injured or
killed.
• Do not allow people to ride in any area of
your vehicle that is not equipped with
seats and seat belts.
• Be sure everyone in your vehicle is in a
seat and using a seat belt properly. Oc-
cupants, including the driver, should al-
ways wear their seat belts whether or not
an air bag is also provided at their seat-
WARNING!
ing position to minimize the risk of se-
vere injury or death in the event of a
crash.
• Wearing your seat belt incorrectly could
make your injuries in a collision much
worse. You might suffer internal injuries,
or you could even slide out of the seat
belt. Follow these instructions to wear
your seat belt safely and to keep your
passengers safe, too.
• Two people should never be belted into a
single seat belt. People belted together
can crash into one another in a collision,
hurting one another badly. Never use a
lap/shoulder belt or a lap belt for more
than one person, no matter what their
size.
• A lap belt worn too high can increase the
risk of injury in a collision. The seat belt
forces won’t be at the strong hip and
pelvic bones, but across your abdomen.
Always wear the lap part of your seat belt
as low as possible and keep it snug.
• A twisted seat belt may not protect you
properly. In a collision, it could even cut
WARNING!
into you. Be sure the seat belt is flat
against your body, without twists. If you
can’t straighten a seat belt in your ve-
hicle, take it to your authorized dealer
immediately and have it fixed.
• A seat belt that is buckled into the wrong
buckle will not protect you properly. The
lap portion could ride too high on your
body, possibly causing internal injuries.
Always buckle your seat belt into the
buckle nearest you.
• A seat belt that is too loose will not
protect you properly. In a sudden stop,
you could move too far forward, increas-
ing the possibility of injury. Wear your
seat belt snugly.
• A seat belt that is worn under your arm is
dangerous. Your body could strike the
inside surfaces of the vehicle in a colli-
sion, increasing head and neck injury. A
seat belt worn under the arm can cause
internal injuries. Ribs aren’t as strong as
shoulder bones. Wear the seat belt over
your shoulder so that your strongest
bones will take the force in a collision.
SAFETY
114
Page 118 of 372
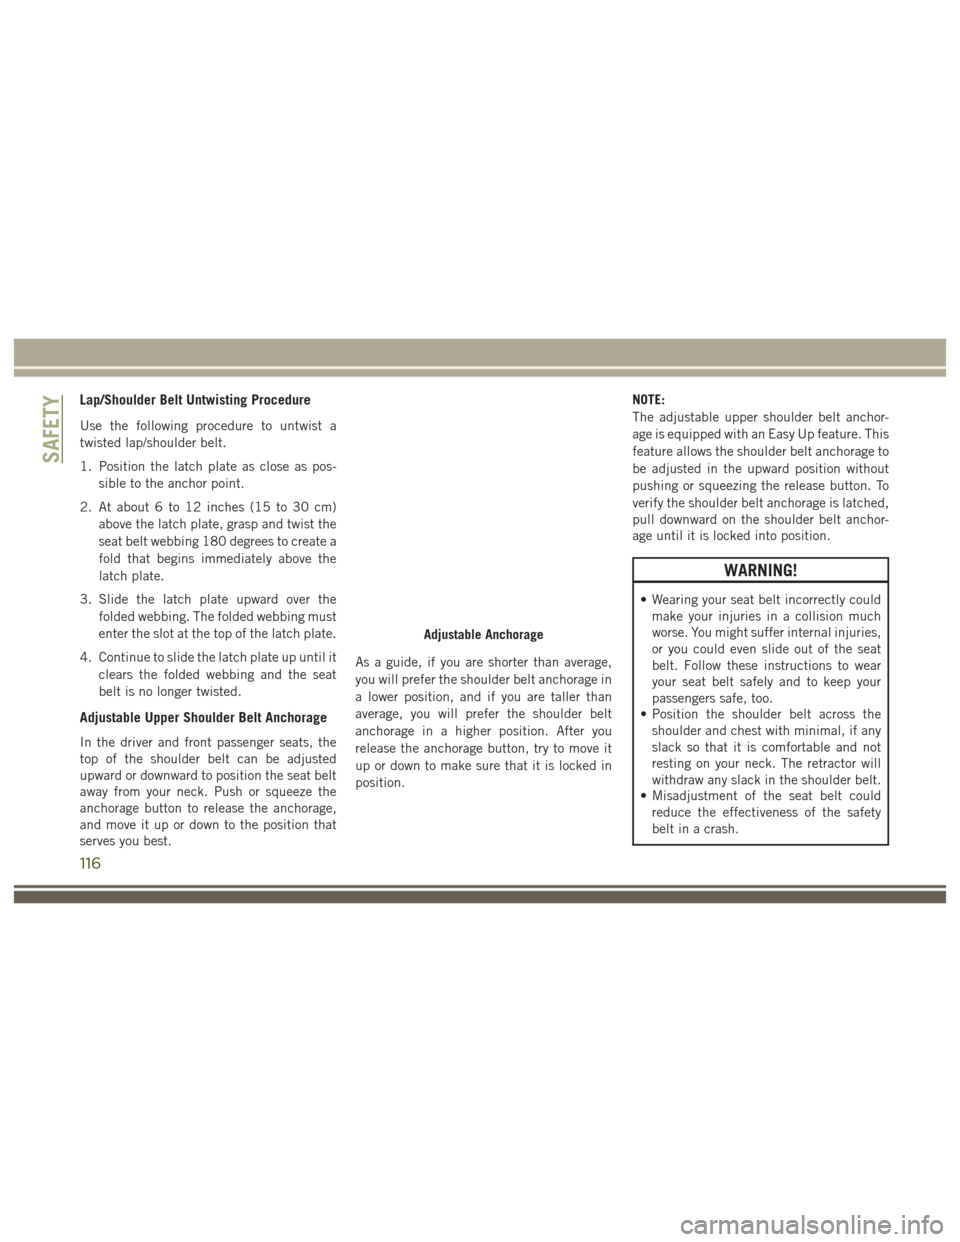
Lap/Shoulder Belt Untwisting Procedure
Use the following procedure to untwist a
twisted lap/shoulder belt.
1. Position the latch plate as close as pos-sible to the anchor point.
2. At about 6 to 12 inches (15 to 30 cm) above the latch plate, grasp and twist the
seat belt webbing 180 degrees to create a
fold that begins immediately above the
latch plate.
3. Slide the latch plate upward over the folded webbing. The folded webbing must
enter the slot at the top of the latch plate.
4. Continue to slide the latch plate up until it clears the folded webbing and the seat
belt is no longer twisted.
Adjustable Upper Shoulder Belt Anchorage
In the driver and front passenger seats, the
top of the shoulder belt can be adjusted
upward or downward to position the seat belt
away from your neck. Push or squeeze the
anchorage button to release the anchorage,
and move it up or down to the position that
serves you best. As a guide, if you are shorter than average,
you will prefer the shoulder belt anchorage in
a lower position, and if you are taller than
average, you will prefer the shoulder belt
anchorage in a higher position. After you
release the anchorage button, try to move it
up or down to make sure that it is locked in
position. NOTE:
The adjustable upper shoulder belt anchor-
age is equipped with an Easy Up feature. This
feature allows the shoulder belt anchorage to
be adjusted in the upward position without
pushing or squeezing the release button. To
verify the shoulder belt anchorage is latched,
pull downward on the shoulder belt anchor-
age until it is locked into position.
WARNING!
• Wearing your seat belt incorrectly could
make your injuries in a collision much
worse. You might suffer internal injuries,
or you could even slide out of the seat
belt. Follow these instructions to wear
your seat belt safely and to keep your
passengers safe, too.
• Position the shoulder belt across the
shoulder and chest with minimal, if any
slack so that it is comfortable and not
resting on your neck. The retractor will
withdraw any slack in the shoulder belt.
• Misadjustment of the seat belt could
reduce the effectiveness of the safety
belt in a crash.
Adjustable Anchorage
SAFETY
116
Page 121 of 372
How To Engage The Automatic Locking Mode
1. Buckle the combination lap and shoulderbelt.
2. Grasp the shoulder portion and pull down- ward until the entire seat belt is extracted.
3. Allow the seat belt to retract. As the seat belt retracts, you will hear a clicking
sound. This indicates the seat belt is now
in the Automatic Locking Mode.
How To Disengage The Automatic Locking Mode
Unbuckle the combination lap/shoulder belt
and allow it to retract completely to disen-
gage the Automatic Locking Mode and acti-
vate the vehicle sensitive (emergency) lock-
ing mode.
WARNING!
• The seat belt assembly must be replaced if the switchable Automatic Locking Re-
tractor (ALR) feature or any other seat
belt function is not working properly
when checked according to the proce-
dures in the Service Manual.
WARNING!
• Failure to replace the seat belt assemblycould increase the risk of injury in colli-
sions.
• Do not use the Automatic Locking Mode
to restrain occupants who are wearing
the seat belt or children who are using
booster seats. The locked mode is only
used to install rear-facing or forward-
facing child restraints that have a har-
ness for restraining the child.
Supplemental Active Head Restraints (AHR)
These head restraints are passive, deployable
components, and vehicles with this equip-
ment cannot be readily identified by any
markings, only through visual inspection of
the head restraint. The head restraint will be
split in two halves, with the front half being
soft foam and trim, the back half being deco-
rative plastic.
How The Active Head Restraints (AHR) Work
The Occupant Restraint Controller (ORC) de-
termines whether the severity or type of rear
impact will require the Active Head Re- straints (AHR) to deploy. If a rear impact
requires deployment, both the driver and
front passenger seat AHRs will be deployed.
When AHRs deploy during a rear impact, the
front half of the head restraint extends for-
ward to minimize the gap between the back of
the occupant’s head and the AHR. This sys-
tem is designed to help prevent or reduce the
extent of injuries to the driver and front pas-
senger in certain types of rear impacts.
NOTE:
The Active Head Restraints (AHR) may or
may not deploy in the event of a front or side
impact. However, if during a front impact, a
secondary rear impact occurs, the AHR may
deploy based on the severity and type of the
impact.
119
Page 127 of 372
Supplemental Side Air Bags
Your vehicle is equipped with two types of
side air bags:
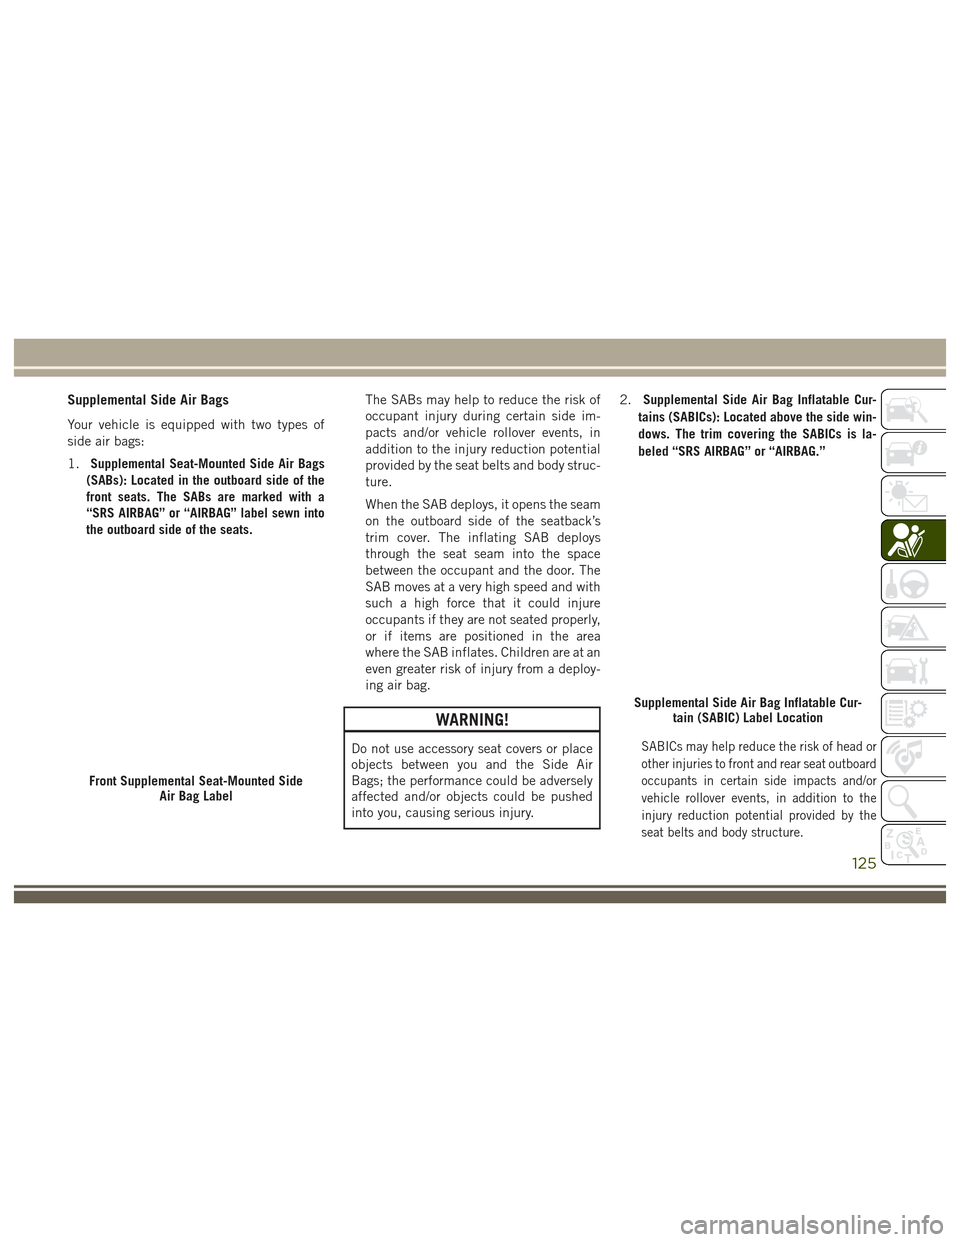
1.Supplemental Seat-Mounted Side Air Bags
(SABs): Located in the outboard side of the
front seats. The SABs are marked with a
“SRS AIRBAG” or “AIRBAG” label sewn into
the outboard side of the seats. The SABs may help to reduce the risk of
occupant injury during certain side im-
pacts and/or vehicle rollover events, in
addition to the injury reduction potential
provided by the seat belts and body struc-
ture.
When the SAB deploys, it opens the seam
on the outboard side of the seatback’s
trim cover. The inflating SAB deploys
through the seat seam into the space
between the occupant and the door. The
SAB moves at a very high speed and with
such a high force that it could injure
occupants if they are not seated properly,
or if items are positioned in the area
where the SAB inflates. Children are at an
even greater risk of injury from a deploy-
ing air bag.
WARNING!
Do not use accessory seat covers or place
objects between you and the Side Air
Bags; the performance could be adversely
affected and/or objects could be pushed
into you, causing serious injury.2.
Supplemental Side Air Bag Inflatable Cur-
tains (SABICs): Located above the side win-
dows. The trim covering the SABICs is la-
beled “SRS AIRBAG” or “AIRBAG.”SABICs may help reduce the risk of head or
other injuries to front and rear seat outboard
occupants in certain side impacts and/or
vehicle rollover events, in addition to the
injury reduction potential provided by the
seat belts and body structure.
Front Supplemental Seat-Mounted Side Air Bag Label
Supplemental Side Air Bag Inflatable Cur-tain (SABIC) Label Location
125
Page 128 of 372
The SABICs deploy downward, covering
the side windows. An inflating SABIC
pushes the outside edge of the trim out of
the way and covers the window. The
SABICs inflate with enough force to in-
jure occupants if they are not belted and
seated properly, or if items are positioned
in the area where the SABICs inflate.
Children are at an even greater risk of
injury from a deploying air bag.
WARNING!
•Do not stack luggage or other cargo up
high enough to block the deployment of
the SABICs. The trim covering above the
side windows where the SABIC and its
deployment path are located should re-
main free from any obstructions.
• In order for the SABICs to work as in-
tended, do not install any accessory
items in your vehicle which could alter
the roof. Do not add an aftermarket sun-
roof to your vehicle. Do not add roof
racks that require permanent attach-
ments (bolts or screws) for installation
on the vehicle roof. Do not drill into the
roof of the vehicle for any reason. The SABICs and SABs (Side Air Bags) are
designed to activate in certain side impacts
and certain rollover events. The Occupant
Restraint Controller (ORC) determines
whether the deployment of the Side Air Bags
in a particular side impact or rollover event is
appropriate, based on the severity and type of
collision. Vehicle damage by itself is not a
good indicator of whether or not Side Air Bags
should have deployed.
Side Air Bags are a supplement to the seat
belt restraint system. Side Air Bags deploy in
less time than it takes to blink your eyes.
WARNING!
• Occupants, including children, who are
up against or very close to SABICs can
be seriously injured or killed. Occu-
pants, including children, should never
lean on or sleep against the door, side
windows, or area where the side air bags
inflate, even if they are in an infant or
child restraint.
• Seat belts (and child restraints where
appropriate) are necessary for your pro-
WARNING!
tection in all collisions. They also help
keep you in position, away from an in-
flating SABIC. To get the best protection
from the SABICs, occupants must wear
their seat belts properly and sit upright
with their backs against the seats. Chil-
dren must be properly restrained in a
child restraint or booster seat that is
appropriate for the size of the child.
• Side Air Bags need room to inflate. Do
not lean against the door or window. Sit
upright in the center of the seat.
• Being too close to the Side Air Bags
during deployment could cause you to
be severely injured or killed.
• Relying on the Side Air Bags alone could
lead to more severe injuries in a colli-
sion. The Side Air Bags work with your
seat belt to restrain you properly. In
some collisions, Side Air Bags won’t
deploy at all. Always wear your seat belt
even though you have Side Air Bags.
SAFETY
126
Page 132 of 372
NOTE:
EDR data are recorded by your vehicle only if
a non-trivial crash situation occurs; no data
are recorded by the EDR under normal driving
conditions and no personal data (e.g., name,
gender, age, and crash location) are re-
corded. However, other parties, such as law
enforcement, could combine the EDR data
with the type of personally identifying data
routinely acquired during a crash investiga-
tion.
To read data recorded by an EDR, special
equipment is required, and access to the
vehicle or the EDR is needed. In addition to
the vehicle manufacturer, other parties, such
as law enforcement, that have the special
equipment, can read the information if they
have access to the vehicle or the EDR.
Child Restraints
Everyone in your vehicle needs to be buckled
up at all times, including babies and chil-
dren. Every state in the United States, andevery Canadian province, requires that small
children ride in proper restraint systems. This
is the law, and you can be prosecuted for
ignoring it.
Children 12 years or younger should ride
properly buckled up in a rear seat, if avail-
able. According to crash statistics, children
are safer when properly restrained in the rear
seats rather than in the front.
WARNING!
In a collision, an unrestrained child can
become a projectile inside the vehicle.
The force required to hold even an infant
on your lap could become so great that you
could not hold the child, no matter how
strong you are. The child and others could
be badly injured. Any child riding in your
vehicle should be in a proper restraint for
the child’s size.
There are different sizes and types of re-
straints for children from newborn size to the child almost large enough for an adult safety
belt. Always check the child seat Owner’s
Manual to make sure you have the correct
seat for your child. Carefully read and follow
all the instructions and warnings in the child
restraint Owner’s Manual and on all the la-
bels attached to the child restraint.
Before buying any restraint system, make
sure that it has a label certifying that it meets
all applicable Safety Standards. You should
also make sure that you can install it in the
vehicle where you will use it.
NOTE:
• For additional information, refer to
www.safercar.gov/parents/index.htm or
call 1–888–327–4236.
• Canadian residents should refer to Trans- port Canada’s website for additional infor-
mation:
www.tc.gc.ca/eng/motorvehiclesafety/
safedrivers-childsafety-index-53.htm
SAFETY
130
Page 133 of 372
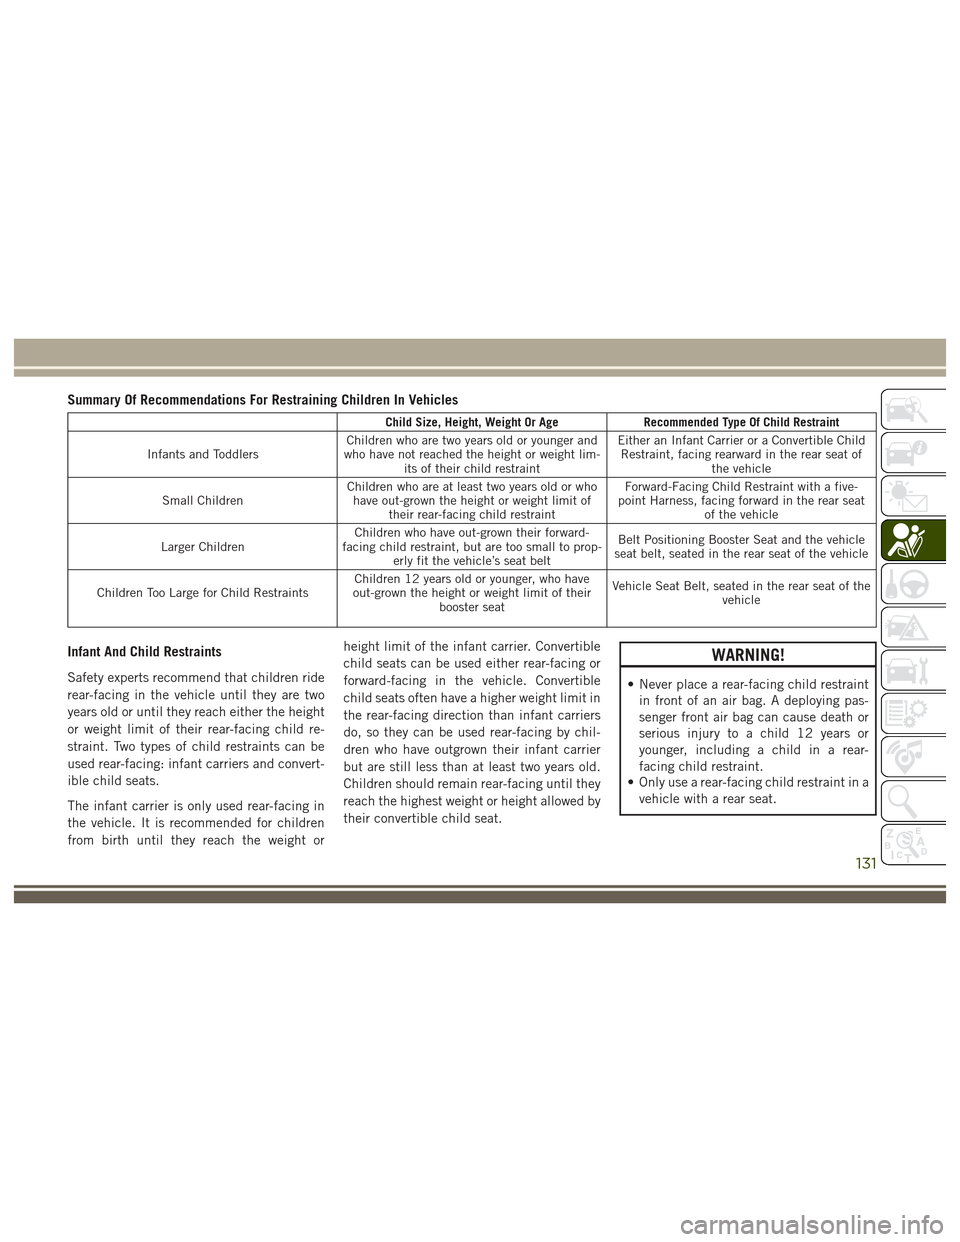
Summary Of Recommendations For Restraining Children In Vehicles
Child Size, Height, Weight Or AgeRecommended Type Of Child Restraint
Infants and Toddlers Children who are two years old or younger and
who have not reached the height or weight lim- its of their child restraint Either an Infant Carrier or a Convertible Child
Restraint, facing rearward in the rear seat of the vehicle
Small Children Children who are at least two years old or who
have out-grown the height or weight limit of their rear-facing child restraint Forward-Facing Child Restraint with a five-
point Harness, facing forward in the rear seat of the vehicle
Larger Children Children who have out-grown their forward-
facing child restraint, but are too small to prop- erly fit the vehicle’s seat belt Belt Positioning Booster Seat and the vehicle
seat belt, seated in the rear seat of the vehicle
Children Too Large for Child Restraints Children 12 years old or younger, who have
out-grown the height or weight limit of their booster seat Vehicle Seat Belt, seated in the rear seat of the
vehicle
Infant And Child Restraints
Safety experts recommend that children ride
rear-facing in the vehicle until they are two
years old or until they reach either the height
or weight limit of their rear-facing child re-
straint. Two types of child restraints can be
used rear-facing: infant carriers and convert-
ible child seats.
The infant carrier is only used rear-facing in
the vehicle. It is recommended for children
from birth until they reach the weight or height limit of the infant carrier. Convertible
child seats can be used either rear-facing or
forward-facing in the vehicle. Convertible
child seats often have a higher weight limit in
the rear-facing direction than infant carriers
do, so they can be used rear-facing by chil-
dren who have outgrown their infant carrier
but are still less than at least two years old.
Children should remain rear-facing until they
reach the highest weight or height allowed by
their convertible child seat.
WARNING!
• Never place a rear-facing child restraint
in front of an air bag. A deploying pas-
senger front air bag can cause death or
serious injury to a child 12 years or
younger, including a child in a rear-
facing child restraint.
• Only use a rear-facing child restraint in a
vehicle with a rear seat.
131