ECU JEEP GRAND CHEROKEE 2017 WK2 / 4.G User Guide
[x] Cancel search | Manufacturer: JEEP, Model Year: 2017, Model line: GRAND CHEROKEE, Model: JEEP GRAND CHEROKEE 2017 WK2 / 4.GPages: 372
Page 13 of 372
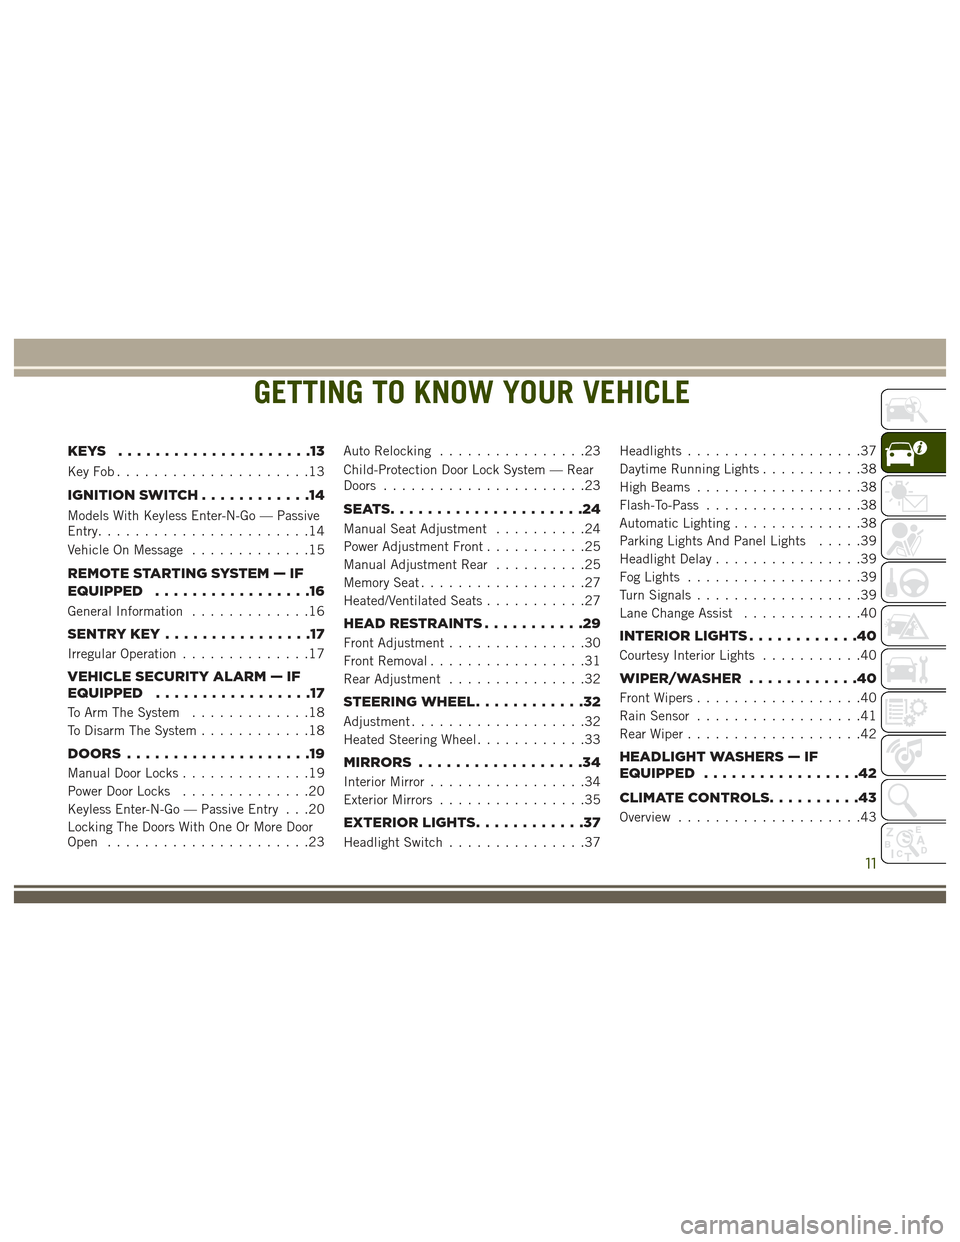
GETTING TO KNOW YOUR VEHICLE
KEYS .....................13
KeyFob.....................13
IGNITIONSWITCH............14
Models With Keyless Enter-N-Go — Passive
Entry.......................14
Vehicle On Message.............15
REMOTE STARTING SYSTEM — IF
EQUIPPED .................16
General Information.............16
SENTRYKEY................17
Irregular Operation..............17
VEHICLE SECURITY ALARM — IF
EQUIPPED .................17
To Arm The System .............18
To Disarm The System ............18
DOORS....................19
Manual Door Locks ..............19
Power Door Locks ..............20
Keyless Enter-N-Go — Passive Entry . . .20
Locking The Doors With One Or More Door
Open ......................23 Auto Relocking
................23
Child-Protection Door Lock System — Rear
Doors ......................23
SEATS.....................24
Manual Seat Adjustment ..........24
Power Adjustment Front ...........25
Manual Adjustment Rear ..........25
Memory Seat ..................27
Heated/Ventilated Seats ...........27
HEADRESTRAINTS...........29
Front Adjustment...............30
Front Removal .................31
Rear Adjustment ...............32
STEERING WHEEL ............32
Adjustment...................32
Heated Steering Wheel ............33
MIRRORS..................34
Interior Mirror .................34
Exterior Mirrors ................35
EXTERIORLIGHTS............37
Headlight Switch ...............37 Headlights
...................37
Daytime Running Lights ...........38
High Beams ..................38
Flash-To-Pass .................38
Automatic Lighting ..............38
Parking Lights And Panel Lights .....39
Headlight Delay ................39
Fog Lights ...................39
Turn Signals ..................39
Lane Change Assist .............40
INTERIORLIGHTS............40
Courtesy Interior Lights ...........40
WIPER/WASHER............40
Front Wipers..................40
Rain Sensor ..................41
Rear Wiper ...................42
HEADLIGHT WASHERS — IF
EQUIPPED .................42
CLIMATECONTROLS..........43
Overview....................43
GETTING TO KNOW YOUR VEHICLE
11
Page 18 of 372
WARNING!
• Do not leave the key fob in or near thevehicle, or in a location accessible to
children, and do not leave the ignition of
a vehicle equipped with Keyless Enter-
N-Go in the ON/RUN mode. A child
could operate power windows, other con-
trols, or move the vehicle.
• Do not leave children or animals inside
parked vehicles in hot weather. Interior
heat build-up may cause serious injury
or death.
CAUTION!
An unlocked vehicle is an invitation for
thieves. Always remove key fob from the
vehicle and lock all doors when leaving the
vehicle unattended.
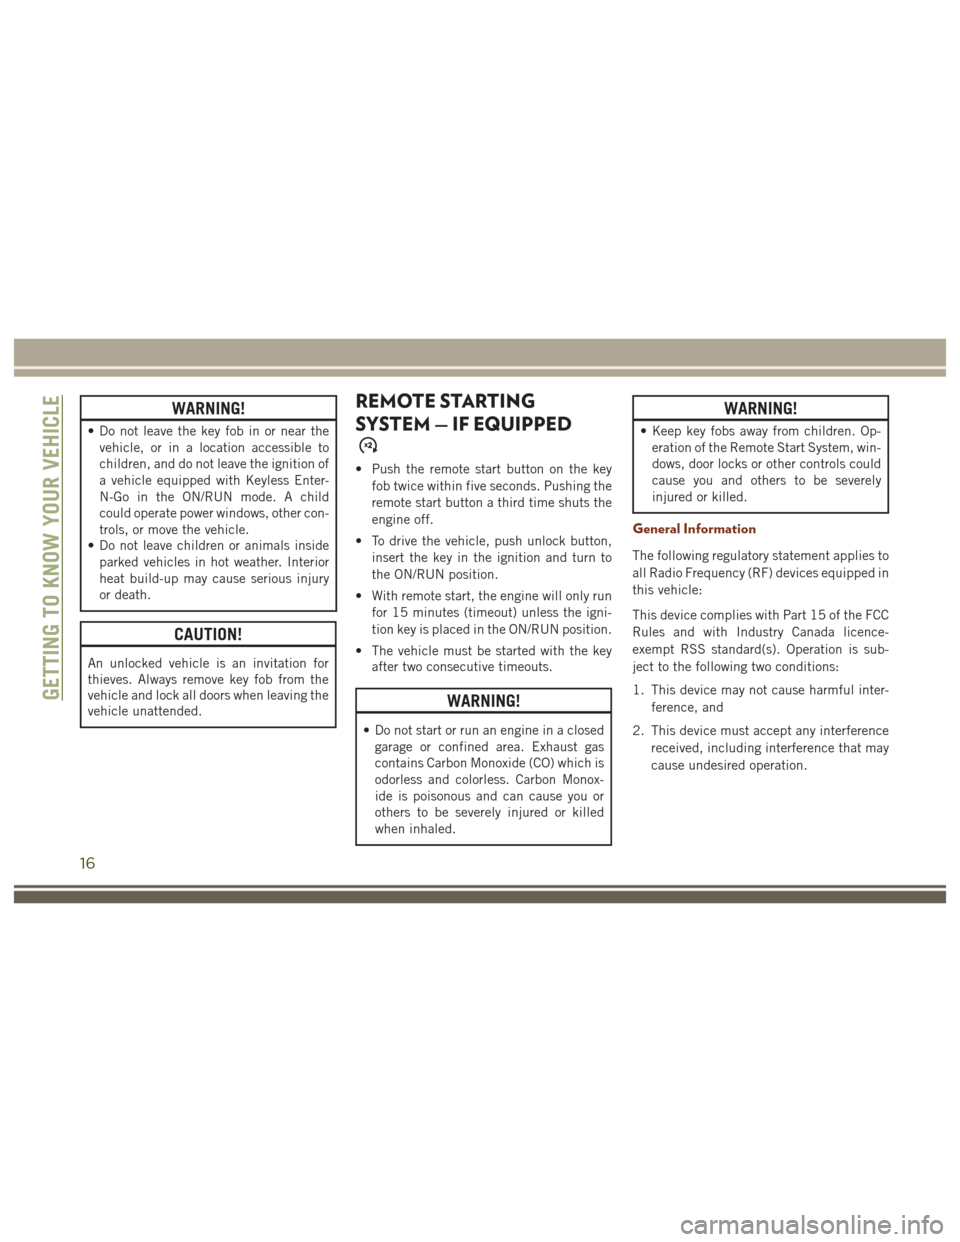
REMOTE STARTING
SYSTEM — IF EQUIPPED
• Push the remote start button on the key
fob twice within five seconds. Pushing the
remote start button a third time shuts the
engine off.
• To drive the vehicle, push unlock button, insert the key in the ignition and turn to
the ON/RUN position.
• With remote start, the engine will only run for 15 minutes (timeout) unless the igni-
tion key is placed in the ON/RUN position.
• The vehicle must be started with the key after two consecutive timeouts.
WARNING!
• Do not start or run an engine in a closed
garage or confined area. Exhaust gas
contains Carbon Monoxide (CO) which is
odorless and colorless. Carbon Monox-
ide is poisonous and can cause you or
others to be severely injured or killed
when inhaled.
WARNING!
• Keep key fobs away from children. Op-eration of the Remote Start System, win-
dows, door locks or other controls could
cause you and others to be severely
injured or killed.
General Information
The following regulatory statement applies to
all Radio Frequency (RF) devices equipped in
this vehicle:
This device complies with Part 15 of the FCC
Rules and with Industry Canada licence-
exempt RSS standard(s). Operation is sub-
ject to the following two conditions:
1. This device may not cause harmful inter-
ference, and
2. This device must accept any interference received, including interference that may
cause undesired operation.
GETTING TO KNOW YOUR VEHICLE
16
Page 19 of 372
NOTE:
Changes or modifications not expressly ap-
proved by the party responsible for compli-
ance could void the user’s authority to oper-
ate the equipment.
SENTRY KEY
The Sentry Key Immobilizer system prevents
unauthorized vehicle operation by disabling
the engine. The system does not need to be
armed or activated. Operation is automatic,
regardless of whether the vehicle is locked or
unlocked.
All of the key fobs provided with your new
vehicle have been programmed to the vehicle
electronics.
Irregular Operation
The system uses a key fob, an Ignition Node
Module, Keyless Push Button Ignition and a
RF receiver to prevent unauthorized vehicle
operation. Therefore, only key fobs that are
programmed to the vehicle can be used tostart and operate the vehicle. The system will
not allow the engine to crank if an invalid key
fob is used to start and operate the vehicle.
The system will shut the engine off in two
seconds if an invalid key fob is used to start
the engine.
NOTE:
A key fob that has not been programmed is
also considered an invalid key.
During normal operation, after placing the
keyless ignition in the ON/RUN position, the
Vehicle Security Light will turn on for three
seconds for a bulb check. If the light remains
on after the bulb check, it indicates that
there is a problem with the electronics. In
addition, if the light begins to flash after the
bulb check, it indicates that someone used
an invalid key fob to try to start the engine.
Either of these conditions will result in the
engine being shut off after two seconds.
If the Vehicle Security Light turns on during
normal vehicle operation (vehicle running for
longer than 10 seconds), it indicates thatthere is a fault in the electronics. Should this
occur, have the vehicle serviced as soon as
possible by an authorized dealer.
VEHICLE SECURITY ALARM
— IF EQUIPPED
The Vehicle Security Alarm monitors the ve-
hicle doors, hood, liftgate, and the Keyless
Enter-N-Go — Ignition for unauthorized op-
eration. While the Vehicle Security Alarm is
armed, interior switches for door locks and
liftgate release are disabled. If something
triggers the alarm, the Vehicle Security Alarm
will provide the following audible and visible
signals:
• The horn will pulse
• The park lamps and/or turn signals will
flash
• The Vehicle Security Light in the instru- ment cluster will flash
17
Page 20 of 372
To Arm The System
Follow these steps to arm the Vehicle Secu-
rity Alarm:
1. Make sure the vehicles ignition is cycledto the “OFF” position.
• For vehicles equipped with Keyless Enter-N-Go — Passive Entry, make
sure the vehicles keyless ignition sys-
tem is OFF.
• For vehicles not equipped with Keyless Enter-N-Go — Passive Entry, make
sure the vehicle ignition system is OFF,
and the key is physically removed from
the ignition.
2. Perform one of the following methods to lock the vehicle:
• Push lock button on the interior power door lock switch with the driver and/or
passenger door open.
• Push the lock button on the exterior Passive Entry Door Handle with a valid
key fob available in the same exterior
zone.
• Push the lock button on the key fob. 3. If any doors are open, close them.To Disarm The System
The Vehicle Security Alarm can be disarmed
using any of the following methods:
• Push the unlock
button on the key
fob.
• Grasp the Passive Entry Unlock Door Handle.
• Cycle the vehicle ignition system out of the OFF position.– For vehicles equipped with Keyless
Enter-N-Go — Passive Entry, push the
keyless ignition button (requires at
least one valid key fob in the vehicle).
– For vehicles not equipped with Keyless Enter-N-Go — Passive Entry, insert a
valid key into the ignition and turn the
key to the ON position.
NOTE:
• The driver's door key cylinder and the liftgate button on the key fob cannot arm
or disarm the Vehicle Security Alarm. • The Vehicle Security Alarm remains armed
during power liftgate entry. Pushing the
liftgate button will not disarm the Vehicle
Security Alarm. If someone enters the ve-
hicle through the liftgate and opens any
door, the alarm will sound.
• When the Vehicle Security Alarm is armed, the interior power door lock switches will
not unlock the doors.
The Vehicle Security Alarm is designed to
protect your vehicle. However, you can create
conditions where the system will give you a
false alarm. If one of the previously described
arming sequences has occurred, the Vehicle
Security Alarm will arm regardless of whether
you are in the vehicle or not. If you remain in
the vehicle and open a door, the alarm will
sound. If this occurs, disarm the Vehicle
Security Alarm.
If the Vehicle Security Alarm is armed and
the battery becomes disconnected, the Ve-
hicle Security Alarm will remain armed when
the battery is reconnected; the exterior lights
will flash, and the horn will sound. If this
occurs, disarm the Vehicle Security Alarm.
GETTING TO KNOW YOUR VEHICLE
18
Page 21 of 372
DOORS
Manual Door Locks
The power door locks can be manually locked
from inside the vehicle by using the door lock
knob. To lock each door, push the door lock
knob on each door trim panel downward. To
unlock the front doors, pull the inside door
handle to the first detent. To unlock the rear
doors, pull the door lock knob on the door
trim panel upward. If the lock knob is down
when the door is closed, the door will lock.
Therefore, make sure the key fob is not inside
the vehicle before closing the door.
NOTE:
Manually locking the vehicle will not arm the
Vehicle Security Alarm.
WARNING!
• For personal security and safety in theevent of a collision, lock the vehicle
doors before you drive as well as when
you park and leave the vehicle.
• When leaving the vehicle, always remove
the key fob from the vehicle and lock
your vehicle. If equipped with Keyless
Enter-N-Go — Ignition, always make
sure the keyless ignition node is in
WARNING!
“OFF” mode, remove the key fob from
the vehicle and lock the vehicle. Unsu-
pervised use of vehicle equipment may
cause severe personal injuries or death.
• Never leave children alone in a vehicle,
or with access to an unlocked vehicle.
Allowing children to be in a vehicle un-
attended is dangerous for a number of
reasons. A child or others could be seri-
ously or fatally injured. Children should
be warned not to touch the parking
brake, brake pedal or the gear selector.
• Do not leave the key fob in or near the
vehicle, or in a location accessible to
children, and do not leave the ignition of
a vehicle equipped with Keyless Enter-
N-Go — Ignition the ACC or ON/RUN
mode. A child could operate power win-
dows, other controls, or move the ve-
hicle.
Manual Door Lock Knob
19
Page 22 of 372
Power Door Locks
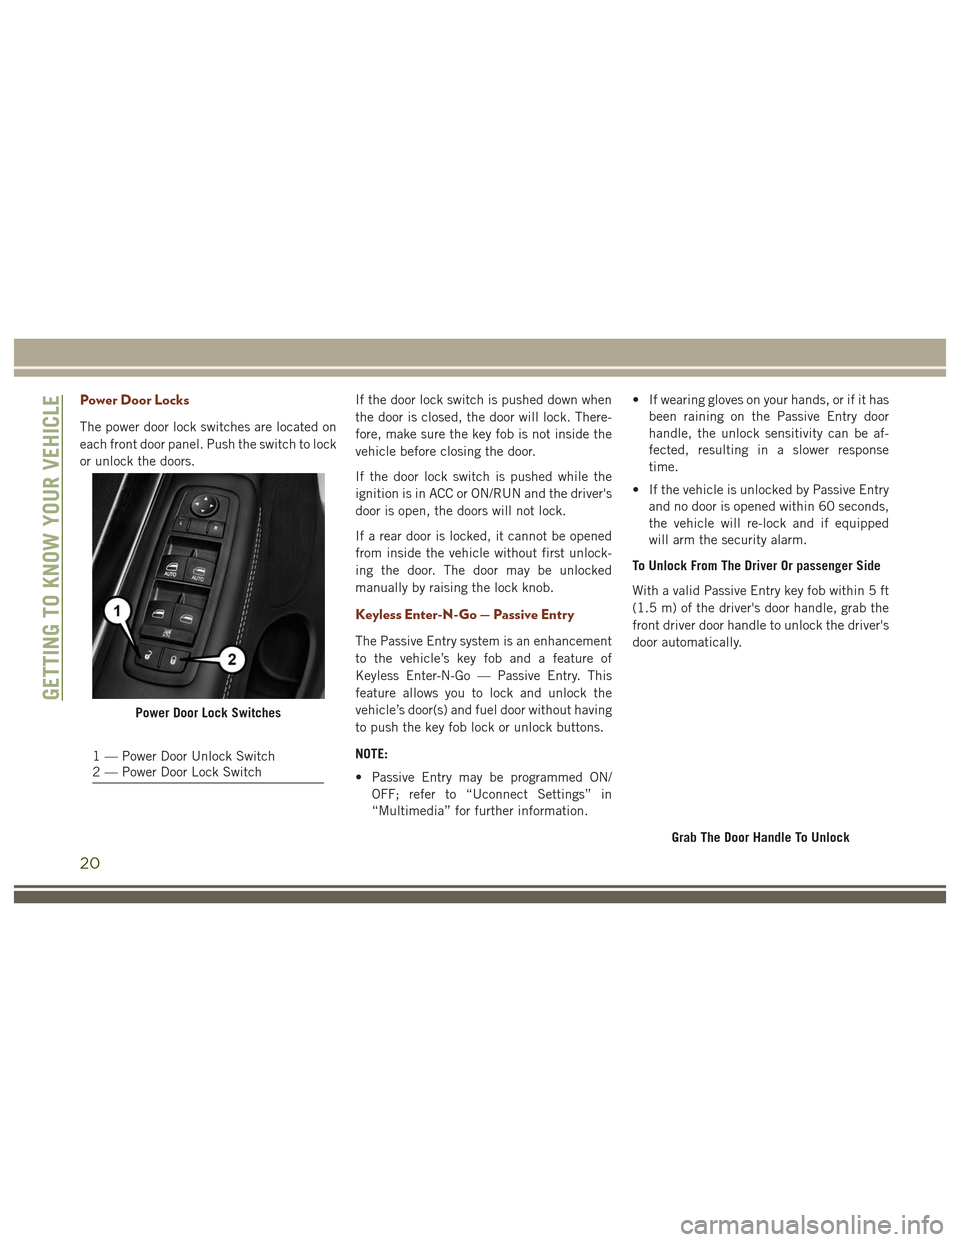
The power door lock switches are located on
each front door panel. Push the switch to lock
or unlock the doors.If the door lock switch is pushed down when
the door is closed, the door will lock. There-
fore, make sure the key fob is not inside the
vehicle before closing the door.
If the door lock switch is pushed while the
ignition is in ACC or ON/RUN and the driver's
door is open, the doors will not lock.
If a rear door is locked, it cannot be opened
from inside the vehicle without first unlock-
ing the door. The door may be unlocked
manually by raising the lock knob.
Keyless Enter-N-Go — Passive Entry
The Passive Entry system is an enhancement
to the vehicle’s key fob and a feature of
Keyless Enter-N-Go — Passive Entry. This
feature allows you to lock and unlock the
vehicle’s door(s) and fuel door without having
to push the key fob lock or unlock buttons.
NOTE:
• Passive Entry may be programmed ON/
OFF; refer to “Uconnect Settings” in
“Multimedia” for further information. • If wearing gloves on your hands, or if it has
been raining on the Passive Entry door
handle, the unlock sensitivity can be af-
fected, resulting in a slower response
time.
• If the vehicle is unlocked by Passive Entry and no door is opened within 60 seconds,
the vehicle will re-lock and if equipped
will arm the security alarm.
To Unlock From The Driver Or passenger Side
With a valid Passive Entry key fob within 5 ft
(1.5 m) of the driver's door handle, grab the
front driver door handle to unlock the driver's
door automatically.
Power Door Lock Switches
1 — Power Door Unlock Switch
2 — Power Door Lock Switch
Grab The Door Handle To Unlock
GETTING TO KNOW YOUR VEHICLE
20
Page 23 of 372
NOTE:
If “Unlock All Doors 1st Press” is pro-
grammed all doors will unlock when you grab
hold of the front driver’s door handle. To
select between “Unlock Driver Door 1st
Push” and “Unlock All Doors 1st Press,”
refer to “Uconnect Settings” in “Multime-
dia” for further information.
To Unlock From The Passenger Side
With a valid Passive Entry key fob within 5 ft
(1.5 m) of the passenger door handle, grab
the front passenger door handle to unlock all
four doors and the liftgate automatically.
NOTE:
All doors will unlock when the front passen-
ger door handle is grabbed regardless of the
driver’s door unlock preference setting (“Un-
lock Driver Door 1st Press” or “Unlock All
Doors 1st Press”).Preventing Inadvertent Locking Of Passive Entry
Key Fob In Vehicle (FOBIK-Safe)
To minimize the possibility of unintentionally
locking a Passive Entry key fob inside your
vehicle, the Passive Entry system is equipped
with an automatic door unlock feature which
will function if the ignition switch is in the
OFF position.
FOBIK-Safe only executes in vehicles with
passive entry. There are three situations that
trigger a FOBIK-Safe search in any passive
entry vehicle:
• A lock request is made by a valid Passive
Entry key fob while a door is open.
• A lock request is made by the Passive Entry door handle while a door is open.
• A lock request is made by the door panel switch while the door is open.
When any of these situations occur, after all
open doors are shut, the FOBIK-Safe search
will be executed. If it finds a Passive Entry
key fob inside the car, the car will unlock and
alert the customer. NOTE:
The vehicle will only unlock the doors when a
valid Passive Entry key fob is detected inside
the vehicle. The vehicle will not unlock the
doors when any of the following conditions
are true:
• The doors are manually locked using the
door lock knobs.
• Three attempts are made to lock the doors using the door panel switch and then close
the doors.
• There is a valid Passive Entry key fob outside the vehicle within 5 ft. (1.5 m) of
a Passive Entry door handle.
To Lock The Vehicle’s Doors And Liftgate
With one of the vehicle’s Passive Entry key
fob within 5 ft (1.5 m) of the driver or
passenger front door handles, pushing the
passive entry lock button will lock the ve-
hicle.
DO NOT grab the door handle, when pushing
the door handle lock button. This could un-
lock the door(s).
21
Page 28 of 372
1. Pull upward on the release lever to releasethe seat.
NOTE:
• Do not fold the 60% rear seat down with the left outboard or rear center seat belt
buckled.
• Do not fold the 40% rear seat down with the right outboard seat belt buckled. 2. Fold the rear seat completely forward.
NOTE:
You may experience deformation in the seat
cushion from the seat belt buckles if the
seats are left folded for an extended period of
time. This is normal and by simply opening
the seats to the open position, over time the
seat cushion will return to its normal shape.
Height Manual Rear
Raise the rear seatback and lock it into place.
If interference from the cargo area prevents
the seatback from fully locking, you will have
difficulty returning the seat to its proper
position.
WARNING!
• Be certain that the seatback is securely
locked into position. If the seatback is
not securely locked into position the
seat will not provide the proper stability
for child seats and/or passengers. An
improperly latched seat could cause se-
rious injury.
WARNING!
• The cargo area in the rear of the vehicle(with the rear seatbacks in the locked-up
or folded down position) should not be
used as a play area by children when the
vehicle is in motion. They could be seri-
ously injured in a collision. Children
should be seated and using the proper
restraint system.
Recline Manual Rear
To recline the seatback, lift the lever located
on the outboard side of the seat, lean back
and release the lever at the desired position.
To return the seatback, lift the lever, lean
forward and release the lever.
WARNING!
Do not ride with the seatback reclined so
that the shoulder belt is no longer resting
against your chest. In a collision you could
slide under the seat belt, which could
result in serious injury or death.
Rear Seat Release Lever
GETTING TO KNOW YOUR VEHICLE
26
Page 58 of 372
Closing
Express Closing
Push the switch forward and release it within
one-half second. The sunroof will fully close
automatically from any position.
Manual Closing
Push and hold the switch forward to close the
sunroof. Any release of the switch will stop
the movement, and the sunroof will remain in
a partially closed position until the switch is
pushed again.
Wind Buffeting
Wind buffeting can be described as a
helicopter-type percussion sound. If buffet-
ing occurs with the rear windows open, adjust
the front and rear windows together.
If buffeting occurs with the sunroof open,
adjust the sunroof opening, or adjust any
window. This will minimize buffeting.
Anti-Pinch Safety Device
This feature will detect an obstruction in the
opening of the sunroof during Express Close
operation. If an obstruction in the path of the
sunroof is detected, the sunroof will auto-
matically retract. Remove the obstruction if
this occurs. Next, push the switch forward
and release to Express Close.
NOTE:
If three consecutive sunroof close attempts
result in Pinch Protect reversals, the fourth
close attempt will be a Manual Close move-
ment with Pinch Protect disabled.
WARNING!
• Do not let children play with the sunroof.Never leave children unattended in a
vehicle, or with access to an unlocked
vehicle. Do not leave the key fob in or
near the vehicle, and do not leave the
ignition of a vehicle equipped with Key-
less Enter-N-Go in the ACC or ON/RUN
mode. Occupants, particularly unat-
tended children, can become entrapped
by the power sunroof while operating the
WARNING!
power sunroof switch. Such entrapment
may result in serious injury or death.
• In a collision, there is a greater risk of
being thrown from a vehicle with an
open sunroof. You could also be severely
injured or killed. Always fasten your seat
belt properly and make sure all passen-
gers are properly secured.
• Do not allow small children to operate
the sunroof. Never allow your fingers,
other body parts, or any object to project
through the sunroof opening. Injury may
result.
COMMANDVIEW SUNROOF
WITH POWER SHADE
The CommandView sunroof with power shade
switch is located on the overhead console.
GETTING TO KNOW YOUR VEHICLE
56
Page 60 of 372
WARNING!
Be sure the hood is fully latched before
driving your vehicle. If the hood is not fully
latched, it could open when the vehicle is
in motion and block your vision. Failure to
follow this warning could result in serious
injury or death.
Closing
1. Before closing the hood, check to makesure all filler caps are correctly installed.
2. Lower the hood halfway and push down to close the hood and securely latch it into
place.
WARNING!
Be sure the hood is fully latched before
driving your vehicle. If the hood is not fully
latched, it could open when the vehicle is
in motion and block your vision. Failure to
follow this warning could result in serious
injury or death.
CAUTION!
To prevent possible damage, do not slam
the hood to close it. Use a firm downward
push at the front center of the hood to
ensure that both latches engage.
LIFTGATE
Opening
The liftgate can be opened from inside the
vehicle using the Power Liftgate button on
the overhead console, using the key fob out-
side of the vehicle or the Electronic Liftgate
Release.
To Unlock/Enter The Liftgate
The liftgate may be released in several ways:
• Key fob
• Outside handle
• Button on Overhead Console The liftgate passive entry unlock feature is
built into the electronic liftgate release. With
a valid Passive Entry Key Fob within 5 ft
(1.5 m) of the liftgate, push the electronic
liftgate release to open with one fluid motion.
Push the button on the key fob twice within
five seconds to release the liftgate.
NOTE:
If “Unlock All Doors 1st Press” is pro-
grammed in the instrument cluster display,
all doors will unlock when you push the
electronic release on the liftgate. If "Unlock
Driver Door 1st Press" is programmed in
Uconnect, the liftgate will unlock when you
push the electronic release on the liftgate.
Refer to “Uconnect Settings” in “Multime-
dia” for further information.
GETTING TO KNOW YOUR VEHICLE
58