USB port JEEP GRAND CHEROKEE 2017 WK2 / 4.G User Guide
[x] Cancel search | Manufacturer: JEEP, Model Year: 2017, Model line: GRAND CHEROKEE, Model: JEEP GRAND CHEROKEE 2017 WK2 / 4.GPages: 372
Page 69 of 372
Power Inverter
There is a 115 Volt, 150 Watt power inverter
outlet located on the back of the center
console. This outlet can power cellular
phones, electronics and other low power de-
vices requiring power up to 150 Watts.NOTE:
The power inverter is designed with built-in
overload protection. If the power rating of
150 Watts is exceeded, the power inverter
will automatically shut down. Once the elec-
trical device has been removed from the out-
let, the inverter should automatically reset. If
the power rating exceeds approximately
170 Watts, the power inverter may have to be
reset manually. To reset the inverter manu-
ally, unplug the device and plug it in again. To
avoid overloading the circuit, check the
power ratings on electrical devices prior to
using the inverter.
WARNING!
To avoid serious injury or death, DO NOT:
• insert any objects into the receptacles
• touch with wet hands
Close the lid when not in use. If this outlet
is mishandled, it may cause an electric
shock and failure.
Power Inverter
1 — USB Ports (Charging Only)
2 — Rear Seat Heater Switches
3 — Power Inverter Outlet
67
Page 287 of 372
MULTIMEDIA
CYBERSECURITY............287
OFFROADPAGES—IF
EQUIPPED................ .288
Off Road Pages Status Bar........288
Drivetrain ...................288
Suspension ..................289
Accessory Gauges ..............289
Selec-Terrain .................289
TIPS CONTROLS AND GENERAL
INFORMATION ............ .290
Steering Wheel Audio Controls ......290
Reception Conditions ............290
Care And Maintenance ...........290
Anti-theft Protection ............291
UCONNECT ACCESS .........291
Uconnect Access — If Equipped (Available
On Uconnect 8.4/8.4 NAV — U.S.
Residents Only)...............291
Uconnect Access Registration (Uconnect
8.4/8.4 NAV, U.S. 48 Contiguous States,
Alaska And Hawaii) ............293
Download The Uconnect Access App . .293 Via Mobile Apps — If Equipped
.....294
Vehicle Finder ................295
Send&Go ..................296
Renewing Subscriptions And
Purchasing 3G Wi-Fi Hotspot (Uconnect
8.4/8.4 NAV, U.S. 48 Contiguous States,
Alaska And Hawaii) .............296
Getting Started With Apps ........297
Maintaining Your Uconnect Access
Account ....................298
Built-In Features ..............298
Vehicle Health Report/Alert ........301
Uconnect Access Remote Features . . .301
UCONNECT 5.0 .............305
Controls On The Front Panel .......305
Clock Setting .................306
Equalizer, Balance And Fade .......306
Radio Mode ..................307
Media Mode .................307
Bluetooth Source ..............310
iPod/USB/SD Card/AUX/Media Player
Control Support ...............311 USB/Audio Jack (AUX)/Bluetooth
Operation
...................311
Phone Mode .................312
SiriusXM Premier Over 160 Channels . .315
UCONNECT 8.4/8.4 NAV ......316
Uconnect 8.4/8.4 NAV At A Glance . . .316
Personalized Menu Bar...........318
Radio Mode ..................318
SiriusXM Premier Over 160 Channels .319
UCONNECT TOUCH SETTINGS . .322
IPOD/USB/SD CARD/MEDIA
PLAYERCONTROL ..........322
Audio Jack (AUX) ..............323
USB Port ...................323
SD Card ....................323
Bluetooth Streaming Audio ........323
Media Controls ................324
UCONNECT REAR SEAT ENTER-
TAINMENT (RSE) SYSTEM — IF
EQUIPPED................ .324
Getting Started...............324
MULTIMEDIA
285
Page 311 of 372
USB/iPod Mode
USB/iPod Mode is entered by either inserting
a USB Jump Drive or iPod cable into the USB
port, or by pushing the MEDIA button located
on the faceplate. Once in Media Mode, press
the “Source” button on the touchscreen and
select “USB/iPod.”
Inserting USB/iPod Device
Gently insert the USB/iPod device into the
USB Port. If you insert a USB/iPod device
with the ignition ON, the unit will switch to
USB/iPod mode and begin to play when you
insert the device. The display will show the
track number and index time in minutes and
seconds. Play will begin at the start of track
1.
Browse
Press the “Browse” button on the touch-
screen to select Artist, Albums, Genres,
Songs, Playlists or Folders from the USB/
iPod device. Once the desired selection is
made you can chose from the available media
by pressing the button on the touchscreen.
Press the “Exit” button on the touchscreen if
you wish to cancel the browse function.AUX Mode
AUX Mode is entered by inserting a AUX
device using a stereo cable with a 3.5 mm
audio jack into the AUX port, or by pushing
the MEDIA button located on the faceplate.
Once in Media Mode, press the “Source”
button on the touchscreen and select “AUX.”
Inserting Auxiliary Device
Gently insert the Auxiliary device cable into
the AUX Port. If you insert a Auxiliary device
with the ignition ON, the unit will switch to
AUX mode and begin to play when you insert
the device cable.
Controlling The Auxiliary Device
The control of the Auxiliary device (e.g., se-
lecting playlists, play, fast forward, etc.) can-
not be provided by the radio; use the device
controls instead. Adjust the volume with the
VOLUME/MUTE rotary knob, or with the vol-
ume of the attached device.
The vehicle radio unit is acting as the ampli-
fier for audio output from the Auxiliary de-
vice. Therefore if the volume control on the
Auxiliary device is set too low, there will be
insufficient audio signal for the radio unit to
play the music on the device.
Track Selection
Seek Up/Seek Down
Press and release the “Right Arrow”but-
ton on the touchscreen for the next selection.
Press and release the “Left Arrow”
button
on the touchscreen to return to the beginning
of the current selection, or return to the
beginning of the previous selection if the Disc
is within the first second of the current selec-
tion.
Fast Seek Up
Press and hold the “Right Arrow”button
on the touchscreen and the desired mode will
begin to fast forward through the current
track until the button on the touchscreen is
released.
309
Page 313 of 372
4. Search for available devices on yourBluetooth enabled device.
• Select Bluetooth and ensure it is en- abled. Once enabled, the device will
begin to search for Bluetooth
connections.
5. If No is selected, and you still would like to pair a device, press the “Settings”
button from the Uconnect Phone main
screen.
• Select “Paired Phones” then press the “Add Device” button on the touch-
screen.
• Search for available devices on your Bluetooth enabled device (see below).
When prompted on the device, select
“Uconnect” and accept the connection
request.
6. Uconnect Phone will display an in prog- ress screen while the system is
connecting.
7. When your device finds the Uconnect sys- tem, select “Uconnect.” 8. When prompted on the device, accept the
connection request from Uconnect
Phone.
NOTE:
Some devices will require you to enter the
PIN number.
9. When the pairing process has successfully completed, the system will prompt you to
choose whether or not this is your favorite
device. Selecting “Yes” will make this
device the highest priority. This device
will take precedence over other paired
devices within range and will connect to
the Uconnect system automatically when
entering the vehicle. Only one Bluetooth
device can be connected to the Uconnect
system at a time. If “No” is selected,
simply select “Uconnect” from the device
Bluetooth screen, and the Uconnect sys-
tem will reconnect to the Bluetooth
device.iPod/USB/SD Card/AUX/Media Player
Control Support
This vehicle has an iPod/USB/SD Card/AUX/
Media Player Control located in the center
console directly below the Climate Controls.
USB/Audio Jack (AUX)/Bluetooth
Operation
To select a specific audio source, push the
MEDIA button on the radio faceplate. To
allow music to play from your portable device
through the vehicle’s speakers, press the
“Source” button on the touchscreen then
select one of the following modes:
USB/iPod
USB/iPod Mode is entered by either inserting
a USB Jump Drive or iPod cable into the USB
port or by pushing the MEDIA button on the
radio faceplate.
311
Page 324 of 372
our satellite service area and in AK and HI.
©2016 Sirius XM Radio Inc. Sirius, XM
and all related marks and logos are trade-
marks of Sirius XM Radio Inc.
UCONNECT TOUCH
SETTINGS
The Uconnect system allows you to access
Customer Programmable feature settings
such as Display, Voice, Clock, Safety & Driv-
ing Assistance, Lights, Doors & Locks,
Auto-On Comfort & Remote Start, Engine Off
Options, Compass Settings, Audio, Phone/
Bluetooth, Suspension, SiriusXM Setup, Re-
store Settings, Clear Personal Data, and Sys-
tem Information through buttons on the
touchscreen.
Push the SETTINGS button (Uconnect 5.0),
or press the “Apps” button (Uconnect 8.4)
located near the bottom of the touchscreen,
then press the “Settings” button on the
touchscreen to access the Settings screen.
When making a selection, scroll up or down
until the preferred setting is highlighted,
then press the preferred setting until a check-mark appears next to the setting, showing
that setting has been selected. The following
feature settings are available:
• Display
• Engine Off Op-
tions
• Voice • Suspension
• Clock • Audio
• Safety & Driving Assistance • Phone/Bluetooth
• Lights • SiriusXM Setup
• Doors & Locks • Restore Settings
• Auto-On Comfort & Remote Start • Clear Personal
Data
• Compass (Uconnect 5.0) • System Informa-
tion
NOTE:
Depending on the vehicles options, feature
settings may vary.
Refer to “Uconnect Settings/Customer Pro-
grammable Features” in the “Multimedia”
Chapter on
www.jeep.com/en/owners/manuals/ for fur-
ther information.
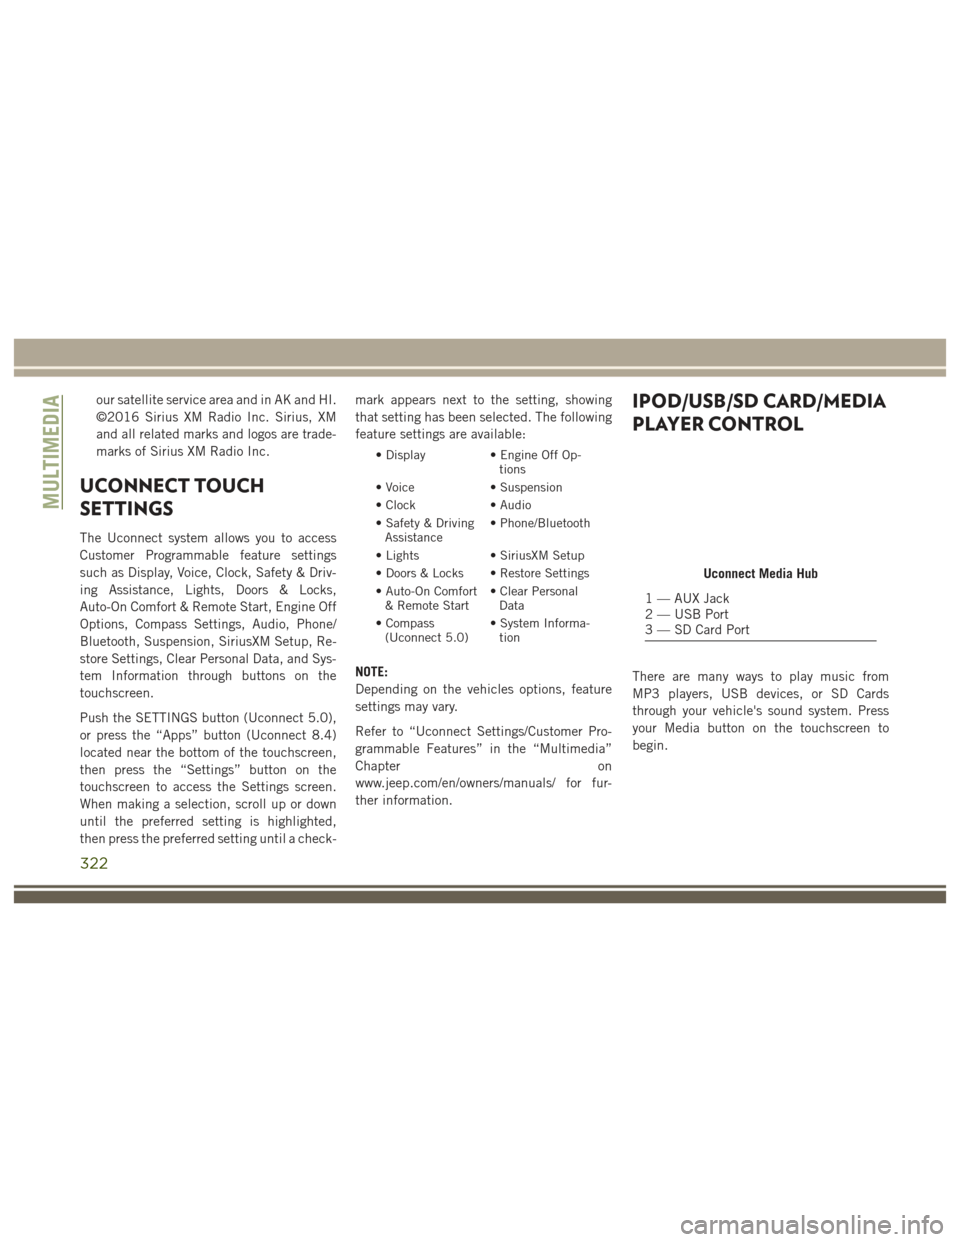
IPOD/USB/SD CARD/MEDIA
PLAYER CONTROL
There are many ways to play music from
MP3 players, USB devices, or SD Cards
through your vehicle's sound system. Press
your Media button on the touchscreen to
begin.
Uconnect Media Hub
1 — AUX Jack
2 — USB Port
3 — SD Card Port
MULTIMEDIA
322
Page 325 of 372
Audio Jack (AUX)
• The AUX allows a device to be plugged intothe radio and utilize the vehicle’s sound
system, using a 3.5 mm audio cable, to
amplify the source and play through the
vehicle speakers.
• Pressing the “AUX” button on the touch- screen will change the mode to auxiliary
device if the audio jack is connected,
allowing the music from your device to be
heard through the vehicle's speakers. To
activate the AUX, plug in the audio jack.
• The functions of the device are controlled using the device buttons. The volume may
be controlled using the radio or device.
• To route the audio cable out of the center console, use the access cut out in the front
of the console.
USB Port
• Connect your compatible device using aUSB cable into the USB Port. USB
Memory sticks with audio files can also be
used. Audio from the device can be played
on the vehicles sound system while provid-
ing metadata (artist, track title, album,
etc.) information on the radio display. • When connected, the compatible USB de-
vice can be controlled using the radio or
Steering Wheel Audio Controls to play,
skip to the next or previous track, browse,
and list the contents.
• The battery charges when plugged into the USB port (if supported by the specific
device).
• To route the USB cable out of the center console, use the access cut out.
NOTE:
When connecting your device for the first
time, the system may take several minutes to
read your music, depending on the number of
files. For example, the system will take ap-
proximately five minutes for every
1,000 songs loaded on the device. Also dur-
ing the reading process, the Shuffle and
Browse functions will be disabled. This pro-
cess is needed to ensure the full use of your
features and only happens the first time it is
connected. After the first time, the reading
process of your device will take considerably
less time unless changes are made or new
songs are added to the playlist.
SD Card
• Play songs stored on an SD card inserted into the SD card slot.
• Song playback can be controlled using the radio or Steering Wheel Audio Controls to
play, skip to the next or previous track,
browse, and list the contents.
Bluetooth Streaming Audio
If using a Bluetooth equipped device you may
also be able to stream music to your vehicle's
sound system. Your connected device must
be Bluetooth compatible and paired with your
system (see Uconnect Phone for pairing in-
structions). You can access the music from
your connected Bluetooth device by pressing
the Bluetooth button on the touchscreen
while in Media mode.
323
Page 344 of 372
Radio
Use your voice to quickly get to the AM, FM or
SiriusXM Satellite Radio stations you would
like to hear. (Subscription or included
SiriusXM Satellite Radio trial required.)
Push the VR button
. After the beep,
say:
• Tune to ninety-five-point-five FM
• Tune to Satellite Channel Hits 1
TIP: At any time, if you are not sure of what to
say or want to learn a Voice Command, push
the VR button
and say “Help.”The
system will provide you with a list of com-
mands.
Media
Uconnect offers connections via USB, SD,
Bluetooth and auxiliary ports (If Equipped).
Voice operation is only available for con-
nected USB and iPod devices. (Remote CD
player optional and not available on all ve-
hicles.)
Push the VR button
. After the beep, say
one of the following commands and follow
the prompts to switch your media source or
choose an artist.
• Change source to Bluetooth
• Change source to iPod
• Change source to USB
• Play artist Beethoven; Play albumGreatest
Hits; Play song Moonlight Sonata; Play
genre Classical
TIP: Press the Browse button on the touch-
screen to see all of the music on your iPod or
USB device. Your Voice Command must
match exactly how the artist, album, song
and genre information is displayed.
Phone
Making and answering hands-free phone
calls is easy with Uconnect. When the Phone-
book button is illuminated on your touch-
screen, your system is ready.
U.S. residents can visit:
• UconnectPhone.com for device compat- ibility and pairing instructions.
Canadian residents can visit:
• UconnectPhone.com for device compat- ibility and pairing instructions.
Push the Phone button
. After the beep,
say one of the following commands…
Uconnect 8.4/8.4 NAV Radio
Uconnect 8.4/8.4 NAV Media
MULTIMEDIA
342
Page 368 of 372
Transporting Pets..............142
Turn Signals ...............87, 206
Uconnect Access ............291, 293, 298
Account ...........293, 298, 301
Maintaining Your Account .......298
Registration ............293, 345
Remote Features ............301
Using Access ..............297
Via Mobile Apps .............294
Uconnect 5.0 ................305
Uconnect 8.4/8.4 NAV . . . .316, 345, 350 Mute ...................336
Phonebook ................336
Transfer Ongoing Call Between Handset
And Vehicle ...............336
Voice Recognition Tips .........336
Uconnect 8.4/8.4 NAV Voice Recognition Voice Texting ...............336
Uconnect 8.4 NAV Voice Recognition SiriusXM Travel Link ..........348
Uconnect Access ...........291, 345
APP ....................293
In Vehicle Features ...........298 Purchase Apps
..........296, 346
Vehicle Health Alert .......301, 346
Yelp ....................348
Uconnect (Hands-Free Phone) Making A Phone Call ......331, 336
Receiving A Call ............331
Uconnect Phone . . . .331, 336, 337, 340
Uconnect Voice Command . .312, 336, 340
Uniform Tire Quality Grades ........266
Untwisting Procedure, Seat Belt .....116
USB Port ...................322
Using Access Uconnect .................297
Vehicle Identification Number (VIN) . . .272
Vehicle Loading ...............261
Vehicle Security Alarm (Security Alarm) .17
Vehicle Storage ................51
Ventilated ....................27
Via Mobile Apps Uconnect .................294
V
oice Command .....312, 336, 340, 341
Voice Recognition System (VR) ..............312, 336, 340 Warning Flasher, Hazard
..........204
Warning, Roll Over ...............2
Warranty Information ............356
Washers, Headlight ..............42
Washers, Windshield .........40, 248
Washing Vehicle ...............268
Wheel And Wheel Trim ...........264
Wheel And Wheel Trim Care ........264
Wind Buffeting ..............55, 56
Window Fogging ................51
Windows Close ....................53
Down ....................53
Open ....................53
Power ...................53
Up ......................53
Windshield Defroster ............144
Windshield Washers ..........40, 248
Fluid ...................248
Windshield Wiper Blades .........253
Windshield Wipers ..............40
Wiper Blade Replacement .........253
Wipers, Rain Sensitive ............41
INDEX
366