jump start JEEP GRAND CHEROKEE 2017 WK2 / 4.G User Guide
[x] Cancel search | Manufacturer: JEEP, Model Year: 2017, Model line: GRAND CHEROKEE, Model: JEEP GRAND CHEROKEE 2017 WK2 / 4.GPages: 372
Page 84 of 372
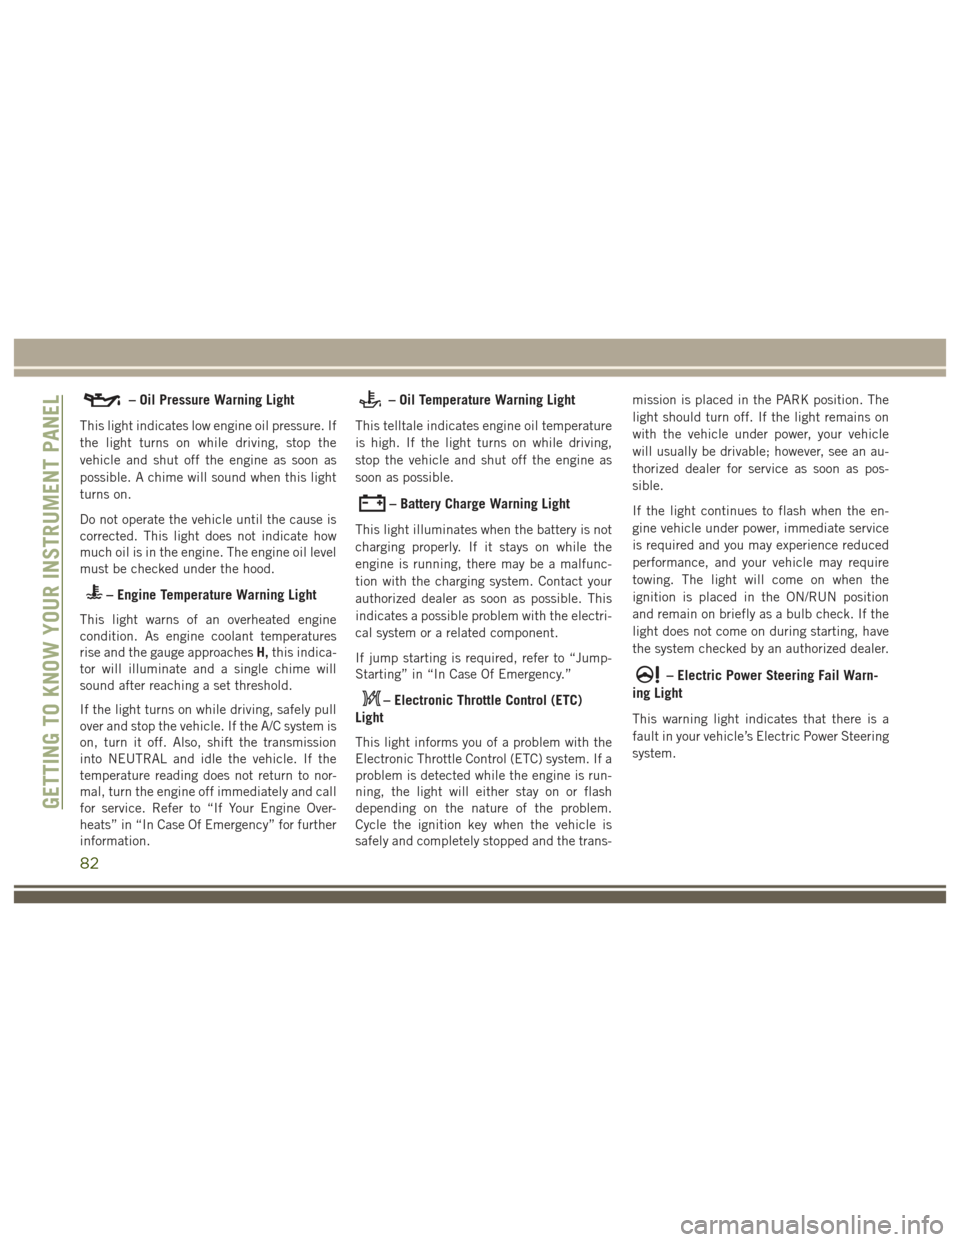
– Oil Pressure Warning Light
This light indicates low engine oil pressure. If
the light turns on while driving, stop the
vehicle and shut off the engine as soon as
possible. A chime will sound when this light
turns on.
Do not operate the vehicle until the cause is
corrected. This light does not indicate how
much oil is in the engine. The engine oil level
must be checked under the hood.
– Engine Temperature Warning Light
This light warns of an overheated engine
condition. As engine coolant temperatures
rise and the gauge approachesH,this indica-
tor will illuminate and a single chime will
sound after reaching a set threshold.
If the light turns on while driving, safely pull
over and stop the vehicle. If the A/C system is
on, turn it off. Also, shift the transmission
into NEUTRAL and idle the vehicle. If the
temperature reading does not return to nor-
mal, turn the engine off immediately and call
for service. Refer to “If Your Engine Over-
heats” in “In Case Of Emergency” for further
information.
– Oil Temperature Warning Light
This telltale indicates engine oil temperature
is high. If the light turns on while driving,
stop the vehicle and shut off the engine as
soon as possible.
– Battery Charge Warning Light
This light illuminates when the battery is not
charging properly. If it stays on while the
engine is running, there may be a malfunc-
tion with the charging system. Contact your
authorized dealer as soon as possible. This
indicates a possible problem with the electri-
cal system or a related component.
If jump starting is required, refer to “Jump-
Starting” in “In Case Of Emergency.”
– Electronic Throttle Control (ETC)
Light
This light informs you of a problem with the
Electronic Throttle Control (ETC) system. If a
problem is detected while the engine is run-
ning, the light will either stay on or flash
depending on the nature of the problem.
Cycle the ignition key when the vehicle is
safely and completely stopped and the trans- mission is placed in the PARK position. The
light should turn off. If the light remains on
with the vehicle under power, your vehicle
will usually be drivable; however, see an au-
thorized dealer for service as soon as pos-
sible.
If the light continues to flash when the en-
gine vehicle under power, immediate service
is required and you may experience reduced
performance, and your vehicle may require
towing. The light will come on when the
ignition is placed in the ON/RUN position
and remain on briefly as a bulb check. If the
light does not come on during starting, have
the system checked by an authorized dealer.
– Electric Power Steering Fail Warn-
ing Light
This warning light indicates that there is a
fault in your vehicle’s Electric Power Steering
system.
GETTING TO KNOW YOUR INSTRUMENT PANEL
82
Page 152 of 372
NOTE:
If the ignition is left in the ACC or RUN
(engine not running) mode and the transmis-
sion is in PARK, the system will automatically
time out after 30 minutes of inactivity and
the ignition will cycle to the OFF mode.
ENGINE START/STOP Button Functions — With
Driver’s Foot OFF The Brake Pedal (In PARK Or
NEUTRAL Position)
The ENGINE START/STOP button operates
similar to an ignition switch. It has four
modes, OFF, ACC, RUN and START. To
change the ignition modes without starting
the vehicle and use the accessories follow
these steps:
• Starting with the ignition in the OFF mode,
• Push the ENGINE START/STOP buttononce to place the ignition to the ACC mode
(instrument cluster will display “ACC”),
• Push the ENGINE START/STOP button a second time to place the ignition to the
RUN mode (instrument cluster will display
“ON/RUN”), • Push the ENGINE START/STOP button a
third time to return the ignition to the OFF
mode (instrument cluster will display
“OFF”).
Cold Weather Operation (Below –22°F Or
−30°C)
To ensure reliable starting at these tempera-
tures, use of an externally powered electric
engine block heater (available from your Au-
thorized Dealer) is recommended.
After Starting
The idle speed is controlled automatically,
and it will decrease as the engine warms up.
If Engine Fails To Start
WARNING!
• Never pour fuel or other flammable liq-uid into the throttle body air inlet open-
ing in an attempt to start the vehicle.
This could result in flash fire causing
serious personal injury.
• Do not attempt to push or tow your
vehicle to get it started. Vehicles
WARNING!
equipped with an automatic transmis-
sion cannot be started this way. Un-
burned fuel could enter the catalytic
converter and once the engine has
started, ignite and damage the converter
and vehicle.
• If the vehicle has a discharged battery,
booster cables may be used to obtain a
start from a booster battery or the battery
in another vehicle. This type of start can
be dangerous if done improperly. Refer
to “Jump-Starting” in “In Case Of Emer-
gency” for further information.
After Starting
The idle speed is controlled automatically,
and it will decrease as the engine warms up.
STARTING PROCEDURES —
DIESEL ENGINES
Before starting your vehicle, adjust your seat,
both inside and outside mirrors, and fasten
your seat belts.
STARTING AND OPERATING
150
Page 205 of 372
IN CASE OF EMERGENCY
HAZARD WARNING
FLASHERS................204
Control....................204
BULB REPLACEMENT ........204
Replacement Bulbs.............204
Bulb Replacement .............206
FUSES ...................209
General Information.............209
Underhood Fuses ..............209
JACKING AND TIRE
CHANGING............... .214
Run Flat Tires — SRT Models .......214
Jack/Spare Tire Stowage ..........215
Changing Procedure ............221
JUMP-STARTING............221
Preparations For Jump-Starting ......221
Jump-Starting Procedure .........222
REFUELING IN EMERGENCY . . .224
IF YOUR ENGINE OVERHEATS .224 MANUAL PARK RELEASE
.....224
FREEING A STUCK VEHICLE . . .226
TOWING A DISABLED
VEHICLE ................ .227
Two-Wheel Drive Models..........228
Four-Wheel Drive Models .........229
ENHANCED ACCIDENT RESPONSE
SYSTEM(EARS) ........... .229
EVENT DATA RECORDER
(EDR)................... .229
IN CASE OF EMERGENCY
203
Page 223 of 372
WARNING!
A loose tire or jack thrown forward in a
collision or hard stop could endanger the
occupants of the vehicle. Always stow the
jack parts and the spare tire in the places
provided. Have the deflated (flat) tire re-
paired or replaced immediately.
Changing Procedure
1. Mount the road tire on the axle.
2. Install the remaining lug nuts with thecone shaped end of the nut toward the
wheel. Lightly tighten the lug nuts.
WARNING!
To avoid the risk of forcing the vehicle off
the jack, do not tighten the lug nuts fully
until the vehicle has been lowered. Failure
to follow this warning may result in per-
sonal injury.
3. Lower the vehicle to the ground by turning the jack handle counterclockwise.
4. Finish tightening the lug nuts. Push down on the wrench while at the end of the handle for increased leverage. Tighten the
lug nuts in a star pattern until each nut
has been tightened twice. The correct
tightness of each lug nut is 130 ft-lbs
(176 N·m). If in doubt about the correct
tightness, have them checked with a
torque wrench by your authorized dealer
or service station.
NOTE:
For the SRT model the correct wheel nut
tightness is 110 ft lbs (149 N·m).
5. After 25 miles (40 km) check the lug nut torque with a torque wrench to ensure that
all lug nuts are properly seated against the
wheel.JUMP-STARTING
If your vehicle has a discharged battery it can
be jump-started using a set of jumper cables
and a battery in another vehicle or by using a
portable battery booster pack. Jump-starting
can be dangerous if done improperly so
please follow the procedures in this section
carefully.
WARNING!
Do not attempt jump-starting if the battery
is frozen. It could rupture or explode and
cause personal injury.
CAUTION!
Do not use a portable battery booster pack
or any other booster source with a system
voltage greater than 12 Volts or damage to
the battery, starter motor, alternator or
electrical system may occur.
NOTE:
When using a portable battery booster pack
follow the manufacturer's operating instruc-
tions and precautions.
Preparations For Jump-Starting
The battery in your vehicle is located under
the passenger's front seat. There are remote
locations located under the hood to assist in
jump-starting.
221
Page 224 of 372
WARNING!
• Take care to avoid the radiator coolingfan whenever the hood is raised. It can
start anytime the ignition switch is ON.
You can be injured by moving fan
blades.
WARNING!
• Remove any metal jewelry such as rings,watch bands and bracelets that could
make an inadvertent electrical contact.
You could be seriously injured.
• Batteries contain sulfuric acid that can
burn your skin or eyes and generate
hydrogen gas which is flammable and
explosive. Keep open flames or sparks
away from the battery.
NOTE:
Be sure that the disconnected ends of the
cables do not touch while still connected to
the either vehicle.
1. Set the parking brake, shift the automatic transmission into PARK and turn the igni-
tion to LOCK.
2. Turn off the heater, radio, and all unnec- essary electrical accessories.
3. Remove the protective cover over the re- mote positive (+)battery post. Pull up-
ward on the cover to remove it. 4. If using another vehicle to jump-start the
battery, park the vehicle within the
jumper cables reach, set the parking
brake and make sure the ignition is OFF.
WARNING!
Do not allow vehicles to touch each other
as this could establish a ground connec-
tion and personal injury could result.
Jump-Starting Procedure
WARNING!
Failure to follow this jump-starting proce-
dure could result in personal injury or
property damage due to battery explosion.
CAUTION!
Failure to follow these procedures could
result in damage to the charging system of
the booster vehicle or the discharged ve-
hicle.
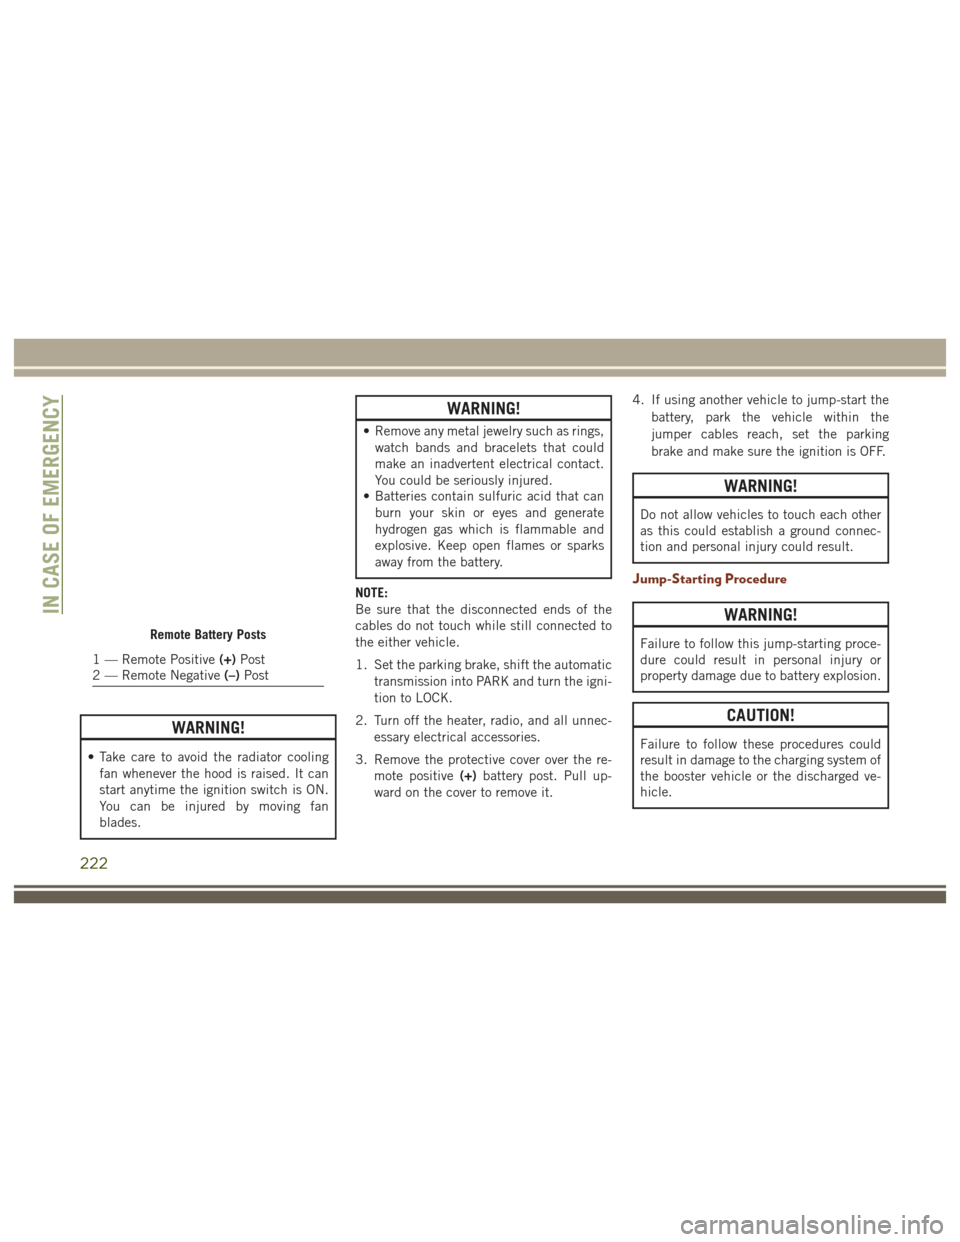
Remote Battery Posts
1 — Remote Positive (+)Post
2 — Remote Negative (–)Post
IN CASE OF EMERGENCY
222
Page 225 of 372
NOTE:
Make sure at all times that unused ends of
jumper cables are not contacting each other
or either vehicle while making connections.
If frequent jump-starting is required to start
your vehicle you should have the battery and
charging system tested at your authorized
dealer.
CAUTION!
Accessories plugged into the vehicle
power outlets draw power from the vehi-
cle’s battery, even when not in use (i.e.,
cellular devices, etc.). Eventually, if
plugged in long enough without engine
operation, the vehicle’s battery will dis-
charge sufficiently to degrade battery life
and/or prevent the engine from starting.
Cable Connection
1. Connect the positive(+)end of the jumper
cable to the remote positive (+)post of the
discharged vehicle.
2. Connect the opposite end of the positive (+) jumper cable to the positive (+)post of
the booster battery. 3. Connect the negative end
(-)of the jumper
cable to the negative (-)post of the
booster battery.
4. Connect the opposite end of the negative (-)jumper cable to the remote negative (-)
post of the vehicle with the discharged
battery.
WARNING!
Do not connect the jumper cable to the
negative (-)post of the discharged battery.
The resulting electrical spark could cause
the battery to explode and could result in
personal injury. Only use the specific
ground point, do not use any other exposed
metal parts.
5. Start the engine in the vehicle that has the booster battery, let the engine idle a few
minutes, and then start the engine in the
vehicle with the discharged battery.
CAUTION!
Do not run the booster vehicle engine
above 2000 rpm since it provides no
CAUTION!
charging benefit, wastes fuel and can
damage booster vehicle engine.
6. Once the engine is started, remove the jumper cables in the reverse sequence:
Cable Disconnection
1. Disconnect the negative (-)end of the
jumper cable from the remote negative (-)
post of the discharged vehicle.
2. Disconnect the opposite end of the nega- tive (-)jumper cable from the negative (-)
post of the booster battery.
3. Disconnect the positive (+)end of the
jumper cable from the positive (+)post of
the booster battery.
4. Disconnect the opposite end of the posi- tive (+)jumper cable from the remote
positive (+)post of the discharged
vehicle.
5. Reinstall the protective cover over the remote positive (+)post of the discharged
vehicle.
223
Page 246 of 372
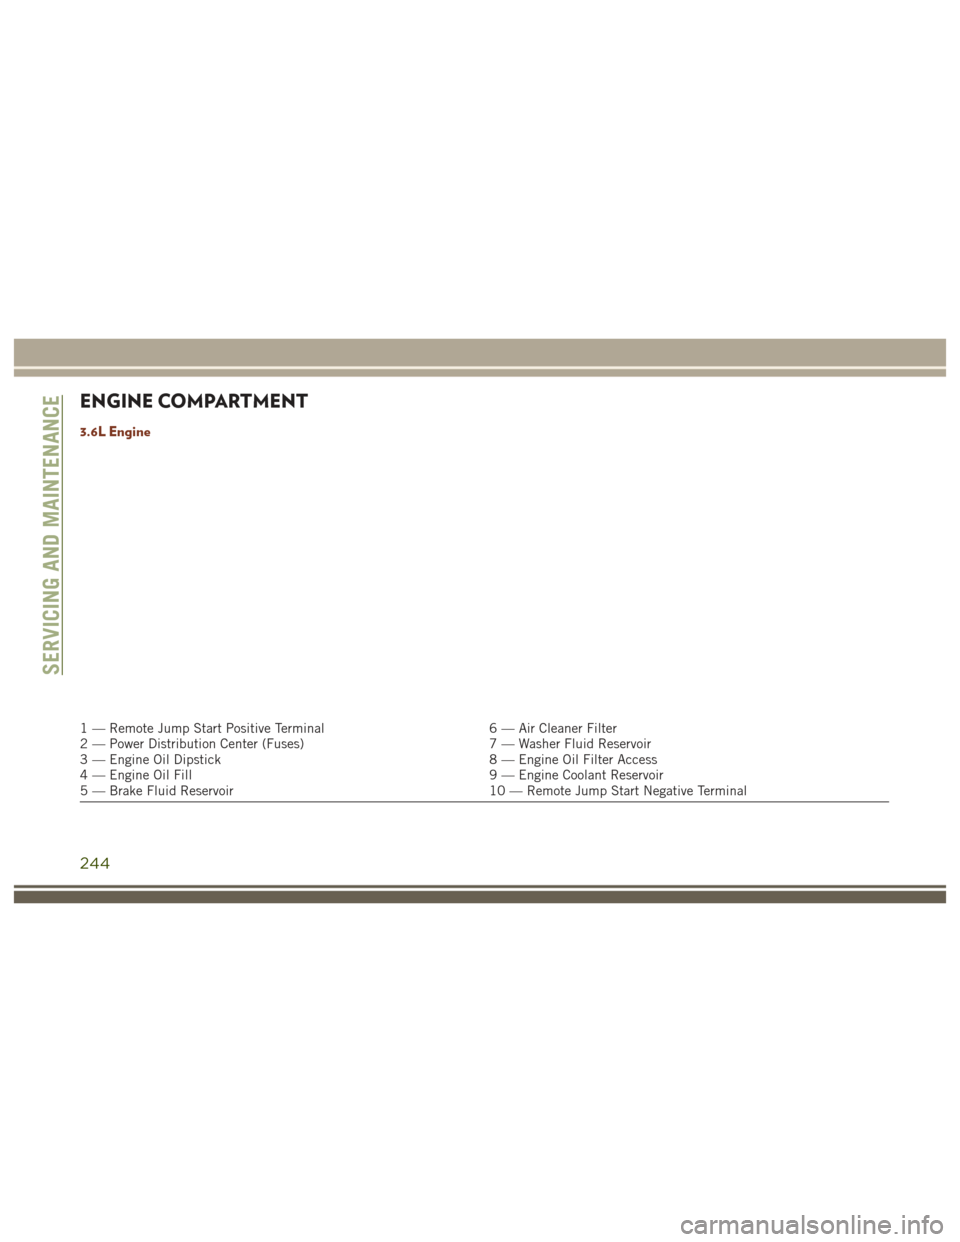
ENGINE COMPARTMENT
3.6L Engine
1 — Remote Jump Start Positive Terminal6 — Air Cleaner Filter
2 — Power Distribution Center (Fuses) 7 — Washer Fluid Reservoir
3 — Engine Oil Dipstick 8 — Engine Oil Filter Access
4 — Engine Oil Fill 9 — Engine Coolant Reservoir
5 — Brake Fluid Reservoir 10 — Remote Jump Start Negative Terminal
SERVICING AND MAINTENANCE
244
Page 247 of 372
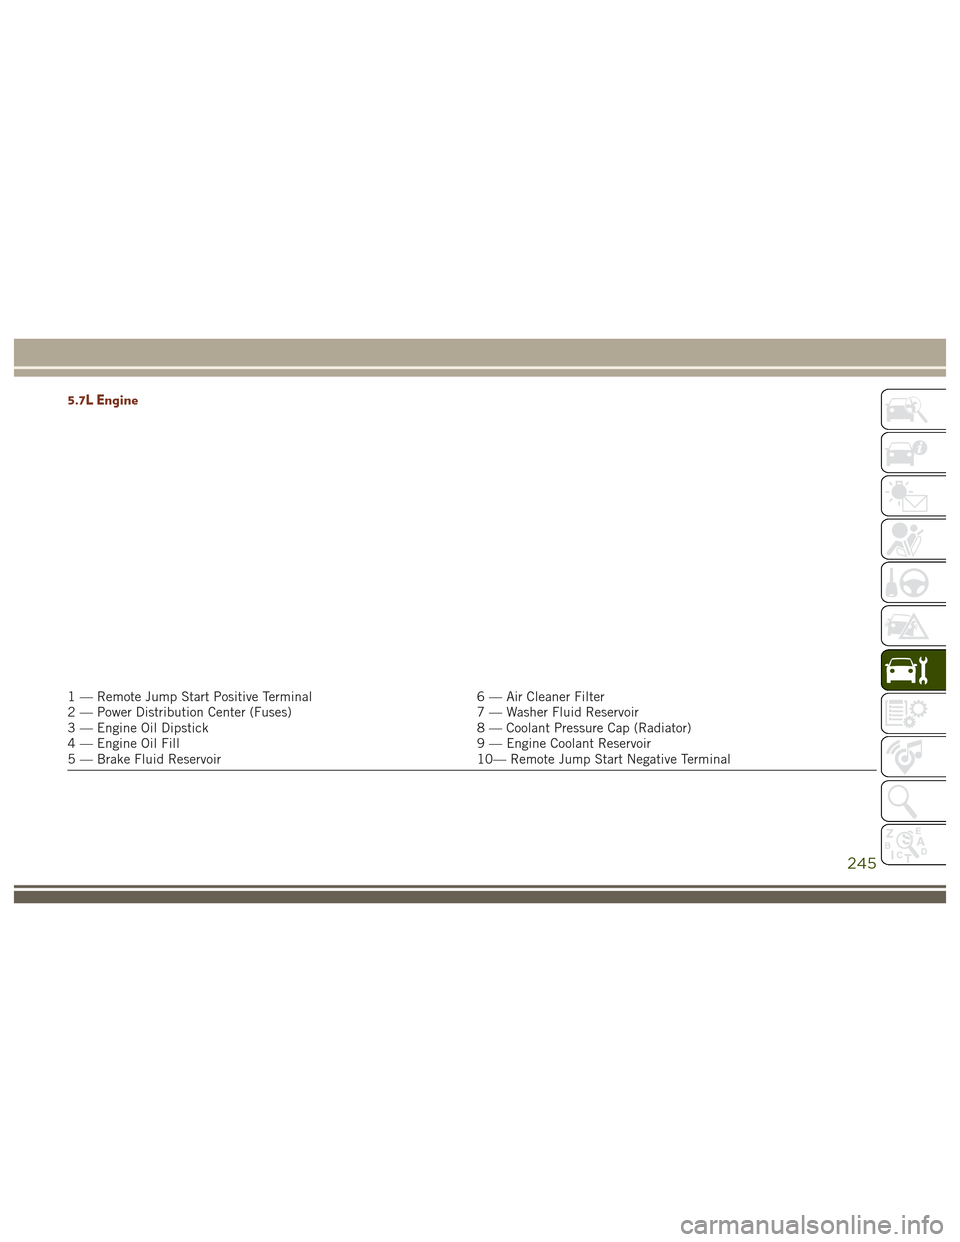
5.7L Engine
1 — Remote Jump Start Positive Terminal6 — Air Cleaner Filter
2 — Power Distribution Center (Fuses) 7 — Washer Fluid Reservoir
3 — Engine Oil Dipstick 8 — Coolant Pressure Cap (Radiator)
4 — Engine Oil Fill 9 — Engine Coolant Reservoir
5 — Brake Fluid Reservoir 10— Remote Jump Start Negative Terminal
245
Page 248 of 372
6.4L Engine
1 — Remote Jump Start Positive Terminal6 — Air Cleaner Filter
2 — Power Distribution Center (Fuses) 7 — Washer Fluid Reservoir
3 — Engine Oil Dipstick 8 — Coolant Pressure Cap (Radiator)
4 — Engine Oil Fill 9 — Engine Coolant Reservoir
5 — Brake Fluid Reservoir 10 — Remote Jump Start Negative Terminal
SERVICING AND MAINTENANCE
246
Page 249 of 372
3.0L Diesel Engine
1 — Remote Jump Start Positive Terminal6 — Air Cleaner Filter
2 — Power Distribution Center (Fuses) 7 — Washer Fluid Reservoir
3 — Engine Oil Dipstick 8 — Coolant Pressure Reservoir
4 — Engine Oil Fill 9 — Remote Jump Start Negative Terminal
5 — Brake Fluid Reservoir
247