light JEEP GRAND CHEROKEE 2017 WK2 / 4.G User Guide
[x] Cancel search | Manufacturer: JEEP, Model Year: 2017, Model line: GRAND CHEROKEE, Model: JEEP GRAND CHEROKEE 2017 WK2 / 4.GPages: 372
Page 10 of 372
INSTRUMENT PANEL
Instrument Panel
1 — Air Vents
2 — Paddle Shifter
3 — Instrument Cluster
4 — Glove/Storage Compartment5 — Ignition
6 — Steering Wheel
7 — Headlight Switch
GRAPHICAL TABLE OF CONTENTS
8
Page 11 of 372
INTERIOR
Interior Features
1 — Door Handle
2 — Air Vents
3 — Paddle Shifter
4 — Instrument Cluster
5 — Uconnect Radio6 — Glove/Storage Compartment
7 — Seats
8 — Climate Controls
9 — Gear Selector
10 — Ignition Switch11 — Electronic Speed Controls
12 — Instrument Cluster Display Controls
13 — Headlight Switch
14 — Power Window/Door Lock Switches
9
Page 13 of 372
GETTING TO KNOW YOUR VEHICLE
KEYS .....................13
KeyFob.....................13
IGNITIONSWITCH............14
Models With Keyless Enter-N-Go — Passive
Entry.......................14
Vehicle On Message.............15
REMOTE STARTING SYSTEM — IF
EQUIPPED .................16
General Information.............16
SENTRYKEY................17
Irregular Operation..............17
VEHICLE SECURITY ALARM — IF
EQUIPPED .................17
To Arm The System .............18
To Disarm The System ............18
DOORS....................19
Manual Door Locks ..............19
Power Door Locks ..............20
Keyless Enter-N-Go — Passive Entry . . .20
Locking The Doors With One Or More Door
Open ......................23 Auto Relocking
................23
Child-Protection Door Lock System — Rear
Doors ......................23
SEATS.....................24
Manual Seat Adjustment ..........24
Power Adjustment Front ...........25
Manual Adjustment Rear ..........25
Memory Seat ..................27
Heated/Ventilated Seats ...........27
HEADRESTRAINTS...........29
Front Adjustment...............30
Front Removal .................31
Rear Adjustment ...............32
STEERING WHEEL ............32
Adjustment...................32
Heated Steering Wheel ............33
MIRRORS..................34
Interior Mirror .................34
Exterior Mirrors ................35
EXTERIORLIGHTS............37
Headlight Switch ...............37 Headlights
...................37
Daytime Running Lights ...........38
High Beams ..................38
Flash-To-Pass .................38
Automatic Lighting ..............38
Parking Lights And Panel Lights .....39
Headlight Delay ................39
Fog Lights ...................39
Turn Signals ..................39
Lane Change Assist .............40
INTERIORLIGHTS............40
Courtesy Interior Lights ...........40
WIPER/WASHER............40
Front Wipers..................40
Rain Sensor ..................41
Rear Wiper ...................42
HEADLIGHT WASHERS — IF
EQUIPPED .................42
CLIMATECONTROLS..........43
Overview....................43
GETTING TO KNOW YOUR VEHICLE
11
Page 19 of 372
NOTE:
Changes or modifications not expressly ap-
proved by the party responsible for compli-
ance could void the user’s authority to oper-
ate the equipment.
SENTRY KEY
The Sentry Key Immobilizer system prevents
unauthorized vehicle operation by disabling
the engine. The system does not need to be
armed or activated. Operation is automatic,
regardless of whether the vehicle is locked or
unlocked.
All of the key fobs provided with your new
vehicle have been programmed to the vehicle
electronics.
Irregular Operation
The system uses a key fob, an Ignition Node
Module, Keyless Push Button Ignition and a
RF receiver to prevent unauthorized vehicle
operation. Therefore, only key fobs that are
programmed to the vehicle can be used tostart and operate the vehicle. The system will
not allow the engine to crank if an invalid key
fob is used to start and operate the vehicle.
The system will shut the engine off in two
seconds if an invalid key fob is used to start
the engine.
NOTE:
A key fob that has not been programmed is
also considered an invalid key.
During normal operation, after placing the
keyless ignition in the ON/RUN position, the
Vehicle Security Light will turn on for three
seconds for a bulb check. If the light remains
on after the bulb check, it indicates that
there is a problem with the electronics. In
addition, if the light begins to flash after the
bulb check, it indicates that someone used
an invalid key fob to try to start the engine.
Either of these conditions will result in the
engine being shut off after two seconds.
If the Vehicle Security Light turns on during
normal vehicle operation (vehicle running for
longer than 10 seconds), it indicates thatthere is a fault in the electronics. Should this
occur, have the vehicle serviced as soon as
possible by an authorized dealer.
VEHICLE SECURITY ALARM
— IF EQUIPPED
The Vehicle Security Alarm monitors the ve-
hicle doors, hood, liftgate, and the Keyless
Enter-N-Go — Ignition for unauthorized op-
eration. While the Vehicle Security Alarm is
armed, interior switches for door locks and
liftgate release are disabled. If something
triggers the alarm, the Vehicle Security Alarm
will provide the following audible and visible
signals:
• The horn will pulse
• The park lamps and/or turn signals will
flash
• The Vehicle Security Light in the instru- ment cluster will flash
17
Page 20 of 372
To Arm The System
Follow these steps to arm the Vehicle Secu-
rity Alarm:
1. Make sure the vehicles ignition is cycledto the “OFF” position.
• For vehicles equipped with Keyless Enter-N-Go — Passive Entry, make
sure the vehicles keyless ignition sys-
tem is OFF.
• For vehicles not equipped with Keyless Enter-N-Go — Passive Entry, make
sure the vehicle ignition system is OFF,
and the key is physically removed from
the ignition.
2. Perform one of the following methods to lock the vehicle:
• Push lock button on the interior power door lock switch with the driver and/or
passenger door open.
• Push the lock button on the exterior Passive Entry Door Handle with a valid
key fob available in the same exterior
zone.
• Push the lock button on the key fob. 3. If any doors are open, close them.To Disarm The System
The Vehicle Security Alarm can be disarmed
using any of the following methods:
• Push the unlock
button on the key
fob.
• Grasp the Passive Entry Unlock Door Handle.
• Cycle the vehicle ignition system out of the OFF position.– For vehicles equipped with Keyless
Enter-N-Go — Passive Entry, push the
keyless ignition button (requires at
least one valid key fob in the vehicle).
– For vehicles not equipped with Keyless Enter-N-Go — Passive Entry, insert a
valid key into the ignition and turn the
key to the ON position.
NOTE:
• The driver's door key cylinder and the liftgate button on the key fob cannot arm
or disarm the Vehicle Security Alarm. • The Vehicle Security Alarm remains armed
during power liftgate entry. Pushing the
liftgate button will not disarm the Vehicle
Security Alarm. If someone enters the ve-
hicle through the liftgate and opens any
door, the alarm will sound.
• When the Vehicle Security Alarm is armed, the interior power door lock switches will
not unlock the doors.
The Vehicle Security Alarm is designed to
protect your vehicle. However, you can create
conditions where the system will give you a
false alarm. If one of the previously described
arming sequences has occurred, the Vehicle
Security Alarm will arm regardless of whether
you are in the vehicle or not. If you remain in
the vehicle and open a door, the alarm will
sound. If this occurs, disarm the Vehicle
Security Alarm.
If the Vehicle Security Alarm is armed and
the battery becomes disconnected, the Ve-
hicle Security Alarm will remain armed when
the battery is reconnected; the exterior lights
will flash, and the horn will sound. If this
occurs, disarm the Vehicle Security Alarm.
GETTING TO KNOW YOUR VEHICLE
18
Page 30 of 372
You can choose from HI, LO or OFF heat
settings. The indicator arrows in touchscreen
buttons indicate the level of heat in use. Two
indicator arrows will illuminate for HI, one for
LO and none for OFF.
• Press the heated seat button
once to
turn the HI setting ON.
• Press the heated seat button
a second
time to turn the LO setting ON.
• Press the heated seat button
a third
time to turn the heating elements OFF.
If the HI-level setting is selected, the system
will automatically switch to LO-level after
approximately 60 minutes of continuous op-
eration. At that time, the display will change
from HI to LO, indicating the change. The
LO-level setting will turn OFF automatically
after approximately 45 minutes.
NOTE:
• Once a heat setting is selected, heat will be felt within two to five minutes.
• The engine must be running for the heated seats to operate. Vehicles Equipped With Remote Start
On models that are equipped with remote
start, the heated seats can be programmed to
come on during a remote start.
This feature can be programmed through the
Uconnect system. Refer to your Owner's
Manual
at
www.jeep.com/en/owners/manuals/ for fur-
ther details.
WARNING!
• Persons who are unable to feel pain to the skin because of advanced age,
chronic illness, diabetes, spinal cord in-
jury, medication, alcohol use, exhaus-
tion or other physical condition must
exercise care when using the seat
heater. It may cause burns even at low
temperatures, especially if used for long
periods of time.
• Do not place anything on the seat or
seatback that insulates against heat,
such as a blanket or cushion. This may
cause the seat heater to overheat. Sit-
ting in a seat that has been overheated
WARNING!
could cause serious burns due to the
increased surface temperature of the
seat.
Rear Heated Seats
On some models, the two outboard seats are
equipped with heated seats. The heated seat
switches for these seats are located on the
rear of the center console. There are two
heated seat switches
that allow the rear
passengers to operate the seats indepen-
dently.
You can choose from HI, LO or OFF heat
settings. The indicator lights in each switch
indicate the level of heat in use. Two indica-
tor lights will illuminate for HI, one for LO
and none for OFF.
• Push the heated seat button
once to
select HI-level heating.
• Push the heated seat button
a second
time to select LO-level heating.
• Push the heated seat button
a third
time to turn the heating elements OFF.
GETTING TO KNOW YOUR VEHICLE
28
Page 36 of 372
based on environmental temperatures. The
heated steering wheel can shut off early or
may not turn on when the steering wheel is
already warm.
The heated steering wheel control button is
located within the Uconnect system. You can
gain access to the control button through the
climate screen or the controls screen.
• Press the heated steering wheel button
once to turn the heating element ON.
• Press the heated steering wheel button
a second time to turn the heating
element OFF.
NOTE:
The engine must be running for the heated
steering wheel to operate.
Vehicles Equipped With Remote Start
On models that are equipped with remote
start, the heated steering wheel can be pro-
grammed to come on during a remote start
through the Uconnect system. Refer to
“Uconnect Settings” in “Multimedia” in the
Owner’s Manualat
www.jeep.com/en/owners/manuals/ for fur-
ther information.
WARNING!
• Persons who are unable to feel pain to the skin because of advanced age,
chronic illness, diabetes, spinal cord in-
jury, medication, alcohol use, exhaus-
tion, or other physical conditions must
exercise care when using the steering
wheel heater. It may cause burns even at
low temperatures, especially if used for
long periods.
• Do not place anything on the steering
wheel that insulates against heat, such
as a blanket or steering wheel covers of
any type and material. This may cause
the steering wheel heater to overheat.
MIRRORS
Interior Mirror
Manual Mirror
The mirror head can be adjusted up, down,
left, and right for various drivers. The mirror
should be adjusted to center on the view
through the rear window. Headlight glare from vehicles behind you can
be reduced by moving the small control under
the mirror to the night position (toward the
rear of the vehicle). The mirror should be
adjusted while set in the day position (toward
the windshield).
Electrochromatic Mirror
The mirror head can be adjusted up, down,
left, and right for various drivers. The mirror
should be adjusted to center on the view
through the rear window.
This mirror automatically adjusts for head-
light glare from vehicles behind you.
Adjusting Rearview Mirror
GETTING TO KNOW YOUR VEHICLE
34
Page 37 of 372
NOTE:
The Electrochromatic Mirror feature is dis-
abled when the vehicle is in reverse gear to
improve rear view viewing.
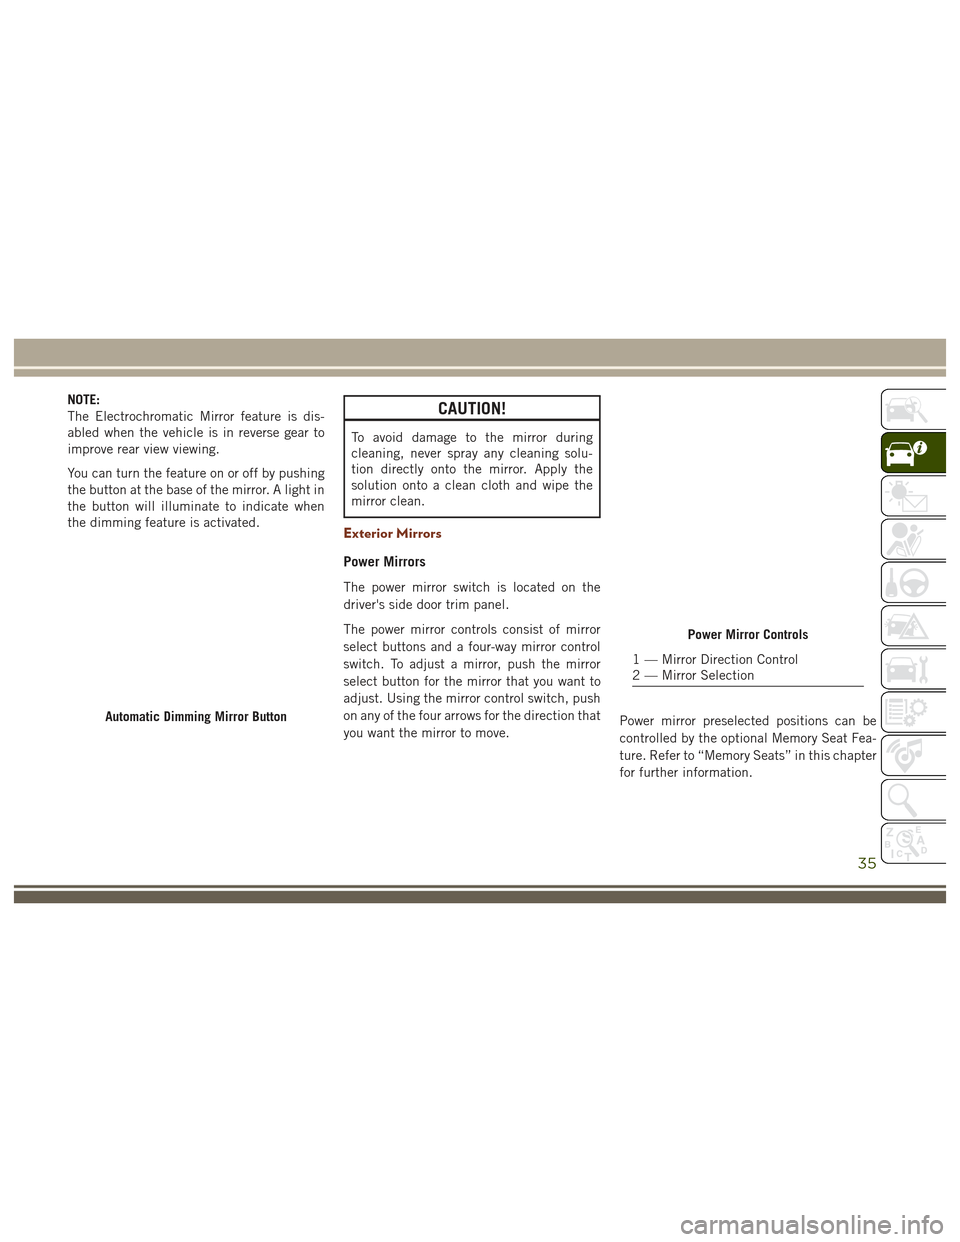
You can turn the feature on or off by pushing
the button at the base of the mirror. A light in
the button will illuminate to indicate when
the dimming feature is activated.CAUTION!
To avoid damage to the mirror during
cleaning, never spray any cleaning solu-
tion directly onto the mirror. Apply the
solution onto a clean cloth and wipe the
mirror clean.
Exterior Mirrors
Power Mirrors
The power mirror switch is located on the
driver's side door trim panel.
The power mirror controls consist of mirror
select buttons and a four-way mirror control
switch. To adjust a mirror, push the mirror
select button for the mirror that you want to
adjust. Using the mirror control switch, push
on any of the four arrows for the direction that
you want the mirror to move.Power mirror preselected positions can be
controlled by the optional Memory Seat Fea-
ture. Refer to “Memory Seats” in this chapter
for further information.
Automatic Dimming Mirror Button
Power Mirror Controls
1 — Mirror Direction Control
2 — Mirror Selection
35
Page 39 of 372
EXTERIOR LIGHTS
Headlight Switch
The headlight switch is located on the left
side of the instrument panel, next to the
steering wheel. The headlight switch controls
the operation of the headlights, parking
lights, instrument panel lights, cargo lights
and fog lights (if equipped).
Headlights
To turn on the headlights, rotate the head-
light switch clockwise. When the headlight
switch is on, the parking lights, taillights,
license plate light and instrument panellights are also turned on. To turn off the
headlights, rotate the headlight switch back
to the O (Off) position.
NOTE:
• Your vehicle is equipped with plastic
headlight and fog light (if equipped)
lenses that are lighter and less susceptible
to stone breakage than glass lights. Plastic
is not as scratch resistant as glass and
therefore different lens cleaning proce-
dures must be followed.
• To minimize the possibility of scratching the lenses and reducing light output, avoid
wiping with a dry cloth. To remove road
dirt, wash with a mild soap solution fol-
lowed by rinsing.
CAUTION!
Do not use abrasive cleaning components,
solvents, steel wool or other abrasive ma-
terials to clean the lenses.
Headlight Switch
1 — Auto
2 — Rotate Headlight Switch
3 — Push Fog Lights
4 — Rotate Dimmer
37
Page 40 of 372
Daytime Running Lights
The Daytime Running Lights (low intensity)
come on whenever the engine is running, and
the transmission is not in the PARK position.
The lights will remain on until the ignition is
switched to the OFF or ACC position or the
parking brake is engaged.
The Daytime Running Lights (bright inten-
sity) come on whenever the engine is run-
ning, and the transmission is not in the PARK
position. The lights will remain on until the
ignition is switched to the OFF or ACC posi-
tion or the parking brake is engaged.
NOTE:
• If a turn signal is activated, the DRL lampon the same side of the vehicle will turn off
for the duration of the turn signal activa-
tion. Once the turn signal is no longer
active, the DRL lamp will illuminate.
• The DRL function may be disabled through the Uconnect system. Refer to
“Uconnect Settings” in “Multimedia” for
further information.
The headlight switch must be used for normal
nighttime driving.
High Beams
Push the multifunction lever toward the in-
strument panel to switch the headlights to
high beams. Pulling the multifunction back
toward the steering wheel will turn the low
beams back on, or shut the high beams off.
Flash-To-Pass
You can signal another vehicle with your
headlights by partially pulling the multifunc-
tion lever toward the steering wheel. This will
cause the high beam headlights to turn on
until the lever is released.
Automatic Lighting
The Automatic High Beam Headlamp Control
system provides increased forward lighting at
night by automating high beam control
through the use of a digital camera mounted
on the inside rearview mirror. This camera
detects vehicle specific light and automati-
cally switches from high beams to low beams
until the approaching vehicle is out of view. NOTE:
• The Automatic High Beam Headlamp Con-
trol can be turned on or off using the
Uconnect System. Refer to “Uconnect
Settings” in “Multimedia” in the Owner’s
Manual at
www.jeep.com/en/owners/manuals/ for
further information.
• Broken, muddy, or obstructed headlights and taillights of vehicles in the field of
view will cause headlights to remain on
longer (closer to the vehicle). Also, dirt,
film, and other obstructions on the wind-
shield or camera lens will cause the sys-
tem to function improperly.
• To opt out of the Advanced Auto High- Beam Sensitivity Control (default) and en-
ter Reduced High-Beam Sensitivity Con-
trol (not recommended), toggle highbeam
lever 6 full on/off cycles within 10 sec-
onds of ignition ON. System will return to
default setting upon ignition off.GETTING TO KNOW YOUR VEHICLE
38