headlights JEEP LIBERTY 2012 KK / 2.G User Guide
[x] Cancel search | Manufacturer: JEEP, Model Year: 2012, Model line: LIBERTY, Model: JEEP LIBERTY 2012 KK / 2.GPages: 124, PDF Size: 2.92 MB
Page 20 of 124

ENGINE BREAK-IN RECOMMENDATIONS
• A long break-in period is not required for the engine and drivetrain(transmission and axle) in your vehicle.
• Drive moderately during the first 300 miles (500 km). After the initial 60 miles (100 km), speeds up to 50 or 55 mph (80 or 90 km/h) are
desirable.
• While cruising, brief full-throttle acceleration within the limits of local traffic laws contributes to a good break-in. Wide-open throttle
acceleration in low gear can be detrimental and should be avoided.
• The engine oil installed in the engine at the factory is a high-quality energy conserving type lubricant. Oil changes should be consistent with
anticipated climate conditions under which vehicle operations will occur.
For the recommended viscosity and quality grades, refer to “Maintaining
Your Vehicle”.
NOTE: A new engine may consume some oil during its first few thousand
miles (kilometers) of operation. This should be considered a normal part of
the break-in and not interpreted as an indication of difficulty.
CAUTION!
Never use Non-Detergent Oil or Straight Mineral Oil in the engine or
damage may result.
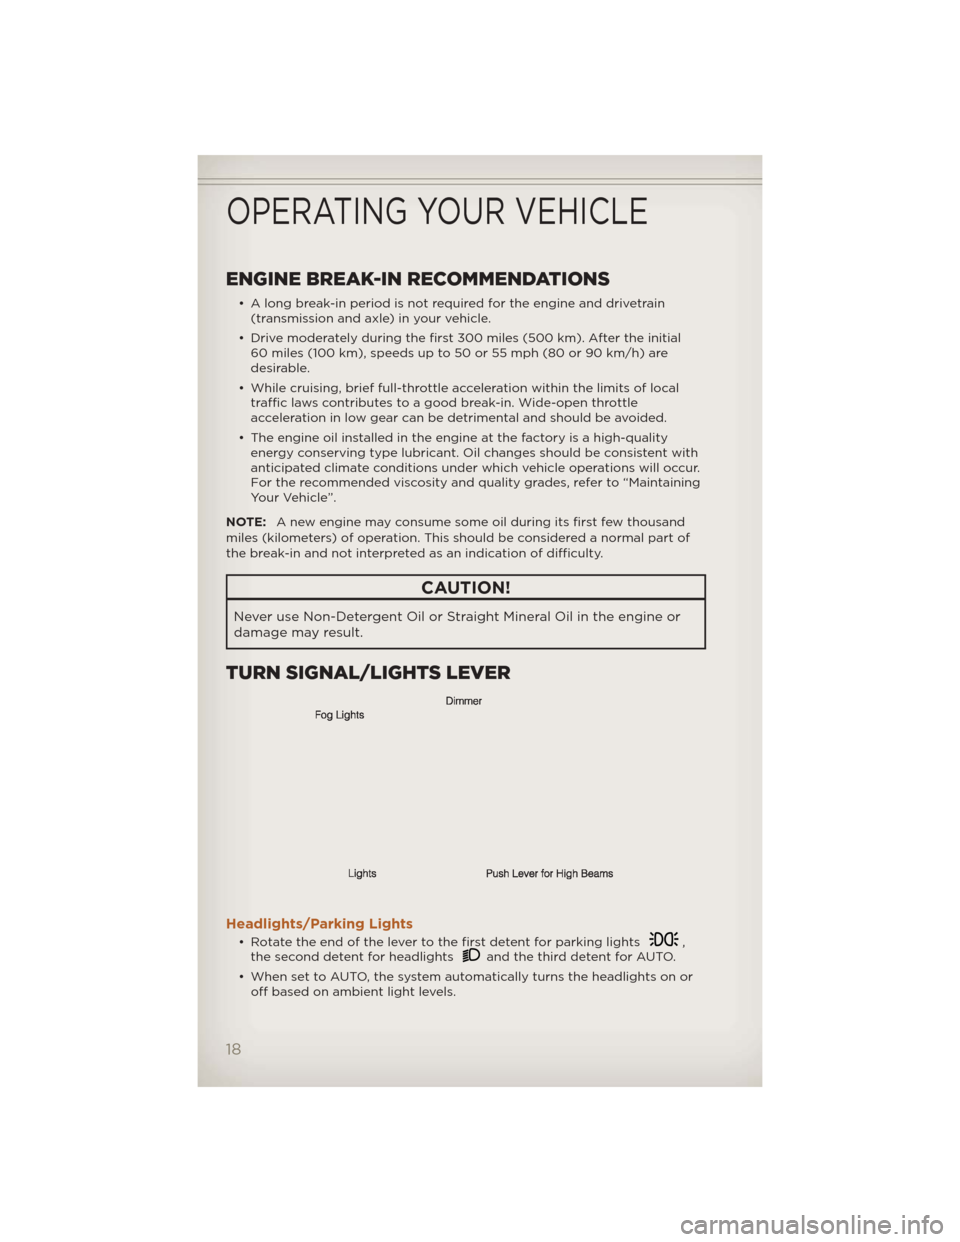
TURN SIGNAL/LIGHTS LEVER
Headlights/Parking Lights
• Rotate the end of the lever to the first detent for parking lights,
the second detent for headlightsand the third detent for AUTO.
• When set to AUTO, the system automatically turns the headlights on or off based on ambient light levels.
OPERATING YOUR VEHICLE
18
Page 21 of 124

Instrument Panel Dimmer
• Rotate the center portion of the lever to the extreme bottom position tofully dim the instrument panel lights and prevent the interior lights from
illuminating when a door is opened.
• Rotate the center portion of the lever up to increase the brightness of the instrument panel lights when the parking lights or headlights are on.
• Rotate the center portion of the lever upward to the next detent position to brighten the odometer and radio controls when the parking lights or
headlights are on.
• Rotate the center portion of the lever upward to the last detent to turn on the interior lighting.
Flash To Pass
• Pull the lever toward you to activate the high beams. The high beams willremain on until the lever is released.
High Beam Operation
• Push the lever forward to activate the high beams.
NOTE: For safe driving, turn off the high beams when oncoming traffic is
present to prevent headlight glare and as a courtesy to other motorists.
Fog Lights
• Turn on the parking lights or low beam headlights and pull out the end of the lever.
Turn Signals/Lane Change Assist
• Tap the lever up or down once and the turn signal (right or left) will flashthree times and automatically turn off.
OPERATING YOUR VEHICLE
19
Page 114 of 124

Headlights...............18
Dimmer Switch ...........19
High Beam .............19
HeatedMirrors ..........22,23
HeatedSeats .............16
High Beam/Low Beam Select
(Dimmer) Switch ...........19
HomeLink® (Garage Door
Opener) Transmitter ........68
Hood Release .............95
Instrument Cluster ..........6
Indicators ...............7
Instrument Cluster Warning
Lights ................6,79
Intermittent Wipers
(DelayWipers) ............20
Introduction ..............2
iPod®/USB/MP3 Control Bluetooth Streaming Audio . . 65
Jack Location ............84
Jack Operation ..........84,85
Jacking Instructions .........85
Jump Starting ............89
KeyFob .................8
Key Fob Programmable
Features ................66
Lane Change Assist .........19
LATCH (Lower Anchors and
TetherforCHildren) .........11
Liftgate.................24
Liftgate Flipper Glass ........24
Liftgate,Power ............24
Lights
Engine Temperature Warning..80
Four-Wheel Drive Indicator . . 82
Headlights ..............18
Park ..................18
TransmissionWarning ......82
Turn Signal .............19
Warning (Instrument Cluster
Description) .............6 Maintenance Record . . . . . . . . 101
Maintenance Schedule . . . . . . . 99
Malfunction Indicator Light
(Check Engine) . . . . . . . . . . . . 81
Media Center Radio . . . . . 30,32,34
Memory Seat . . . . . . . . . . . . . 14
Mirrors
Heated ..............22,23
MOPAR® Accessories . . . . . . . . 110
Navigation ............44,53
New Vehicle Break-In Period . . . 18
Oil Change Indicator . .......83
Oil Change Indicator, Reset . . . . 83
OilPressureLight ..........82
Oil, Engine Capacity ...............97
Outlet Power .................71
Overheating, Engine . . . . ....83
PanicAlarm ...............8
Park Sense System, Rear . . . . . 24
Phone (Pairing) ............61
Phone (Uconnect) . . . . . . . . . 60
Placard, Tire and Loading
Information .............106
Power Glass Sunroof . . .........25
Outlet (Auxiliary Electrical
Outlet) ................71
Seats .................13
Steering ...............97
Preparation for Jacking . . . . . . 85
Programmable Electronic
Features ................66
Radio Operation .........37,46
Rain Sensitive Wiper System . . . 20
Rear Park Sense System . . . . . . 24
RearSeat,Folding ..........15
Recreational Towing . . . . . . . . 77
Remote Starting System . . . . . . 9
Replacement Bulbs . . . . . . . . 107
Reporting Safety Defects . . . . 109
INDEX
112