headlights JEEP PATRIOT 2007 1.G Owners Manual
[x] Cancel search | Manufacturer: JEEP, Model Year: 2007, Model line: PATRIOT, Model: JEEP PATRIOT 2007 1.GPages: 440, PDF Size: 7.26 MB
Page 27 of 440
NOTE:Pressing the LOCK button on the keyfob while
you are inside the vehicle will activate the Security
Alarm. Opening a door with the Security Alarm activated
will cause the alarm to sound. Press the UNLOCK button
to deactivate the Security Alarm.
5. If the desired programming was not achieved or to
reactivate this feature, repeat the above steps.
To lock the doors and liftgate:
Press and release the LOCK button on the transmitter to
lock all doors. The turn signal lights will flash and the
horn will chip once to acknowledge the lock signal. If
desired, the ªSound Horn On Lockº feature can be
turned on or off. On electronic vehicle information center
(EVIC) equipped vehicles refer to ªPersonal Settingsº in
the ªElectronic Vehicle Information Center (EVIC)º sec-
tion of this manual. On non EVIC ± equipped vehicles
perform the following steps:
1. Press the LOCK button for 4 to 10 seconds.2. While the LOCK button is pressed (after 4 seconds),
press the PANIC button. Release both buttons.
The ªSound Horn On Lockº and ªFlash Lamps With
Lockº feature can be reactivated by repeating this proce-
dure.
Using The Panic Alarm:
To turn the panic alarm feature ON or OFF, press and
hold the PANIC button on the transmitter for at least one
second and release. When the panic alarm is on, the
headlights and park lights will flash, the horn will pulse
on and off and the interior lights will turn on.
The panic alarm will stay on for 3 minutes unless you
turn it off by pressing the PANIC button a second time or
if the vehicle speed is 5 mph (8 km/h) or greater.
26 THINGS TO KNOW BEFORE STARTING YOUR VEHICLE
Page 31 of 440
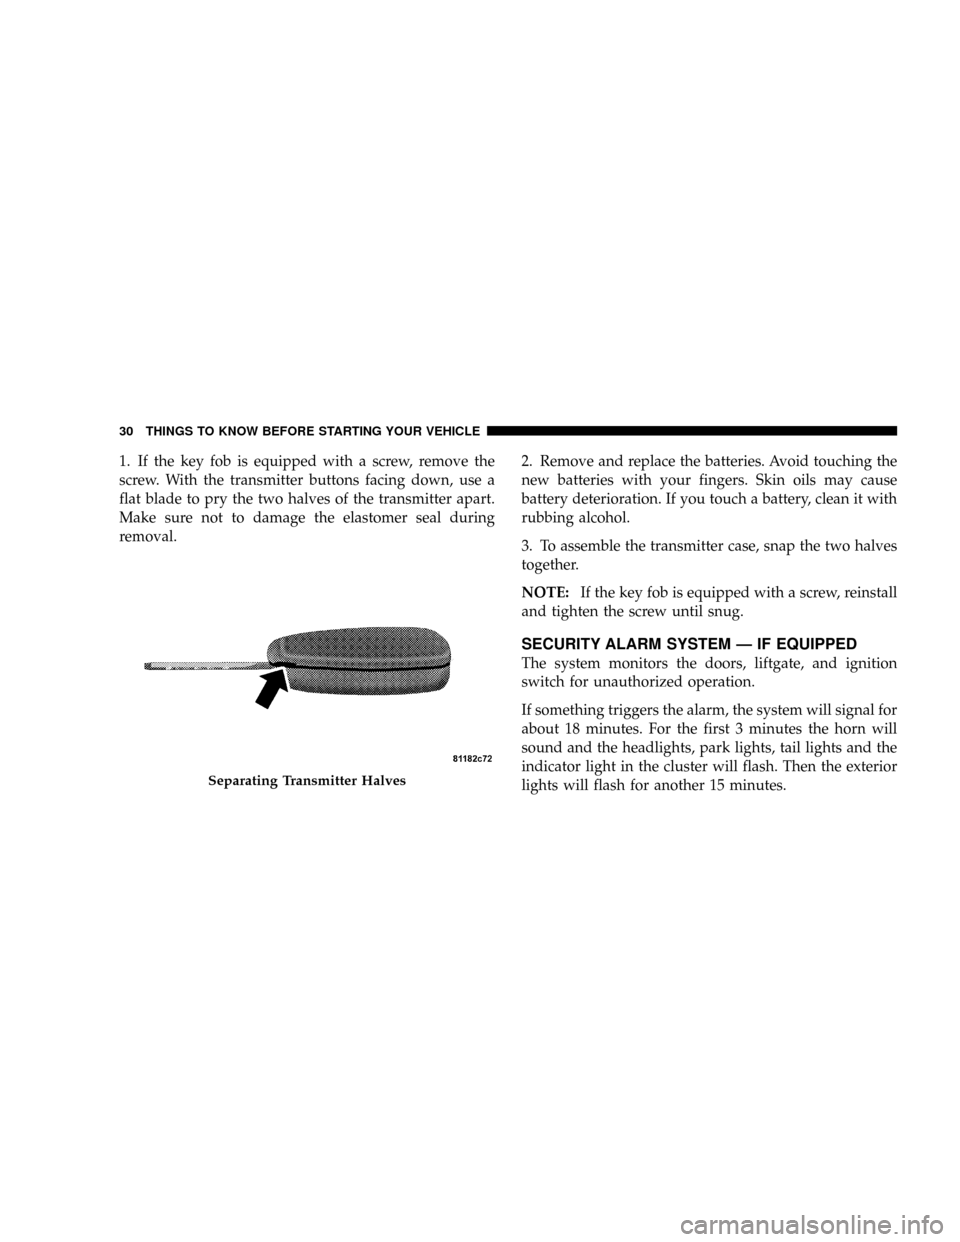
1. If the key fob is equipped with a screw, remove the
screw. With the transmitter buttons facing down, use a
flat blade to pry the two halves of the transmitter apart.
Make sure not to damage the elastomer seal during
removal.2. Remove and replace the batteries. Avoid touching the
new batteries with your fingers. Skin oils may cause
battery deterioration. If you touch a battery, clean it with
rubbing alcohol.
3. To assemble the transmitter case, snap the two halves
together.
NOTE:If the key fob is equipped with a screw, reinstall
and tighten the screw until snug.
SECURITY ALARM SYSTEM Ð IF EQUIPPED
The system monitors the doors, liftgate, and ignition
switch for unauthorized operation.
If something triggers the alarm, the system will signal for
about 18 minutes. For the first 3 minutes the horn will
sound and the headlights, park lights, tail lights and the
indicator light in the cluster will flash. Then the exterior
lights will flash for another 15 minutes.
Separating Transmitter Halves
30 THINGS TO KNOW BEFORE STARTING YOUR VEHICLE
Page 75 of 440
NFront Seat Adjustment..................108
NManual Seat Height Adjustment Ð If
Equipped...........................109
NManual LumbarÐ If Equipped............109
NDriver's Seat Back Recline...............110
NAdjustable Head Restraints..............110
NHeated Seats Ð If Equipped.............111
NFold Flat Front Passenger Seat............113
NFolding Rear Seat.....................114
NReclining Rear Seat Ð If Equipped.........115
mTo Open And Close The Hood.............116
mLights...............................118
NMap/Reading Lights...................118NMulti-Function Control Lever.............119
NHeadlights, Parking Lights, Instrument Panel
Lights.............................119
NLights-On Reminder...................120
NFog Lights Ð If Equipped...............121
NTurn Signals.........................121
NHighbeam/Lowbeam Select Switch.........122
NPassing Light........................123
mDaytime Running Lights (DRL) Ð If Equipped . . 123
NFunctionality........................123
mWindshield Wipers And Washers...........123
NWindshield Washers...................123
NMist Feature.........................124
74 UNDERSTANDING THE FEATURES OF YOUR VEHICLE
Page 120 of 440
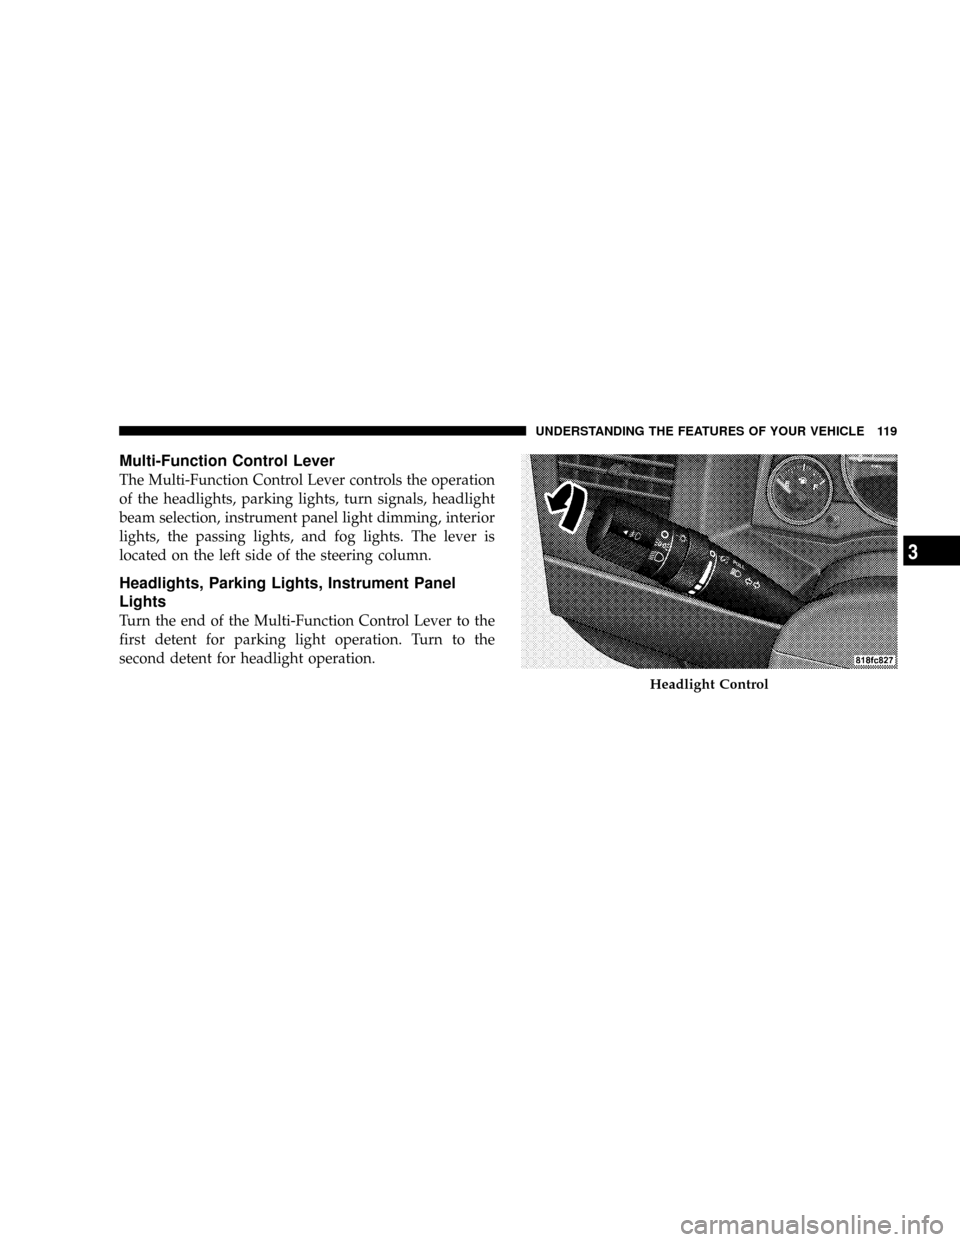
Multi-Function Control Lever
The Multi-Function Control Lever controls the operation
of the headlights, parking lights, turn signals, headlight
beam selection, instrument panel light dimming, interior
lights, the passing lights, and fog lights. The lever is
located on the left side of the steering column.
Headlights, Parking Lights, Instrument Panel
Lights
Turn the end of the Multi-Function Control Lever to the
first detent for parking light operation. Turn to the
second detent for headlight operation.
Headlight Control
UNDERSTANDING THE FEATURES OF YOUR VEHICLE 119
3
Page 121 of 440
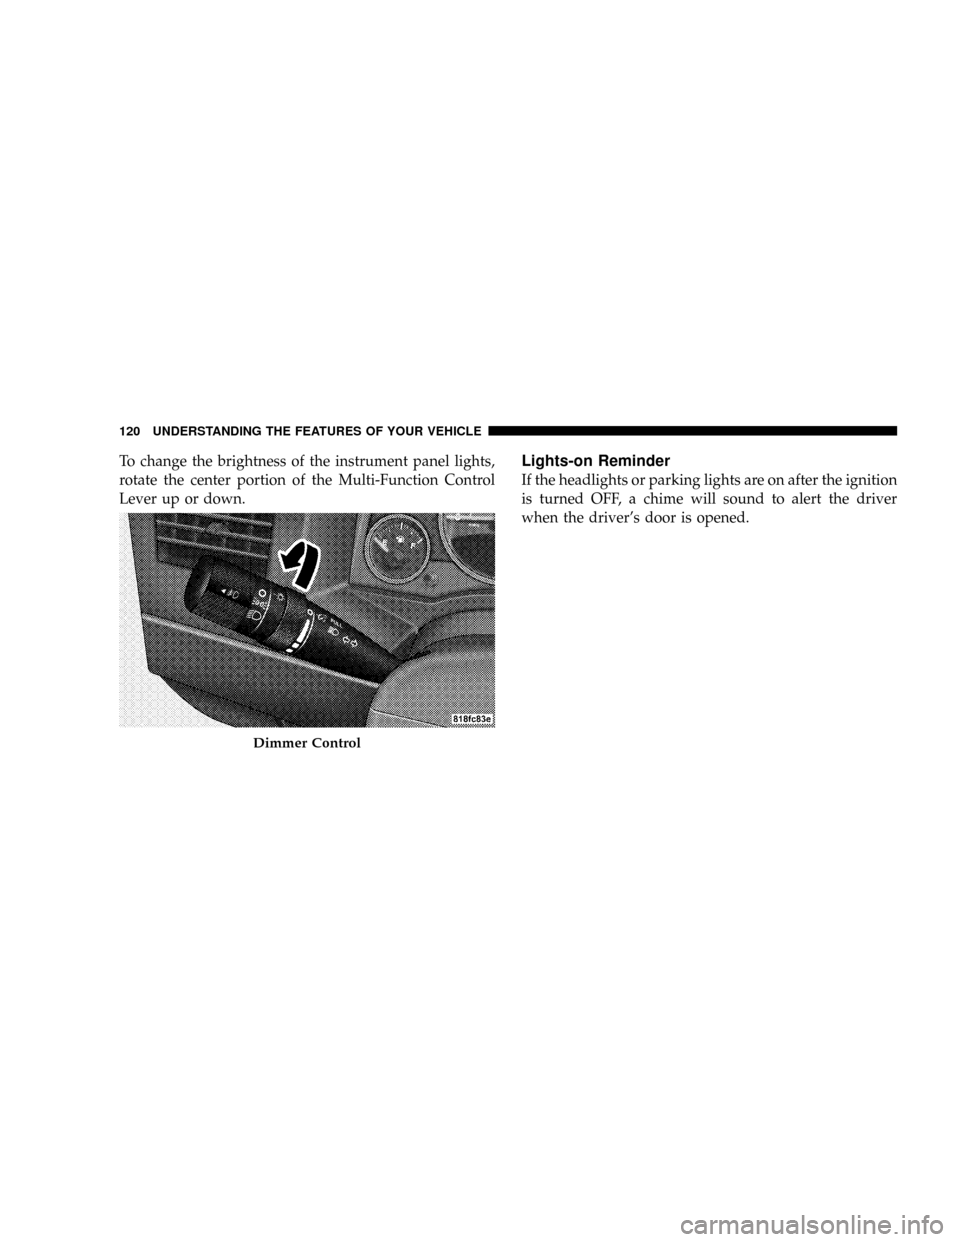
To change the brightness of the instrument panel lights,
rotate the center portion of the Multi-Function Control
Lever up or down.Lights-on Reminder
If the headlights or parking lights are on after the ignition
is turned OFF, a chime will sound to alert the driver
when the driver's door is opened.
Dimmer Control
120 UNDERSTANDING THE FEATURES OF YOUR VEHICLE
Page 122 of 440
Fog Lights Ð If Equipped
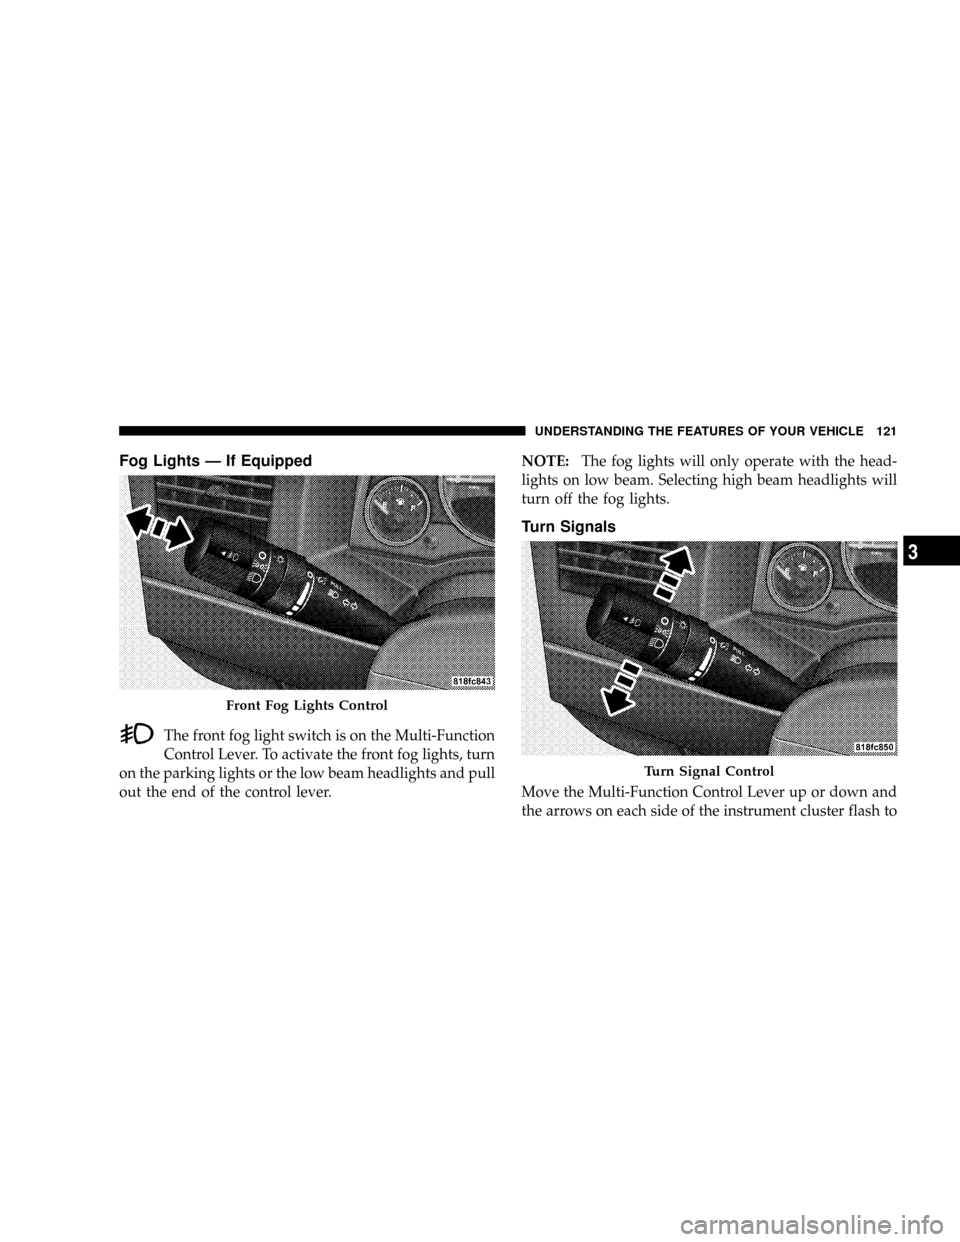
The front fog light switch is on the Multi-Function
Control Lever. To activate the front fog lights, turn
on the parking lights or the low beam headlights and pull
out the end of the control lever.NOTE:The fog lights will only operate with the head-
lights on low beam. Selecting high beam headlights will
turn off the fog lights.
Turn Signals
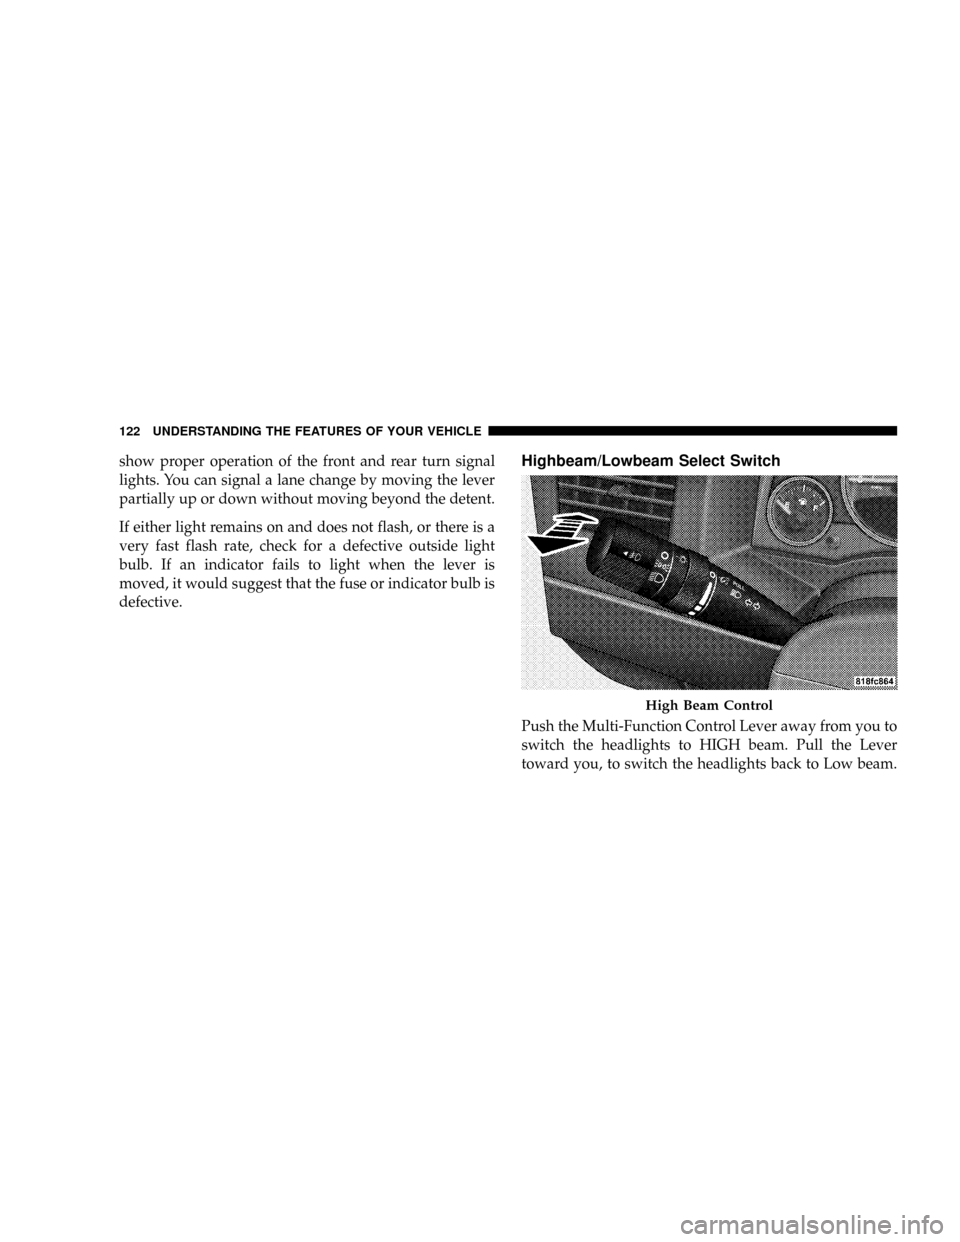
Move the Multi-Function Control Lever up or down and
the arrows on each side of the instrument cluster flash to
Front Fog Lights Control
Turn Signal Control
UNDERSTANDING THE FEATURES OF YOUR VEHICLE 121
3
Page 123 of 440
show proper operation of the front and rear turn signal
lights. You can signal a lane change by moving the lever
partially up or down without moving beyond the detent.
If either light remains on and does not flash, or there is a
very fast flash rate, check for a defective outside light
bulb. If an indicator fails to light when the lever is
moved, it would suggest that the fuse or indicator bulb is
defective.Highbeam/Lowbeam Select Switch
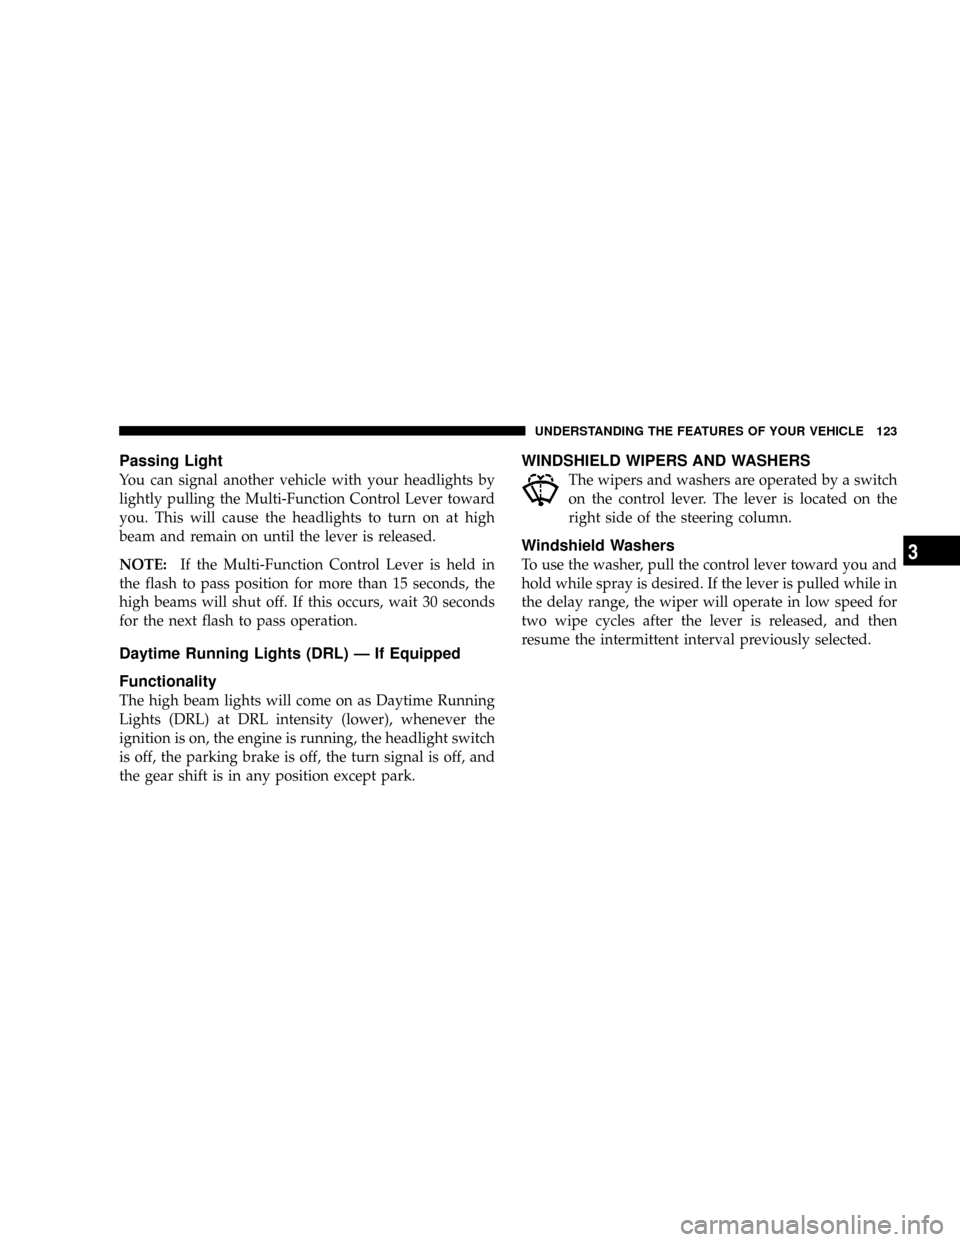
Push the Multi-Function Control Lever away from you to
switch the headlights to HIGH beam. Pull the Lever
toward you, to switch the headlights back to Low beam.
High Beam Control
122 UNDERSTANDING THE FEATURES OF YOUR VEHICLE
Page 124 of 440
Passing Light
You can signal another vehicle with your headlights by
lightly pulling the Multi-Function Control Lever toward
you. This will cause the headlights to turn on at high
beam and remain on until the lever is released.
NOTE:If the Multi-Function Control Lever is held in
the flash to pass position for more than 15 seconds, the
high beams will shut off. If this occurs, wait 30 seconds
for the next flash to pass operation.
Daytime Running Lights (DRL) Ð If Equipped
Functionality
The high beam lights will come on as Daytime Running
Lights (DRL) at DRL intensity (lower), whenever the
ignition is on, the engine is running, the headlight switch
is off, the parking brake is off, the turn signal is off, and
the gear shift is in any position except park.
WINDSHIELD WIPERS AND WASHERS
The wipers and washers are operated by a switch
on the control lever. The lever is located on the
right side of the steering column.
Windshield Washers
To use the washer, pull the control lever toward you and
hold while spray is desired. If the lever is pulled while in
the delay range, the wiper will operate in low speed for
two wipe cycles after the lever is released, and then
resume the intermittent interval previously selected.
UNDERSTANDING THE FEATURES OF YOUR VEHICLE 123
3
Page 171 of 440
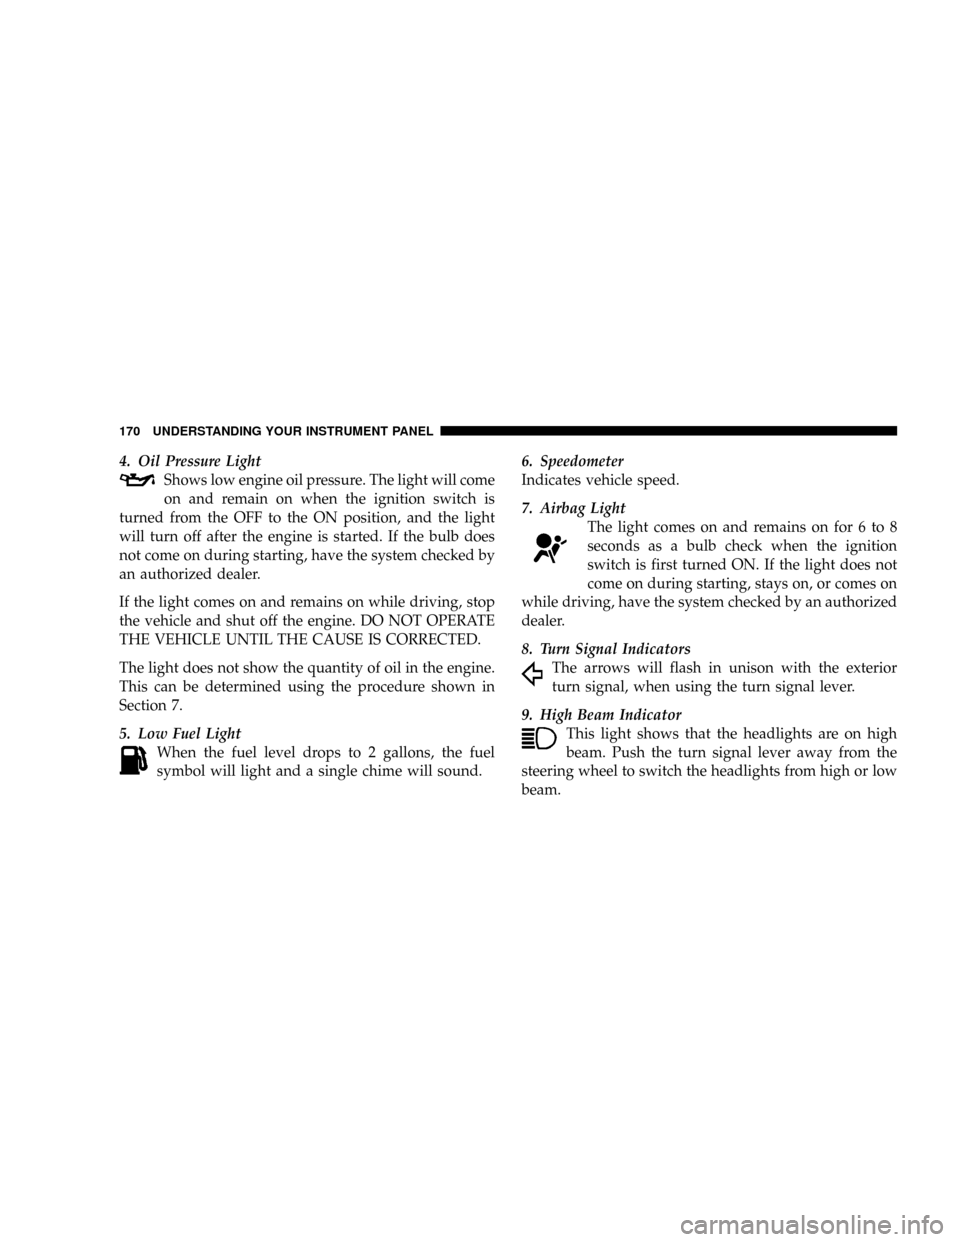
4. Oil Pressure Light
Shows low engine oil pressure. The light will come
on and remain on when the ignition switch is
turned from the OFF to the ON position, and the light
will turn off after the engine is started. If the bulb does
not come on during starting, have the system checked by
an authorized dealer.
If the light comes on and remains on while driving, stop
the vehicle and shut off the engine. DO NOT OPERATE
THE VEHICLE UNTIL THE CAUSE IS CORRECTED.
The light does not show the quantity of oil in the engine.
This can be determined using the procedure shown in
Section 7.
5. Low Fuel Light
When the fuel level drops to 2 gallons, the fuel
symbol will light and a single chime will sound.6. Speedometer
Indicates vehicle speed.
7. Airbag Light
The light comes on and remains on for 6 to 8
seconds as a bulb check when the ignition
switch is first turned ON. If the light does not
come on during starting, stays on, or comes on
while driving, have the system checked by an authorized
dealer.
8. Turn Signal Indicators
The arrows will flash in unison with the exterior
turn signal, when using the turn signal lever.
9. High Beam Indicator
This light shows that the headlights are on high
beam. Push the turn signal lever away from the
steering wheel to switch the headlights from high or low
beam.
170 UNDERSTANDING YOUR INSTRUMENT PANEL
Page 186 of 440
Sound Horn with Remote Key Lock
When ON is selected a short horn sound will occur when
the remote keyless entry ªLockº button is pressed. This
feature may be selected with or without the flash lights
on lock/unlock feature. Press and hold the EVIC button
when in this display until ªONº or ªOFFº appears to
make your selection.
Flash Lights with Remote Key Lock
When ON is selected, the front and rear turn signals will
flash when the doors are locked or unlocked using the
remote keyless entry transmitter. This feature may be
selected with or without the sound horn on lock feature
selected. Press and hold the EVIC button when in this
display until ªONº or ªOFFº appears to make your
selection.
Delay Turning Headlamps Off
When this feature is selected the driver can choose to
have the headlamps remain on for 0, 30, 60, or 90 secondswhen exiting the vehicle. Press and hold the EVIC button
when in this display until 0, 30, 60, or 90 appears to make
your selection.
Headlamps On With Wipers (Available with Auto
Headlights Only)
When ON is selected and the headlight switch is in the
AUTO position, the headlights will turn on approxi-
mately 10 seconds after the wipers are turned on. The
headlights will also turn off when the wipers are turned
off if they were turned on by this feature. Press and hold
the EVIC button when in this display until ªONº or
ªOFFº appears to make your selection.
NOTE:Turning the headlights on during the daytime
causes the instrument panel lights to dim. To increase the
brightness, refer to ªLightsº in this section.
Delay Power Off to Accessories Until Exit
When this feature is selected, the power window
switches, radio, hands±free system, power sunroof, and
UNDERSTANDING YOUR INSTRUMENT PANEL 185
4