hood open JEEP PATRIOT 2007 1.G Owners Manual
[x] Cancel search | Manufacturer: JEEP, Model Year: 2007, Model line: PATRIOT, Model: JEEP PATRIOT 2007 1.GPages: 440, PDF Size: 7.26 MB
Page 75 of 440
NFront Seat Adjustment..................108
NManual Seat Height Adjustment Ð If
Equipped...........................109
NManual LumbarÐ If Equipped............109
NDriver's Seat Back Recline...............110
NAdjustable Head Restraints..............110
NHeated Seats Ð If Equipped.............111
NFold Flat Front Passenger Seat............113
NFolding Rear Seat.....................114
NReclining Rear Seat Ð If Equipped.........115
mTo Open And Close The Hood.............116
mLights...............................118
NMap/Reading Lights...................118NMulti-Function Control Lever.............119
NHeadlights, Parking Lights, Instrument Panel
Lights.............................119
NLights-On Reminder...................120
NFog Lights Ð If Equipped...............121
NTurn Signals.........................121
NHighbeam/Lowbeam Select Switch.........122
NPassing Light........................123
mDaytime Running Lights (DRL) Ð If Equipped . . 123
NFunctionality........................123
mWindshield Wipers And Washers...........123
NWindshield Washers...................123
NMist Feature.........................124
74 UNDERSTANDING THE FEATURES OF YOUR VEHICLE
Page 117 of 440
For additional comfort, pull the strap forward just
enough to release the seatback latch. Then push the
seatback to a reclined position, approximately 35 degrees
maximum, and release the strap.
WARNING!
²It is extremely dangerous to ride in a cargo area,
inside or outside of a vehicle. In a collision, people
riding in these areas are more likely to be seri-
ously injured or killed.
²Do not allow people to ride in any area of your
vehicle that is not equipped with seats and seat
belts
²Be sure that everyone in your vehicle is in a seat
and using a seat belt properly.
TO OPEN AND CLOSE THE HOOD
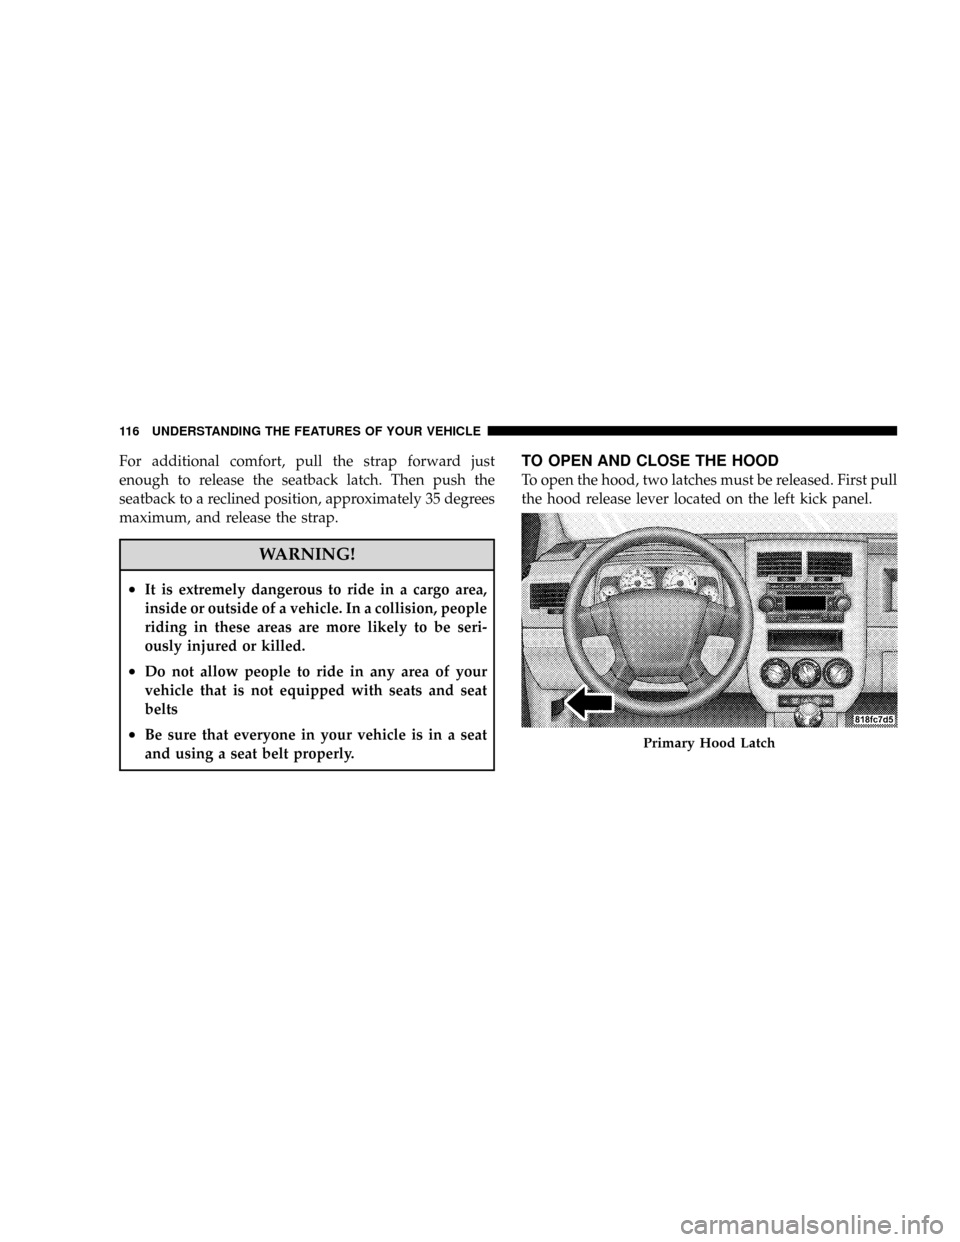
To open the hood, two latches must be released. First pull
the hood release lever located on the left kick panel.
Primary Hood Latch
116 UNDERSTANDING THE FEATURES OF YOUR VEHICLE
Page 118 of 440
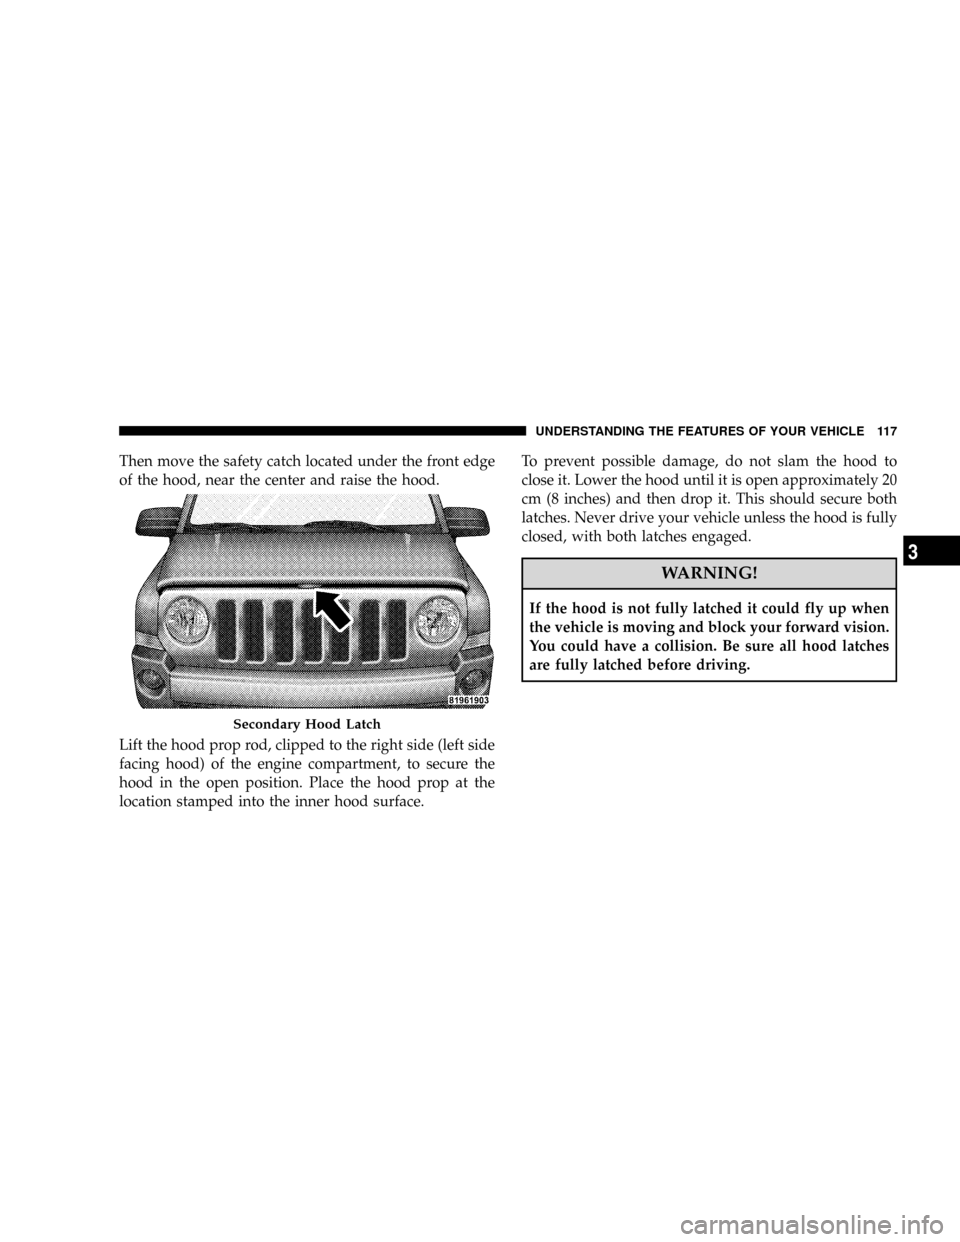
Then move the safety catch located under the front edge
of the hood, near the center and raise the hood.
Lift the hood prop rod, clipped to the right side (left side
facing hood) of the engine compartment, to secure the
hood in the open position. Place the hood prop at the
location stamped into the inner hood surface.To prevent possible damage, do not slam the hood to
close it. Lower the hood until it is open approximately 20
cm (8 inches) and then drop it. This should secure both
latches. Never drive your vehicle unless the hood is fully
closed, with both latches engaged.
WARNING!
If the hood is not fully latched it could fly up when
the vehicle is moving and block your forward vision.
You could have a collision. Be sure all hood latches
are fully latched before driving.
Secondary Hood Latch
UNDERSTANDING THE FEATURES OF YOUR VEHICLE 117
3
Page 361 of 440
Cooling System
WARNING!
²When working near the radiator cooling fan, dis-
connect the fan motor lead or turn the ignition
switch to the OFF position. The fan is temperature
controlled and can start at any time the ignition
switch is in the ON position.
²You or others can be badly burned by hot coolant
or steam from your radiator. If you see or hear
steam coming from under the hood, don't open the
hood until the radiator has had time to cool. Never
try to open a cooling system pressure cap when the
radiator is hot.
Coolant Checks
Check engine coolant (antifreeze) protection every 12
months (before the onset of freezing weather, where
applicable). If coolant is dirty or rusty in appearance, the
system should be drained, flushed and refilled with fresh
coolant. Check the front of the A/C condenser for any
accumulation of bugs, leaves, etc. If dirty, clean by gently
spraying water from a garden hose vertically down the
face of the condenser.
Check the coolant recovery bottle tubing for brittle rub-
ber, cracking, tears, cuts and tightness of the connection
at the bottle and radiator. Inspect the entire system for
leaks.
Cooling System Ð Drain, Flush and Refill
At the intervals shown on the Maintenance Schedules,
the system should be drained, flushed and refilled.
If the solution is dirty or contains a considerable amount
of sediment, clean and flush with a reliable cooling
360 MAINTAINING YOUR VEHICLE
Page 429 of 440
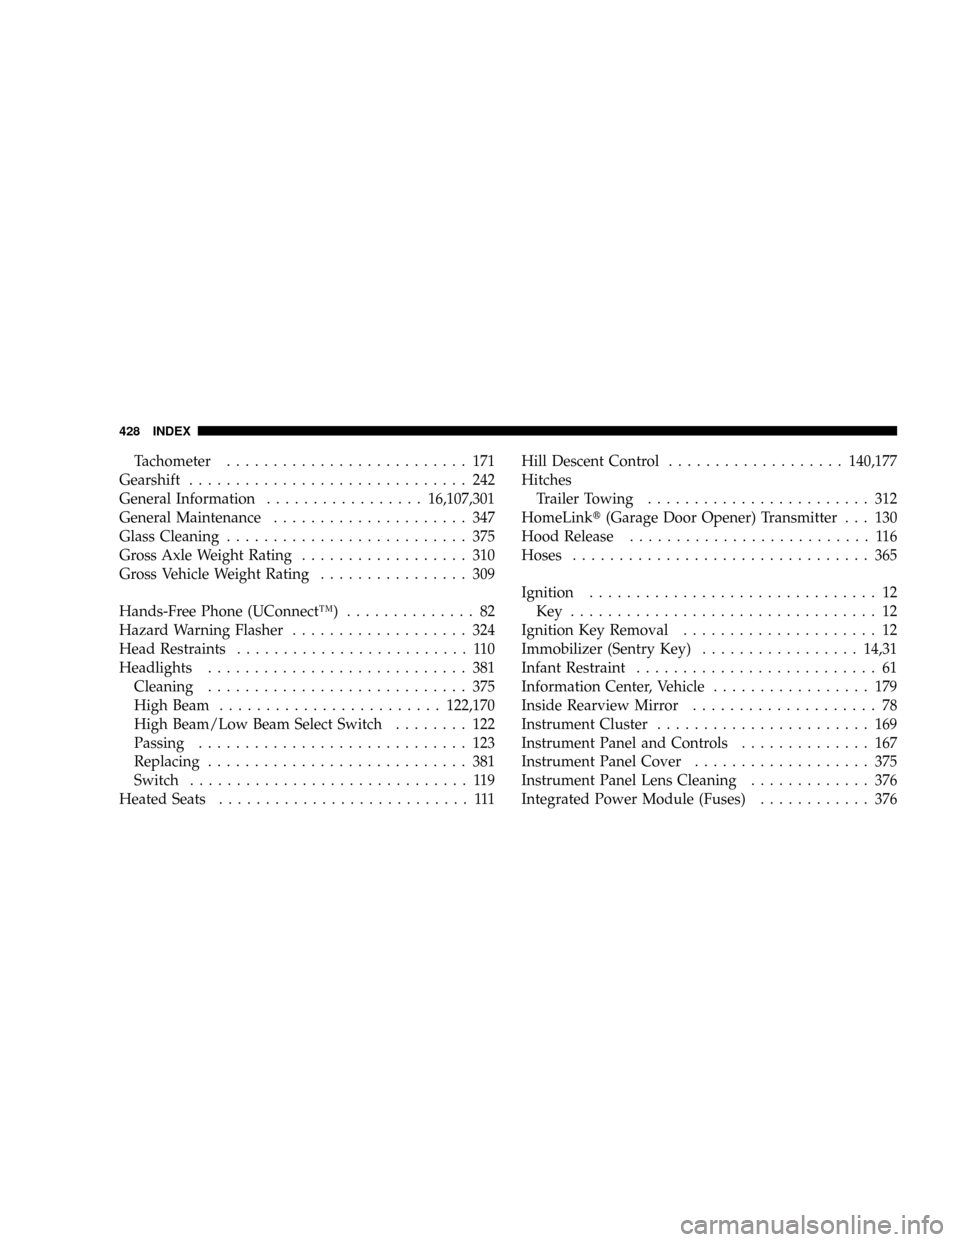
Tachometer.......................... 171
Gearshift.............................. 242
General Information.................16,107,301
General Maintenance..................... 347
Glass Cleaning.......................... 375
Gross Axle Weight Rating.................. 310
Gross Vehicle Weight Rating................ 309
Hands-Free Phone (UConnectŸ).............. 82
Hazard Warning Flasher................... 324
Head Restraints......................... 110
Headlights............................ 381
Cleaning............................ 375
High Beam........................122,170
High Beam/Low Beam Select Switch........ 122
Passing............................. 123
Replacing............................ 381
Switch.............................. 119
Heated Seats........................... 111Hill Descent Control...................140,177
Hitches
Trailer Towing........................ 312
HomeLinkt(Garage Door Opener) Transmitter . . . 130
Hood Release.......................... 116
Hoses................................ 365
Ignition............................... 12
Key ................................. 12
Ignition Key Removal..................... 12
Immobilizer (Sentry Key).................14,31
Infant Restraint.......................... 61
Information Center, Vehicle................. 179
Inside Rearview Mirror.................... 78
Instrument Cluster....................... 169
Instrument Panel and Controls.............. 167
Instrument Panel Cover................... 375
Instrument Panel Lens Cleaning............. 376
Integrated Power Module (Fuses)............ 376
428 INDEX