JEEP PATRIOT 2009 1.G Owners Manual
PATRIOT 2009 1.G
JEEP
JEEP
https://www.carmanualsonline.info/img/16/7132/w960_7132-0.png
JEEP PATRIOT 2009 1.G Owners Manual
Trending: fold seats, dead battery, power steering fluid, suspension, trunk release, check transmission fluid, fuel additives
Page 121 of 457
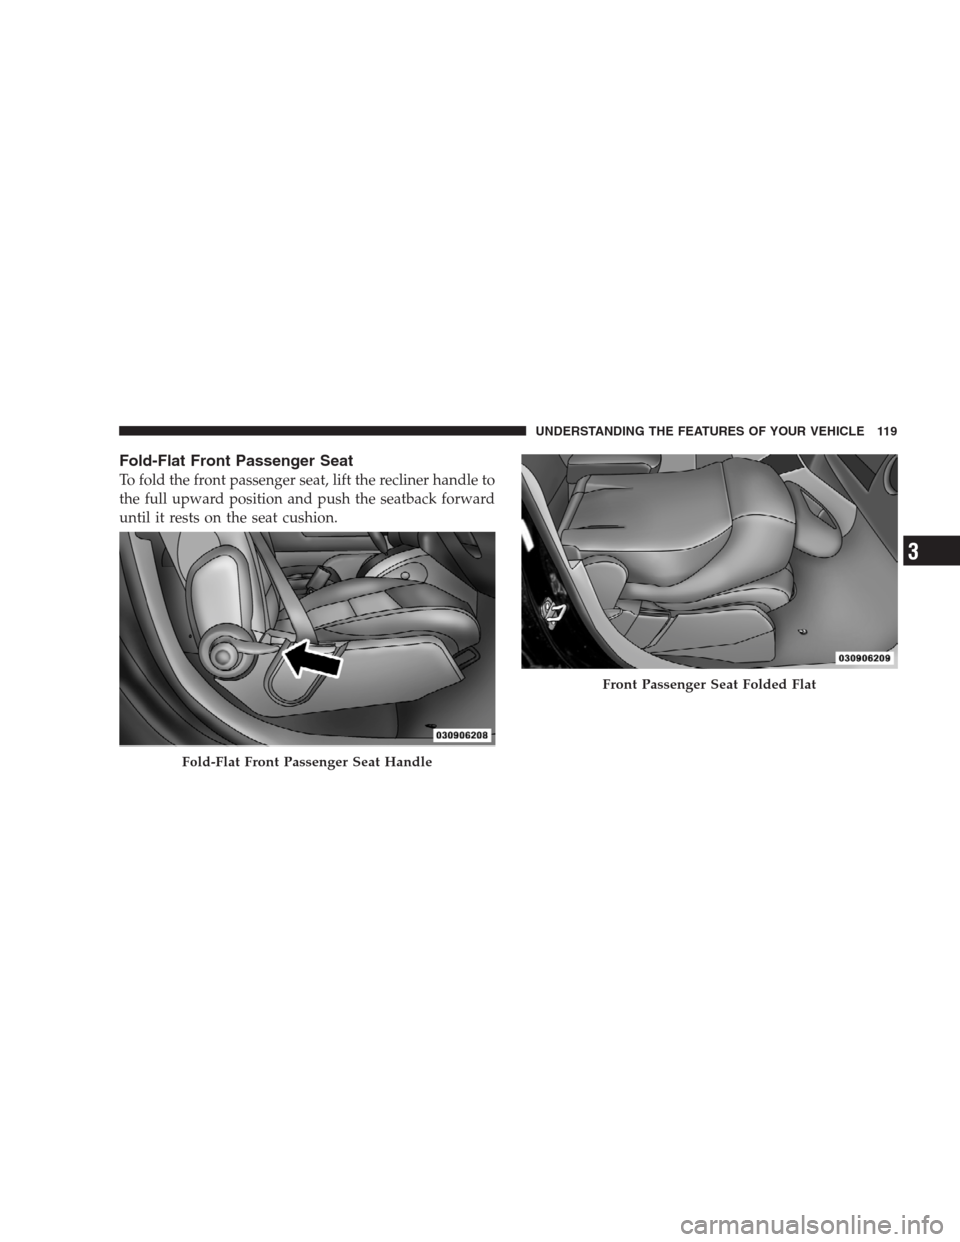
Fold-Flat Front Passenger Seat
To fold the front passenger seat, lift the recliner handle to
the full upward position and push the seatback forward
until it rests on the seat cushion.
Fold-Flat Front Passenger Seat Handle
Front Passenger Seat Folded Flat
UNDERSTANDING THE FEATURES OF YOUR VEHICLE 119
3
Page 122 of 457
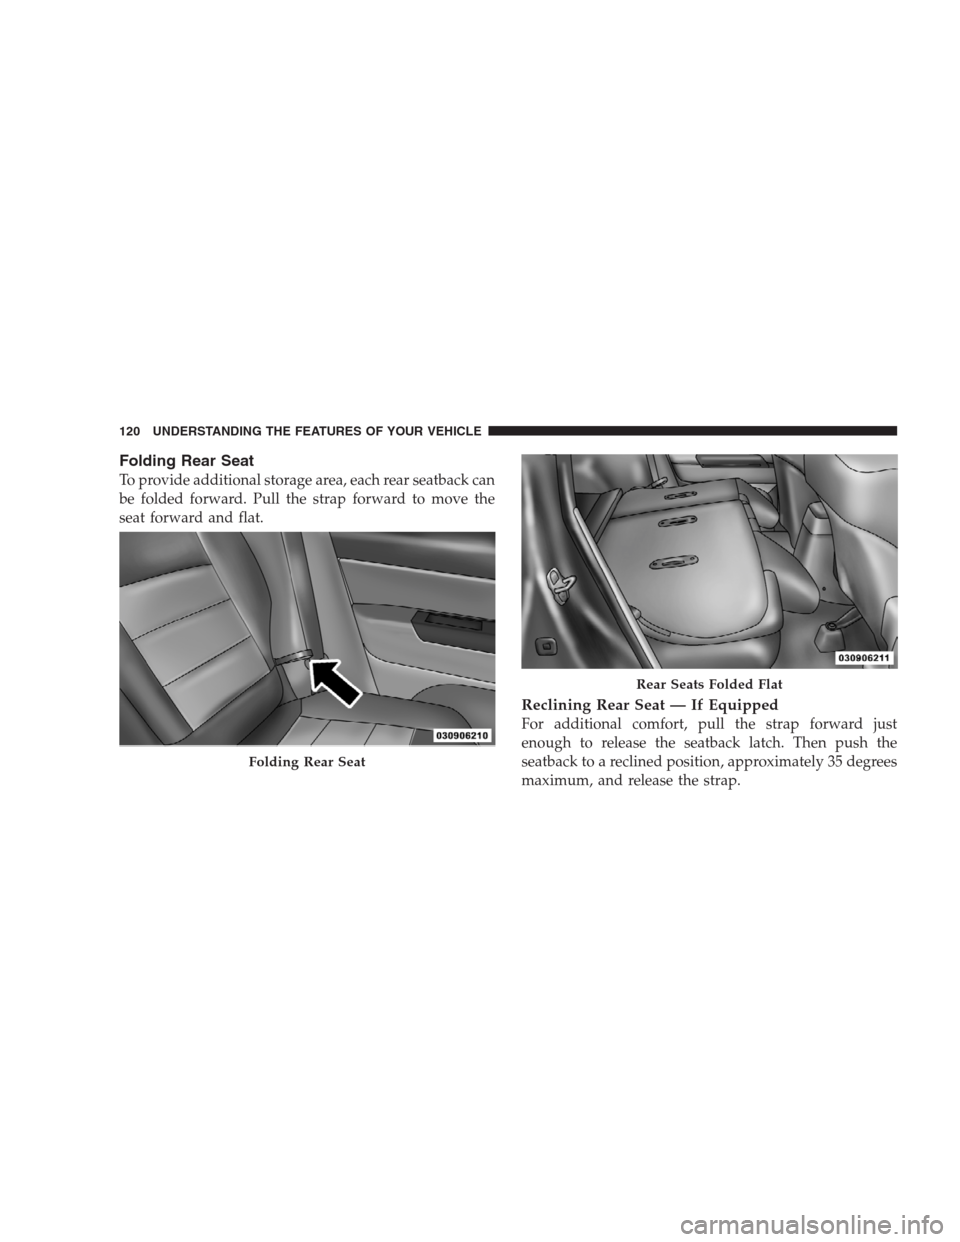
Folding Rear Seat
To provide additional storage area, each rear seatback can
be folded forward. Pull the strap forward to move the
seat forward and flat.
Reclining Rear Seat — If Equipped
For additional comfort, pull the strap forward just
enough to release the seatback latch. Then push the
seatback to a reclined position, approximately 35 degrees
maximum, and release the strap.
Folding Rear Seat
Rear Seats Folded Flat
120 UNDERSTANDING THE FEATURES OF YOUR VEHICLE
Page 123 of 457
WARNING!
•It is extremely dangerous to ride in a cargo area,
inside or outside of a vehicle. In a collision, people
riding in these areas are more likely to be seri-
ously injured or killed.
•Do not allow people to ride in any area of your
vehicle that is not equipped with seats and seat
belts.
•Be sure that everyone in your vehicle is in a seat
and using a seat belt properly.
TO OPEN AND CLOSE THE HOOD
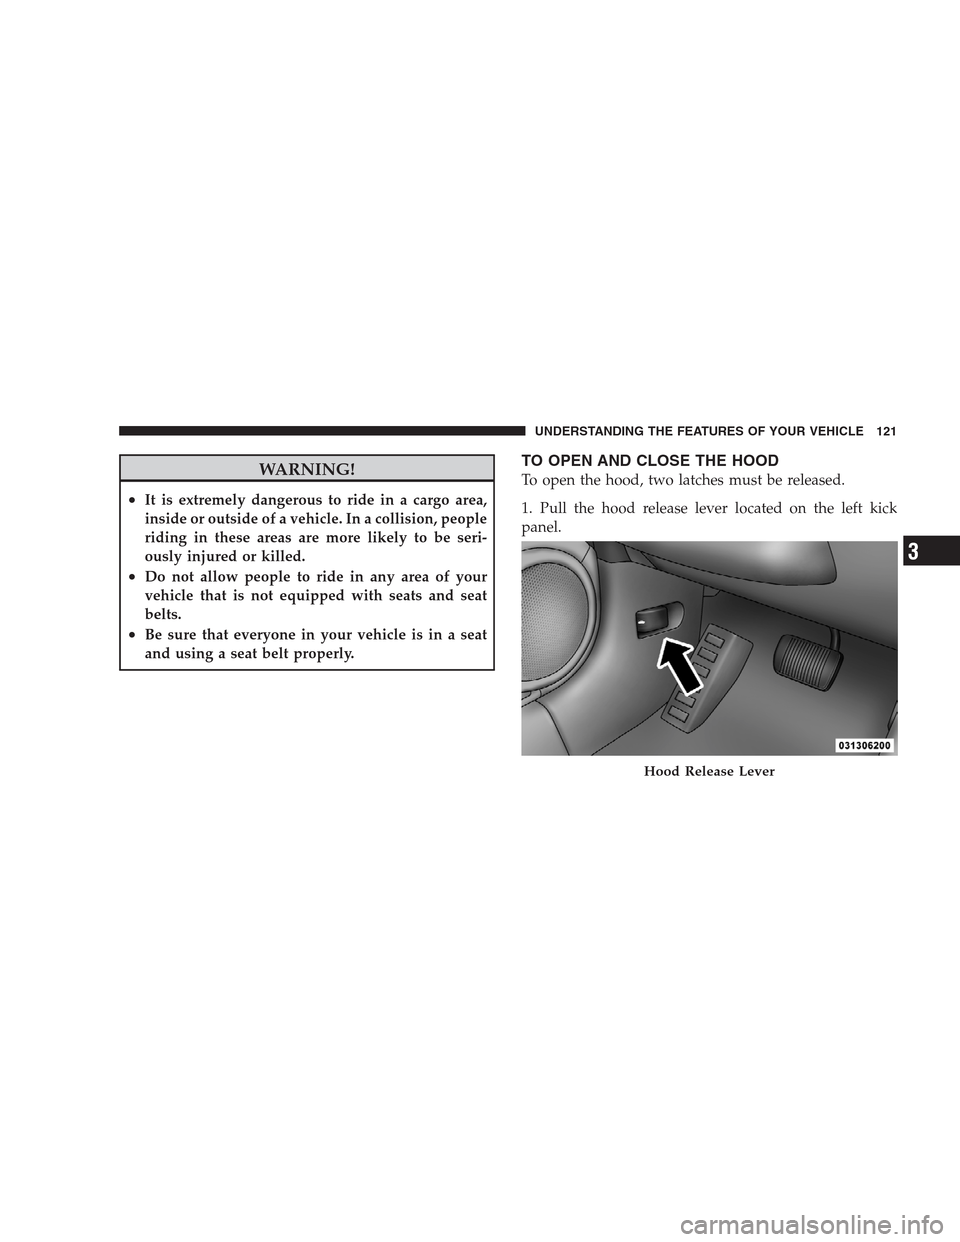
To open the hood, two latches must be released.
1. Pull the hood release lever located on the left kick
panel.
Hood Release Lever
UNDERSTANDING THE FEATURES OF YOUR VEHICLE 121
3
Page 124 of 457
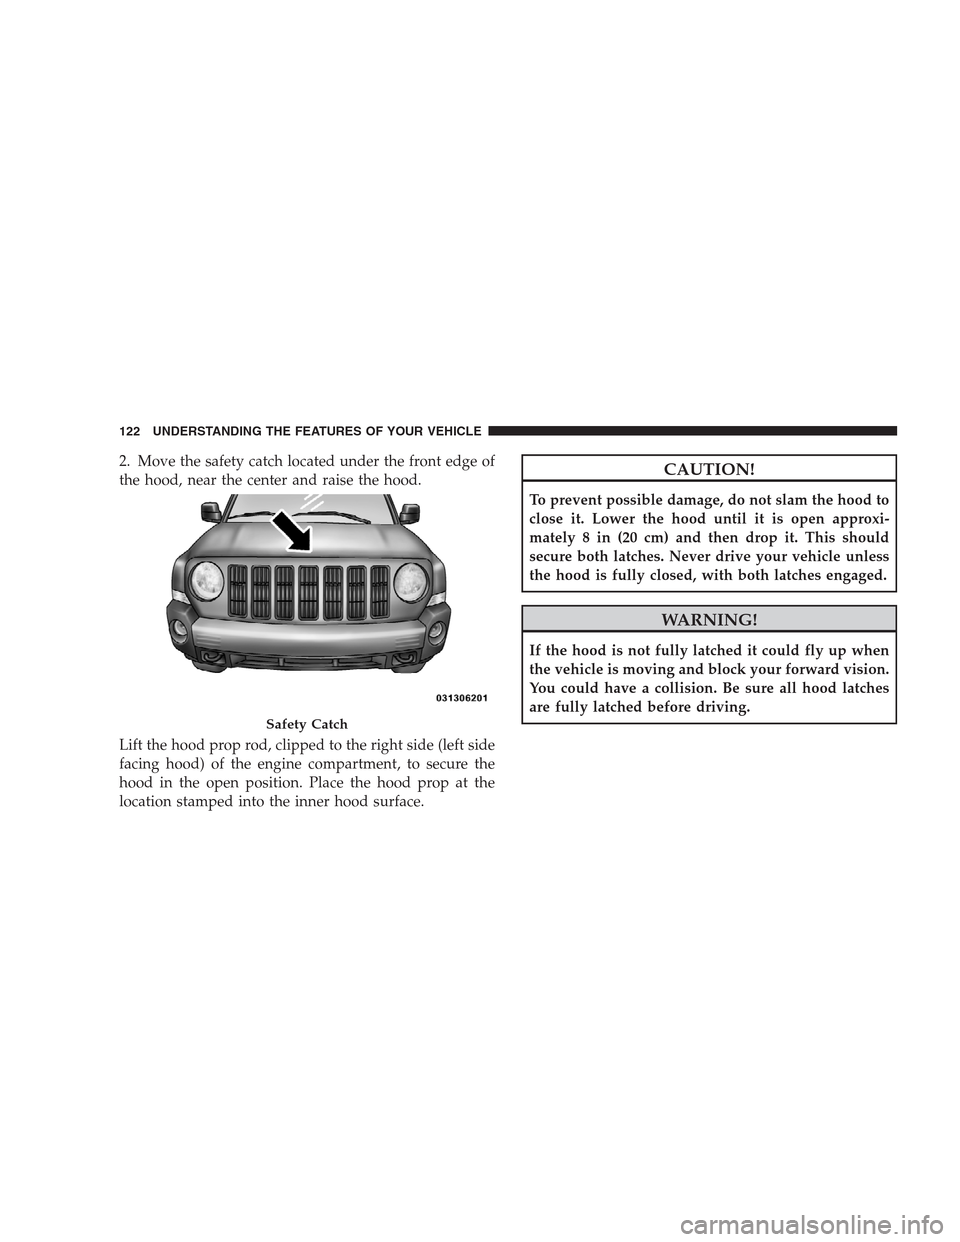
2. Move the safety catch located under the front edge of
the hood, near the center and raise the hood.
Lift the hood prop rod, clipped to the right side (left side
facing hood) of the engine compartment, to secure the
hood in the open position. Place the hood prop at the
location stamped into the inner hood surface.CAUTION!
To prevent possible damage, do not slam the hood to
close it. Lower the hood until it is open approxi-
mately 8 in (20 cm) and then drop it. This should
secure both latches. Never drive your vehicle unless
the hood is fully closed, with both latches engaged.
WARNING!
If the hood is not fully latched it could fly up when
the vehicle is moving and block your forward vision.
You could have a collision. Be sure all hood latches
are fully latched before driving.
Safety Catch
122 UNDERSTANDING THE FEATURES OF YOUR VEHICLE
Page 125 of 457
LIGHTS
Multifunction Lever
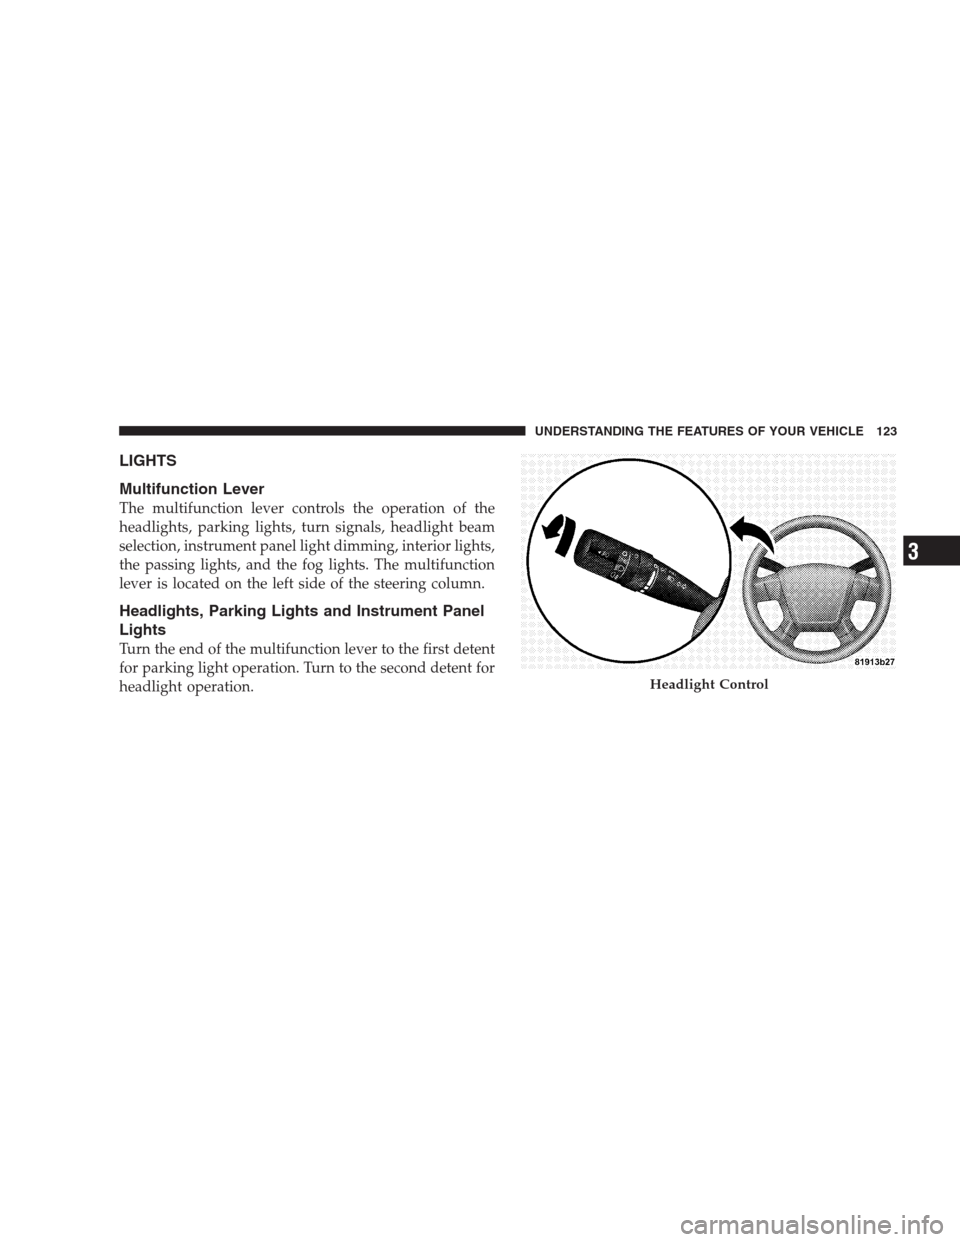
The multifunction lever controls the operation of the
headlights, parking lights, turn signals, headlight beam
selection, instrument panel light dimming, interior lights,
the passing lights, and the fog lights. The multifunction
lever is located on the left side of the steering column.
Headlights, Parking Lights and Instrument Panel
Lights
Turn the end of the multifunction lever to the first detent
for parking light operation. Turn to the second detent for
headlight operation.
Headlight Control
UNDERSTANDING THE FEATURES OF YOUR VEHICLE 123
3
Page 126 of 457
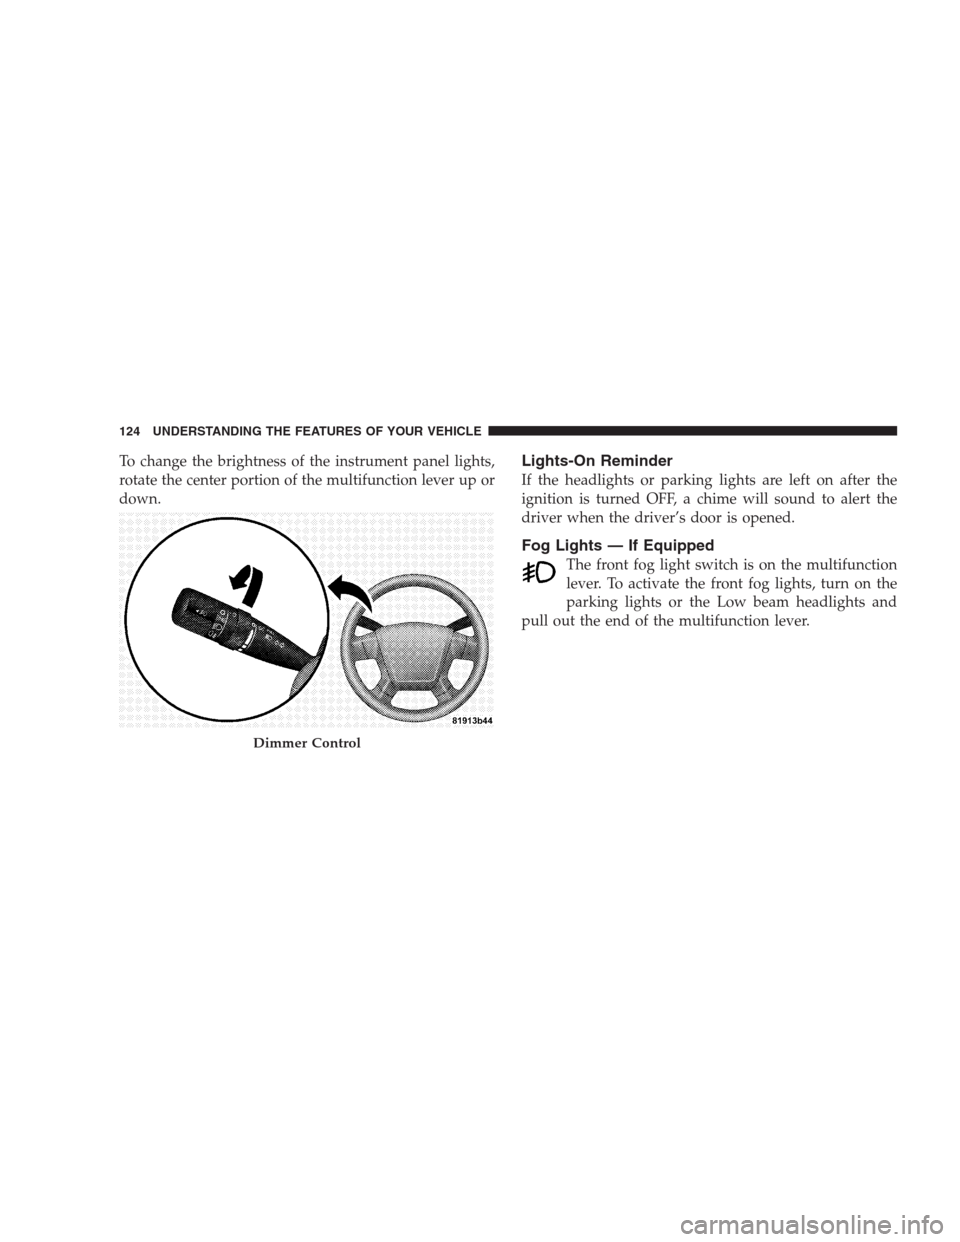
To change the brightness of the instrument panel lights,
rotate the center portion of the multifunction lever up or
down.Lights-On Reminder
If the headlights or parking lights are left on after the
ignition is turned OFF, a chime will sound to alert the
driver when the driver’s door is opened.
Fog Lights — If Equipped
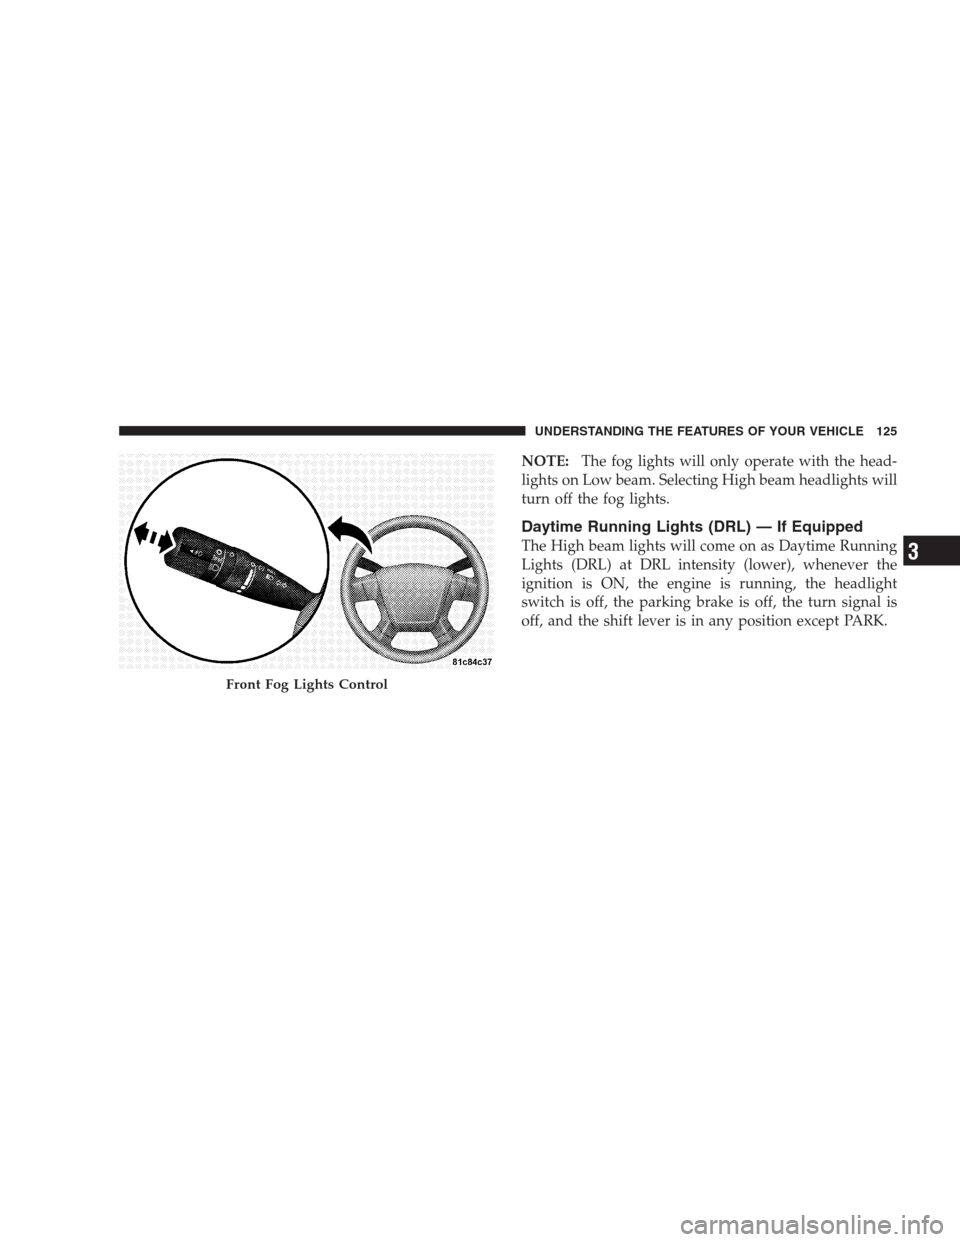
The front fog light switch is on the multifunction
lever. To activate the front fog lights, turn on the
parking lights or the Low beam headlights and
pull out the end of the multifunction lever.
Dimmer Control
124 UNDERSTANDING THE FEATURES OF YOUR VEHICLE
Page 127 of 457
NOTE:The fog lights will only operate with the head-
lights on Low beam. Selecting High beam headlights will
turn off the fog lights.
Daytime Running Lights (DRL) — If Equipped
The High beam lights will come on as Daytime Running
Lights (DRL) at DRL intensity (lower), whenever the
ignition is ON, the engine is running, the headlight
switch is off, the parking brake is off, the turn signal is
off, and the shift lever is in any position except PARK.
Front Fog Lights Control
UNDERSTANDING THE FEATURES OF YOUR VEHICLE 125
3
Page 128 of 457
Turn Signals
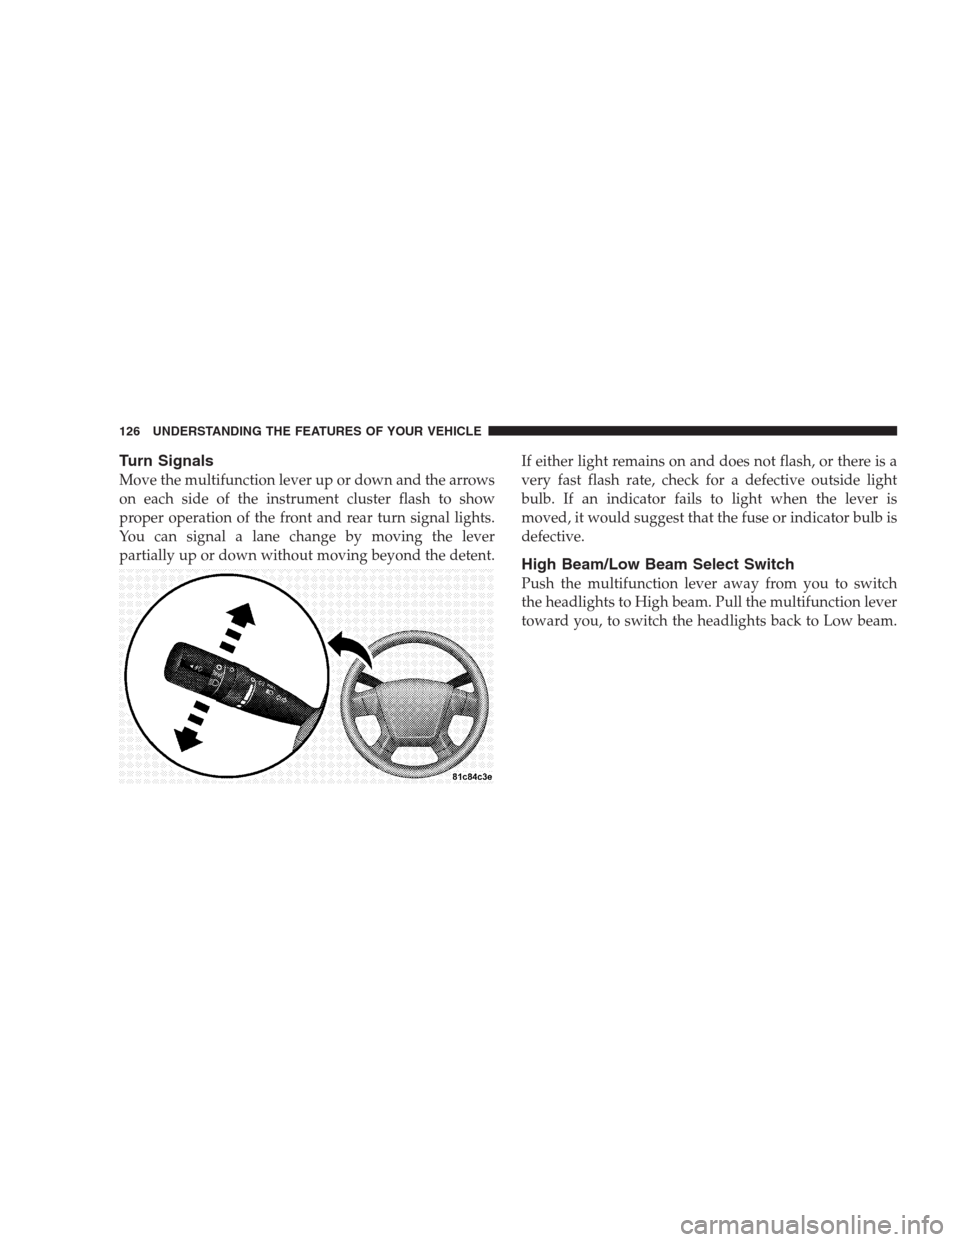
Move the multifunction lever up or down and the arrows
on each side of the instrument cluster flash to show
proper operation of the front and rear turn signal lights.
You can signal a lane change by moving the lever
partially up or down without moving beyond the detent.If either light remains on and does not flash, or there is a
very fast flash rate, check for a defective outside light
bulb. If an indicator fails to light when the lever is
moved, it would suggest that the fuse or indicator bulb is
defective.
High Beam/Low Beam Select Switch
Push the multifunction lever away from you to switch
the headlights to High beam. Pull the multifunction lever
toward you, to switch the headlights back to Low beam.
126 UNDERSTANDING THE FEATURES OF YOUR VEHICLE
Page 129 of 457
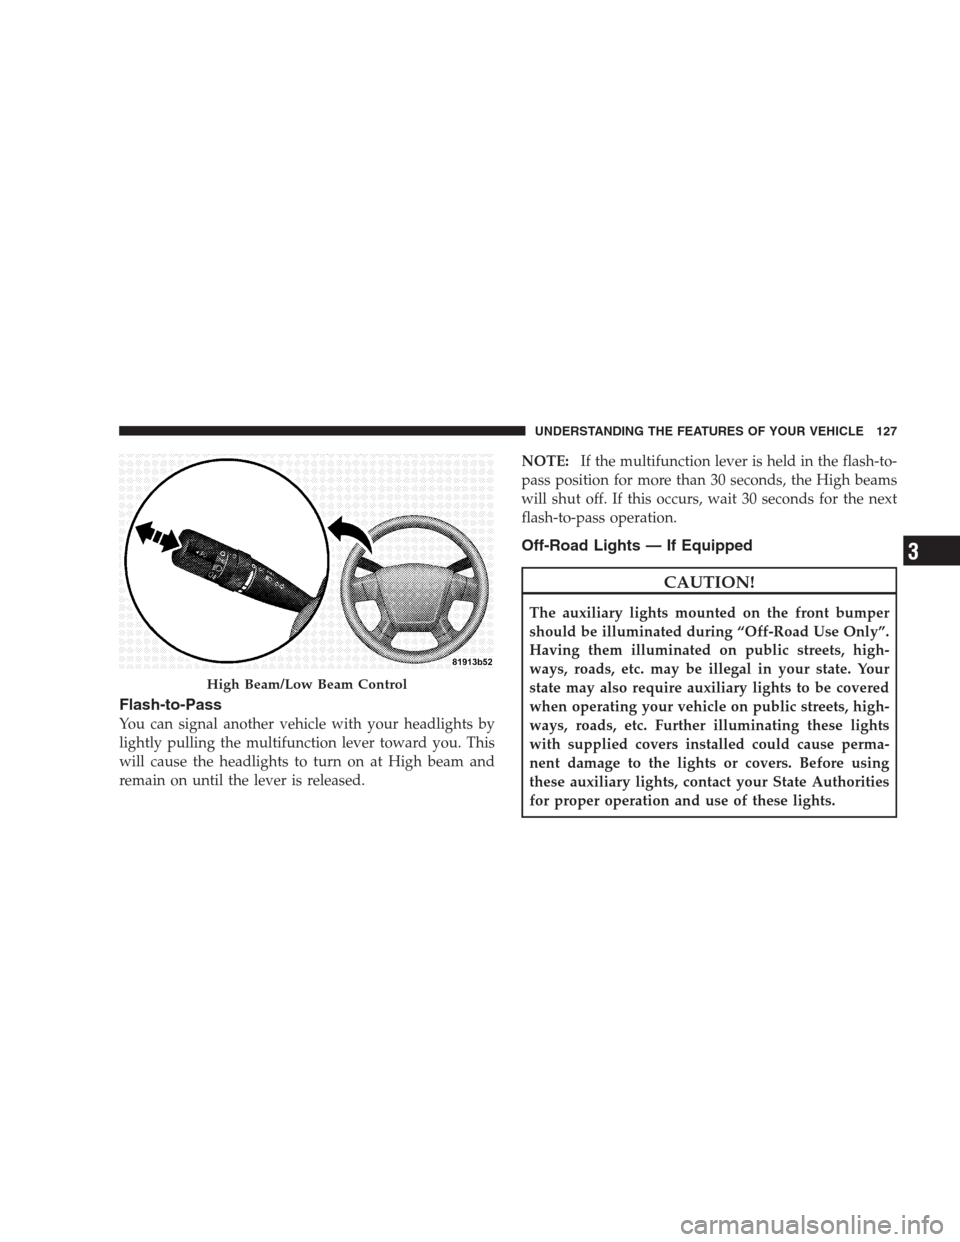
Flash-to-Pass
You can signal another vehicle with your headlights by
lightly pulling the multifunction lever toward you. This
will cause the headlights to turn on at High beam and
remain on until the lever is released.NOTE:If the multifunction lever is held in the flash-to-
pass position for more than 30 seconds, the High beams
will shut off. If this occurs, wait 30 seconds for the next
flash-to-pass operation.
Off-Road Lights — If Equipped
CAUTION!
The auxiliary lights mounted on the front bumper
should be illuminated during “Off-Road Use Only”.
Having them illuminated on public streets, high-
ways, roads, etc. may be illegal in your state. Your
state may also require auxiliary lights to be covered
when operating your vehicle on public streets, high-
ways, roads, etc. Further illuminating these lights
with supplied covers installed could cause perma-
nent damage to the lights or covers. Before using
these auxiliary lights, contact your State Authorities
for proper operation and use of these lights.
High Beam/Low Beam Control
UNDERSTANDING THE FEATURES OF YOUR VEHICLE 127
3
Page 130 of 457
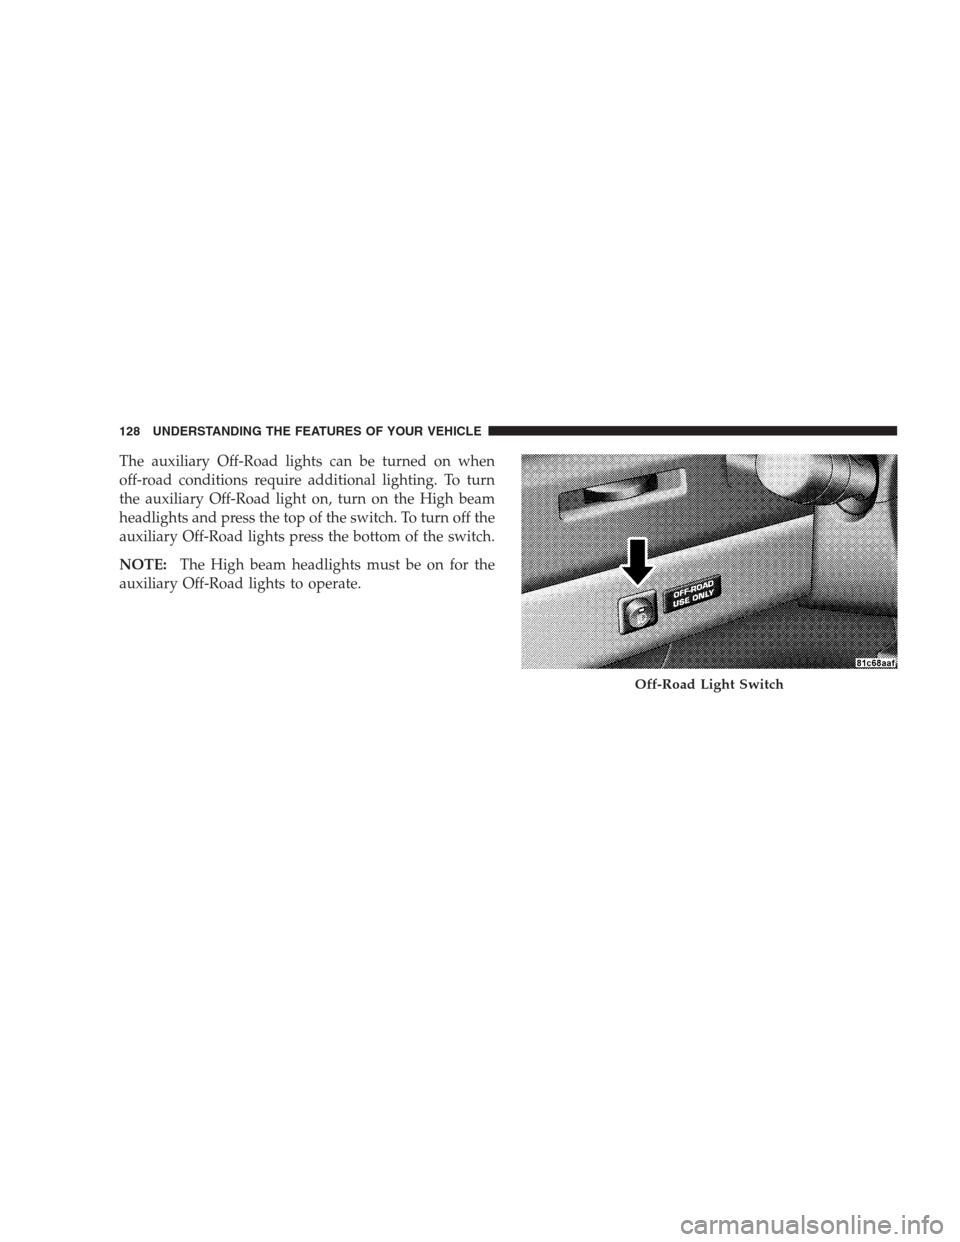
The auxiliary Off-Road lights can be turned on when
off-road conditions require additional lighting. To turn
the auxiliary Off-Road light on, turn on the High beam
headlights and press the top of the switch. To turn off the
auxiliary Off-Road lights press the bottom of the switch.
NOTE:The High beam headlights must be on for the
auxiliary Off-Road lights to operate.
Off-Road Light Switch
128 UNDERSTANDING THE FEATURES OF YOUR VEHICLE
Trending: air conditioning, height, automatic transmission, window, snow chains, headlights, overheating
