clock setting JEEP PATRIOT 2014 1.G User Guide
[x] Cancel search | Manufacturer: JEEP, Model Year: 2014, Model line: PATRIOT, Model: JEEP PATRIOT 2014 1.GPages: 126, PDF Size: 2.29 MB
Page 38 of 126
Uconnect® 130
NOTE:
• Your radio has many features that add to the comfort and convenience for you andyour passengers.
• Some of these radio features should not be used when driving because they take your eyes from the road or your attention from driving.
Uconnect® 130
1 — CD Eject Button
2 — Seek Down Button
3 — Seek Up Button
4 — AM/FM Button
5 — Disc Mode Button
6 — AUX Mode Button
7 — Rewind Button
8 — Fast Forward Button9 — Set Clock Button
10 — Audio Settings/Rotate To Tune
11 — Audio Jack
12 — Radio Sales Code
13 — Set Preset/CD Random Play
14 — Station Presets Buttons
15 — ON/OFF/Rotate For Volume
ELECTRONICS
36
Page 39 of 126
Clock Setting
1. Press and hold the TIME button until the hours blink.
2. Turn the TUNE/SCROLL control knob to set the hours.
3. Press the TUNE/SCROLL control knob until the minutes begin to blink.
4. Turn the TUNE/SCROLL control knob to set the minutes.
5. Press the TUNE/SCROLL control knob to save the changes.
6. Press any button/knob or wait five seconds to exit.
Equalizer, Balance And Fade
1. Press the TUNE/SCROLL control knob and “BASS” will display.
2. Rotate the TUNE/SCROLL control knob to select the desired setting.
3. Continue pressing the TUNE/SCROLL control knob to display and set “MIDRANGE,” “TREBLE,” “BALANCE” and “FADE.”
Radio Operation
Seek Up/Down Buttons
• Press to seek through radio stations in AM or FM bands.
• Hold either button to bypass stations without stopping.
Store Radio Presets
• Press the SET/RND or SET (depending on the radio) button once and SET 1 willshow in the display. Then select a preset button (1–6).
• A second station may be added to each push button. Press the SET/RND or SET (depending on the radio) button twice and SET 2 will show in the display. Then
select a preset button (1–6).
ELECTRONICS
37
Page 41 of 126
Uconnect® 130 WITH SiriusXM SATELLITE RADIO
Uconnect® 130 With SiriusXM Satellite Radio
1 — CD Eject Button
2 — Seek Down Button
3 — Seek Up Button
4 — Voice Command Button
5 — Uconnect
®Phone Button
6 — Station Info Button
7 — Rewind Button
8 — Fast Forward Button
9 — Set Clock Button
10 — Audio Settings/Rotate To Tune
11 — Audio Jack
12 — Radio Sales Code
13 — Set Preset/CD Random Play
14 — Station Preset Buttons
15 — ON/OFF/Rotate For Volume
16 — AM/FM Mode Button
17 — List Folders On A CD
18 — Satellite Radio Button
19 — Music Type Button
20 — Disc Mode Button
21 — Set Up Function Button
ELECTRONICS
39
Page 42 of 126
NOTE:
• Your radio may not be equipped with the Uconnect
®Voice Command and
Uconnect®Phone features. To determine if your radio has these features, push the
Voice Command button on the radio. You will hear a voice prompt if you have the
feature, or see a message on the radio stating “Uconnect Phone not available” if
you do not.
• Your radio has many features that add to the comfort and convenience of you and your passengers. Some of these radio features should not be used when driving
because they take your eyes from the road or your attention from driving.
Clock Setting
1. Press and hold the TIME button until the hours blink.
2. Turn the TUNE/SCROLL control knob to set the hours.
3. Press the TUNE/SCROLL control knob until the minutes begin to blink.
4. Turn the TUNE/SCROLL control knob to set the minutes.
5. Press the TUNE/SCROLL control knob to save the changes.
6. Press any button/knob or wait five seconds to exit.
Equalizer, Balance And Fade
1. Press the TUNE/SCROLL control knob and “BASS” will display.
2. Rotate the TUNE/SCROLL control knob to select the desired setting.
3. Continue pressing the TUNE/SCROLL control knob to display and set “MID
RANGE,” “TREBLE,” “BALANCE” and “FADE.”
Radio Operation
Seek Up/Down Buttons
• Press to seek through radio stations in AM, FM, or SAT bands.
• Hold either button to bypass stations without stopping.
Store Radio Presets
• Press the SET/RND or SET (depending on the radio) button once and SET 1 willshow in the display. Then select a preset button (1–6).
• A second station may be added to each push button. Press the SET/RND or SET (depending on the radio) button twice and SET 2 will show in the display. Then
select a preset button (1–6).
ELECTRONICS
40
Page 45 of 126
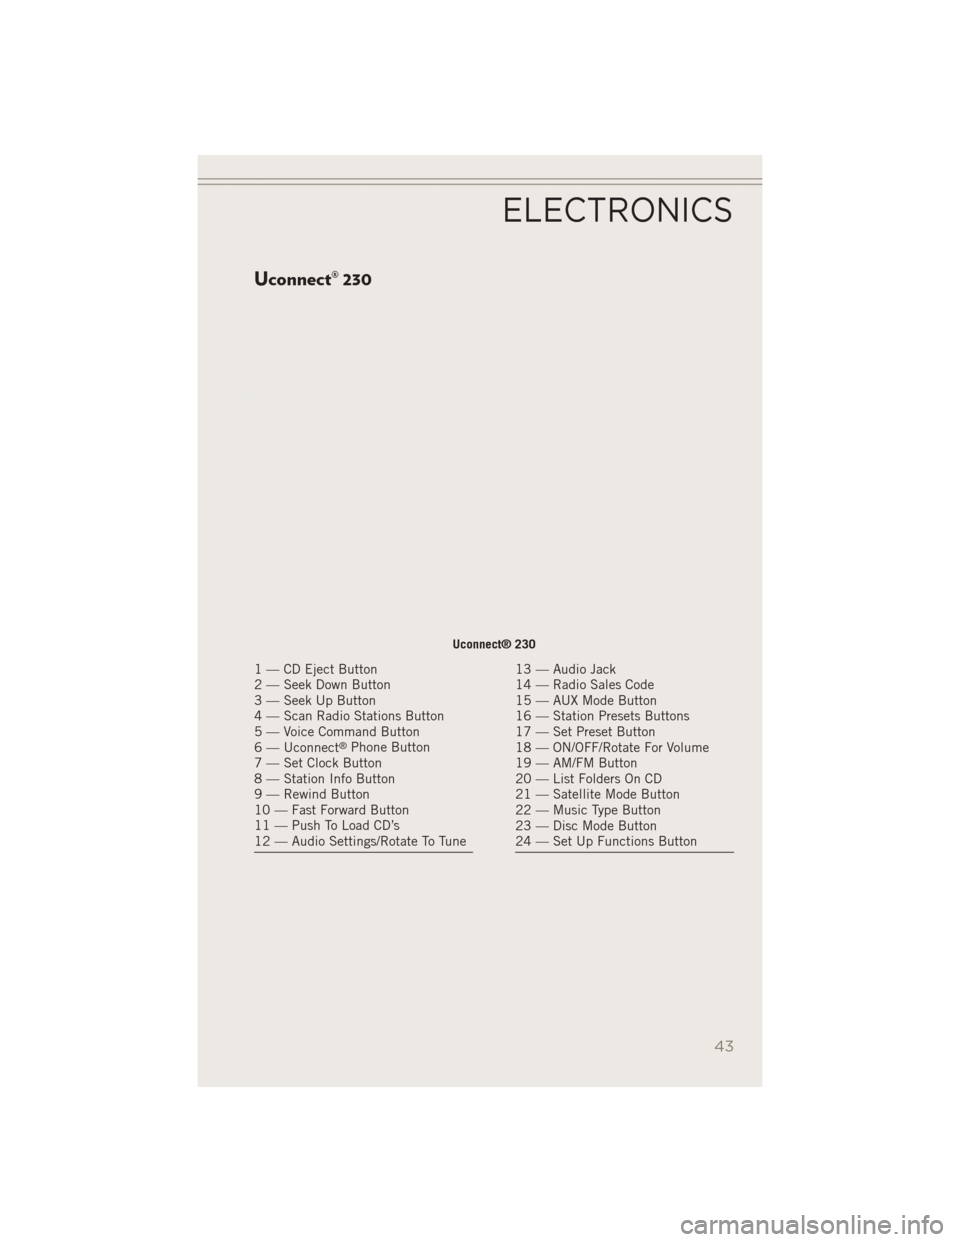
Uconnect® 230
Uconnect® 230
1 — CD Eject Button
2 — Seek Down Button
3 — Seek Up Button
4 — Scan Radio Stations Button
5 — Voice Command Button
6 — Uconnect
®Phone Button
7 — Set Clock Button
8 — Station Info Button
9 — Rewind Button
10 — Fast Forward Button
11 — Push To Load CD’s
12 — Audio Settings/Rotate To Tune
13 — Audio Jack
14 — Radio Sales Code
15 — AUX Mode Button
16 — Station Presets Buttons
17 — Set Preset Button
18 — ON/OFF/Rotate For Volume
19 — AM/FM Button
20 — List Folders On CD
21 — Satellite Mode Button
22 — Music Type Button
23 — Disc Mode Button
24 — Set Up Functions Button
ELECTRONICS
43
Page 46 of 126
NOTE:
• Your radio may not be equipped with the Uconnect
®Voice Command and
Uconnect®Phone features. To determine if your radio has these features, push the
Voice Command button on the radio. You will hear a voice prompt if you have the
feature, or see a message on the radio stating “Uconnect Phone not available” if
you do not.
• Your radio has many features that add to the comfort and convenience of you and your passengers. Some of these radio features should not be used when driving
because they take your eyes from the road or your attention from driving.
Clock Setting
1. Press and hold the TIME button until the hours blink.
2. Turn the TUNE/SCROLL control knob to set the hours.
3. Press the TUNE/SCROLL control knob until the minutes begin to blink.
4. Turn the TUNE/SCROLL control knob to set the minutes.
5. Press the TUNE/SCROLL control knob to save the changes.
6. Press any button/knob or wait five seconds to exit.
Equalizer, Balance And Fade
1. Press the TUNE/SCROLL control knob and “BASS” will display.
2. Rotate the TUNE/SCROLL control knob to select the desired setting.
3. Continue pressing the TUNE/SCROLL control knob to display and set “MID
RANGE,” “TREBLE,” “BALANCE” and “FADE.”
Radio Operation
Seek Up/Down Buttons
• Press to seek through radio stations in AM, FM, or SAT bands.
• Hold either button to bypass stations without stopping.
Store Radio Presets
• Press the SET button once and SET 1 will show in the display. Then select button(1–6).
• A second station may be added to each push button. Press the SET button twice and SET 2 will show in the display. Then select button (1–6).
ELECTRONICS
44
Page 50 of 126
Clock Setting
1. Turn the radio on, then touch the screen where the time is displayed.
2. Touch the “User Clock” soft-key or the time display (Navigation radio only).
3. To adjust the hours, touch either the “Hour Forward” or “Hour Backward”soft-key.
4. To adjust the minutes, touch either the “Minute Forward” or “Minute Backward” soft-key.
5. To save the new time setting, touch the screen where the word “Save” is displayed.
Menu
• Press the MENU hard-key to access the System Setup menu and the My Filesmenu.
• Press the MENU hard-key in an active mode (SAT, CD, AUX, etc.) to change
mode specific settings.
Equalizer, Balance And Fade
Audio Control Menu
• Press the AUDIO hard-key on the rightside of the radio.
• Use either the “arrow” soft-keys or the cross-hair on the screen to change Bal-
ance and Fade. The “CENTER” soft-
key resets the settings.
• Touch the “Equalizer” soft-key and use either the arrow soft-keys or the
sliders on the screen to adjust BASS, MID, and/or TREBLE.
Display Settings
• Press the MENU hard-key and touch the “Display Settings” soft-key to ac-
cess the Display Settings menu.
• Select the “Daytime Colors” soft-key to switch to manual daytime mode and
to adjust the brightness of the display
using daytime colors.
ELECTRONICS
48
Page 121 of 126
Air BagAdvanceFrontAirBag ......14
AirBags ...............14
AirBagWarningLight .......14
Driver Knee Air Bag ........14
FrontAirBag ............14
Rollover ...............14
SideImpacts ............14
AirbagLight ..............84
Air Conditioning ............31
Air Recirculation ..........30,31
Alarm Arm The System ..........12
Disarm The System ........12
Vehicle Security Alarm ......12
Alarm,Panic ..............10
Alarm (Security Alarm) .........12
Anti-Lock Warning Light ........84
Assistance Towing ...........80
Audio Jack ........38,42,46,51
Audio Settings ........37,40,44
Audio Systems (Radio) .........36
Automatic Temperature Control (ATC) ............31
Automatic Transmission ........29
FluidType ............104
Overheating ............86
AxleFluid...............104
Battery ..................94
Brake Fluid ..............104
Brake System WarningLight ...........82
Break-In Recommendations, New Vehicle ................24
BulbReplacement ..........113
Calibration,Compass .........69
CD (Compact Disc) Player .........38,42,46,50
ChangeOilIndicator..........85
ChangingAFlatTire..........87
Charging System Light .........83
Child Restraints CarSeat ...............15
Child Restraints ..........15
ChildSeatInstallation ....16,17 Installing Child Restraints Using
The Vehicle Seat Belt
.....16,17
LATCH Positions ..........15
Locating The LATCH
Anchorages.............15
Lower Anchors And Tethers For
Children ............15,16
Using The Top Tether Anchorage..16
ChildSeat................16
Climate Control .............30
Clock Setting .......37,40,44,48
Cluster Warning/Indicator Lights Anti-Lock Brake (ABS) Light . . .84
Brake Warning Light ........82
Charging System Light ......83
Electronic Stability Control (ESC)
Activation/Malfunction Indicator
Light ................80
Electronic Throttle Control (ETC)
Indicator Light ...........84
Malfunction Indicator
Light (MIL).............83
Oil Pressure Warning Light ....84
Tire Pressure Monitoring System
(TPMS) Light ............80
Compass Calibration ..........69
Cooling System Coolant Capacity .........104
Cruise Control (Speed Control) ....27
CruiseLight...............27
Customer Assistance .........114
Defects, Reporting ..........115
DimmerControl.............25
Dimmer Switch, Headlight ......25
Disabled Vehicle Towing ........80
Disarming, Security System ......12
Discharged Battery ...........94
Electronics Your Vehicle's Sound
System .............34,35
Electronic Speed Control (Cruise Control) ................27
Electronic Stability Control (ESC) . .80
Electronic Throttle Control Warning Light.................84
INDEX
119