set clock JEEP PATRIOT 2015 1.G Owners Manual
[x] Cancel search | Manufacturer: JEEP, Model Year: 2015, Model line: PATRIOT, Model: JEEP PATRIOT 2015 1.GPages: 572, PDF Size: 11.46 MB
Page 176 of 572
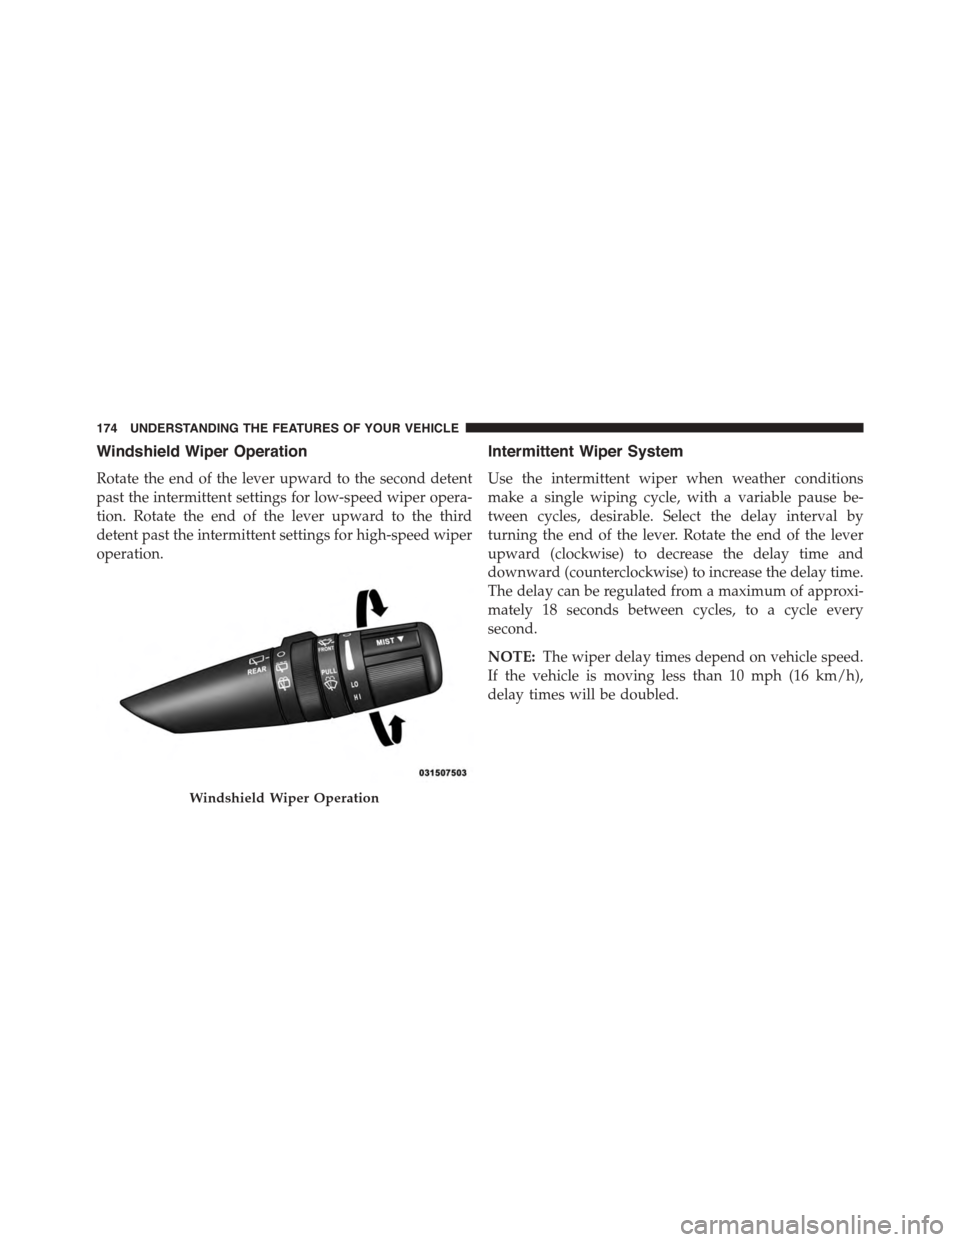
Windshield Wiper Operation
Rotate the end of the lever upward to the second detent
past the intermittent settings for low-speed wiper opera-
tion. Rotate the end of the lever upward to the third
detent past the intermittent settings for high-speed wiper
operation.
Intermittent Wiper System
Use the intermittent wiper when weather conditions
make a single wiping cycle, with a variable pause be-
tween cycles, desirable. Select the delay interval by
turning the end of the lever. Rotate the end of the lever
upward (clockwise) to decrease the delay time and
downward (counterclockwise) to increase the delay time.
The delay can be regulated from a maximum of approxi-
mately 18 seconds between cycles, to a cycle every
second.
NOTE:The wiper delay times depend on vehicle speed.
If the vehicle is moving less than 10 mph (16 km/h),
delay times will be doubled.
Windshield Wiper Operation
174 UNDERSTANDING THE FEATURES OF YOUR VEHICLE
Page 250 of 572
TIME Button
Push the TIME button to alternate locations of the time
and frequency display.
Clock Setting Procedure
1. Push and hold the TIME button until the hours blink.
2. Adjust the hours by turning the right side TUNE/
SCROLL control knob.
3. After adjusting the hours, push the right side TUNE/
SCROLL control knob to set the minutes. The minutes
will begin to blink.
4. Adjust the minutes using the right side TUNE/
SCROLL control knob. Push the TUNE/SCROLL con-
trol knob to save the time change.
5. To exit, push any button/knob or wait five seconds.
The clock can also be set by pushing the SETUP button and
selecting the “SET HOME CLOCK” entry. Once in this
display follow the above procedure, starting at step 2.
INFO Button
Push the INFO button for an RDS station (one with call
letters displayed). The radio will return a Radio Text
message broadcast from an FM station (FM mode only).
RW/FF
Pushing the RW (Rewind) or FF (Fast Forward) buttons
causes the tuner to search for the next frequency in the
direction of the arrows. This feature operates in AM, FM
or Satellite (if equipped) frequencies.
TUNE Control
Turn the rotary TUNE/SCROLL control knob clockwise
to increase or counterclockwise to decrease the frequency.
248 UNDERSTANDING YOUR INSTRUMENT PANEL
Page 254 of 572
•Angle — Repeatedly pushing SELECT will change
the viewing angle if supported by the DVD disc (if
equipped).
NOTE:
•The available selections for each of the above entries
varies depending upon the disc.
•These selections can only be made while playing a
DVD.
•Power —Allows you to turn the power ON and OFF
(if equipped).
•Lock —Locks out rear remote controls (if equipped).
•CH1/CH2 —Allows the user to change the mode of
either the IR1 or IR2 wireless headphones by pushing
the AUDIO/SELECT button (if equipped).
•Set Home Clock —Pushing the SELECT button
allows you to set the clock. Turn the TUNE/SCROLL
control knob to adjust the hours and then push and
turn the TUNE/SCROLL control knob to adjust the
minutes. Push the TUNE/SCROLL control knob again
to save changes.
•Player Defaults —Selecting this item will allow the
user to scroll through the following items and set
defaults according to customer preference.
Menu Language — If Equipped
Selecting this item will allow the user to choose the
default startup DVD menu language (effective only if
language supported by disc). If you want to select a
language not listed, then scroll down and select#other.#
Enter the four-digit country code using the TUNE/
SCROLL control knob to scroll up and down to select the
number and then push to select.
252 UNDERSTANDING YOUR INSTRUMENT PANEL
Page 270 of 572
another selection. Holding either button will bypass
stations without stopping, until you release it.
TIME Button
Push the TIME button to alternate display of the time and
radio frequency.
Clock Setting Procedure
1. Push and hold the TIME button until the hours blink.
2. Adjust the hours by turning the right side TUNE/
SCROLL control knob.
3. After adjusting the hours, push the right side TUNE/
SCROLL control knob to set the minutes. The minutes
will begin to blink.
4. Adjust the minutes using the right side TUNE/
SCROLL control knob. Push the TUNE/SCROLL con-
trol knob to save time change.
5. To exit, push any button/knob, or wait five seconds.
RW/FF
Pushing the RW (Rewind) or FF (Fast Forward) buttons
causes the tuner to search for the next frequency in the
direction of the arrows. This feature operates in either
AM or FM frequencies.
TUNE Control
Turn the rotary TUNE/SCROLL control knob clockwise
to increase or counterclockwise to decrease the frequency.
Setting The Tone, Balance And Fade
Push the rotary TUNE/SCROLL control knob and BASS
will display. Turn the TUNE/SCROLL control knob to
the right or left to increase or decrease the bass tones.
268 UNDERSTANDING YOUR INSTRUMENT PANEL
Page 280 of 572
Clock Setting Procedure
1. Push and hold the TIME button until the hours blink.
2. Adjust the hours by turning the right side TUNE/
SCROLL control knob.
3. After adjusting the hours, push the right side TUNE/
SCROLL control knob to set the minutes. The minutes
will begin to blink.
4. Adjust the minutes using the right side TUNE/
SCROLL control knob. Push the TUNE/SCROLL con-
trol knob to save time change.
5. To exit, push any button/knob or wait five seconds.
The clock can also be set by pushing the SETUP button.
For vehicles equipped with satellite radio, push the
SETUP button, use the TUNE/SCROLL control to select
SET CLOCK, and then follow the above procedure,
starting at step 2. For vehicles not equipped with satellite
radio, push the SETUP button and then follow the above
procedure, starting at step 2.
INFO Button
Push the INFO button for an RDS station (one with call
letters displayed). The radio will return a Radio Text
message broadcast from an FM station (FM mode only).
RW/FF
Pushing the RW (Rewind) or FF (Fast Forward) buttons
causes the tuner to search for the next frequency in the
direction of the arrows. This feature operates in either
AM or FM frequencies.
TUNE Control
Turn the rotary TUNE/SCROLL control knob clockwise
to increase or counterclockwise to decrease the frequency.
278 UNDERSTANDING YOUR INSTRUMENT PANEL
Page 283 of 572
By pushing the SEEK button when the Music Type icon is
displayed, the radio will be tuned to the next frequency
station with the same selected Music Type name. The
Music Type function only operates when in the FM
mode.
If a preset button is activated while in the Music Type
(Program Type) mode, the Music Type mode will be
exited and the radio will tune to the preset station.
SETUP Button
Pushing the SETUP button allows you to select between
the following items:
•Set Clock— Pushing the SELECT button will allow
you to set the clock. Adjust the hours by turning the
TUNE/SCROLL control knob. After adjusting the
hours, push the TUNE/SCROLL control knob to set
the minutes. The minutes will begin to blink. Adjust
the minutes using the right side TUNE/SCROLL con-
trol knob. Push the TUNE/SCROLL control knob to
save time change.
AM/FM Button
Push the button to select either AM or FM mode.
SET/RND Button — To Set The Pushbutton
Memory
When you are receiving a station that you wish to
commit to pushbutton memory, push the SET/RND
button. The symbol SET 1 will now show in the display
window. Select the button (1–6) you wish to lock onto this
station and push and release that button. If a button is not
selected within five seconds after pushing the SET/RND
button, the station will continue to play but will not be
stored into pushbutton memory.
4
UNDERSTANDING YOUR INSTRUMENT PANEL 281
Page 293 of 572
SCAN Button
Pushing the SCAN button causes the tuner to search for
the next channel, pausing for eight seconds before con-
tinuing to the next. To stop the search, push the SCAN
button a second time.
INFO Button
Pushing the INFO button will cycle the display informa-
tion between Artist, Song Title, and Composer (if avail-
able). Also, pushing and holding the INFO button for an
additional three seconds will make the radio display the
Song Title all of the time (push and hold again to return
to normal display).
RW/FF
Pushing the RW (Rewind) or FF (Fast Forward) buttons
causes the tuner to search for the next channel in the
direction of the arrows.
TUNE Control (Rotary)
Turn the rotary TUNE/SCROLL control knob clockwise
to increase or counterclockwise to decrease the channel.
MUSIC TYPE Button
Pushing this button once will turn on the Music Type
mode for five seconds. Pushing the MUSIC TYPE button
or turning the TUNE/SCROLL control knob within five
seconds will allow the program format type to be se-
lected.
Toggle the MUSIC TYPE button again to select the music
type.
By pushing the SEEK button when the Music Type
function is active, the radio will be tuned to the next
channel with the same selected Music Type name.
If a preset button is activated while in the Music Type
(Program Type) mode, the Music Type mode will be
exited and the radio will tune to the preset channel.
4
UNDERSTANDING YOUR INSTRUMENT PANEL 291
Page 299 of 572
During all List modes, the iPod® displays all lists in
“wrap-around” mode. So if the track is at the bottom of
the list, just turn the wheel backward (counterclockwise)
to get to the track faster.
In List mode, the radioPRESETbuttons are used as
shortcuts to the following lists on the iPod® or external
USB device:
•Preset 1 – Playlists
•Preset 2 – Artists
•Preset 3 – Albums
•Preset 4 – Genres
•Preset 5 – Audiobooks
•Preset 6 – Podcasts
Pushing a PRESET button will display the current list on
the top line and the first item in that list on the second
line.
To exit List mode without selecting a track, push the
samePRESETbutton again to go back toPlay mode.
LISTbutton: TheLISTbutton will display the top level
menu of the iPod® or external USB device.
•Turn theTUNEcontrol knob to list the top-menu item
to be selected and push theTUNEcontrol knob. This
will display the next sub-menu list item on the audio
device, then follow the same steps to go to the desired
track in that list. Not all iPod® or external USB device
sub-menu levels are available on this system.
MUSIC TYPEbutton: TheMUSIC TYPEbutton is
another shortcut button to the genre listing on your audio
device.
4
UNDERSTANDING YOUR INSTRUMENT PANEL 297
Page 566 of 572
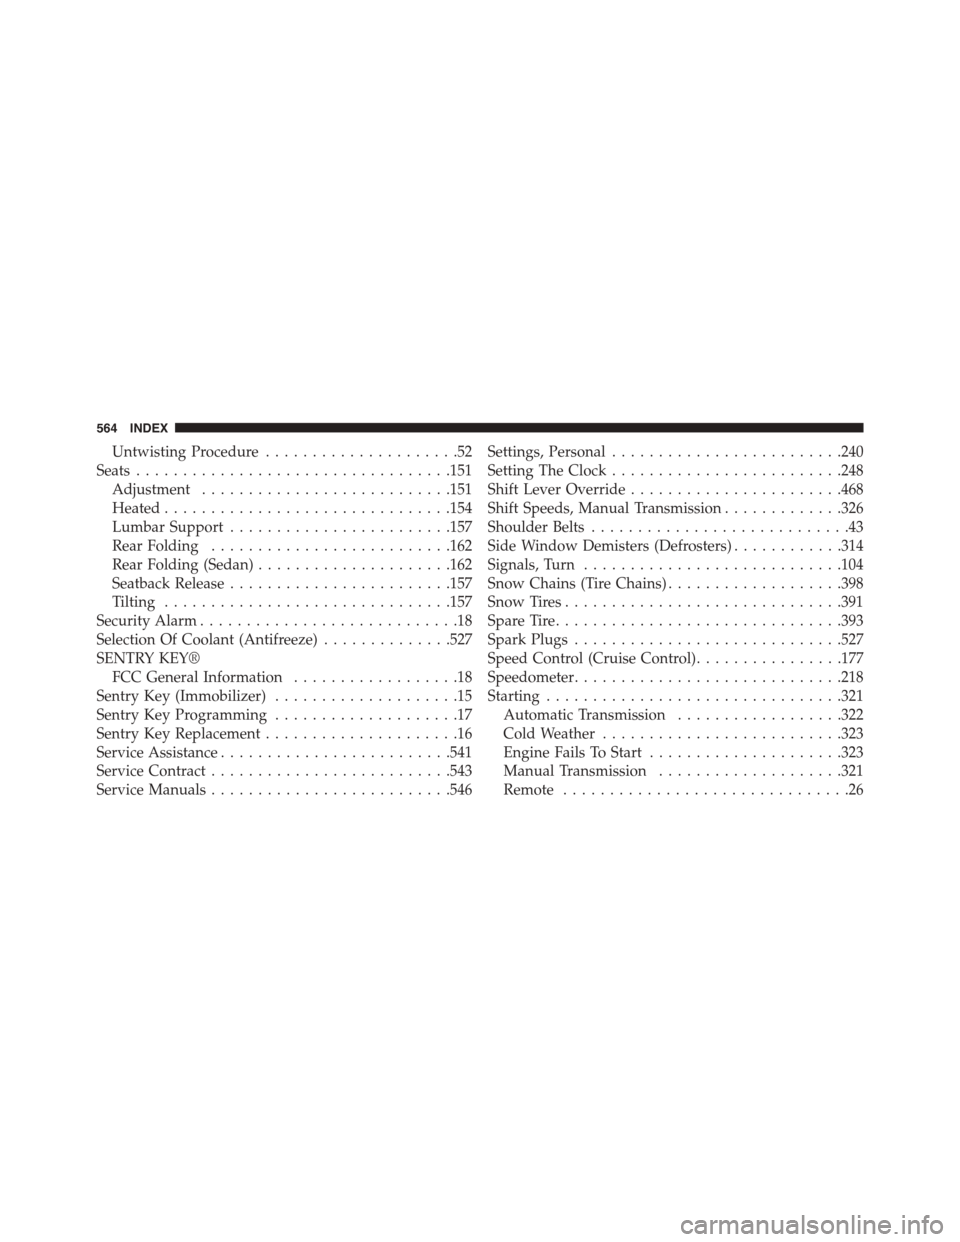
Untwisting Procedure.....................52
Seats..................................151
Adjustment...........................151
Heated...............................154
Lumbar Support........................157
Rear Folding..........................162
Rear Folding (Sedan).....................162
Seatback Release........................157
Tilting...............................157
Security Alarm............................18
Selection Of Coolant (Antifreeze)..............527
SENTRY KEY®
FCC General Information..................18
Sentry Key (Immobilizer)....................15
Sentry Key Programming....................17
Sentry Key Replacement.....................16
Service Assistance.........................541
Service Contract..........................543
Service Manuals..........................546
Settings, Personal.........................240
Setting The Clock.........................248
Shift Lever Override.......................468
Shift Speeds, Manual Transmission.............326
Shoulder Belts............................43
Side Window Demisters (Defrosters)............314
Signals, Turn............................104
Snow Chains (Tire Chains)...................398
Snow Tires..............................391
Spare Tire...............................393
Spark Plugs.............................527
Speed Control (Cruise Control)................177
Speedometer.............................218
Starting................................321
Automatic Transmission..................322
Cold Weather..........................323
Engine Fails To Start.....................323
Manual Transmission....................321
Remote...............................26
564 INDEX