heater JEEP PATRIOT 2016 1.G User Guide
[x] Cancel search | Manufacturer: JEEP, Model Year: 2016, Model line: PATRIOT, Model: JEEP PATRIOT 2016 1.GPages: 148, PDF Size: 8.25 MB
Page 29 of 148
Reclining Rear Seat
For additional comfort, pull the strap forward just enough to release the seatback
latch. Then push the seatback to a reclined position, approximately 35 degrees
maximum, and release the strap.
WARNING!
Do not ride with the seatback reclined so that the shoulder belt is no longer resting
against your chest. In a collision you could slide under the seat belt and be
seriously or even fatally injured. Use the recliner only when the vehicle is parked.
HEATED SEATS
Heated Seats
On some models, the front driver and passenger seats may be equipped with heaters
in both the seat cushions and seatbacks. The controls for the front heated seats are
located on the center instrument panel area.
You can choose from HI, LO or OFF heat settings. Amber indicator lights in each
switch indicate the level of heat in use. Two indicator lights will illuminate for HI, one
for LO and none for OFF.
Push the switch once to select HI-level
heating. Push the switch a second time to
select LO-level heating. Push the switch
a third time to shut the heating elements
OFF.
When the HI-level setting is selected, the
heater will provide a boosted heat level
during the initial stages of operation.
Then, the heat output will drop to the
normal HI-level. If the HI-level setting is
selected, the system will automatically
switch to LO-level after approximately 30
minutes of continuous operation. At that
time, the display will change from HI to
LO, indicating the change. When the LO-
level heating is selected, the system au-
tomatically turns the heater and the indicator light OFF after approximately 30
minutes of continuous operation.
NOTE:
Once a heat setting is selected, heat will be felt within two to five minutes.
Heated Seat Switches
GETTING STARTED
27
Page 30 of 148
WARNING!
• Persons who are unable to feel pain to the skin because of advanced age,chronic illness, diabetes, spinal cord injury, medication, alcohol use, exhaus-
tion or other physical condition must exercise care when using the seat heater.
It may cause burns even at low temperatures, especially if used for long periods
of time.
• Do not place anything on the seat or seatback that insulates against heat, such
as a blanket or cushion. This may cause the seat heater to overheat. Sitting in
a seat that has been overheated could cause serious burns due to the increased
surface temperature of the seat.
TILT STEERING COLUMN
This feature allows you to tilt the steering column upward or downward. The tilt
steering column lever is located on the left side of the steering column, below the
turn signal lever.
Push down on the lever to unlock the steering column. With one hand firmly on the
steering wheel, move the steering column up or down, as desired. Push the lever up
to lock the steering column firmly in place.
WARNING!
Do not adjust the steering column while driving. Adjusting the steering column
while driving or driving with the steering column unlocked, could cause the driver
to lose control of the vehicle. Failure to follow this warning may result in serious
injury or death.
Steering Column Lever
GETTING STARTED
28
Page 72 of 148
SiriusXM Travel Link (Uconnect 430N Only)
NOTE:
SiriusXM Travel Link requires a subscription, sold separately after the five year trial
subscription included with your vehicle purchase and is ONLY available in the United
States.
SiriusXM Travel Link brings a wealth of useful information into your vehicle, right to
your fingertips.
• To access Travel Link, push the MENU button on the faceplate, then the “TravelLink” button on the touchscreen.
1 – Favorites View and store your favorite location, theater and sport
teams for quick access.
2 – Forecast View detailed weather conditions, forecasts and ski/
snowboarding conditions at resorts.
3 – Ski Info View ski and snowboarding conditions at ski resorts.
4 – Fuel Prices View detailed price information for fuel stations.
5 – Movies View information on movies that are playing at theaters.
6 – Sports View sports scores and upcoming events for all major
sports.
SiriusXM Travel Link
ELECTRONICS
70
Page 97 of 148
Oil Change Indicator
Message
If an “oil change” message (shown as CHANgE OIL) appears and a single chime
sounds, it is time for your next required oil change.
Resetting The Light After Servicing
1. Turn the ignition switch to the ON/RUN position (do not start engine).
2. Fully depress the accelerator pedal three times within 10 seconds.
3. Turn the ignition switch to the OFF/LOCK position.
IF YOUR ENGINE OVERHEATS
In any of the following situations, you can reduce the potential for overheating by
taking the appropriate action:
• On the highways — slow down.
• In city traffic — while stopped, shift the transmission to NEUTRAL, but do notincrease engine idle speed.
NOTE:
There are steps that you can take to slow down an impending overheat condition:
• If your air conditioner (A/C) is on, turn it off. The A/C system adds heat to the engine cooling system and turning the A/C off can help remove this heat.
• You can also turn the temperature control to maximum heat, the mode control to floor and the blower control to high. This allows the heater core to act as a
supplement to the radiator and aids in removing heat from the engine cooling
system.
CAUTION!
Driving with a hot cooling system could damage your vehicle. If the temperature
gauge reads HOT (H), pull over and stop the vehicle. Idle the vehicle with the air
conditioner turned off until the pointer drops back into the normal range. If the
pointer remains on HOT (H), and you hear continuous chimes, turn the engine off
immediately, and call for service.
WARNING!
You or others can be badly burned by hot engine coolant (antifreeze) or steam from
your radiator. If you see or hear steam coming from under the hood, do not open
the hood until the radiator has had time to cool. Never try to open a cooling system
pressure cap when the radiator or coolant bottle is hot.
WHAT TO DO IN EMERGENCIES
95
Page 107 of 148
WARNING!
• Take care to avoid the radiator cooling fan whenever the hood is raised. It canstart anytime the ignition switch is ON. You can be injured by moving fan
blades.
• Remove any metal jewelry such as rings, watch bands and bracelets that could
make an inadvertent electrical contact. You could be seriously injured.
• Batteries contain sulfuric acid that can burn your skin or eyes and generate
hydrogen gas which is flammable and explosive. Keep open flames or sparks
away from the battery.
1. Set the parking brake, shift the automatic transmission into PARK (manual transmission to NEUTRAL) and turn the ignition to LOCK.
2. Turn off the heater, radio, and all unnecessary electrical accessories.
3. If using another vehicle to jump-start the battery, park the vehicle within the jumper cables reach, set the parking brake and make sure the ignition is OFF.
WARNING!
Do not allow vehicles to touch each other as this could establish a ground
connection and personal injury could result.
Jump-Starting Procedure
WARNING!
Failure to follow this jump-starting procedure could result in personal injury or
property damage due to battery explosion.
CAUTION!
Failure to follow these procedures could result in damage to the charging system
of the booster vehicle or the discharged vehicle.
NOTE:
Remove Air Intake before proceeding with this Jump-Starting procedure.
Connecting The Jumper Cables
1. Connect the positive (+)end of the jumper cable to the positive (+)post of the
discharged vehicle.
2. Connect the opposite end of the positive (+)jumper cable to the positive (+)post
of the booster battery.
3. Connect the negative end (-)of the jumper cable to the negative (-)post of the
booster battery.
WHAT TO DO IN EMERGENCIES
105
Page 118 of 148
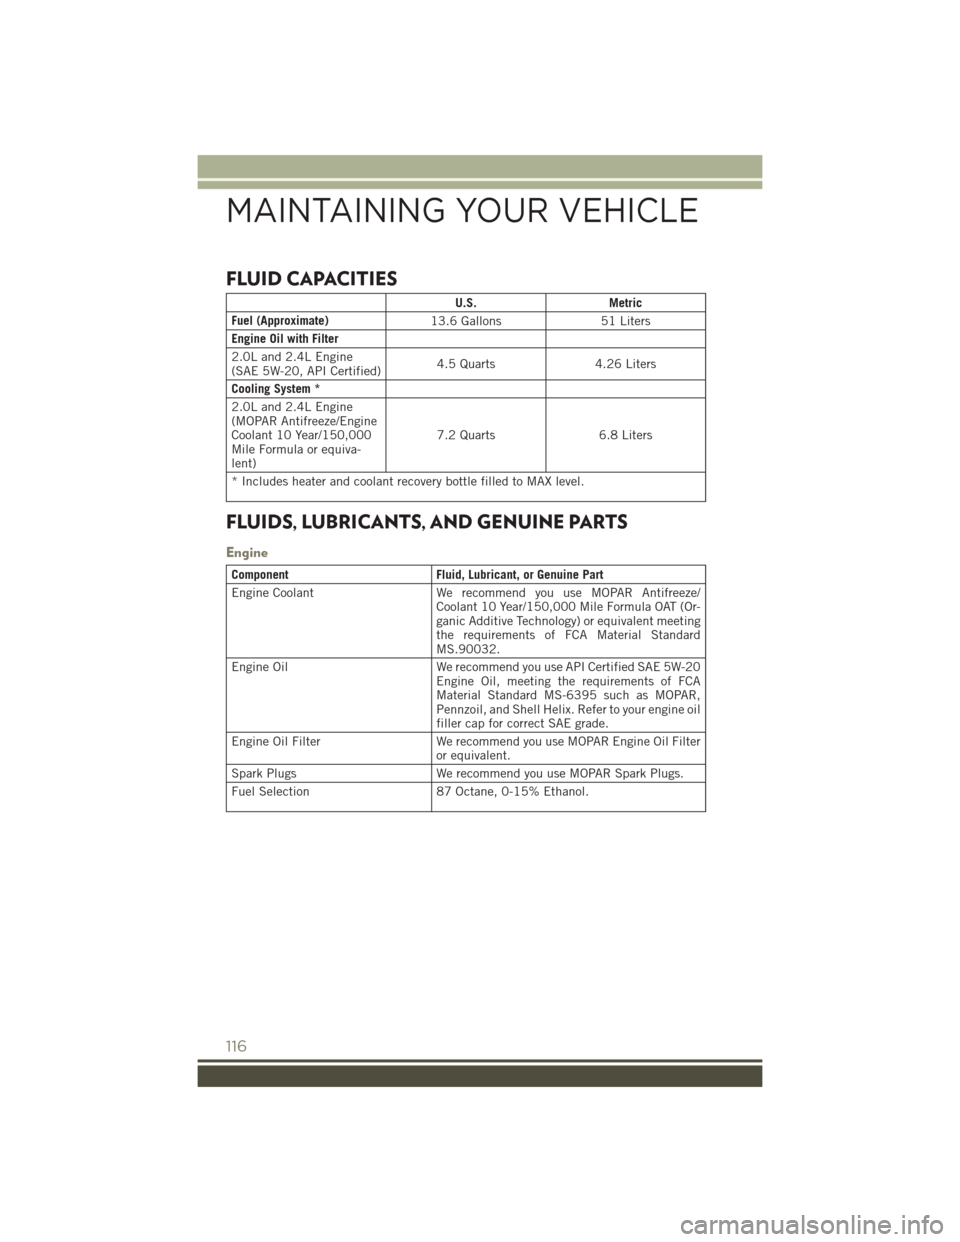
FLUID CAPACITIES
U.S.Metric
Fuel (Approximate) 13.6 Gallons51 Liters
Engine Oil with Filter
2.0L and 2.4L Engine
(SAE 5W-20, API Certified) 4.5 Quarts
4.26 Liters
Cooling System *
2.0L and 2.4L Engine
(MOPAR Antifreeze/Engine
Coolant 10 Year/150,000
Mile Formula or equiva-
lent) 7.2 Quarts
6.8 Liters
* Includes heater and coolant recovery bottle filled to MAX level.
FLUIDS, LUBRICANTS, AND GENUINE PARTS
Engine
Component Fluid, Lubricant, or Genuine Part
Engine Coolant We recommend you use MOPAR Antifreeze/
Coolant 10 Year/150,000 Mile Formula OAT (Or-
ganic Additive Technology) or equivalent meeting
the requirements of FCA Material Standard
MS.90032.
Engine Oil We recommend you use API Certified SAE 5W-20
Engine Oil, meeting the requirements of FCA
Material Standard MS-6395 such as MOPAR,
Pennzoil, and Shell Helix. Refer to your engine oil
filler cap for correct SAE grade.
Engine Oil Filter We recommend you use MOPAR Engine Oil Filter
or equivalent.
Spark Plugs We recommend you use MOPAR Spark Plugs.
Fuel Selection 87 Octane, 0-15% Ethanol.
MAINTAINING YOUR VEHICLE
116
Page 126 of 148
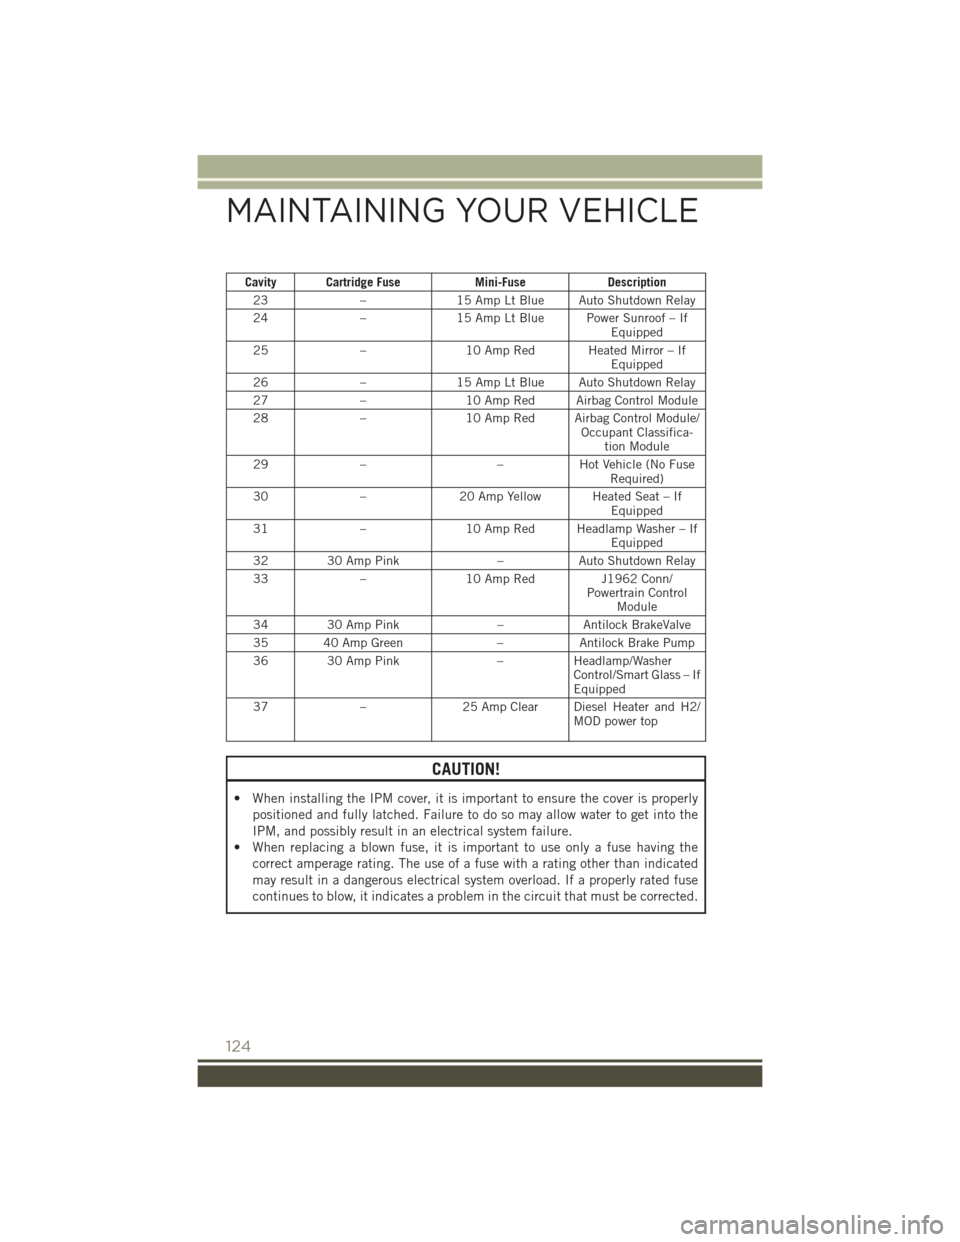
Cavity Cartridge FuseMini-FuseDescription
23 –15 Amp Lt Blue Auto Shutdown Relay
24 –15 Amp Lt Blue Power Sunroof – If
Equipped
25 –10 Amp Red Heated Mirror – If
Equipped
26 –15 Amp Lt Blue Auto Shutdown Relay
27 –10 Amp Red Airbag Control Module
28 –10 Amp Red Airbag Control Module/
Occupant Classifica-tion Module
29 – –Hot Vehicle (No Fuse
Required)
30 –20 Amp Yellow Heated Seat – If
Equipped
31 –10 Amp Red Headlamp Washer – If
Equipped
32 30 Amp Pink –Auto Shutdown Relay
33 –10 Amp Red J1962 Conn/
Powertrain Control Module
34 30 Amp Pink –Antilock BrakeValve
35 40 Amp Green –Antilock Brake Pump
36 30 Amp Pink –Headlamp/Washer
Control/Smart Glass – If
Equipped
37 –25 Amp Clear Diesel Heater and H2/
MOD power top
CAUTION!
• When installing the IPM cover, it is important to ensure the cover is properly
positioned and fully latched. Failure to do so may allow water to get into the
IPM, and possibly result in an electrical system failure.
• When replacing a blown fuse, it is important to use only a fuse having the
correct amperage rating. The use of a fuse with a rating other than indicated
may result in a dangerous electrical system overload. If a properly rated fuse
continues to blow, it indicates a problem in the circuit that must be corrected.
MAINTAINING YOUR VEHICLE
124