phone JEEP RENEGADE 2015 1.G Service Manual
[x] Cancel search | Manufacturer: JEEP, Model Year: 2015, Model line: RENEGADE, Model: JEEP RENEGADE 2015 1.GPages: 220, PDF Size: 34.11 MB
Page 147 of 220
• Daytime Lights: activation/deactivation of daytime running lights
• Cornering lights: activation/deactivation of cornering lights (If Equipped)
"Doors & Safety"
By selecting the item "Doors & Safety," you can make the following adjustments:
• Auto Door Lock: activation/deactivation of the automatic locking of the doors with
the vehicle moving
• Auto Unlock On Exit: automatic unlocking of the doors when exiting the vehicle
• Flash Light with Lock: activation of the direction indicators when closing the doors
• Sound Horn With Lock: activation/deactivation of the horn when pushing the
LOCK button on the RKE. The options are "Off," "First Push,” and "Second Push."
• Horn With Remote Start: activation/deactivation of the horn at the Remote
Starting of the engine with the RKE.
• Unlock On First Push Of Key Fob (vehicles without Passive Entry): allows you tochoose whether to unlock all the doors or only the driver's side door on the firstpush of the UNLOCK button on the RKE
• Remote Door Unlock: allows you to open the driver door only on the first push of
the UNLOCK button on the RKE
• Passive Entry (If Equipped) : activation of the automatic locking of the doors
"Compass"
By selecting the item "Compass," you can view and change the following settings:
• Calibration
• Variance
Calibration
The compass calibrates itself automatically, so you may not need any initial
calibration. It is required to confirm the calibration by pushing the OK button and
drive in one or more 360–degree turns (in an area free from large metal or metallic
objects). The compass will now function normally.
Variance
Compass Variance is the difference between Magnetic North and Geographic North. Tocompensate for the differences, the variance should be set for the zone where thevehicle is driven, per the zone map. Once properly set, the compass will automaticallycompensate for the differences and provide the most accurate compass heading.
NOTE:
Keep magnetic materials away from the top of the instrument panel, such as iPod's,
Mobile Phones, Laptops, and Radar Detectors. This is where the compass module is
located, and it can cause interference with the compass sensor, and it may give false
readings.
ELECTRONICS
145
Page 148 of 220
PROGRAMMABLE FEATURES
Uconnect® Customer Programmable Features
The Uconnect®system allows you to access Customer Programmable feature
settings such as Display, Units, Voice, Clock, Safety & Driving Assistance, Lights,
Doors & Locks, Engine Off Options, Audio, Phone/Bluetooth®, SiriusXM Setup,
System Information, Restore Default Settings, Clear Personal Data, and Compass
(Uconnect®5.0) through buttons on the touchscreen.
• For the Uconnect 5.0 system, push the Morebutton on the faceplate, then
press the “Settings”button on the touchscreen. For the Uconnect 6.5 system,
push the Settingsbutton located on the right side of the display. When making
a selection, scroll up or down until the preferred setting is highlighted, then press
and release the preferred setting until the selection is highlighted showing that
setting has been selected. Depending on the vehicles options, the following
feature settings are available:
• Display• Audio
• Units• Phone/Bluetooth®
• Voice• SiriusXM Setup
• Clock• System Information
• Safety & Driving Assistance• Restore Default Settings
• Lights• Clear Personal Data
• Doors & Locks• Compass (Uconnect®5.0)
• Engine Off Options
POWER INVERTER — IF EQUIPPED
There is a 115 Volt, 150 Watt power
inverter outlet located on the back of the
center console. This outlet can power
cellular phones, electronics and other
low power devices requiring power up to
150 Watts.
• To turn on the power outlet, simply
plug in the device. The outlet auto-
matically turns off when the device is
unplugged.
Power Inverter
ELECTRONICS
146
Page 149 of 220
NOTE:
The power inverter is designed with built-in overload protection. If the power rating
of 150 Watts is exceeded, the power inverter will automatically shut down. Once the
electrical device has been removed from the outlet, the inverter should automatically
reset. If the power rating exceeds approximately 170 Watts, the power inverter may
have to be reset manually. To reset the inverter manually, unplug the device and plug
it in again. To avoid overloading the circuit, check the power ratings on electrical
devices prior to using the inverter.
WARNING!
To Avoid Serious Injury or Death DO NOT:
• insert any objects into the receptacles
• touch with wet hands
Close the lid when not in use. If this outlet is mishandled, it may cause an electric
shock and failure.
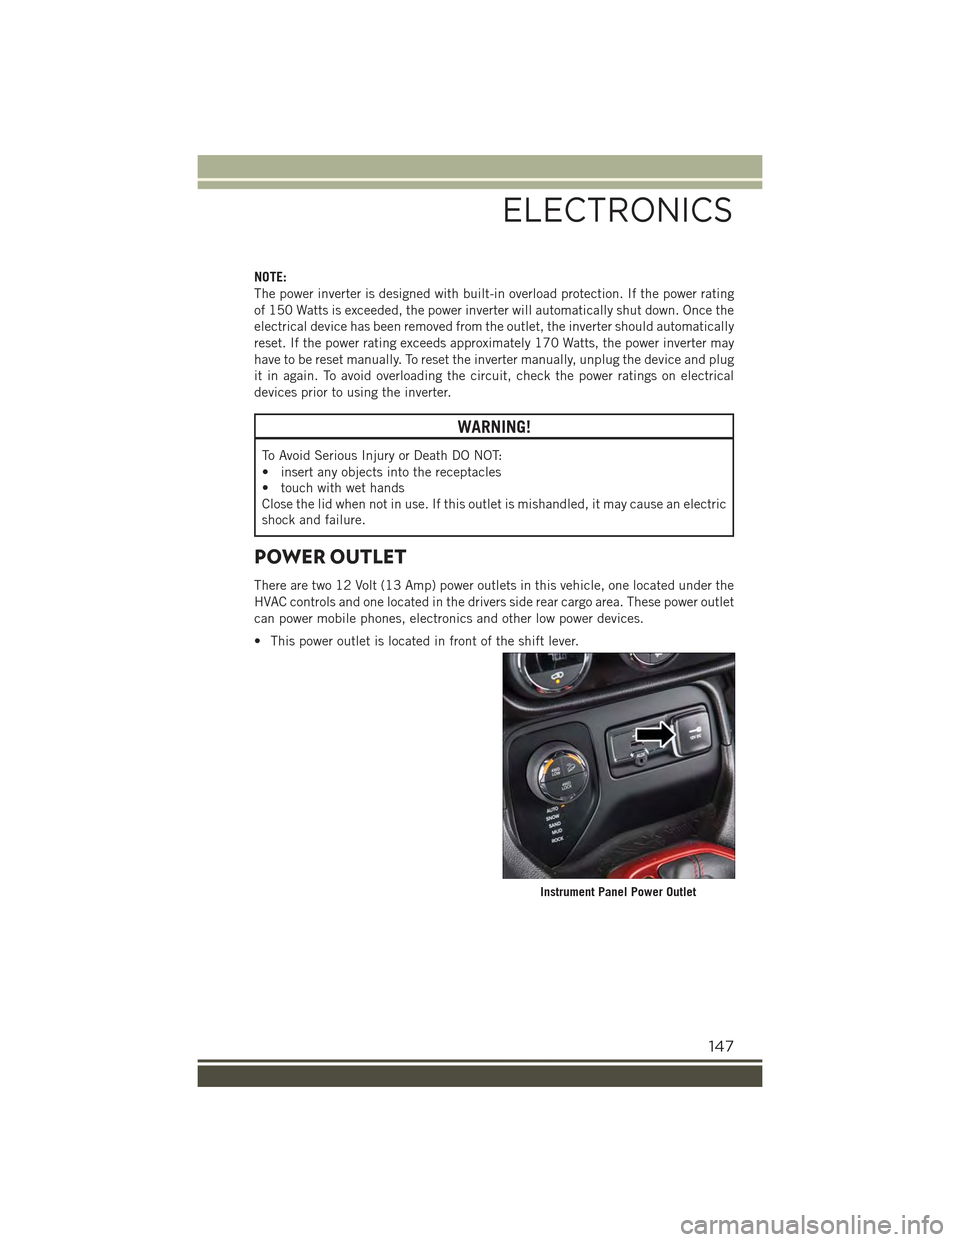
POWER OUTLET
There are two 12 Volt (13 Amp) power outlets in this vehicle, one located under the
HVAC controls and one located in the drivers side rear cargo area. These power outlet
can power mobile phones, electronics and other low power devices.
• This power outlet is located in front of the shift lever.
Instrument Panel Power Outlet
ELECTRONICS
147
Page 158 of 220
ROADSIDE ASSISTANCE
Dial toll-free 1-800-521-2779 for U.S. Residents or 1-800-363-4869 for Canadian
Residents.
• Provide your name, vehicle identification number, license plate number, and your
location, including the telephone number from which you are calling.
• Briefly describe the nature of the problem and answer a few simple questions.
• You will be given the name of the service provider and an estimated time of arrival.
If you feel you are in an “unsafe situation”, please let us know. With your consent,
we will contact local police or safety authorities.
INSTRUMENT CLUSTER WARNING LIGHTS
- Low Fuel Warning Light
This warning light indicates when the fuel level reaches approximately 2.0 gal (7.8 L).
This light will turn on and a single chime will sound.
-ChargingSystemLight
This light shows the status of the electrical charging system. If the charging system
light remains on, it means that the vehicle is experiencing a problem with the
charging system.
We recommend you do not continue driving if the charging system light is on. Have
the vehicle serviced immediately.
- Oil Pressure Warning Light
This light indicates low engine oil pressure. If the light turns on while driving, stop
the vehicle and shut off the engine as soon as possible. A chime will sound for four
minutes when this light turns on.
We recommend you do not operate the vehicle or engine damage will occur. Have the
vehicle serviced immediately.
- Anti-Lock Brake (ABS) Light
This light monitors the Anti-Lock Brake System (ABS). The light will turn on when the
ignition switch is turned to the MAR/RUN position and may stay on for as long as four
seconds.
If the ABS light remains on or turns on while driving, it indicates that the Anti-Lock
portion of the brake system is not functioning and that service is required. However,
the conventional brake system will continue to operate normally if the BRAKE
warning light is not on.
WHAT TO DO IN EMERGENCIES
156
Page 178 of 220
6. Once the engine is started, remove the jumper cables in the reverse sequence:
Disconnecting The Jumper Cables
1. Disconnect the negative(-)end of the jumper cable from the engine ground of the
vehicle with the discharged battery.
2. Disconnect the opposite end of the negative(-)jumper cable from the negative(-)
post of the booster battery.
3. Disconnect the positive(+)end of the jumper cable from the positive(+)post of
the booster battery.
4. Disconnect the opposite end of the positive(+)jumper cable from the positive(+)
post of the vehicle with the discharged battery.
If frequent jump-starting is required to start your vehicle you should have the battery
and charging system inspected at your authorized dealer.
CAUTION!
Accessories plugged into the vehicle power outlets draw power from the vehicle’s
battery, even when not in use (i.e., cellular phones, etc.). Eventually, if plugged in
long enough without engine operation, the vehicle’s battery will discharge suffi-
ciently to degrade battery life and/or prevent the engine from starting.
FREEING A STUCK VEHICLE
If your vehicle becomes stuck in mud, sand or snow, it can often be moved using a
rocking motion. Turn the steering wheel right and left to clear the area around the
front wheels. For vehicles with automatic transmission, push and hold the lock
button on the shift lever. Then shift back and forth between DRIVE and REVERSE
(with automatic transmission) or 2ND GEAR and REVERSE (with manual transmis-
sion), while gently pushing the accelerator.
For Vehicles With Automatic Transmission:
Shifts between DRIVE and REVERSE can only be achieved at wheel speeds of 5 mph
(8 km/h) or less. Whenever the transmission remains in NEUTRAL for more than two
seconds, you must push the brake pedal to engage DRIVE or REVERSE.
Use the least amount of accelerator pedal pressure that will maintain the rocking
motion without spinning the wheels or racing the engine.
WHAT TO DO IN EMERGENCIES
176
Page 202 of 220
WARNING!
• Do not to affix objects/plugs to the end of the filler neck other than is provided
on the car.
• The use of objects/plugs do not comply with the vehicle and may cause
pressure increases inside the tank, creating dangerous conditions.
• Do not approach the neck of the tank with open flames or lit cigarettes its an
extreme fire hazard. Also, avoid close contact with the filler pipe with your face,
do not inhale harmful vapors.
• Do not use your mobile phone in the vicinity of the pump fuel nozzle, it can be
a possible risk of fire.
TIRE PRESSURES
Check the inflation pressure of each tire, including the spare tire (if equipped), at
least monthly and inflate to the recommended pressure for your vehicle.
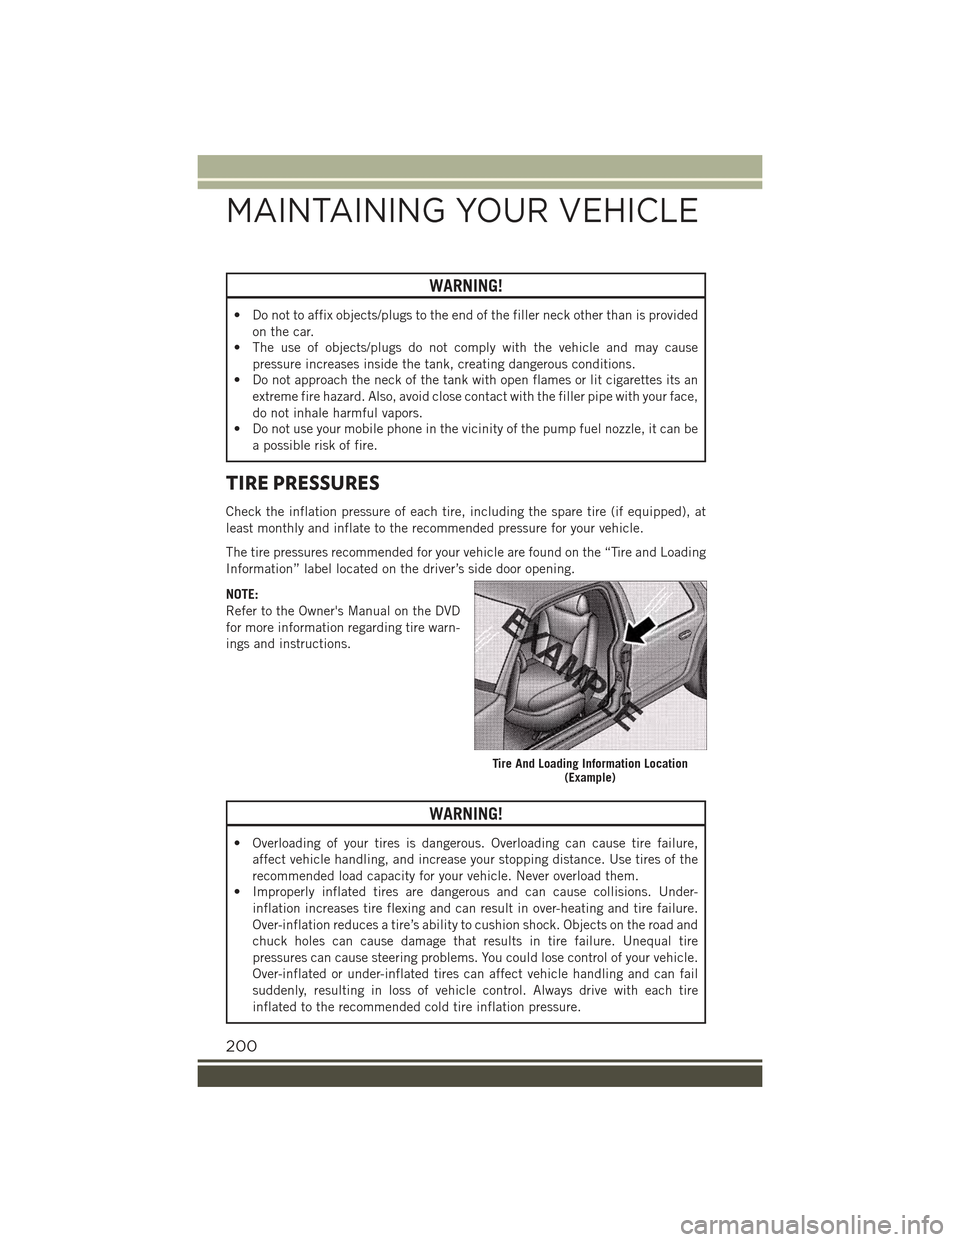
The tire pressures recommended for your vehicle are found on the “Tire and Loading
Information” label located on the driver’s side door opening.
NOTE:
Refer to the Owner's Manual on the DVD
for more information regarding tire warn-
ings and instructions.
WARNING!
• Overloading of your tires is dangerous. Overloading can cause tire failure,
affect vehicle handling, and increase your stopping distance. Use tires of the
recommended load capacity for your vehicle. Never overload them.
• Improperly inflated tires are dangerous and can cause collisions. Under-
inflation increases tire flexing and can result in over-heating and tire failure.
Over-inflation reduces a tire’s ability to cushion shock. Objects on the road and
chuck holes can cause damage that results in tire failure. Unequal tire
pressures can cause steering problems. You could lose control of your vehicle.
Over-inflated or under-inflated tires can affect vehicle handling and can fail
suddenly, resulting in loss of vehicle control. Always drive with each tire
inflated to the recommended cold tire inflation pressure.
Tire And Loading Information Location(Example)
MAINTAINING YOUR VEHICLE
200
Page 206 of 220
FCA US LLC CUSTOMER CENTER
P.O. Box 21–8004 Auburn Hills, MI 48321–8004 Phone: 1-877-426-5337
CHRYSLER CANADA INC. CUSTOMER CENTER
P.O. Box 1621 Windsor, Ontario N9A 4H6 Phone: 1-800-465-2001 (English)
Phone: 1-800-387-9983 (French)
ASSISTANCE FOR THE HEARING IMPAIRED
To assist customers who have hearing difficulties, the manufacturer has installed
special TDD (Telecommunication Devices for the Deaf) equipment at its customer
center. Any hearing or speech impaired customer, who has access to a TDD or a
conventional teletypewriter (TTY) in the United States, can communicate with the
manufacturer by dialing 1-800-380-CHRY. Canadian residents with hearing difficul-
ties that require assistance can use the special needs relay service offered by Bell
Canada. For TTY teletypewriter users, dial 711 and for Voice callers, dial
1-800-855-0511 to connect with a Bell Relay Service operator.
WARNING!
Engine exhaust, some of its constituents, and certain vehicle components con-
tain, or emit, chemicals known to the State of California to cause cancer and birth
defects, or other reproductive harm. In addition, certain fluids contained in
vehicles and certain products of component wear contain, or emit, chemicals
known to the State of California to cause cancer and birth defects, or other
reproductive harm.
PUBLICATIONS ORDERING
• If you are the first registered retail owner of your vehicle, you may obtain a
complimentary printed copy of the Owner's Manual, Navigation/Uconnect®Manu-
als or Warranty Booklet. United States customers may visit the Jeep Contact Us
page at www.jeep.com scroll to the bottom of the page and select the “Contact Us”
link, then select the “Owner’s Manual and Glove Box Material” from the left menu.
You may also obtain a complimentary copy by calling 1-877-426-5337 (U.S.) or
1-800-387-1143 (Canada).
• Replacement User Guide kits or DVDs or, if you prefer, additional printed copies
of the Owner's Manual, Warranty Booklet or Radio Manuals may be purchased by
visiting www.techauthority.com or by calling 1-877-890-4038 (U.S.) or
1-800-387-1143 (Canada). Visa, Master Card, American Express and Discover
orders are accepted. If you prefer mailing your order, please call the above
numbers for an order form.
CUSTOMER ASSISTANCE
204
Page 209 of 220
FREQUENTLY ASKED QUESTIONS
GETTING STARTED
How do I install my LATCH Equipped Child Seat? pg. 23
ELECTRONICS
Which radio is in my vehicle?
• Uconnect®3.0 pg. 91
• Uconnect®5.0 pg. 94
• Uconnect®6.5AN pg. 106
How do I activate the Audio Jack?
• Uconnect®3.0 pg. 93
• Uconnect®5.0 pg. 97
• Uconnect®6.5AN pg. 111
How do I set the clock on my radio?
• Uconnect®3.0 pg. 92
• Uconnect®5.0 pg. 94
• Uconnect®6.5AN pg. 106
How do I use the Navigation feature?
• Uconnect®6.5AN pg. 114
How do I pair my cell phone via Bluetooth®with the Uconnect®Hands-Free Voice
Activation System? pg. 130
How do I improve the Bluetooth®performance of my Uconnect®System? pg. 137
OFF-ROAD CAPABILITIES
How do I shift into different four-wheel drive selections? pg. 150
UTILITY
How do I know how much I can tow with my Jeep Renegade? pg. 153
WHAT TO DO IN EMERGENCIES
What do I do if my TPMS warning light is blinking? pg. 157
How do I change a flat tire? pg. 168
How do I Jump-Start my vehicle? pg. 174
MAINTAINING YOUR VEHICLE
Where is my Fuse Block located? pg. 194
What type of oil do I use? pg. 186
How often should I change my engine’s oil? pg. 187
What should my tire pressure be set at? pg. 200
FAQ’s
207
Page 211 of 220
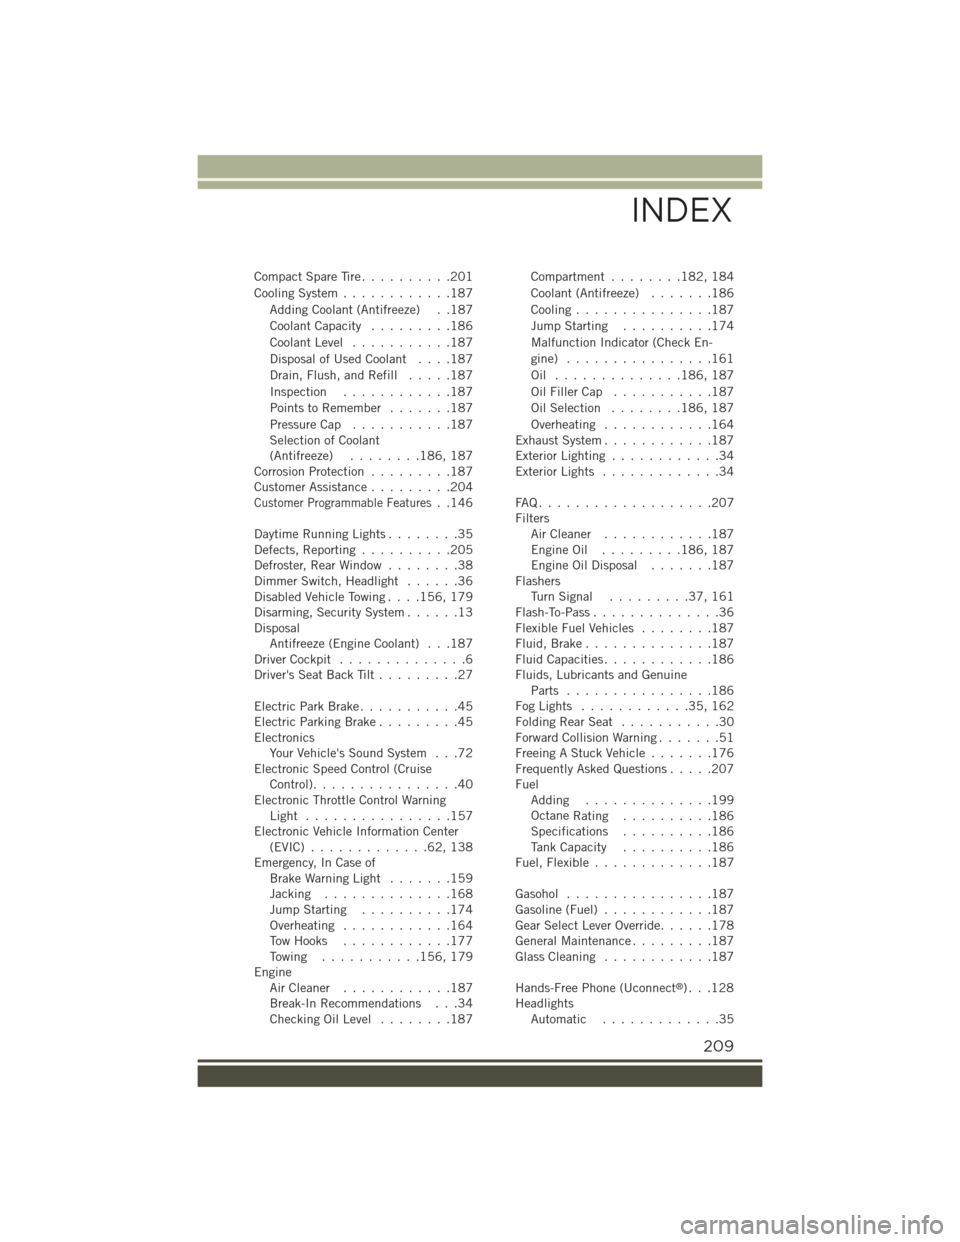
Compact Spare Tire..........201
Cooling System............187
Adding Coolant (Antifreeze) . .187
Coolant Capacity.........186
Coolant Level...........187
Disposal of Used Coolant....187
Drain, Flush, and Refill.....187
Inspection............187
Points to Remember . . . . . . .187
Pressure Cap...........187Selection of Coolant(Antifreeze)........186, 187Corrosion Protection.........187Customer Assistance.........204
Customer Programmable Features..146
Daytime Running Lights........35Defects, Reporting..........205Defroster, Rear Window........38Dimmer Switch, Headlight......36Disabled Vehicle Towing....156, 179Disarming, Security System......13DisposalAntifreeze (Engine Coolant) . . .187Driver Cockpit..............6Driver's Seat Back Tilt.........27
Electric Park Brake...........45Electric Parking Brake.........45ElectronicsYour Vehicle's Sound System . . .72Electronic Speed Control (CruiseControl)................40Electronic Throttle Control WarningLight . . . . . . . . . . . . . . . .157Electronic Vehicle Information Center(EVIC) . . . . . . . . . . . . .62, 138Emergency, In Case ofBrake Warning Light.......159Jacking..............168Jump Starting..........174Overheating............164Tow Hooks............177To w i n g . . . . . . . . . . .156, 179EngineAir Cleaner . . . . . . . . . . . .187Break-In Recommendations . . .34Checking Oil Level........187
Compartment........182, 184
Coolant (Antifreeze).......186
Cooling...............187
Jump Starting..........174
Malfunction Indicator (Check En-
gine) . . . . . . . . . . . . . . . .161
Oil . . . . . . . . . . . . . .186, 187
Oil Filler Cap...........187
Oil Selection........186, 187
Overheating............164Exhaust System............187Exterior Lighting............34Exterior Lights.............34
FA Q . . . . . . . . . . . . . . . . . . . 2 0 7FiltersAir Cleaner............187Engine Oil . . . . . . . . .186, 187Engine Oil Disposal.......187FlashersTu r n S i g n a l . . . . . . . . . 3 7 , 1 6 1Flash-To-Pass..............36Flexible Fuel Vehicles........187Fluid, Brake..............187Fluid Capacities............186Fluids, Lubricants and GenuineParts . . . . . . . . . . . . . . . .186Fog Lights . . . . . . . . . . . .35, 162Folding Rear Seat . . . . . . . . . . .30Forward Collision Warning.......51Freeing A Stuck Vehicle.......176Frequently Asked Questions.....207FuelAdding..............199OctaneRating..........186Specifications..........186Tank Capacity..........186Fuel, Flexible . . . . . . . . . . . . .187
Gasohol................187Gasoline (Fuel)............187Gear Select Lever Override......178General Maintenance.........187Glass Cleaning............187
Hands-Free Phone (Uconnect®). . .128HeadlightsAutomatic.............35
INDEX
209
Page 213 of 220
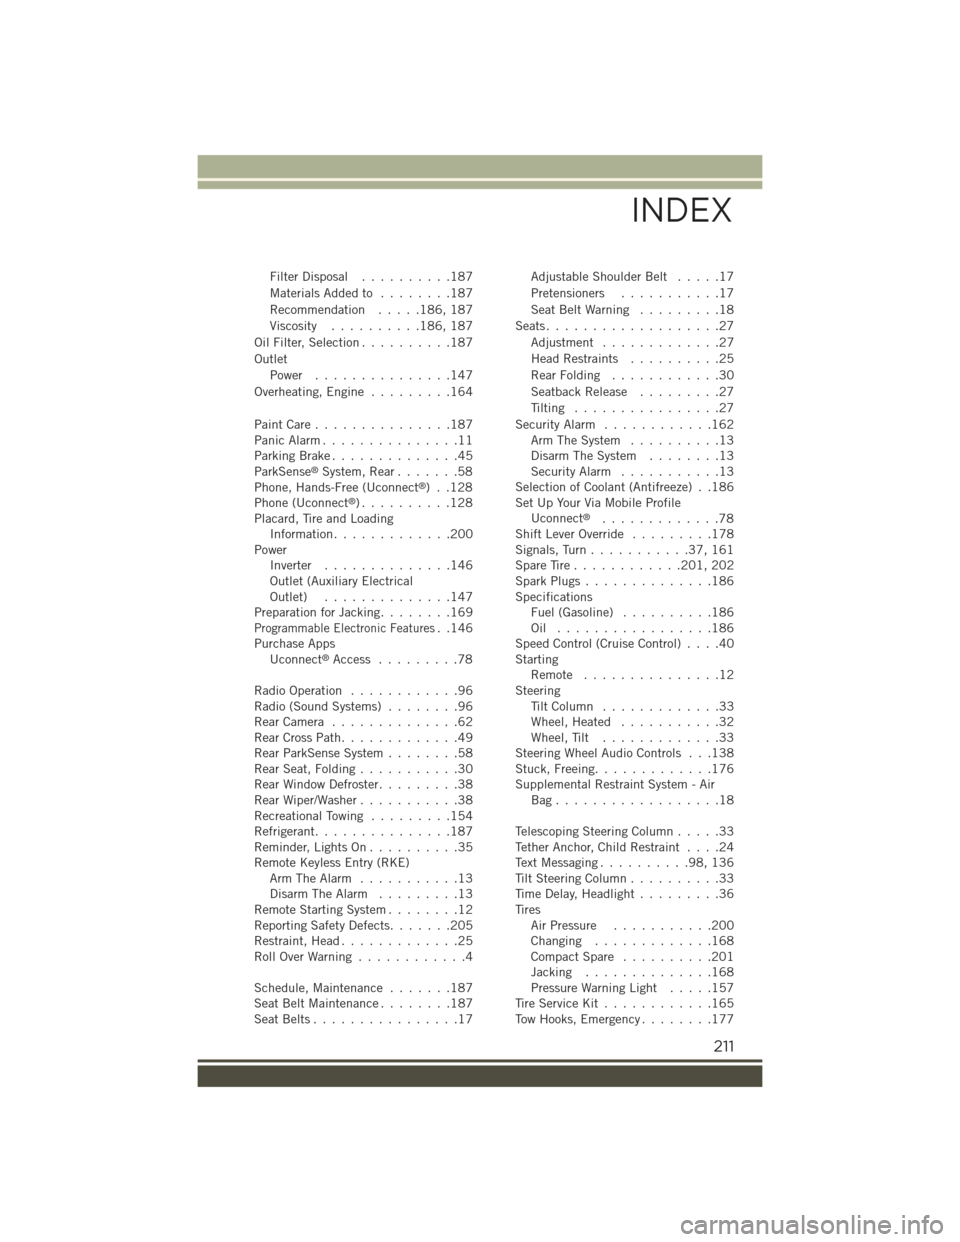
Filter Disposal..........187
Materials Added to........187
Recommendation.....186, 187
Viscosity..........186, 187
Oil Filter, Selection..........187
Outlet
Power...............147
Overheating, Engine.........164
Paint Care . . . . . . . . . . . . . . .187Panic Alarm...............11Parking Brake..............45ParkSense®System, Rear.......58Phone, Hands-Free (Uconnect®)..128Phone (Uconnect®). . . . . . . . . .128Placard, Tire and LoadingInformation.............200PowerInverter..............146Outlet (Auxiliary ElectricalOutlet)..............147Preparation for Jacking........169Programmable Electronic Features..146Purchase AppsUconnect®Access.........78
Radio Operation............96Radio (Sound Systems)........96Rear Camera . . . . . . . . . . . . . .62Rear Cross Path.............49Rear ParkSense System........58Rear Seat, Folding...........30Rear Window Defroster.........38Rear Wiper/Washer...........38Recreational Towing.........154Refrigerant...............187Reminder, Lights On . . . . . . . . . .35Remote Keyless Entry (RKE)Arm The Alarm...........13Disarm The Alarm.........13Remote Starting System........12Reporting Safety Defects.......205Restraint, Head.............25Roll Over Warning . . . . . . . . . . . .4
Schedule, Maintenance.......187Seat Belt Maintenance . . . . . . . .187Seat Belts................17
Adjustable Shoulder Belt.....17
Pretensioners...........17
Seat Belt Warning . . . . . . . . .18
Seats...................27
Adjustment . . . . . . . . . . . . .27
Head Restraints..........25
Rear Folding............30
Seatback Release.........27
Tilting................27
Security Alarm............162Arm The System..........13Disarm The System........13Security Alarm...........13Selection of Coolant (Antifreeze) . .186Set Up Your Via Mobile ProfileUconnect®.............78Shift Lever Override.........178Signals, Turn...........37,161Spare Tire . . . . . . . . . . . .201, 202Spark Plugs . . . . . . . . . . . . . .186SpecificationsFuel (Gasoline)..........186Oil . . . . . . . . . . . . . . . . .186Speed Control (Cruise Control)....40StartingRemote . . . . . . . . . . . . . . .12SteeringTi l t C o l u m n . . . . . . . . . . . . . 3 3Wheel, Heated...........32Wheel, Tilt.............33Steering Wheel Audio Controls . . .138Stuck, Freeing.............176Supplemental Restraint System - AirBag . . . . . . . . . . . . . . . . . .18
Telescoping Steering Column.....33Tether Anchor, Child Restraint....24Text Messaging..........98,136Tilt Steering Column..........33Time Delay, Headlight.........36TiresAir Pressure...........200Changing . . . . . . . . . . . . .168Compact Spare..........201Jacking..............168Pressure Warning Light.....157Tire Service Kit............165Tow Hooks, Emergency........177
INDEX
211