brake light JEEP RENEGADE 2015 1.G User Guide
[x] Cancel search | Manufacturer: JEEP, Model Year: 2015, Model line: RENEGADE, Model: JEEP RENEGADE 2015 1.GPages: 220, PDF Size: 34.11 MB
Page 3 of 220
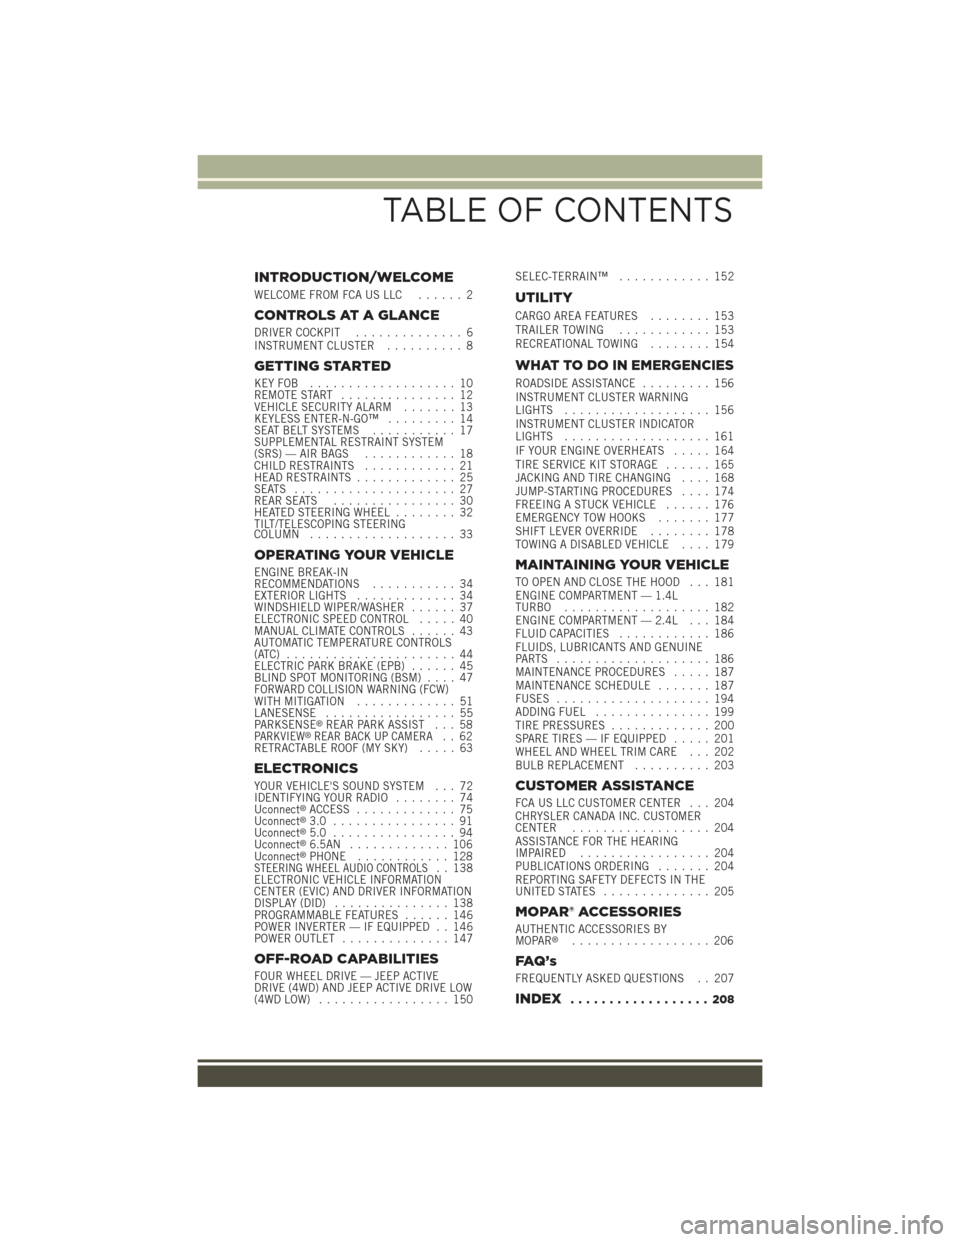
INTRODUCTION/WELCOME
WELCOME FROM FCA US LLC...... 2
CONTROLS AT A GLANCE
DRIVER COCKPIT.............. 6INSTRUMENT CLUSTER.......... 8
GETTING STARTED
KEY FOB . . . . . . . . . . . . . . . . . . . 10REMOTE START............... 12VEHICLE SECURITY ALARM....... 13KEYLESS ENTER-N-GO™......... 14SEAT BELT SYSTEMS........... 17SUPPLEMENTAL RESTRAINT SYSTEM(SRS) — AIR BAGS............ 18CHILD RESTRAINTS............ 21HEAD RESTRAINTS............. 25SEATS . . . . . . . . . . . . . . . . . . . . . 27REAR SEATS................ 30HEATED STEERING WHEEL........ 32TILT/TELESCOPING STEERINGCOLUMN................... 33
OPERATING YOUR VEHICLE
ENGINE BREAK-INRECOMMENDATIONS........... 34EXTERIOR LIGHTS............. 34WINDSHIELD WIPER/WASHER...... 37ELECTRONIC SPEED CONTROL..... 40MANUAL CLIMATE CONTROLS...... 43AUTOMATIC TEMPERATURE CONTROLS(ATC) . . . . . . . . . . . . . . . . . . . . . . 44ELECTRIC PARK BRAKE (EPB)...... 45BLIND SPOT MONITORING (BSM).... 47FORWARD COLLISION WARNING (FCW)WITH MITIGATION . . . . . . . . . . . . . 51LANESENSE................. 55PA R K S E N S E®REAR PARK ASSIST . . . 58PARKVIEW®REAR BACK UP CAMERA.. 62RETRACTABLE ROOF (MY SKY)..... 63
ELECTRONICS
YOUR VEHICLE'S SOUND SYSTEM . . . 72IDENTIFYING YOUR RADIO........ 74Uconnect®ACCESS............. 75Uconnect®3.0 . . . . . . . . . . . . . . . . 91Uconnect®5.0 . . . . . . . . . . . . . . . . 94Uconnect®6.5AN . . . . . . . . . . . . . 106Uconnect®PHONE............ 128STEERING WHEEL AUDIO CONTROLS.. 138ELECTRONIC VEHICLE INFORMATIONCENTER (EVIC) AND DRIVER INFORMATIONDISPLAY (DID)............... 138PROGRAMMABLE FEATURES...... 146POWER INVERTER — IF EQUIPPED . . 146POWER OUTLET.............. 147
OFF-ROAD CAPABILITIES
FOUR WHEEL DRIVE — JEEP ACTIVEDRIVE (4WD) AND JEEP ACTIVE DRIVE LOW(4WD LOW)................. 150
SELEC-TERRAIN™............ 152
UTILITY
CARGO AREA FEATURES........ 153TRAILER TOWING............ 153RECREATIONAL TOWING........ 154
WHAT TO DO IN EMERGENCIES
ROADSIDE ASSISTANCE......... 156INSTRUMENT CLUSTER WARNINGLIGHTS................... 156INSTRUMENT CLUSTER INDICATORLIGHTS................... 161IF YOUR ENGINE OVERHEATS..... 164TIRE SERVICE KIT STORAGE...... 165JACKING AND TIRE CHANGING.... 168JUMP-STARTING PROCEDURES.... 174FREEING A STUCK VEHICLE...... 176EMERGENCY TOW HOOKS....... 177SHIFT LEVER OVERRIDE........ 178TOWING A DISABLED VEHICLE.... 179
MAINTAINING YOUR VEHICLE
TO OPEN AND CLOSE THE HOOD . . . 181ENGINE COMPARTMENT — 1.4LTURBO................... 182ENGINE COMPARTMENT — 2.4L . . . 184FLUID CAPACITIES............ 186FLUIDS, LUBRICANTS AND GENUINEPA RT S . . . . . . . . . . . . . . . . . . . . 1 8 6MAINTENANCE PROCEDURES..... 187MAINTENANCE SCHEDULE....... 187FUSES.................... 194ADDING FUEL............... 199TIRE PRESSURES............. 200SPARE TIRES — IF EQUIPPED..... 201WHEEL AND WHEEL TRIM CARE . . . 202BULB REPLACEMENT.......... 203
CUSTOMER ASSISTANCE
FCA US LLC CUSTOMER CENTER . . . 204CHRYSLER CANADA INC. CUSTOMERCENTER.................. 204ASSISTANCE FOR THE HEARINGIMPAIRED . . . . . . . . . . . . . . . . . 204PUBLICATIONS ORDERING....... 204REPORTING SAFETY DEFECTS IN THEUNITED STATES . . . . . . . . . . . . . . 205
MOPAR® ACCESSORIES
AUTHENTIC ACCESSORIES BYMOPAR®.................. 206
FAQ ’ s
FREQUENTLY ASKED QUESTIONS . . 207
INDEX.................. 208
TABLE OF CONTENTS
Page 37 of 220
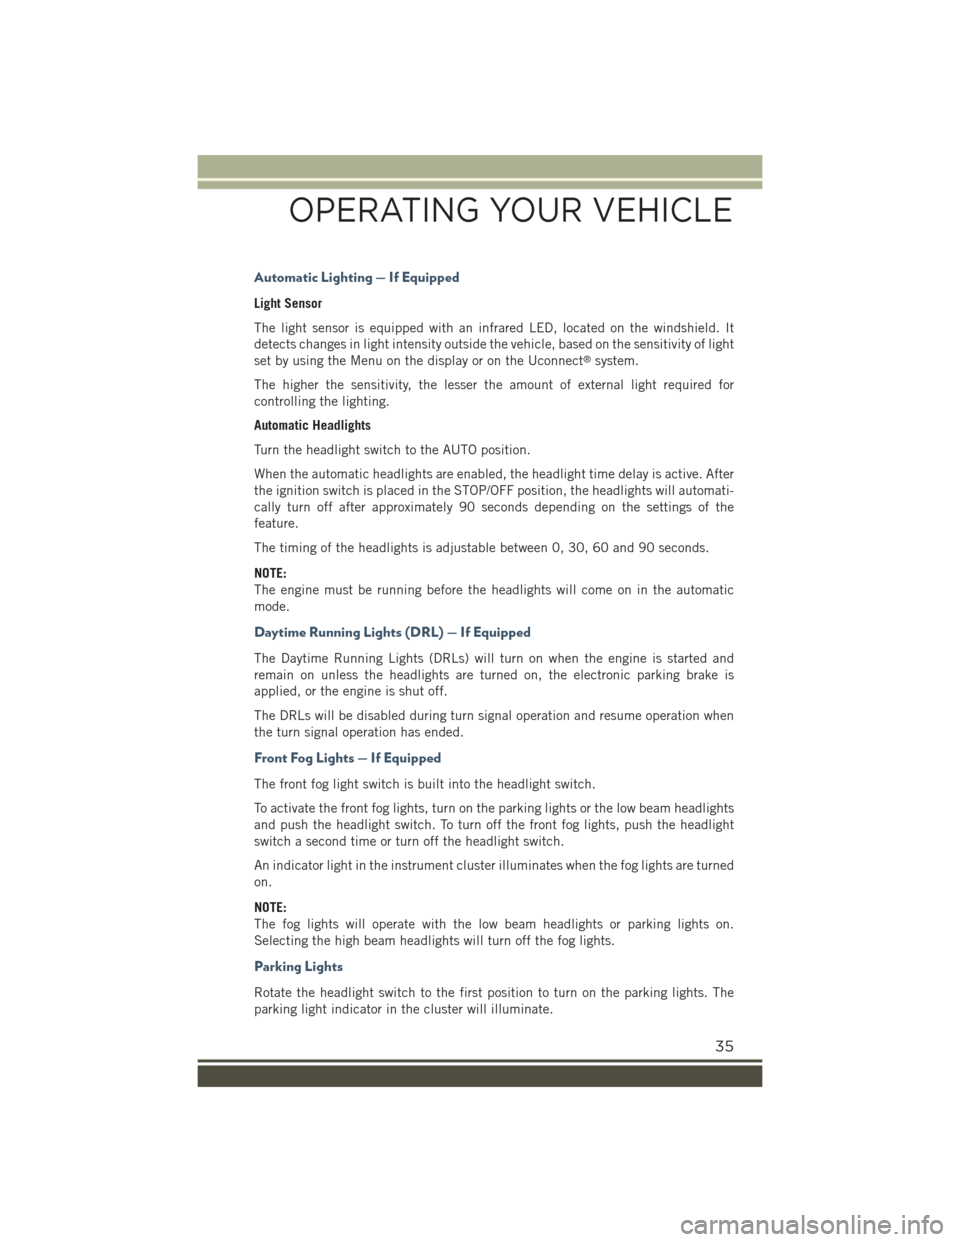
Automatic Lighting — If Equipped
Light Sensor
The light sensor is equipped with an infrared LED, located on the windshield. It
detects changes in light intensity outside the vehicle, based on the sensitivity of light
set by using the Menu on the display or on the Uconnect®system.
The higher the sensitivity, the lesser the amount of external light required for
controlling the lighting.
Automatic Headlights
Turn the headlight switch to the AUTO position.
When the automatic headlights are enabled, the headlight time delay is active. After
the ignition switch is placed in the STOP/OFF position, the headlights will automati-
cally turn off after approximately 90 seconds depending on the settings of the
feature.
The timing of the headlights is adjustable between 0, 30, 60 and 90 seconds.
NOTE:
The engine must be running before the headlights will come on in the automatic
mode.
Daytime Running Lights (DRL) — If Equipped
The Daytime Running Lights (DRLs) will turn on when the engine is started and
remain on unless the headlights are turned on, the electronic parking brake is
applied, or the engine is shut off.
The DRLs will be disabled during turn signal operation and resume operation when
the turn signal operation has ended.
Front Fog Lights — If Equipped
The front fog light switch is built into the headlight switch.
To activate the front fog lights, turn on the parking lights or the low beam headlights
and push the headlight switch. To turn off the front fog lights, push the headlight
switch a second time or turn off the headlight switch.
An indicator light in the instrument cluster illuminates when the fog lights are turned
on.
NOTE:
The fog lights will operate with the low beam headlights or parking lights on.
Selecting the high beam headlights will turn off the fog lights.
Parking Lights
Rotate the headlight switch to the first position to turn on the parking lights. The
parking light indicator in the cluster will illuminate.
OPERATING YOUR VEHICLE
35
Page 48 of 220
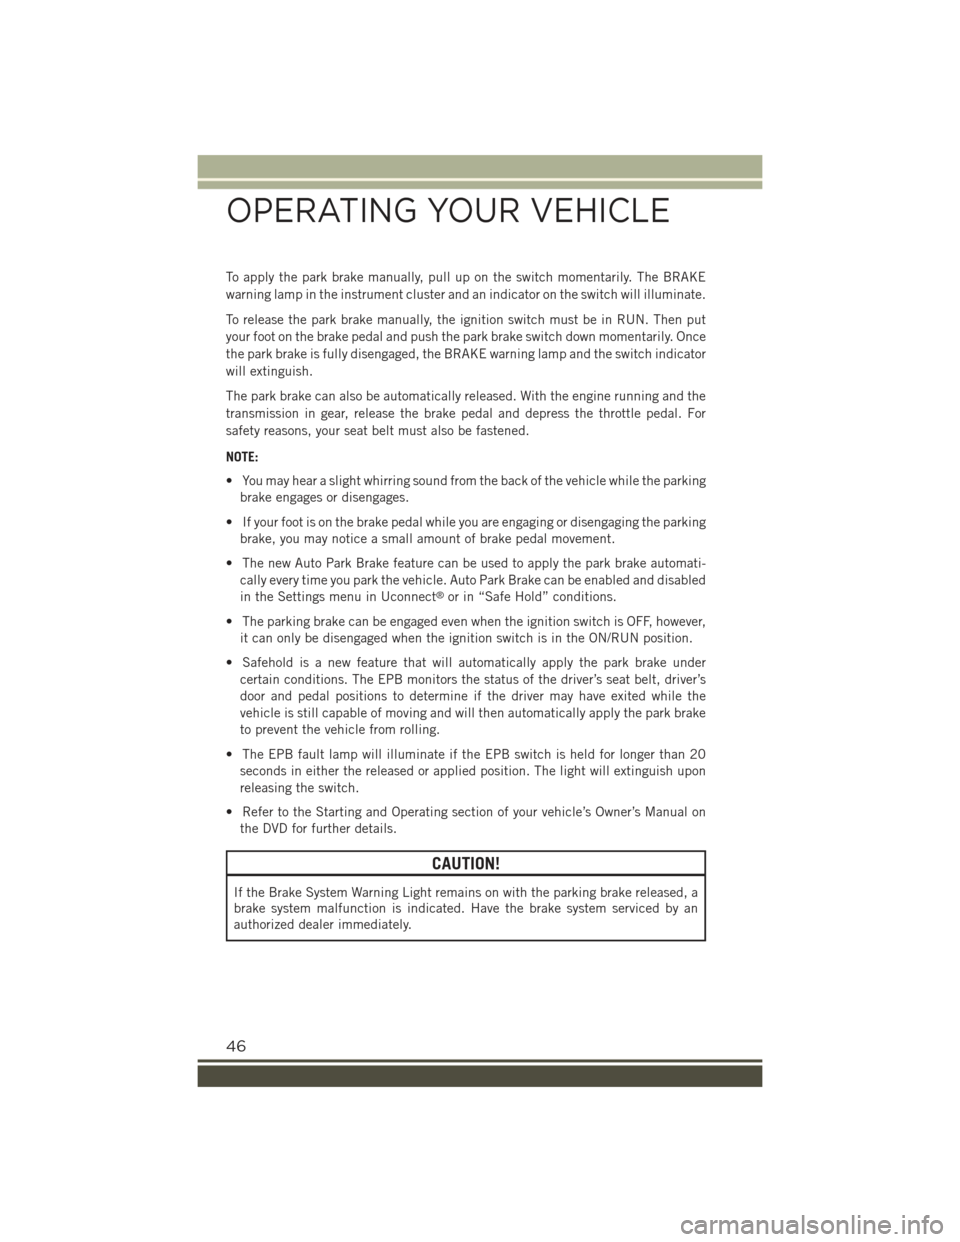
To apply the park brake manually, pull up on the switch momentarily. The BRAKE
warning lamp in the instrument cluster and an indicator on the switch will illuminate.
To release the park brake manually, the ignition switch must be in RUN. Then put
your foot on the brake pedal and push the park brake switch down momentarily. Once
the park brake is fully disengaged, the BRAKE warning lamp and the switch indicator
will extinguish.
The park brake can also be automatically released. With the engine running and the
transmission in gear, release the brake pedal and depress the throttle pedal. For
safety reasons, your seat belt must also be fastened.
NOTE:
• You may hear a slight whirring sound from the back of the vehicle while the parking
brake engages or disengages.
• If your foot is on the brake pedal while you are engaging or disengaging the parking
brake, you may notice a small amount of brake pedal movement.
• The new Auto Park Brake feature can be used to apply the park brake automati-
cally every time you park the vehicle. Auto Park Brake can be enabled and disabled
in the Settings menu in Uconnect®or in “Safe Hold” conditions.
• The parking brake can be engaged even when the ignition switch is OFF, however,
it can only be disengaged when the ignition switch is in the ON/RUN position.
• Safehold is a new feature that will automatically apply the park brake under
certain conditions. The EPB monitors the status of the driver’s seat belt, driver’s
door and pedal positions to determine if the driver may have exited while the
vehicle is still capable of moving and will then automatically apply the park brake
to prevent the vehicle from rolling.
• The EPB fault lamp will illuminate if the EPB switch is held for longer than 20
seconds in either the released or applied position. The light will extinguish upon
releasing the switch.
• Refer to the Starting and Operating section of your vehicle’s Owner’s Manual on
the DVD for further details.
CAUTION!
If the Brake System Warning Light remains on with the parking brake released, a
brake system malfunction is indicated. Have the brake system serviced by an
authorized dealer immediately.
OPERATING YOUR VEHICLE
46
Page 49 of 220
WARNING!
• Never use the PARK position as a substitute for the parking brake. Always apply
the parking brake fully when parked to guard against vehicle movement and
possible injury or damage.
• When leaving the vehicle, always make sure the keyless ignition node is in the
“STOP/OFF” mode, remove the Key Fob from the vehicle and lock the vehicle.
• Never leave children alone in a vehicle, or with access to an unlocked vehicle.
Allowing children to be in a vehicle unattended is dangerous for a number of
reasons. A child or others could be seriously or fatally injured. Children should
be warned not to touch the parking brake, brake pedal or the shift lever.
• Do not leave the Key Fob in or near the vehicle, or in a location accessible to
children, and do not leave a vehicle equipped with Keyless Enter-N-Go™in the
MAR/RUN mode. A child could operate power windows, other controls, or move
the vehicle.
• Be sure the parking brake is fully disengaged before driving; failure to do so can
lead to brake failure and a collision.
• Always fully apply the parking brake when leaving your vehicle, or it may roll
and cause damage or injury. Also be certain to leave the transmission in PARK.
Failure to do so may allow the vehicle to roll and cause damage or injury.
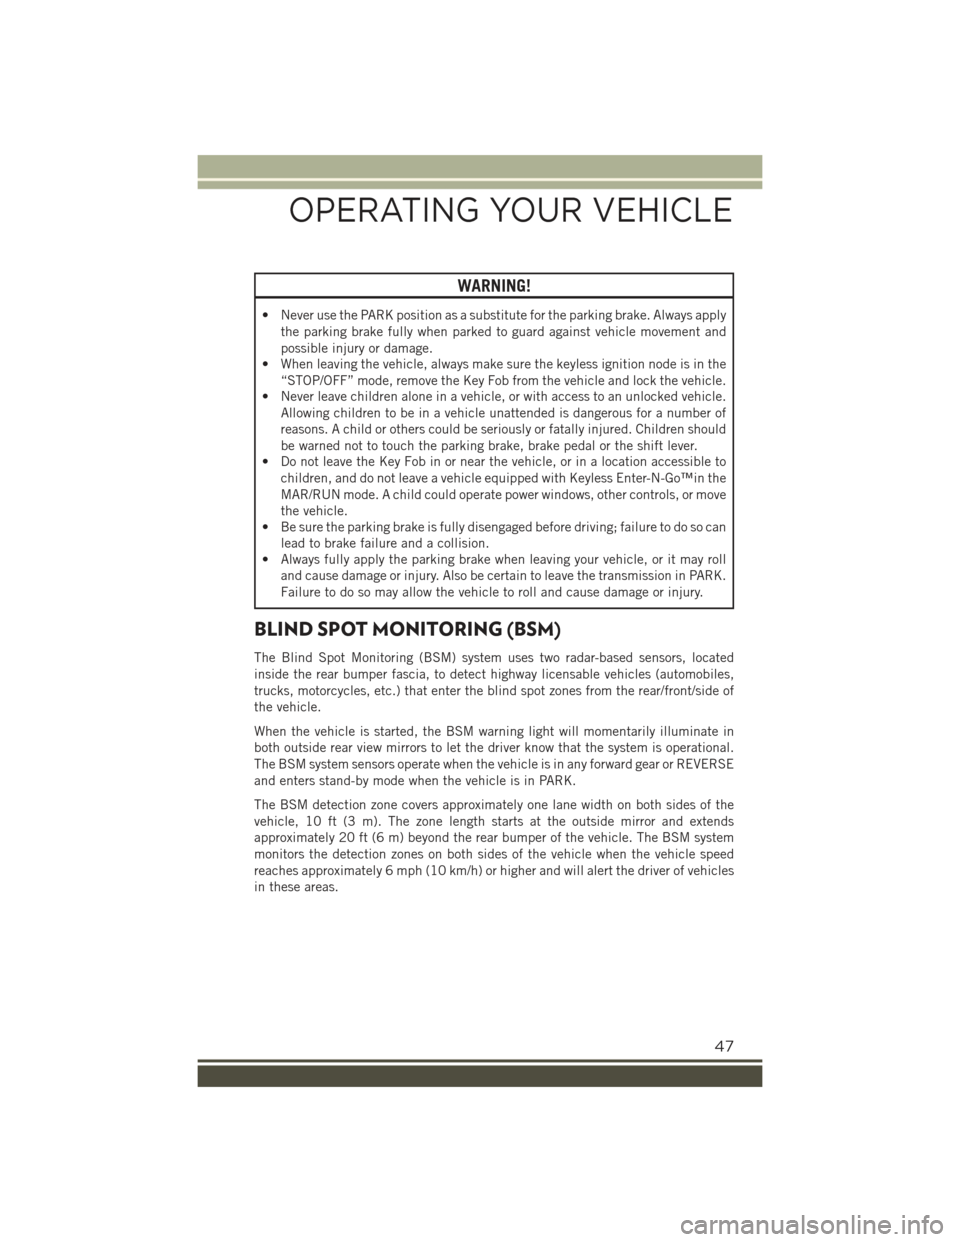
BLIND SPOT MONITORING (BSM)
The Blind Spot Monitoring (BSM) system uses two radar-based sensors, located
inside the rear bumper fascia, to detect highway licensable vehicles (automobiles,
trucks, motorcycles, etc.) that enter the blind spot zones from the rear/front/side of
the vehicle.
When the vehicle is started, the BSM warning light will momentarily illuminate in
both outside rear view mirrors to let the driver know that the system is operational.
The BSM system sensors operate when the vehicle is in any forward gear or REVERSE
and enters stand-by mode when the vehicle is in PARK.
The BSM detection zone covers approximately one lane width on both sides of the
vehicle, 10 ft (3 m). The zone length starts at the outside mirror and extends
approximately 20 ft (6 m) beyond the rear bumper of the vehicle. The BSM system
monitors the detection zones on both sides of the vehicle when the vehicle speed
reaches approximately 6 mph (10 km/h) or higher and will alert the driver of vehicles
in these areas.
OPERATING YOUR VEHICLE
47
Page 53 of 220
System Not Available
In the case of the system being temporary unavailable:
• BSM Mirror Warning Lights are turned on continuously.
• A chime will turn on.
• A instrument cluster message will display“Blind Spot Monitoring Temporary
Unavailable.”
In the case of the system being completely unavailable:
• A chime will turn on.
• A instrument cluster message will display“Blind Spot Monitoring Unavailable -
Service Required.”
NOTE:
Vehicle must be taken to the nearest authorized dealer for service.
FORWARD COLLISION WARNING (FCW) WITH
MITIGATION
Forward Collision Warning (FCW) With Mitigation Operation
The Forward Collision Warning (FCW) system with mitigation provides the driver with
audible warnings, visual warnings (within the EVIC/DID), and may apply a brake jerk
to warn the driver when it detects a potential frontal collision. The warnings and
limited braking are intended to provide the driver with enough time to react, avoid or
mitigate the potential collision.
NOTE:
FCW monitors the information from the forward looking sensors as well as the
Electronic Brake Controller (EBC), to calculate the probability of a forward colli-
sion. When the system determines that a forward collision is probable, the driver
will be provided with audible and visual warnings and may provide a brake jerk
warning.
If the driver does not take action based upon these progressive warnings, then the
system will provide a limited level of active braking to help slow the vehicle and
mitigate the potential forward collision. If the driver reacts to the warnings by braking
and the system determines that the driver intends to avoid the collision by braking
but has not applied sufficient brake force, the system will compensate and provide
additional brake force as required.
Vehicles With A Manual Transmission: After the end of the intervention of automatic
braking, the engine could stall, unless the driver can depress the clutch pedal.
Vehicles With Automatic Transmission: After the end of the intervention of automatic
braking, the transmission may remain in last gear stored: therefore the car could
lurch forward, once the brakes release a few seconds later.
OPERATING YOUR VEHICLE
51
Page 146 of 220
Speed Belt Buzzer:
• This function is only viewable when the Seat Belt Reminder (SBR) system is
active.
Hill Start Assist:
• Activation/Deactivation of the Hill Start Assist system.
"Safety & Assistance"
By selecting the item "Safety & Assistance," you can make the following adjustments:
• FCW: a selection of operating modes of the system Forward Collision Warning Plus
• FCW Sensitivity: a selection of the "readiness" of intervention of the Forward
Collision Warning Plus system, based on the distance to the obstacle
• ParkSense: a selection of the type of reporting provided by ParkSense
• Rear Parks. Vol.: selection of the volume of acoustic signals provided by
ParkSense
• ParkSense Vol.: a selection of the volume of acoustic signals provided by
ParkSense
• Front Parks. Vol.: selection of the volume of the beeps provided by ParkSense
• Side Dist. Warn. Vol. (If equipped) : a selection of the volume of the beeps of
SideSense system
• Side Dist. Warn. (if Equipped) : Select the type of reporting provided by SideSense
system
• Auto Wipers: enabling/disabling the automatic operation of wipers in the event of
rain
• LaneSense Warn.: a selection of the "readiness" of intervention of LaneSense
• LaneSense Force: selection of the force to be applied to the steering wheel to put
the car in the roadway through the system of electrical drive, in case of operation
of the system LaneSense
• Buzzer Volume
• Maintenance Brakes (If Equipped): activation of the procedure to carry out
braking system maintenance
• Auto Park Brake (If Equipped): enable/disable auto-insertion of the Electric
Parking Brake
"Lights"
By selecting the item "Lights," you can make the following adjustments:
• Headlight Off Delay: setting the delay for headlight shutoff after engine shutoff
• Lights in the opening: activation of the direction indicators when opening the
doors
• Headlight Sensor: adjusting the sensitivity of headlight brightness
• Auto. High Beam: activation/deactivation of the automatic main beam headlights
(If Equipped)
ELECTRONICS
144
Page 158 of 220
ROADSIDE ASSISTANCE
Dial toll-free 1-800-521-2779 for U.S. Residents or 1-800-363-4869 for Canadian
Residents.
• Provide your name, vehicle identification number, license plate number, and your
location, including the telephone number from which you are calling.
• Briefly describe the nature of the problem and answer a few simple questions.
• You will be given the name of the service provider and an estimated time of arrival.
If you feel you are in an “unsafe situation”, please let us know. With your consent,
we will contact local police or safety authorities.
INSTRUMENT CLUSTER WARNING LIGHTS
- Low Fuel Warning Light
This warning light indicates when the fuel level reaches approximately 2.0 gal (7.8 L).
This light will turn on and a single chime will sound.
-ChargingSystemLight
This light shows the status of the electrical charging system. If the charging system
light remains on, it means that the vehicle is experiencing a problem with the
charging system.
We recommend you do not continue driving if the charging system light is on. Have
the vehicle serviced immediately.
- Oil Pressure Warning Light
This light indicates low engine oil pressure. If the light turns on while driving, stop
the vehicle and shut off the engine as soon as possible. A chime will sound for four
minutes when this light turns on.
We recommend you do not operate the vehicle or engine damage will occur. Have the
vehicle serviced immediately.
- Anti-Lock Brake (ABS) Light
This light monitors the Anti-Lock Brake System (ABS). The light will turn on when the
ignition switch is turned to the MAR/RUN position and may stay on for as long as four
seconds.
If the ABS light remains on or turns on while driving, it indicates that the Anti-Lock
portion of the brake system is not functioning and that service is required. However,
the conventional brake system will continue to operate normally if the BRAKE
warning light is not on.
WHAT TO DO IN EMERGENCIES
156
Page 159 of 220
If the ABS light is on, the brake system should be serviced as soon as possible to
restore the benefits of Anti-Lock brakes. If the ABS light does not turn on when the
ignition switch is turned to the MAR/RUN position, have the light inspected by an
authorized dealer.
- Air Bag Warning Light
This light will turn on for four to eight seconds as a bulb check when the ignition
switch is first turned to the MAR/RUN position. If the light is either not on during
starting, stays on, or turns on while driving, have the system inspected at an
authorized dealer as soon as possible. Refer to “Occupant Restraints” in “Safety” in
your Owner’s Manual on the DVD for further information.
NOTE:
The Air Bag System is designed to be maintenance free.
- Electronic Throttle Control (ETC) Light
This light informs you of a problem with the Electronic Throttle Control (ETC) system.
If a problem is detected, the light will come on while the engine is running. Cycle the
ignition key when the vehicle has completely stopped and the shift lever/gear selector
is placed in the PARK position; the light should turn off.
If the light remains lit with the engine running, your vehicle will usually be drivable.
However, see an authorized service center immediately. If the light is flashing when
the engine is running, immediate service is required and you may experience reduced
performance, an elevated/rough idle or engine stall and your vehicle may require
towing.
-TirePressureMonitoringSystem(TPMS)Light
Each tire, including the spare (if provided), should be checked monthly, when cold
and inflated to the inflation pressure recommended by the vehicle manufacturer on
the vehicle placard or tire inflation pressure label. (If your vehicle has tires of a
different size than the size indicated on the vehicle placard or tire inflation pressure
label, you should determine the proper tire inflation pressure for those tires.)
As an added safety feature, your vehicle has been equipped with a Tire Pressure
Monitoring System (TPMS) which display in the Electronic Vehicle Information
Center (EVIC) or Driver Information Display (DID) when one or more of your tires is
significantly under-inflated. Accordingly, when the low tire pressure EVIC or DID
display illuminates, you should stop and check your tires as soon as possible, and
inflate them to the proper pressure. Driving on a significantly under-inflated tire
causes the tire to overheat and can lead to tire failure. Under-inflation also reduces
fuel efficiency and tire tread life, and may affect the vehicle’s handling and stopping
ability.
WHAT TO DO IN EMERGENCIES
157
Page 162 of 220
- Brake Warning Light
This light monitors various brake functions, including brake fluid level and parking
brake application. If the brake light turns on, it may indicate that the parking brake
is applied, that the brake fluid level is low, or that there is a problem with the
anti-lock brake system reservoir.
If the light remains on when the parking brake has been disengaged, and the fluid
level is at the full mark on the master cylinder reservoir, it indicates a possible brake
hydraulic system malfunction or that a problem with the Brake Booster has been
detected by the Anti-Lock Brake System (ABS)/Electronic Stability Control (ESC)
system. In this case, the light will remain on until the condition has been corrected.
If the problem is related to the brake booster, the ABS pump will run when applying
the brake, and a brake pedal pulsation may be felt during each stop.
The dual brake system provides a reserve braking capacity in the event of a failure to
a portion of the hydraulic system. A leak in either half of the dual brake system is
indicated by the Brake Warning Light, which will turn on when the brake fluid level
in the master cylinder has dropped below a specified level. The light will remain on
until the cause is corrected.
Vehicles equipped with the Anti-Lock Brake System (ABS) are also equipped with
Electronic Brake Force Distribution (EBD). In the event of an EBD failure, the Brake
Warning Light will turn on along with the ABS Light. Immediate repair to the ABS
system is required.
Operation of the Brake Warning Light can be checked by turning the ignition switch
from the STOP/OFF position to the MAR/RUN position. The light should illuminate
for approximately two seconds. The light should then turn off unless the parking
brake is applied or a brake fault is detected. If the light does not illuminate, have the
light inspected by an authorized dealer.
The light also will turn on when the parking brake is applied with the ignition switch
in the MAR/RUN position.
NOTE:
This light shows only that the parking brake is applied. It does not show the degree
of brake application.
WARNING!
Driving a vehicle with the red brake light on is dangerous. Part of the brake system
may have failed. It will take longer to stop the vehicle. You could have a collision.
Have the vehicle checked immediately.
WHAT TO DO IN EMERGENCIES
160
Page 175 of 220
9. Lower the vehicle to the ground by turning the jack handle counterclockwise.
10. Finish tightening the wheel bolts. Push down on the wrench while at the end of
the handle for increased leverage. Tighten the wheel bolts in a star pattern until
each wheel bolt has been tightened twice. The correct torque specification for
the wheel bolts is 63 Ft-Lbs (86 Nm) for steel wheels and 89 Ft-Lbs (120 Nm)
for aluminum wheels. If in doubt about the correct tightness, have them
checked with a torque wrench by your authorized dealer or at a service station.
11. Securely stow the jack, tools, chocks and flat tire.
WARNING!
A loose tire or jack thrown forward in a collision or hard stop could endanger the
occupants of the vehicle. Always stow the jack parts and the spare tire in the
places provided. Have the deflated (flat) tire repaired or replaced immediately.
Road Tire Installation
1. Mount the road tire on the axle.
2. Install the remaining wheel bolts with the threaded end of the wheel bolt toward
the wheel. Lightly tighten the wheel bolts.
WARNING!
To avoid the risk of forcing the vehicle off the jack, do not tighten the lug nuts fully
until the vehicle has been lowered. Failure to follow this warning may result in
serious injury.
3. Lower the vehicle to the ground by turning the jack handle counterclockwise.
4. Finish tightening the wheel bolts. Push down on the wrench while at the end ofthe handle for increased leverage. Tighten the wheel bolts in a star pattern untileach wheel bolt has been tightened twice. The correct torque specification for thewheel bolts is 63 Ft-Lbs (86 Nm) for steel wheels and 89 Ft-Lbs (120 Nm) foraluminum wheels. If in doubt about the correct tightness, have them checkedwith a torque wrench by your authorized dealer or at a service station.
5. Lower the jack until it is free. Remove the wheel chocks. Stow the jack and tools
back in the proper storage location. Release the Electric Park Brake before driving
the vehicle.
6. After 25 miles (40 km) check the wheel bolt torque with a torque wrench to
ensure that all wheel bolts are properly seated against the wheel.
WHAT TO DO IN EMERGENCIES
173