clock reset JEEP RENEGADE 2015 1.G User Guide
[x] Cancel search | Manufacturer: JEEP, Model Year: 2015, Model line: RENEGADE, Model: JEEP RENEGADE 2015 1.GPages: 220, PDF Size: 34.11 MB
Page 94 of 220

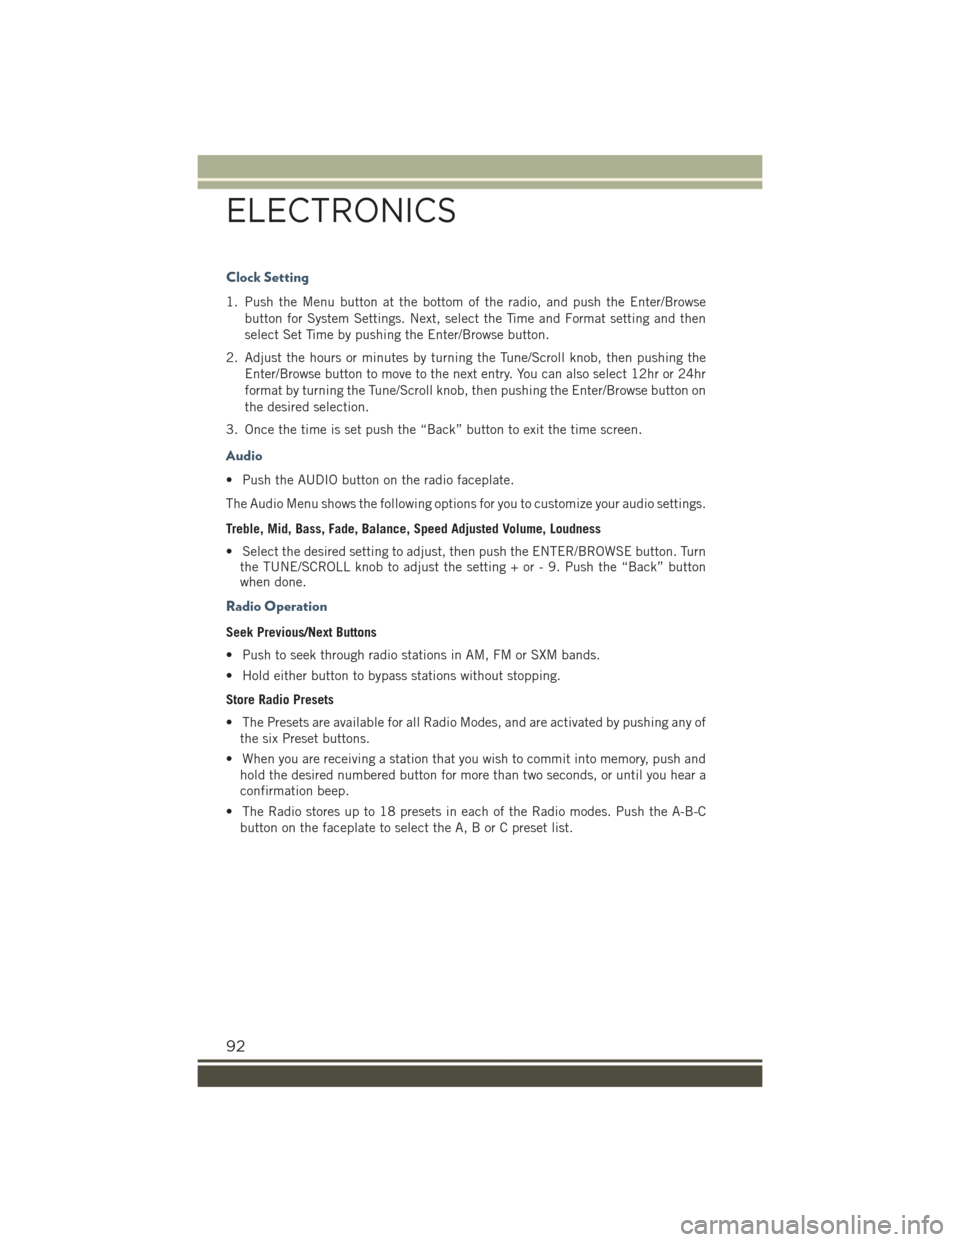
Clock Setting
1. Push the Menu button at the bottom of the radio, and push the Enter/Browse
button for System Settings. Next, select the Time and Format setting and then
select Set Time by pushing the Enter/Browse button.
2. Adjust the hours or minutes by turning the Tune/Scroll knob, then pushing the
Enter/Browse button to move to the next entry. You can also select 12hr or 24hr
format by turning the Tune/Scroll knob, then pushing the Enter/Browse button on
the desired selection.
3. Once the time is set push the “Back” button to exit the time screen.
Audio
• Push the AUDIO button on the radio faceplate.
The Audio Menu shows the following options for you to customize your audio settings.
Treble, Mid, Bass, Fade, Balance, Speed Adjusted Volume, Loudness
• Select the desired setting to adjust, then push the ENTER/BROWSE button. Turnthe TUNE/SCROLL knob to adjust the setting + or - 9. Push the “Back” buttonwhen done.
Radio Operation
Seek Previous/Next Buttons
• Push to seek through radio stations in AM, FM or SXM bands.
• Hold either button to bypass stations without stopping.
Store Radio Presets
• The Presets are available for all Radio Modes, and are activated by pushing any of
the six Preset buttons.
• When you are receiving a station that you wish to commit into memory, push and
hold the desired numbered button for more than two seconds, or until you hear a
confirmation beep.
• The Radio stores up to 18 presets in each of the Radio modes. Push the A-B-C
button on the faceplate to select the A, B or C preset list.
ELECTRONICS
92
Page 97 of 220

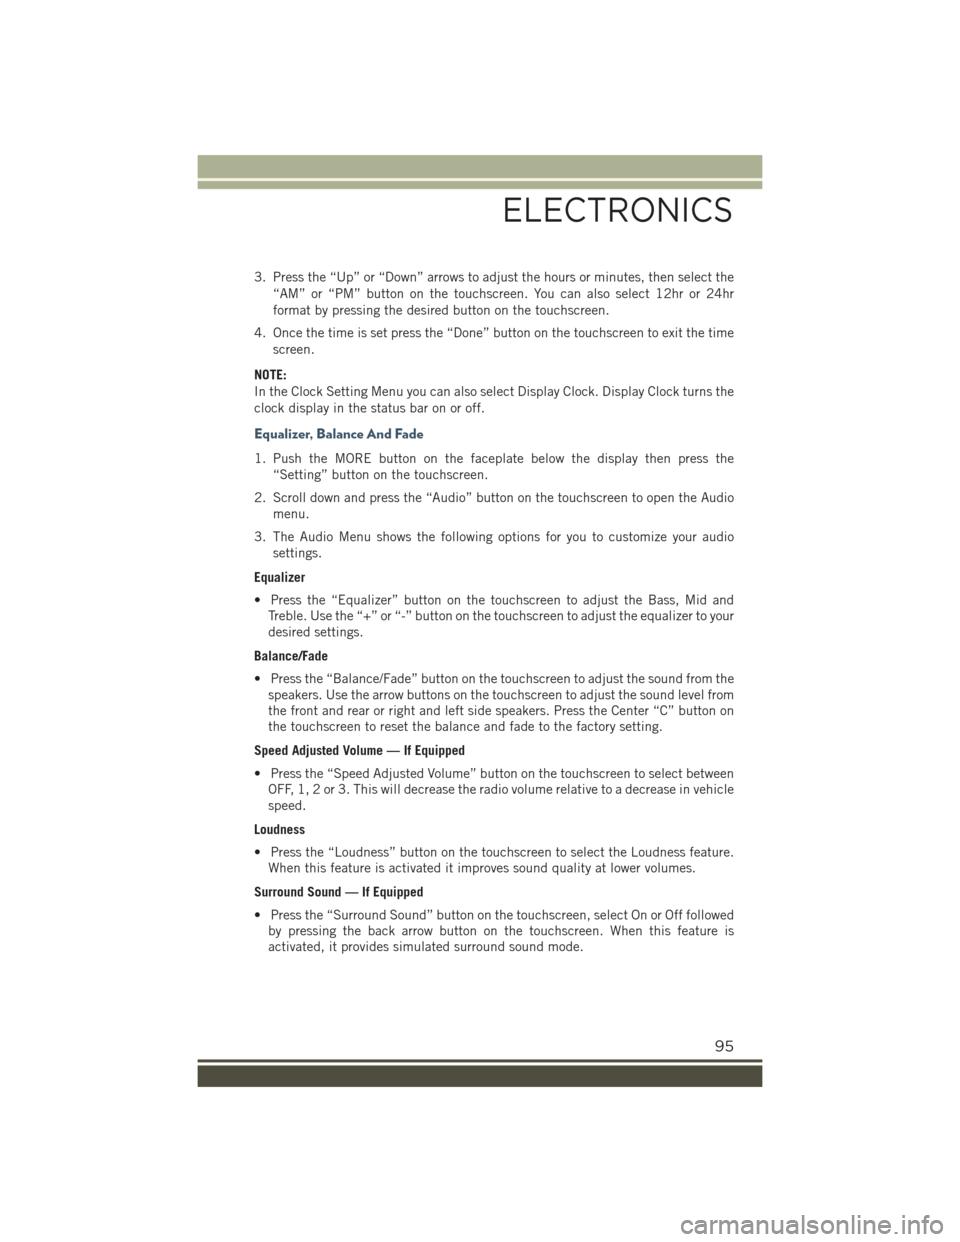
3. Press the “Up” or “Down” arrows to adjust the hours or minutes, then select the
“AM” or “PM” button on the touchscreen. You can also select 12hr or 24hr
format by pressing the desired button on the touchscreen.
4. Once the time is set press the “Done” button on the touchscreen to exit the time
screen.
NOTE:
In the Clock Setting Menu you can also select Display Clock. Display Clock turns the
clock display in the status bar on or off.
Equalizer, Balance And Fade
1. Push the MORE button on the faceplate below the display then press the
“Setting” button on the touchscreen.
2. Scroll down and press the “Audio” button on the touchscreen to open the Audio
menu.
3. The Audio Menu shows the following options for you to customize your audio
settings.
Equalizer
• Press the “Equalizer” button on the touchscreen to adjust the Bass, Mid and
Treble. Use the “+” or “-” button on the touchscreen to adjust the equalizer to your
desired settings.
Balance/Fade
• Press the “Balance/Fade” button on the touchscreen to adjust the sound from the
speakers. Use the arrow buttons on the touchscreen to adjust the sound level from
the front and rear or right and left side speakers. Press the Center “C” button on
the touchscreen to reset the balance and fade to the factory setting.
Speed Adjusted Volume — If Equipped
• Press the “Speed Adjusted Volume” button on the touchscreen to select between
OFF, 1, 2 or 3. This will decrease the radio volume relative to a decrease in vehicle
speed.
Loudness
• Press the “Loudness” button on the touchscreen to select the Loudness feature.
When this feature is activated it improves sound quality at lower volumes.
Surround Sound — If Equipped
• Press the “Surround Sound” button on the touchscreen, select On or Off followed
by pressing the back arrow button on the touchscreen. When this feature is
activated, it provides simulated surround sound mode.
ELECTRONICS
95
Page 144 of 220

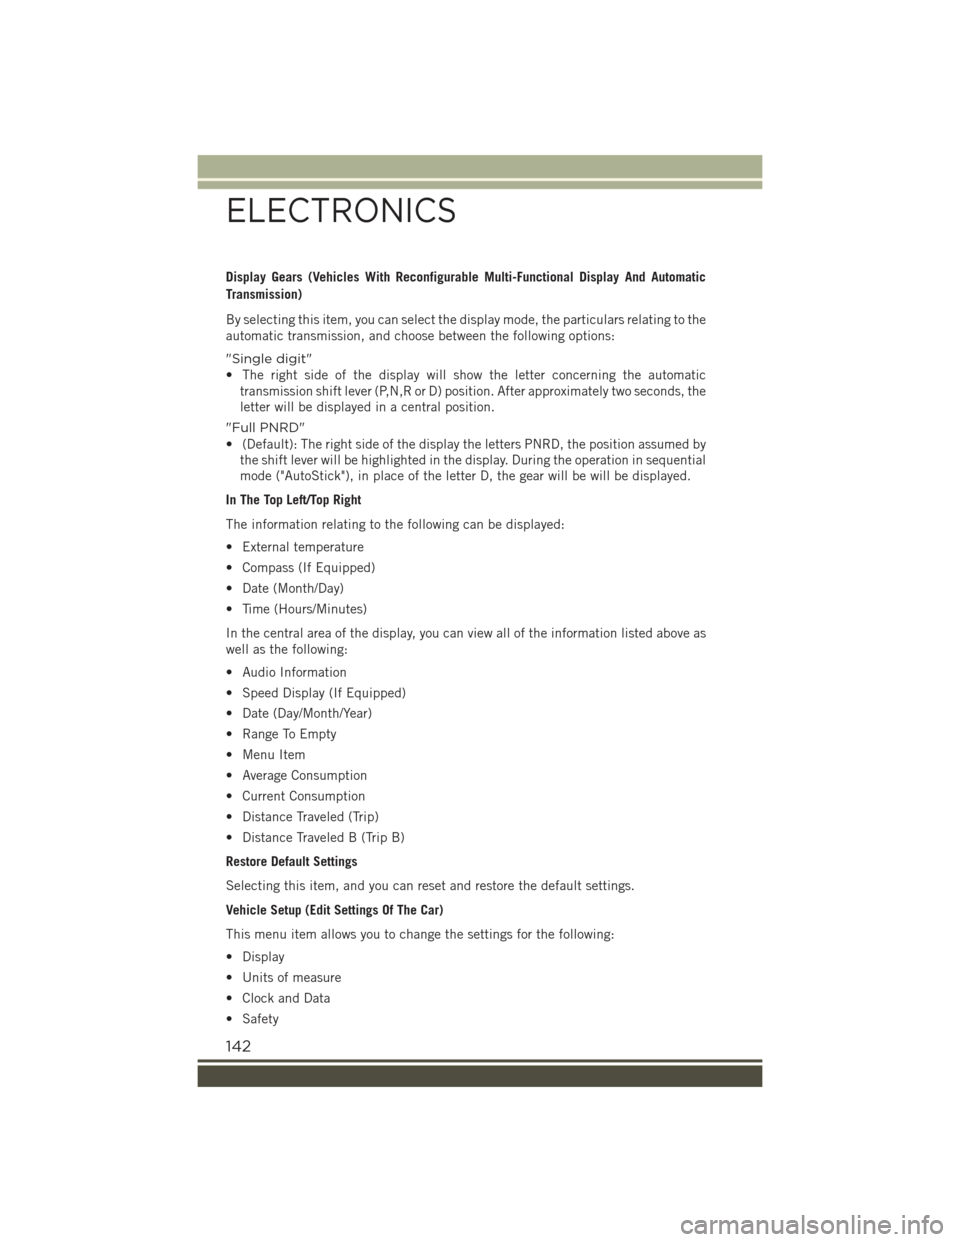
Display Gears (Vehicles With Reconfigurable Multi-Functional Display And Automatic
Transmission)
By selecting this item, you can select the display mode, the particulars relating to the
automatic transmission, and choose between the following options:
"Single digit"
• The right side of the display will show the letter concerning the automatic
transmission shift lever (P,N,R or D) position. After approximately two seconds, the
letter will be displayed in a central position.
"Full PNRD"
• (Default): The right side of the display the letters PNRD, the position assumed by
the shift lever will be highlighted in the display. During the operation in sequential
mode ("AutoStick"), in place of the letter D, the gear will be will be displayed.
In The Top Left/Top Right
The information relating to the following can be displayed:
• External temperature
• Compass (If Equipped)
• Date (Month/Day)
• Time (Hours/Minutes)
In the central area of the display, you can view all of the information listed above as
well as the following:
• Audio Information
• Speed Display (If Equipped)
• Date (Day/Month/Year)
• Range To Empty
• Menu Item
• Average Consumption
• Current Consumption
• Distance Traveled (Trip)
• Distance Traveled B (Trip B)
Restore Default Settings
Selecting this item, and you can reset and restore the default settings.
Vehicle Setup (Edit Settings Of The Car)
This menu item allows you to change the settings for the following:
• Display
• Units of measure
• Clock and Data
• Safety
ELECTRONICS
142