torque JEEP RENEGADE 2015 1.G User Guide
[x] Cancel search | Manufacturer: JEEP, Model Year: 2015, Model line: RENEGADE, Model: JEEP RENEGADE 2015 1.GPages: 220, PDF Size: 34.11 MB
Page 57 of 220
Small Vehicles And/Or Not Aligned To The Lane
The system is not able to detect the presence of vehicles that are in front of the car
but placed outside the field of action of the radar sensor and could therefore not react
in the presence of small vehicles such as bicycles or motorcycles.
Lane Changing Of Other Vehicles
Vehicles that suddenly change lane, while standing in the traffic lane of their car and
inside the field of action of the radar sensor may cause the intervention of the system.
Passing Of Vehicles In An Oncoming Intersection
The system could temporarily react to a vehicle that crossed the range of the radar
sensor, in an oncoming intersection.
LANESENSE
LaneSense Operation
The LaneSense system is operational at speeds above 37 mph (60 km/h) and below
112 mph (180 km/h). The LaneSense system uses a forward looking camera to
detect lane markings and measure vehicle position within the lane boundaries.
When both lane markings are detected and the driver unintentionally drifts out of the
lane (no turn signal applied), the LaneSense system provides a haptic warning in the
form of torque applied to the steering wheel to prompt the driver to remain within the
lane boundaries. If the driver continues to unintentionally drift out of the lane, the
LaneSense system provides a visual warning through the Electronic Vehicle Informa-
tion Center (EVIC) or Driver Information Display (DID) to prompt the driver to remain
within the lane boundaries.
The driver may manually override the haptic warning by applying torque into the
steering wheel at any time.
When only a single lane marking is detected and the driver unintentionally drifts
across the lane marking (no turn signal applied), the LaneSense system provides a
visual warning through the EVIC/DID to prompt the driver to remain within the lane.
When only a single lane marking is detected, a haptic (torque) warning will not be
provided.
NOTE:
When operating conditions have been met, the LaneSense system will monitor if the
driver’s hands are on the steering wheel and provides an audible warning to the driver
when the driver’s hands are not detected on the steering wheel. The system will
cancel if the driver does not return their hands to the wheel.
OPERATING YOUR VEHICLE
55
Page 58 of 220
Turning LaneSense ON Or OFF
The default status of LaneSense is “OFF”.
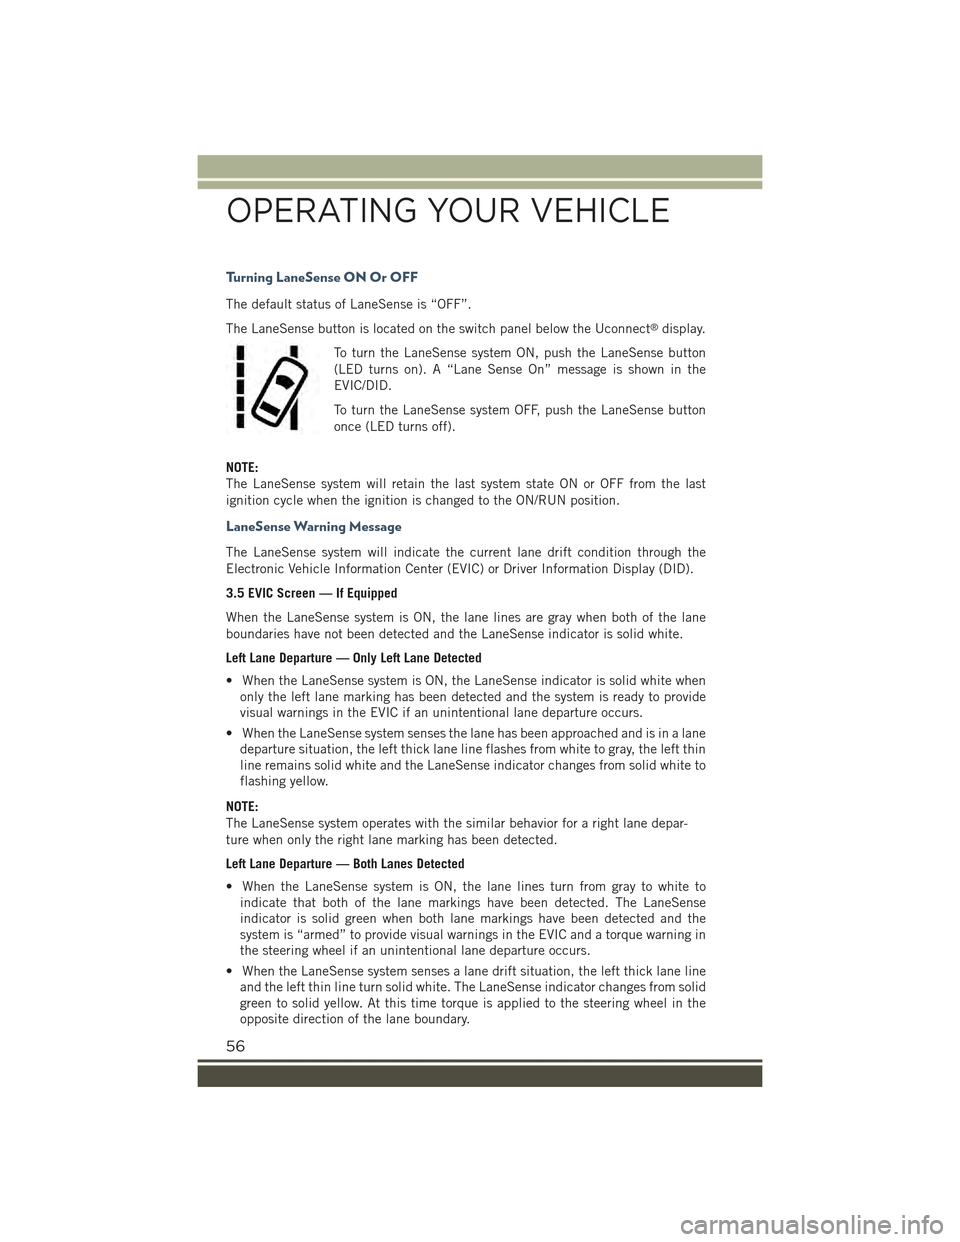
The LaneSense button is located on the switch panel below the Uconnect®display.
To turn the LaneSense system ON, push the LaneSense button
(LED turns on). A “Lane Sense On” message is shown in the
EVIC/DID.
To turn the LaneSense system OFF, push the LaneSense button
once (LED turns off).
NOTE:
The LaneSense system will retain the last system state ON or OFF from the last
ignition cycle when the ignition is changed to the ON/RUN position.
LaneSense Warning Message
The LaneSense system will indicate the current lane drift condition through the
Electronic Vehicle Information Center (EVIC) or Driver Information Display (DID).
3.5 EVIC Screen — If Equipped
When the LaneSense system is ON, the lane lines are gray when both of the lane
boundaries have not been detected and the LaneSense indicator is solid white.
Left Lane Departure — Only Left Lane Detected
• When the LaneSense system is ON, the LaneSense indicator is solid white when
only the left lane marking has been detected and the system is ready to provide
visual warnings in the EVIC if an unintentional lane departure occurs.
• When the LaneSense system senses the lane has been approached and is in a lane
departure situation, the left thick lane line flashes from white to gray, the left thin
line remains solid white and the LaneSense indicator changes from solid white to
flashing yellow.
NOTE:
The LaneSense system operates with the similar behavior for a right lane depar-
ture when only the right lane marking has been detected.
Left Lane Departure — Both Lanes Detected
• When the LaneSense system is ON, the lane lines turn from gray to white to
indicate that both of the lane markings have been detected. The LaneSense
indicator is solid green when both lane markings have been detected and the
system is “armed” to provide visual warnings in the EVIC and a torque warning in
the steering wheel if an unintentional lane departure occurs.
• When the LaneSense system senses a lane drift situation, the left thick lane line
and the left thin line turn solid white. The LaneSense indicator changes from solid
green to solid yellow. At this time torque is applied to the steering wheel in the
opposite direction of the lane boundary.
OPERATING YOUR VEHICLE
56
Page 59 of 220
For example: If approaching the left side of the lane, the steering wheel will turn to
the right.
• When the LaneSense system senses the lane has been approached and is in a lane
departure situation, the left thick lane line flashes from white to gray, the left thin
line remains solid white and the LaneSense indicator changes from solid yellow to
flashing yellow. At this time, torque is applied to the steering wheel in the opposite
direction of the lane boundary.
For example: If approaching the left side of the lane, the steering wheel will turn to
the right.
NOTE:
The LaneSense system operates with the similar behavior for a right lane departure.
7.0 DID Screen — If Equipped
When the LaneSense system is ON, the lane lines are gray when both of the lane
boundaries have not been detected and the LaneSense indicator is solid white.
Left Lane Departure — Only Left Lane Detected
• When the LaneSense system is ON, the LaneSense indicator is solid white when
only the left lane marking has been detected and the system is ready to provide
visual warnings in the DID if an unintentional lane departure occurs.
• When the LaneSense system senses the lane has been approached and is in a lane
departure situation, the left thick lane line flashes yellow (on/off), the left thin line
remains solid yellow and the LaneSense indicator changes from solid white to
flashing yellow.
NOTE:
The LaneSense system operates with the similar behavior for a right lane depar-
ture when only the right lane marking has been detected.
Left Lane Departure — Both Lanes Detected
• When the LaneSense system is ON, the lane lines turn from gray to white to
indicate that both of the lane markings have been detected. The LaneSense
indicator is solid green when both lane markings have been detected and the
system is “armed” to provide visual warnings in the DID and a torque warning in
the steering wheel if an unintentional lane departure occurs.
• When the LaneSense system senses a lane drift situation, the left thick lane line
and left thin line turn solid yellow. The LaneSense indicator changes from solid
green to solid yellow. At this time torque is applied to the steering wheel in the
opposite direction of the lane boundary.
For example: If approaching the left side of the lane the steering wheel will turn to the
right.
OPERATING YOUR VEHICLE
57
Page 60 of 220
• When the LaneSense system senses the lane has been approached and is in a lane
departure situation, the left thick lane line flashes yellow (on/off) and the left thin
line remains solid yellow. The LaneSense indicator changes from solid yellow to
flashing yellow. At this time torque is applied to the steering wheel in the opposite
direction of the lane boundary.
For example: If approaching the left side of the lane the steering wheel will turn to the
right.
NOTE:
The LaneSense system operates with the similar behavior for a right lane departure.
Changing LaneSense Status
The LaneSense system has settings to adjust the intensity of the torque warning and
the warning zone sensitivity (early/late) that you can configure through the
Uconnect®system screen.
NOTE:
• When enabled the system operates above 37 mph (60 km/h) and below 112 mph
(180 km/h).
• Use of the turn signal suppresses the warnings.
• The system will not apply torque to the steering wheel whenever a safety system
engages. (anti-lock brakes, traction control system, electronic stability control,
forward collision warning, etc.).
PARKSENSE® REAR PARK ASSIST
The ParkSense®Rear Park Assist system provides visual and audible indications of
the distance between the rear fascia and a detected obstacle when backing up, e.g.
during a parking maneuver.
ParkSense®will retain the last system state (enabled or disabled) from the last
ignition cycle when the ignition is changed to the MAR/RUN position.
ParkSense®can be active only when the shift lever/gear selector is in REVERSE. If
ParkSense®is enabled at this shift lever position, the system will remain active until
the vehicle speed is increased to approximately 7 mph (11 km/h) or above. When in
REVERSE and above the system's operating speed, a warning will appear within the
Electronic Vehicle Information Center (EVIC) or Driver Information Display (DID).
OPERATING YOUR VEHICLE
58
Page 152 of 220
FOUR WHEEL DRIVE — JEEP ACTIVE DRIVE (4WD)
AND JEEP ACTIVE DRIVE LOW (4WD LOW)
Your vehicle may be equipped with a Power Transfer Unit (PTU). This system is
automatic with no driver inputs or additional driving skills required. Under normal
driving conditions, the front wheels provide most of the traction. If the front wheels
begin to lose traction, power is shifted automatically to the rear wheels. The greater
the front wheel traction loss, the greater the power transfer to the rear wheels.
Additionally, on dry pavement under heavy throttle input (where one may have no
wheel spin), torque will be sent to the rear in a preemptive effort to improve vehicle
launch and performance characteristics.
CAUTION!
All wheels must have the same size and type tires. Unequal tire sizes must not beused. Unequal tire size may cause failure of the power transfer unit.
Four Wheel Drive (4X4)
The four wheel drive (4WD) is fully automatic in normal driving mode.
NOTE:
It is not possible to carry out the change of mode when the car exceeds the speed of
75 mph (120 km/h).
Enabling Four Wheel Drive (4x4)
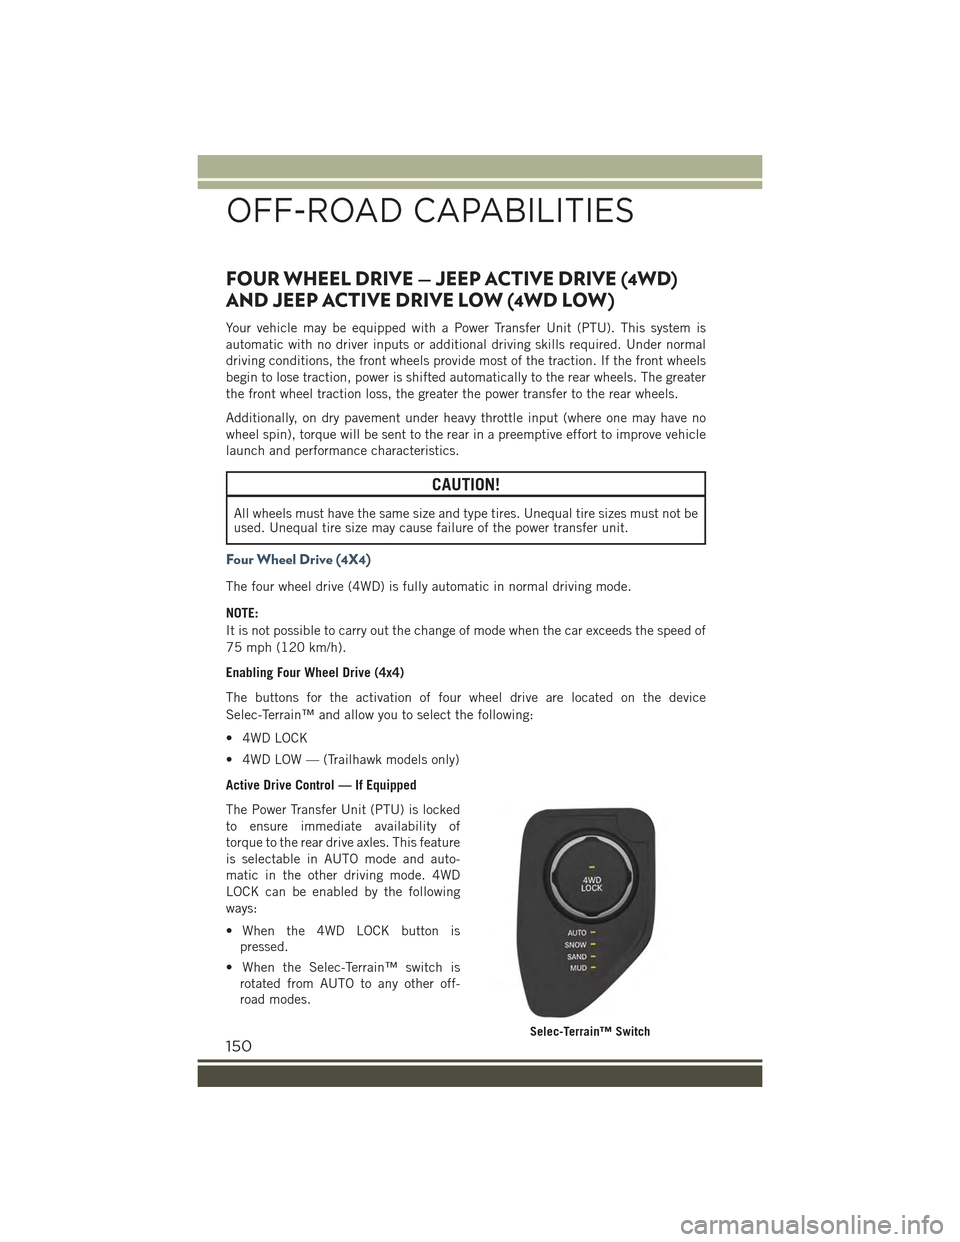
The buttons for the activation of four wheel drive are located on the device
Selec-Terrain™ and allow you to select the following:
• 4WD LOCK
• 4WD LOW — (Trailhawk models only)
Active Drive Control — If Equipped
The Power Transfer Unit (PTU) is locked
to ensure immediate availability of
torque to the rear drive axles. This feature
is selectable in AUTO mode and auto-
matic in the other driving mode. 4WD
LOCK can be enabled by the following
ways:
• When the 4WD LOCK button is
pressed.
• When the Selec-Terrain™ switch is
rotated from AUTO to any other off-
road modes.
Selec-Terrain™ Switch
OFF-ROAD CAPABILITIES
150
Page 175 of 220
9. Lower the vehicle to the ground by turning the jack handle counterclockwise.
10. Finish tightening the wheel bolts. Push down on the wrench while at the end of
the handle for increased leverage. Tighten the wheel bolts in a star pattern until
each wheel bolt has been tightened twice. The correct torque specification for
the wheel bolts is 63 Ft-Lbs (86 Nm) for steel wheels and 89 Ft-Lbs (120 Nm)
for aluminum wheels. If in doubt about the correct tightness, have them
checked with a torque wrench by your authorized dealer or at a service station.
11. Securely stow the jack, tools, chocks and flat tire.
WARNING!
A loose tire or jack thrown forward in a collision or hard stop could endanger the
occupants of the vehicle. Always stow the jack parts and the spare tire in the
places provided. Have the deflated (flat) tire repaired or replaced immediately.
Road Tire Installation
1. Mount the road tire on the axle.
2. Install the remaining wheel bolts with the threaded end of the wheel bolt toward
the wheel. Lightly tighten the wheel bolts.
WARNING!
To avoid the risk of forcing the vehicle off the jack, do not tighten the lug nuts fully
until the vehicle has been lowered. Failure to follow this warning may result in
serious injury.
3. Lower the vehicle to the ground by turning the jack handle counterclockwise.
4. Finish tightening the wheel bolts. Push down on the wrench while at the end ofthe handle for increased leverage. Tighten the wheel bolts in a star pattern untileach wheel bolt has been tightened twice. The correct torque specification for thewheel bolts is 63 Ft-Lbs (86 Nm) for steel wheels and 89 Ft-Lbs (120 Nm) foraluminum wheels. If in doubt about the correct tightness, have them checkedwith a torque wrench by your authorized dealer or at a service station.
5. Lower the jack until it is free. Remove the wheel chocks. Stow the jack and tools
back in the proper storage location. Release the Electric Park Brake before driving
the vehicle.
6. After 25 miles (40 km) check the wheel bolt torque with a torque wrench to
ensure that all wheel bolts are properly seated against the wheel.
WHAT TO DO IN EMERGENCIES
173