check engine JEEP RENEGADE 2017 1.G Owners Manual
[x] Cancel search | Manufacturer: JEEP, Model Year: 2017, Model line: RENEGADE, Model: JEEP RENEGADE 2017 1.GPages: 516, PDF Size: 5.73 MB
Page 29 of 516
The system uses a key fob, keyless push button ignition
and a RF receiver to prevent unauthorized vehicle opera-
tion. Therefore, only key fobs that are programmed to the
vehicle can be used to start and operate the vehicle. The
system will not allow the engine to crank if an invalid key
fob is used to start and operate the vehicle. The system will
shut the engine off in two seconds if an invalid key fob is
used to start the engine.
After turning the ignition switch to the ON/RUN position,
the vehicle security light will turn on for three seconds for
a bulb check. If the light remains on after the bulb check, it
indicates that there is a problem with the electronics. In
addition, if the light begins to flash after the bulb check, it
indicates that someone used an invalid key fob to start the
engine. Either of these conditions will result in the engine
being shut off after two seconds.
If the vehicle security light turns on during normal vehicle
operation (vehicle running for longer than ten seconds), it
indicates that there is a fault in the electronics. Should this
occur, have the vehicle serviced as soon as possible by an
authorized dealer.CAUTION!
The Sentry Key Immobilizer system is not compatible
with some aftermarket remote starting systems. Use of
these systems may result in vehicle starting problems
and loss of security protection.
All of the key fobs provided with your new vehicle have
been programmed to the vehicle electronics.
Customer Key Programming
Programming key fobs may be performed at an authorized
dealer.
Replacement Keys
NOTE: Only key fobs that are programmed to the vehicle
electronics can be used to start and operate the vehicle.
Once a key fob is programmed to a vehicle, it cannot be
programmed to any other vehicle.
CAUTION!
• Always remove the key fobs from the vehicle and
lock all doors when leaving the vehicle unattended.
(Continued)
3
GETTING TO KNOW YOUR VEHICLE 27
Page 140 of 516
Vehicle Security Warning Light
Red TelltaleLight What It Means
Vehicle Security Warning Light
This light will flash at a fast rate for approximately 15 seconds when the vehicle security alarm is
arming, and then will flash slowly until the vehicle is disarmed.
Oil Pressure Warning Light
Red Telltale
Light What It Means
Oil Pressure Warning Light
This light indicates low engine oil pressure. If the light turns on while driving, stop the vehicle
and shut off the engine as soon as possible. A chime will sound when this light turns on.
Do not operate the vehicle until the cause is corrected. This light does not indicate how much oil
is in the engine. The engine oil level must be checked under the hood.
138 GETTING TO KNOW YOUR INSTRUMENT PANEL
Page 145 of 516
Electronic Throttle Control (ETC) Warning Light — If Equipped
Red TelltaleLight What It Means
Electronic Throttle Control (ETC) Warning Light
This light informs you of a problem with the Electronic Throttle Control (ETC) system. If a prob-
lem is detected while the engine is running, the light will either stay on or flash depending on
the nature of the problem. Cycle the ignition when the vehicle is safely and completely stopped
and the transmission is placed in the PARK position. The light should turn off. If the light re-
mains on with the vehicle under power, your vehicle will usually be drivable; however, see an
authorized dealer for service as soon as possible.
If the light continues to flash when the engine vehicle under power, immediate service is re-
quired and you may experience reduced performance, and your vehicle may require towing. The
light will come on when the ignition is placed in the ON/RUN position and remain on briefly as
a bulb check. If the light does not come on during starting, have the system checked by an au-
thorized dealer.
4
GETTING TO KNOW YOUR INSTRUMENT PANEL 143
Page 153 of 516
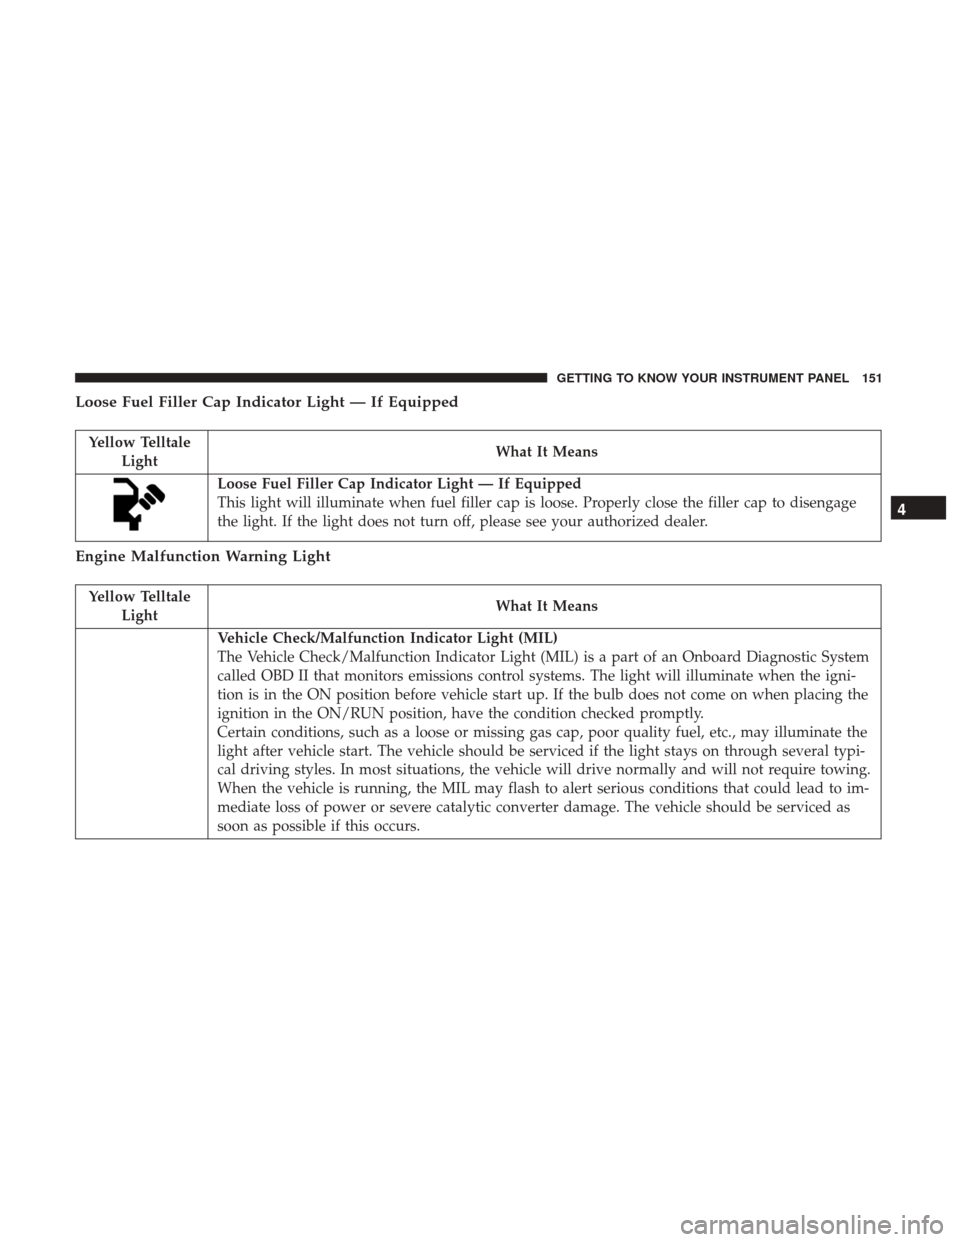
Loose Fuel Filler Cap Indicator Light — If Equipped
Yellow TelltaleLight What It Means
Loose Fuel Filler Cap Indicator Light — If Equipped
This light will illuminate when fuel filler cap is loose. Properly close the filler cap to disengage
the light. If the light does not turn off, please see your authorized dealer.
Engine Malfunction Warning Light
Yellow Telltale
Light What It Means
Vehicle Check/Malfunction Indicator Light (MIL)
The Vehicle Check/Malfunction Indicator Light (MIL) is a part of an Onboard Diagnostic System
called OBD II that monitors emissions control systems. The light will illuminate when the igni-
tion is in the ON position before vehicle start up. If the bulb does not come on when placing the
ignition in the ON/RUN position, have the condition checked promptly.
Certain conditions, such as a loose or missing gas cap, poor quality fuel, etc., may illuminate the
light after vehicle start. The vehicle should be serviced if the light stays on through several typi-
cal driving styles. In most situations, the vehicle will drive normally and will not require towing.
When the vehicle is running, the MIL may flash to alert serious conditions that could lead to im-
mediate loss of power or severe catalytic converter damage. The vehicle should be serviced as
soon as possible if this occurs.
4
GETTING TO KNOW YOUR INSTRUMENT PANEL 151
Page 167 of 516
For further information, refer to “Privacy Practices” and
“Uconnect CyberSecurity” in “All About Uconnect Access”
in your Owner ’s Manual Radio Supplement and “Cyber-
security” in “Multimedia”.
EMISSIONS INSPECTION AND MAINTENANCE
PROGRAMS
In some localities, it may be a legal requirement to pass an
inspection of your vehicle’s emissions control system.
Failure to pass could prevent vehicle registration.For states that require an Inspection and Mainte-
nance (I/M), this check verifies the “Malfunction
Indicator Light (MIL)” is functioning and is not on
when the engine is running, and that the OBD II system is
ready for testing.
Normally, the OBD II system will be ready. The OBD II
system may notbe ready if your vehicle was recently
serviced, recently had a dead battery or a battery replace-
ment. If the OBD II system should be determined not ready
for the I/M test, your vehicle may fail the test. Your vehicle has a simple ignition actuated test, which you
can use prior to going to the test station. To check if your
vehicle’s OBD II system is ready, you must do the follow-
ing:
1. Cycle the ignition switch to the ON position, but do not
crank or start the engine.
NOTE: If you crank or start the engine, you will have to
start this test over.
2. As soon as you cycle the ignition switch to the ON position, you will see the “Malfunction Indicator Light
(MIL)” symbol come on as part of a normal bulb check.
3. Approximately 15 seconds later, one of two things will happen:
• The MIL will flash for about 10 seconds and then return
to being fully illuminated until you turn OFF the igni-
tion or start the engine. This means that your vehicle’s
OBD II system is not readyand you should notproceed
to the I/M station.
4
GETTING TO KNOW YOUR INSTRUMENT PANEL 165
Page 168 of 516
•The MIL will not flash at all and will remain fully
illuminated until you place the ignition in the off posi-
tion or start the engine. This means that your vehicle’s
OBD II system is readyand you can proceed to the I/M
station.
If your OBD II system is not ready,you should see your
authorized dealer or repair facility. If your vehicle was
recently serviced or had a battery failure or replacement,
you may need to do nothing more than drive your vehicle
as you normally would in order for your OBD II system to
update. A recheck with the above test routine may then
indicate that the system is now ready.
Regardless of whether your vehicle’s OBD II system is
ready or not, if the MIL is illuminated during normal
vehicle operation you should have your vehicle serviced
before going to the I/M station. The I/M station can fail
your vehicle because the MIL is on with the engine
running.
166 GETTING TO KNOW YOUR INSTRUMENT PANEL
Page 217 of 516
Air Bag Warning Light
The ORC monitors the readiness of the electronic parts of
the air bag system whenever the ignition switch is in the
AVV/START or MAR/ACC/ON/RUN position. If the
ignition switch is in the STOP/OFF/LOCK position the air
bag system is not on and the air bags will not inflate.
The ORC contains a backup power supply system that may
deploy the air bag system even if the battery loses power or
it becomes disconnected prior to deployment.
The ORC turns on the Air Bag Warning Light in the
instrument panel for approximately four to eight seconds
for a self-check when the ignition switch is in the MAR/
ACC/ON/RUN position. After the self-check, the Air Bag
Warning Light will turn off. If the ORC detects a malfunc-
tion in any part of the system, it turns on the Air Bag
Warning Light, either momentarily or continuously. A
single chime will sound to alert you if the light comes on
again after initial startup.
The ORC also includes diagnostics that will illuminate the
instrument panel Air Bag Warning Light if a malfunction is
detected that could affect the air bag system. The diagnos-
tics also record the nature of the malfunction. While the airbag system is designed to be maintenance free, if any of the
following occurs, have an authorized dealer service the air
bag system immediately.
•
The Air Bag Warning Light does not come on during the
four to eight seconds when the ignition switch is first in
the MAR/ACC/ON/RUN position.
• The Air Bag Warning Light remains on after the four to
eight-second interval.
• The Air Bag Warning Light comes on intermittently or
remains on while driving.
NOTE: If the speedometer, tachometer, or any engine
related gauges are not working, the Occupant Restraint
Controller (ORC) may also be disabled. In this condition
the air bags may not be ready to inflate for your protection.
Have an authorized dealer service the air bag system
immediately.
WARNING!
Ignoring the Air Bag Warning Light in your instrument
panel could mean you won’t have the air bag system to
protect you in a collision. If the light does not come on
as a bulb check when the ignition is first turned on,
(Continued)
5
SAFETY 215
Page 227 of 516
Enhanced Accident Response System Reset
Procedure
After the event occurs, when the system is active, a
message regarding fuel cutoff is displayed. Turn the igni-
tion switch from ignition AVV/START or MAR/ACC/
ON/RUN to ignition STOP/OFF/LOCK. Carefully check
the vehicle for fuel leaks in the engine compartment and on
the ground near the engine compartment and fuel tank
before resetting the system and starting the engine.
Depending on the nature of the event the left and right turn
signal lights, located in the instrument panel, may both be
blinking and will continue to blink. In order to move your
vehicle to the side of the road, you must follow the system
reset procedure.
Customer ActionCustomer Will See
NOTE: Each step MUST BE held for at least two sec-
onds
1. Turn ignition STOP/
OFF/LOCK. (Turn Signal
Must be placed in Neutral
State).
2. Turn ignition MAR/ Right turn light BLINKS.
Customer Action Customer Will See
NOTE: Each step MUST BE held for at least two sec-
onds
ACC/ON/RUN. Left turn light is OFF.
3. Turn right turn signal
switch ON. Right turn light is ON
SOLID.
Left turn light BLINKS.
4. Place turn signal in
neutral state. Right turn light is OFF.
Left turn light BLINKS.
5. Turn left turn signal
switch ON. Right turn light BLINKS.
Left turn light is ON
SOLID.
6. Place turn signal in
neutral state. Right turn light BLINKS.
Left turn light is OFF.
7. Turn right turn signal
switch ON. Right turn light is ON
SOLID.
Left turn light BLINKS.
8. Place turn signal in
neutral state. Right turn light is OFF.
Left turn light BLINKS
9. Turn left turn signal
switch ON. Right turn light is ON
SOLID.
Left turn light is ON
5
SAFETY 225
Page 246 of 516
WARNING!(Continued)
•Be sure everyone in your vehicle is in a seat and
using a seat belt properly.
Exhaust Gas
WARNING!
Exhaust gases can injure or kill. They contain carbon
monoxide (CO), which is colorless and odorless.
Breathing it can make you unconscious and can even-
tually poison you. To avoid breathing (CO), follow
these safety tips:
• Do not run the engine in a closed garage or in
confined areas any longer than needed to move your
vehicle in or out of the area.
• If you are required to drive with the trunk/liftgate/
rear doors open, make sure that all windows are
closed and the climate control BLOWER switch is set
at high speed. DO NOT use the recirculation mode.
• If it is necessary to sit in a parked vehicle with the
engine running, adjust your heating or cooling con-
trols to force outside air into the vehicle. Set the
blower at high speed. The best protection against carbon monoxide entry into the
vehicle body is a properly maintained engine exhaust
system.
Whenever a change is noticed in the sound of the exhaust
system, when exhaust fumes can be detected inside the
vehicle, or when the underside or rear of the vehicle is
damaged, have a competent mechanic inspect the complete
exhaust system and adjacent body areas for broken, dam-
aged, deteriorated, or mispositioned parts. Open seams or
loose connections could permit exhaust fumes to seep into
the passenger compartment. In addition, inspect the ex-
haust system each time the vehicle is raised for lubrication
or oil change. Replace as required.
Safety Checks You Should Make Inside The Vehicle
Seat Belts
Inspect the seat belt system periodically, checking for cuts,
frays, and loose parts. Damaged parts must be replaced
immediately. Do not disassemble or modify the system.
Front seat belt assemblies must be replaced after a collision.
Rear seat belt assemblies must be replaced after a collision
if they have been damaged (i.e., bent retractor, torn web-
bing, etc.). If there is any question regarding seat belt or
retractor condition, replace the seat belt.
244 SAFETY
Page 248 of 516
WARNING!(Continued)
•ONLY use the driver ’s side floor mat on the driver ’s
side floor area. To check for interference, with the
vehicle properly parked with the engine off, fully
depress the accelerator, the brake, and the clutch
pedal (if present) to check for interference. If your
floor mat interferes with the operation of any pedal,
or is not secure to the floor, remove the floor mat
from the vehicle and place the floor mat in your
trunk.
• ONLY use the passenger ’s side floor mat on the
passenger ’s side floor area.
• ALWAYS make sure objects cannot fall or slide into
the driver ’s side floor area when the vehicle is
moving. Objects can become trapped under accelera-
tor, brake, or clutch pedals and could cause a loss of
vehicle control.
• NEVER place any objects under the floor mat (e.g.,
towels, keys, etc.). These objects could change the
position of the floor mat and may cause interference
with the accelerator, brake, or clutch pedals.
(Continued)
WARNING! (Continued)
•If the vehicle carpet has been removed and re-
installed, always properly attach carpet to the floor
and check the floor mat fasteners are secure to the
vehicle carpet. Fully depress each pedal to check for
interference with the accelerator, brake, or clutch
pedals then re-install the floor mats.
• It is recommended to only use mild soap and water
to clean your floor mats. After cleaning, always check
your floor mat has been properly installed and is
secured to your vehicle using the floor mat fasteners
by lightly pulling mat.
246 SAFETY