engine JEEP WRANGLER 2004 TJ / 2.G Service Manual
[x] Cancel search | Manufacturer: JEEP, Model Year: 2004, Model line: WRANGLER, Model: JEEP WRANGLER 2004 TJ / 2.GPages: 299, PDF Size: 6.82 MB
Page 205 of 299

NOTE:Refer to ªRecommended Fluids, Lubricants,
and Genuine Partsº in Section 7 for axle differential
lubrication specifications for towing.
SNOW PLOW
Snow plowsshould notbe added to the front end of your
vehicle.
RECREATIONAL TOWING (BEHIND
MOTORHOME, ETC.)
CAUTION!
Internal damage to the transfer case will occur if a
front or rear wheel lift is used when recreational
towing.
NOTE:The transfer case must be shifted into N (Neu-
tral) for recreational towing.
Shifting Into Neutral (N)
Use the following procedure to prepare your vehicle for
recreational towing.
CAUTION!
It is necessary to follow these steps to be certain that
the transfer case is fully in N (Neutral) before
recreational towing to prevent damage to internal
parts.
1. Depress brake pedal.
2. Shift automatic transmission into N (Neutral) or de-
press clutch pedal on manual transmission.
3. Shift transfer case lever into N (Neutral).
4. Start engine.
5. Shift automatic transmission into D (Drive) or manual
transmission into gear.
STARTING AND OPERATING 205
5
Page 206 of 299

6. Release brake pedal and ensure that there is no vehicle
movement.
7. Shut the engine off and place the ignition key into the
unlocked OFF position.
8. Shift automatic transmission into P (Park).
9. Apply parking brake.
10. Attach vehicle to the tow vehicle with tow bar.
11. Release parking brake.
CAUTION!
Damage to the transmission may occur if the trans-
mission is shifted into P (Park) with the transfer case
in N (Neutral) and the engine running. With the
transfer case in N (Neutral) ensure that the engine is
off prior to shifting the transmission into P (Park)
(refer to steps7±8above).
Shifting Out Of Neutral (N)
Use the following procedure to prepare your vehicle for
normal usage.
1. Shift automatic transmission into N (Neutral) or de-
press clutch pedal on manual transmission.
2. Shift transfer case lever into desired position.
3. Shift automatic transmission into D (Drive) or release
clutch on manual transmissions.
NOTE:When shifting out of transfer case N (Neutral)
on automatic transmission equipped vehicles, turning
the engine off may be required to avoid gear clash.
206 STARTING AND OPERATING
Page 209 of 299

WHAT TO DO IN EMERGENCIES
CONTENTS
mHazard Warning Flasher.................210
mIf Your Engine Overheats................210
mChanging A Flat Tire...................211
NTool Kit Location.....................211
NJack Location........................211NSpare Tire Location....................213
NTire Changing Procedures...............213mJump Starting.........................216
mTowing A Disabled Vehicle...............2196
Page 210 of 299

HAZARD WARNING FLASHER
The flasher switch is on top of the steering column, just
behind the steering wheel. Depress the switch and both
cluster indicators and all front and rear directional sig-
nals will flash. Depress the switch again to turn Hazard
Warning Flashers off.Do not use this emergency warning system when the
vehicle is in motion. Use it when your vehicle is disabled
and is creating a safety hazard for other motorists.
If it is necessary to leave the vehicle to go for service, the
flasher system will continue to operate with the ignition
key removed and the vehicle locked.
NOTE:With extended use, the flasher may wear down
your battery.
IF YOUR ENGINE OVERHEATS
In any of the following situations, you can reduce the
potential for overheating by taking the appropriate ac-
tion.
²On the highways Ð Slow down.
²In city traffic Ð While stopped, put transmission in N
(Neutral), but do not increase engine idle speed.
NOTE:There are steps that you can take to slow down
an impending overheat condition. If your air conditioner
is on, turn it off. The air conditioning system adds heat to
the engine cooling system and turning off the A/C
removes this heat. You can also turn the Temperature
210 WHAT TO DO IN EMERGENCIES
Page 211 of 299

Control to maximum heat, the Mode Control to floor, and
the Fan Control to High. This allows the heater core to act
as a supplement to the radiator and aids in removing heat
from the engine cooling system.
CAUTION!
Driving with a hot cooling system could damage
your vehicle. If the temperature gauge reads ªHº,
pull over and stop the vehicle. Idle the vehicle with
the air conditioner turned off until the pointer drops
back into the normal range. If the pointer remains on
the ªHº, and you hear continuous chimes, turn the
engine off immediately, and call for service.
CHANGING A FLAT TIRE
Tool Kit Location
The jack handle driver and jack extension are located in a
kit that is stored on the floor board to the right of the
front passenger seat. On some models, this tool kit is
under the carpeting in the same location.
Jack Location
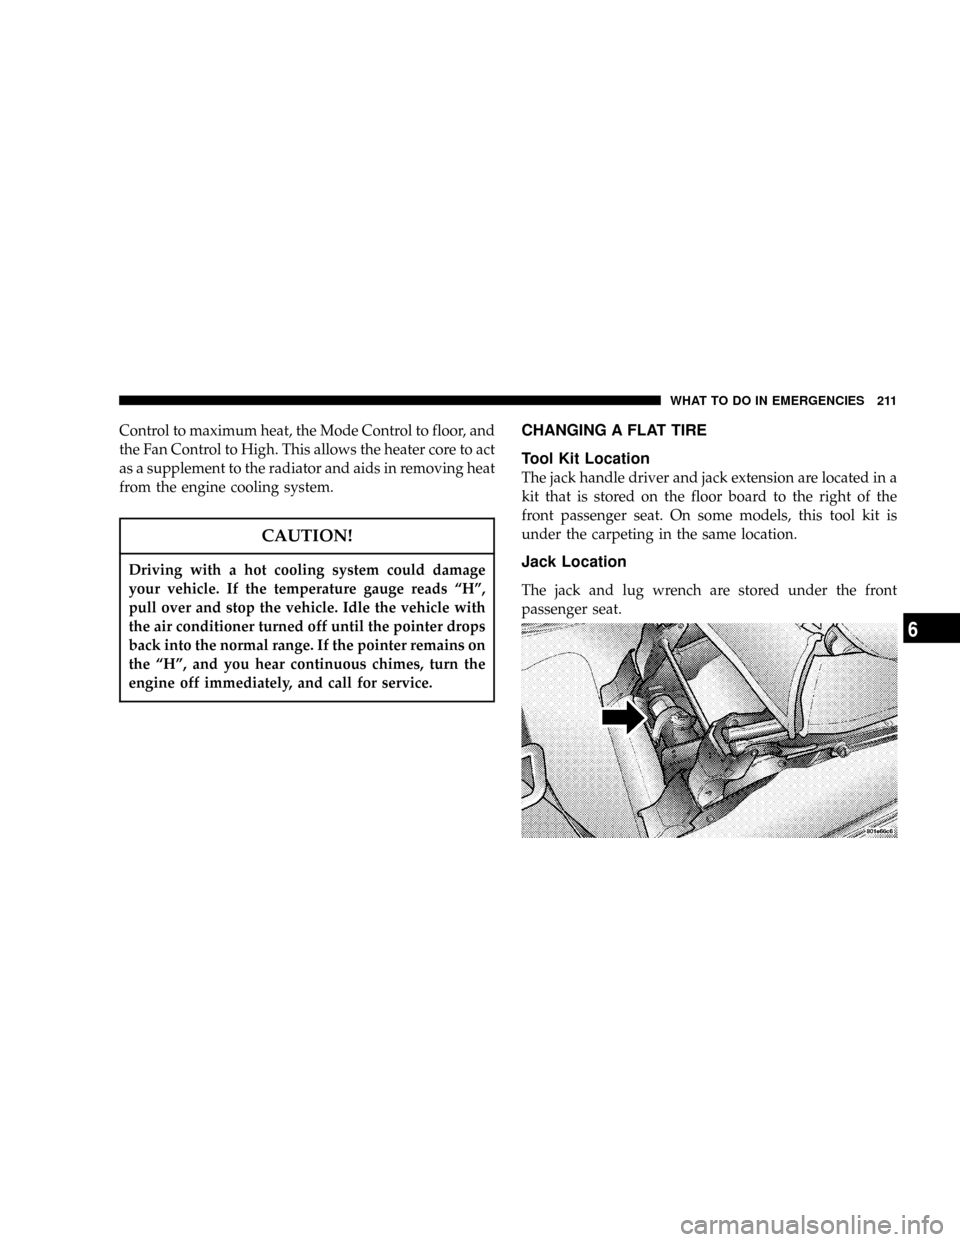
The jack and lug wrench are stored under the front
passenger seat.
WHAT TO DO IN EMERGENCIES 211
6
Page 213 of 299

Spare Tire Location
To remove the spare tire from the carrier, remove the tire
cover, if equipped, and remove the lug nuts with the lug
wrench turning them counterclockwise. If equipped with
an anti-theft lug nut (A), use the ªKeyº (B) and the lug
wrench. The ªKeyº is stored in the glove box.
NOTE:If you have added aftermarket accessories to the
spare tire mounted carrier, it cannot exceed a gross
weight of 50 lbs (23 kg) including the weight of the spare
tire.
Tire Changing Procedures
WARNING!
You can be injured or killed if you try to change a
wheel too close to moving traffic. Pull far enough off
the road to avoid being hit when operating the jack
or changing the wheel.
Preparation
²
Park on a firm, level surface well off the road, to
provide ample work space. Place automatic transmis-
sion in P (Park), or manual transmission in R (Re-
verse), and stop engine. Set parking brake firmly and
activate hazard warning flasher.
WHAT TO DO IN EMERGENCIES 213
6
Page 216 of 299

²Always park on a firm, level surface as far from the
edge of the roadway as possible before raising the
vehicle.
²Apply the parking brake firmly before jacking.
²Always block the wheel diagonally opposite the wheel
being raised.
²Do not raise the vehicle higher than is necessary to
remove the tire.
²Never start the engine with the vehicle on a jack.
²Do not let passengers sit in the vehicle when it is on a
jack.
²Do not get under the vehicle when it is on a jack.
²Failure to follow the ªTire Changing Procedureº may
result in personal injury or damage to your vehicle.
²Only use the jack in the positions indicated.
JUMP STARTING
WARNING!
To prevent personal injury or damage to clothing, do
not allow battery fluid to contact eyes, skin, or
fabrics. Do not lean over a battery when connecting
jumper cables or allow cable clamps to touch each
other. Keep open flames or sparks away from battery
vent holes. Always wear eye protection when work-
ing with batteries. Do not use a booster battery or
any other booster source that has a greater than
12±volt system, i.e. do not use a 24±volt power
source.
Your vehicle is equipped with a 12±volt battery. If it
becomes necessary to use a booster battery, with jumper
cables, to start the vehicle's engine because it's battery is
discharged, the following procedure should be followed:
216 WHAT TO DO IN EMERGENCIES
Page 218 of 299

WARNING!
²Do not connect the cable to the negative terminal
of the discharged battery. The resulting electrical
spark could cause the battery to explode.
²During cold weather when temperatures are be-
low freezing point, electrolyte in a discharged
battery may freeze. Do not attempt jump starting
because the battery could rupture or explode. The
battery temperature must be brought up above
freezing point before attempting to jump start.
3. Take care that the clamps from one cable do not touch
clamps from the other cable. Do not lean over the battery
when making the connection. The negative connection
must provide good electrical conductivity and current
carrying capacity.4. After the engine is started or if the engine fails to start,
the cables must be disconnected in the following order:
a. Disconnect the negative cable at the engine
ground.
b. Disconnect the negative cable at the negative
terminal on the booster battery.
c. Disconnect the cable from the positive terminals
of both batteries.
WARNING!
Any procedure other than above could result in:
²Personal injury caused by electrolyte squirting
out the battery vent.
²Personal injury or property damage due to battery
explosion.
²Damage to charging system of booster vehicle or
of immobilized vehicle.
218 WHAT TO DO IN EMERGENCIES
Page 221 of 299

MAINTAINING YOUR VEHICLE
CONTENTS
m2.4L Engine..........................223
m4.0L Engine..........................224
mOnboard Diagnostic System Ð OBD II......225
mEmissions Inspection And
Maintenance Programs
..................226
mReplacement Parts.....................227
mDealer Service........................227
mMaintenance Procedures.................228
NEngine Oil..........................228
NDrive Belts Ð Check Condition And Tension . . 231
NSpark Plugs.........................232
NCatalytic Converter....................232NEngine Timing Belt Ð 2.4L Engine.........233
NIgnition Wiring System Ð 2.4L Engine......233
NCrankcase Emission Control System........234
NFuel Filter..........................234
NEngine Air Cleaner Filter................234
NMaintenance-Free Battery................234
NAir Conditioner Maintenance.............235
NPower Steering Fluid Check..............236
NDriveline And Steering Component
Lubrication..........................237
NBody Lubrication.....................237
NWindshield Wiper Blades................237
7
Page 222 of 299

NWindshield Washers...................238
NExhaust System......................238
NCooling System.......................239
NHoses And Vacuum/Vapor Harnesses.......242
NBrake System........................243
NAutomatic Transmission................245
NHydraulic Clutch Fluid Ð
Manual Transmission..................246
NManual Transmission..................246
NTransfer Case........................247
NFront/Rear Axle Fluid..................248
NAppearance Care And Protection
From Corrosion......................248mFuse Panel...........................254
NInterior Fuses........................254
NUnderhood Fuses
(Power Distribution Center)..............256
mVehicle Storage........................256
mReplacement Bulbs Ð If Equipped.........257
mFluid Capacities.......................258
mRecommended Fluids, Lubricants And
Genuine Parts
.........................259
NEngine.............................259
NChassis............................260
222 MAINTAINING YOUR VEHICLE