heater JEEP WRANGLER 2004 TJ / 2.G Owners Manual
[x] Cancel search | Manufacturer: JEEP, Model Year: 2004, Model line: WRANGLER, Model: JEEP WRANGLER 2004 TJ / 2.GPages: 299, PDF Size: 6.82 MB
Page 62 of 299

To Accelerate for Passing
Depress the accelerator as you would normally. When the
pedal is released, the vehicle will return to the set speed.
NOTE:When driving uphill, at elevations above 2,000
ft. (610 meters), or when the vehicle is heavily loaded
(especially when towing) the vehicle may slow below the
SET speed. (If the vehicle speed drops below 30 mph (48
km/h), the Speed Control will automatically disengage).
If this happens, you can push down on the accelerator
pedal to maintain the desired speed.
WARNING!
Leaving the Speed Control on when not in use is
dangerous. You could accidentally set the system or
cause it to go faster than you want. You could lose
control and have an accident. Always turn the system
off when you are not using it.
CIGAR LIGHTER AND ASHTRAYS Ð IF
EQUIPPED
The vehicle may be equipped with a cigar lighter recep-
tacle, element, and ashtray (Smoker's Package Only). The
cigar lighter will be located in the lower instrument panel
(near the heater controls), and the removable ashtray will
be located in the center console.
62 UNDERSTANDING THE FEATURES OF YOUR VEHICLE
Page 113 of 299

mCassette Tape And Player Maintenance......148
mCD/DVD Disc Maintenance..............149
mRadio Operation And Cellular Phones.......149
mClimate Controls......................149
NHeater Only Ð If Equipped..............150NAir Conditioning Ð If Equipped..........151
NOperating Tips.......................154
mRear Window Features Ð Hard Top Only....154
NRear Window Defogger.................154
NRear Window Wiper/Washer.............155
UNDERSTANDING YOUR INSTRUMENT PANEL 113
4
Page 150 of 299

Heater Only Ð If Equipped
In snowy weather, always clear the air inlet grille at the
base of the windshield before driving your vehicle.
Blower Switch
The blower switch is the rotary knob to the left of the
controls. The blower speed will increase as the knob
is turned clockwise. There are four blower speeds.
NOTE:The blower motor will run until the system is
turned to the ªOffº (ªOº) position or the ignition is
turned OFF.
Temperature Control
The temperature control is the center knob located on the
climate controls. It controls the temperature of the air
delivered to the passenger compartment.
The ªBlueº area on the left side of the control indicates
cooler temperatures while the ªRedº area indicates
warmer temperatures.
Mode Selection
The mode selector is the right knob located on the climate
controls. It can be set in any of the following positions:
Off
This position turns off the blower motor. In this
mode, there may be some slight air flow from the
floor outlets, side window outlets, and defrost outlet
located at the base of the windshield.
Panel
Air comes from the outlets in the instrument
panel. Each of these outlets can be individually
adjusted to direct the flow of air. Also, a slight amount
of airflow may be noticed at the defrost outlet located
at the base of the windshield.
150 UNDERSTANDING YOUR INSTRUMENT PANEL
Page 154 of 299

NOTE:For improved safety, the A/C compressor is
activated when ªMixº or ªDefrostº modes are selected.
This is done to assist in drying the air and it will help in
keeping the windshield from fogging.
Operating Tips
Summer Operation
The engine cooling system in air conditioned vehicles
must be protected with a high-quality antifreeze coolant
to provide proper corrosion protection and to protect
against engine overheating. A 50% solution of ethylene
glycol antifreeze coolant in water is recommended.
Winter Operation
The air from the heater system will heat faster in cold
weather if you use lower blower speeds until the engine
warms up.
REAR WINDOW FEATURES Ð HARD TOP ONLY
Rear Window Defogger
To turn the rear window defogger on, press the
rocker switch. If you press the switch a second
time, you will turn the defogger off. A light on the rocker
switch will indicate the defogger is on.
The defogger will automatically turn off after about ten
minutes. For five more minutes of operation, depress the
top of the switch to turn the defogger on again. To
prevent excessive battery drain use the defogger only
when the engine is operating.
154 UNDERSTANDING YOUR INSTRUMENT PANEL
Page 157 of 299

STARTING AND OPERATING
CONTENTS
mStarting Procedures....................160
NManual Transmission..................160
NAutomatic Transmission................160
NNormal Starting......................160
NExtreme Cold Weather
(Below ±20ÉF Or ±29ÉC).................161
NIf Engine Fails To Start.................161
NAfter Starting........................162
mEngine Block Heater Ð If Equipped........162
mTransmission Shifting...................163
N5-Speed Manual Overdrive Transmission.....163
NAutomatic Transmission................165
mFour±Wheel Drive Operation (Command-TracŸ
Or Rock-TracŸ) Ð If Equipped
...........170
NOperating Instructions/Precautions.........170
NShift Positions........................171
NShifting Procedure....................172
mTrac-LokŸ Rear Axle...................173
mAxle Lock (Tru±LokŸ) Ð If Equipped......174
mParking Brake.........................175
mAbout Your Brakes.....................177
mAnti-Lock Brake System Ð If Equipped.....179
mOn-Road Driving Tips..................181
5
Page 161 of 299

Extreme Cold Weather (below ±20ÉF or ±29ÉC)
To insure reliable starting at these temperatures, use of an
externally powered electric engine block heater (available
from your dealer) is recommended.
If Engine Fails to Start
If the engine fails to start after you have followed the
ªNormal Startingº or ªExtreme Cold Weatherº proce-
dures, it may be flooded. Push the accelerator pedal all
the way to the floor and hold it there while cranking the
engine. This should clear any excess fuel in case the
engine is flooded.
CAUTION!
To prevent damage to the starter, do not crank the
engine for more than 15 seconds at a time. Wait 10 to
15 seconds before trying again.
If the engine has been flooded, it may start to run, but not
have enough power to continue running when the key is
released. If this occurs, continue cranking with the accel-
erator pedal pushed all the way to the floor. Release the
accelerator pedal and the key once the engine is running
smoothly.
If the engine shows no sign of starting after two 15
second periods of cranking with the accelerator pedal
held to the floor, the ªNormal Startingº or ªExtreme Cold
Weatherº procedures should be repeated.
STARTING AND OPERATING 161
5
Page 162 of 299

WARNING!
Never pour fuel or other flammable liquids into the
throttle body air inlet opening in an attempt to start
the vehicle. This could result in a flash fire causing
serious personal injury.
After Starting
The idle speed will automatically decrease as the engine
warms up.
CAUTION!
Long periods of engine idling, especially at high
engine speeds can cause excessive exhaust tempera-
tures which can damage your vehicle. Do not leave
your vehicle unattended with the engine running.
ENGINE BLOCK HEATER Ð IF EQUIPPED
The engine block heater warms engine coolant and
permits quicker starts in cold weather. Connect the cord
to a standard 110-115 volt AC electrical outlet with a
grounded, three wire extension cord. The engine block
heater cord is found under the hood clipped to the tie rod
between the radiator grille and the dash panel.
WARNING!
Remember to disconnect the cord before driving.
Damage to the 110-115 volt AC electrical cord could
cause electrocution.
Use the heater when temperatures below 0ÉF (-18ÉC) are
expected to last for several days.
162 STARTING AND OPERATING
Page 211 of 299

Control to maximum heat, the Mode Control to floor, and
the Fan Control to High. This allows the heater core to act
as a supplement to the radiator and aids in removing heat
from the engine cooling system.
CAUTION!
Driving with a hot cooling system could damage
your vehicle. If the temperature gauge reads ªHº,
pull over and stop the vehicle. Idle the vehicle with
the air conditioner turned off until the pointer drops
back into the normal range. If the pointer remains on
the ªHº, and you hear continuous chimes, turn the
engine off immediately, and call for service.
CHANGING A FLAT TIRE
Tool Kit Location
The jack handle driver and jack extension are located in a
kit that is stored on the floor board to the right of the
front passenger seat. On some models, this tool kit is
under the carpeting in the same location.
Jack Location
The jack and lug wrench are stored under the front
passenger seat.
WHAT TO DO IN EMERGENCIES 211
6
Page 217 of 299

Set the parking brake, place an automatic transmission in
P (Park) (or N (Neutral) for a manual transmission). Turn
off lights, heater, and other electrical loads. Observe
charge indicator in the battery. If indicator is light or
yellow, replace the battery.
CAUTION!
Use the ªJump Startingº procedure only when the
charge indicator is dark in the center. Do not attempt
jump starting when the battery charge indicator is
bright or yellow. If the charge indicator is dark and
has a green dot in the center, failure to start is not
due to a discharged battery and the cranking system
should be checked.
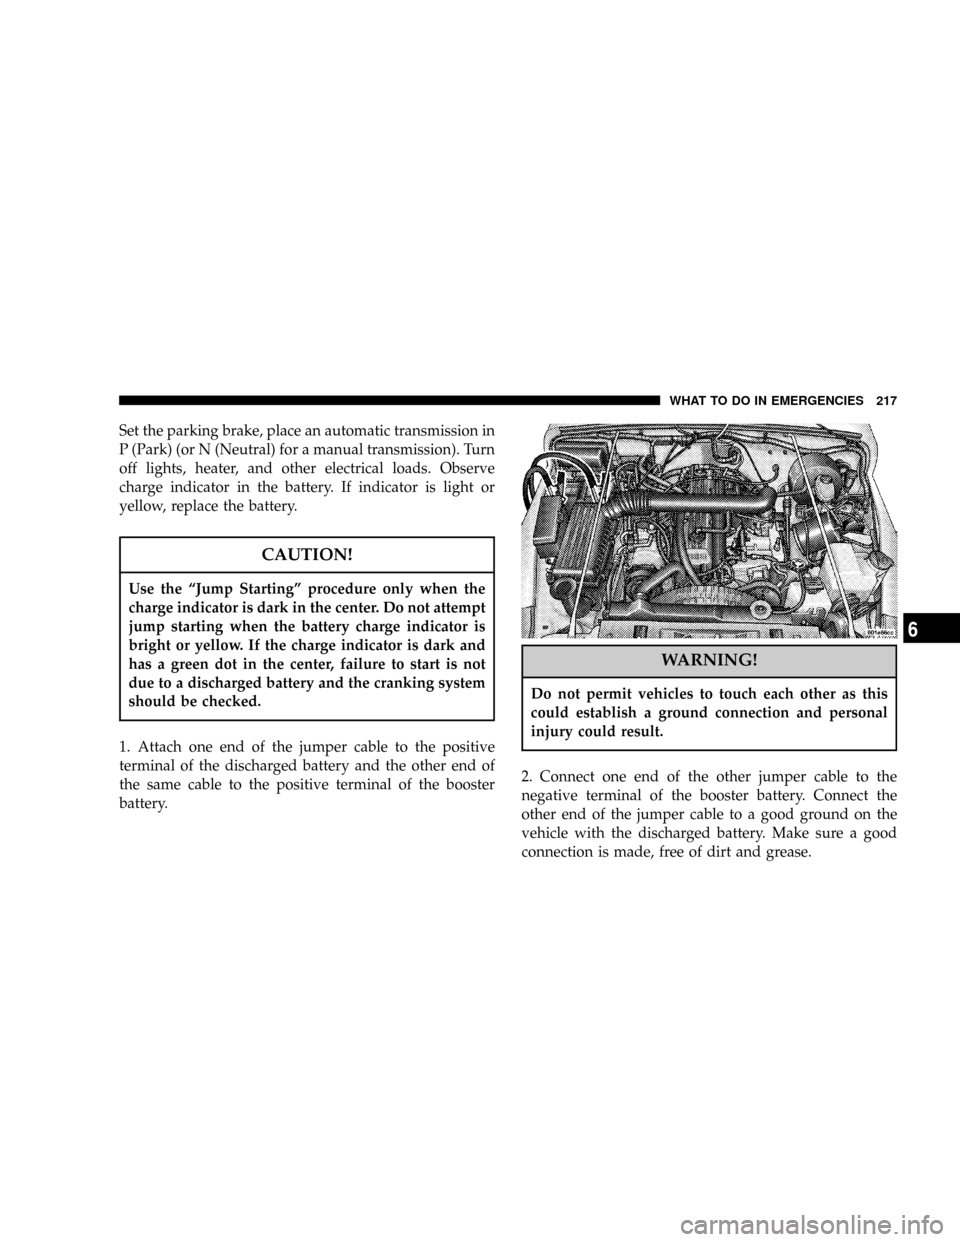
1. Attach one end of the jumper cable to the positive
terminal of the discharged battery and the other end of
the same cable to the positive terminal of the booster
battery.
WARNING!
Do not permit vehicles to touch each other as this
could establish a ground connection and personal
injury could result.
2. Connect one end of the other jumper cable to the
negative terminal of the booster battery. Connect the
other end of the jumper cable to a good ground on the
vehicle with the discharged battery. Make sure a good
connection is made, free of dirt and grease.
WHAT TO DO IN EMERGENCIES 217
6
Page 257 of 299

REPLACEMENT BULBS Ð IF EQUIPPED
Interior Lights Bulb Type
Auto. Trans. Indicator Light................. 658
Courtesy Lights, Under Dash (1).............. 906
Heater Control Lights (2)................... 194
Rocker Switch Indicator Light (Rear Window
Defogger, and Rear Wash/Wipe)............... **
Soundbar Dome Light..................... 912
** Bulbs only available from authorized dealer.
Instrument Cluster Bulb Type
Telltale (High Beam)....................... 74
Illumination............................ 103Exterior Lights Bulb Type
Backup Lights (2)........................1156
Center High Mounted Stop Light (1).... 921orW16W
Fog Lights.............................. H3
Front Park/Turn Lights (2).................3157
Front Side Marker Lights (2).......... 168orW3W
Headlights (2)...................... H6024BL
Stop/Tail/Turn Lights (2)..................1157
Underhood Light......................... 561
License Light...........................1157
NOTE:Numbers refer to commercial bulb types that
can be purchased from your local authorized dealer.
If a bulb needs to be replaced, visit your authorized
dealer or refer to the applicable Service Manual.
MAINTAINING YOUR VEHICLE 257
7