brakes JEEP WRANGLER 2013 JK / 3.G User Guide
[x] Cancel search | Manufacturer: JEEP, Model Year: 2013, Model line: WRANGLER, Model: JEEP WRANGLER 2013 JK / 3.GPages: 666, PDF Size: 5.16 MB
Page 467 of 666

Towing With HSA
HSA will provide assistance when starting on a grade
when pulling a trailer.
WARNING!
•If you use a trailer brake controller with your
trailer, your trailer brakes may be activated and
deactivated with the brake switch. If so, when the
brake pedal is released there may not be enough
brake pressure to hold the vehicle and trailer on a
hill and this could cause a collision with another
vehicle or object behind you. In order to avoid
rolling down the hill while resuming acceleration,
manually activate the trailer brake prior to releas-
ing the brake pedal. Always remember the driver is
responsible for braking the vehicle.
(Continued)
WARNING! (Continued)
•HSA is not a parking brake. Always apply the
parking brake fully when leaving your vehicle.
Also, be certain to leave the transmission in PARK.
• Failure to follow these warnings may cause the
vehicle to roll down the incline and could collide
with another vehicle, object or person, and cause
serious or fatal injury. Always remember to use the
parking brake while parking on a hill and that the
driver is responsible for braking the vehicle.
NOTE: The HSA system may also be turned on and off if
the vehicle is equipped with the Electronic Vehicle Infor-
mation Center (EVIC). Refer to “Electronic Vehicle Infor-
mation Center (EVIC)” in “Understanding Your Instru-
ment Panel” for further information.
5
STARTING AND OPERATING 465
Page 475 of 666
Malfunction Indicator Light” begins to flash during ac-
celeration, ease up on the accelerator and apply as little
throttle as possible. Be sure to adapt your speed and
driving to the prevailing road conditions.
NOTE:
•Each time the ignition is cycled ON, the ESC system
will be ON even if it was cycled off previously.
• The ESC system will make buzzing or clicking sounds
when it is active. This is normal; the sounds will stop
when ESC becomes inactive following the maneuver
that caused the ESC activation.
The “ESC OFF Indicator Light” indicates the
Electronic Stability Control (ESC) is partially off
Trailer Sway Control (TSC)
TSC uses sensors in the vehicle to recognize an exces-
sively swaying trailer and will take the appropriate
actions to attempt to stop the sway. The system may
reduce engine power and apply the brake of the appro-
priate wheel(s) to counteract the sway of the trailer. TSC
will become active automatically once an excessively
swaying trailer is recognized. No driver action is re-
quired. Note that TSC cannot stop all trailers from
swaying. Always use caution when towing a trailer and
follow the tongue weight recommendations. Refer to
“Trailer Towing” in “Starting and Operating” for further
information. When TSC is functioning, the “ESC
Activation/Malfunction Indicator Light” will flash, the
engine power may be reduced and you may feel the
brakes being applied to individual wheels to attempt to
stop the trailer from swaying. TSC is disabled when the
ESP system is in the “Partial Off” or “Full Off” modes.
5
STARTING AND OPERATING 473
Page 476 of 666
WARNING!
If TSC activates while driving, slow the vehicle
down, stop at the nearest safe location, and adjust the
trailer load to eliminate trailer sway.
Hill Descent Control (HDC) – If Equipped
HDC is only intended for low speed off-road driving.
HDC maintains vehicle speed while descending hills in
off-road driving conditions by applying the brakes when
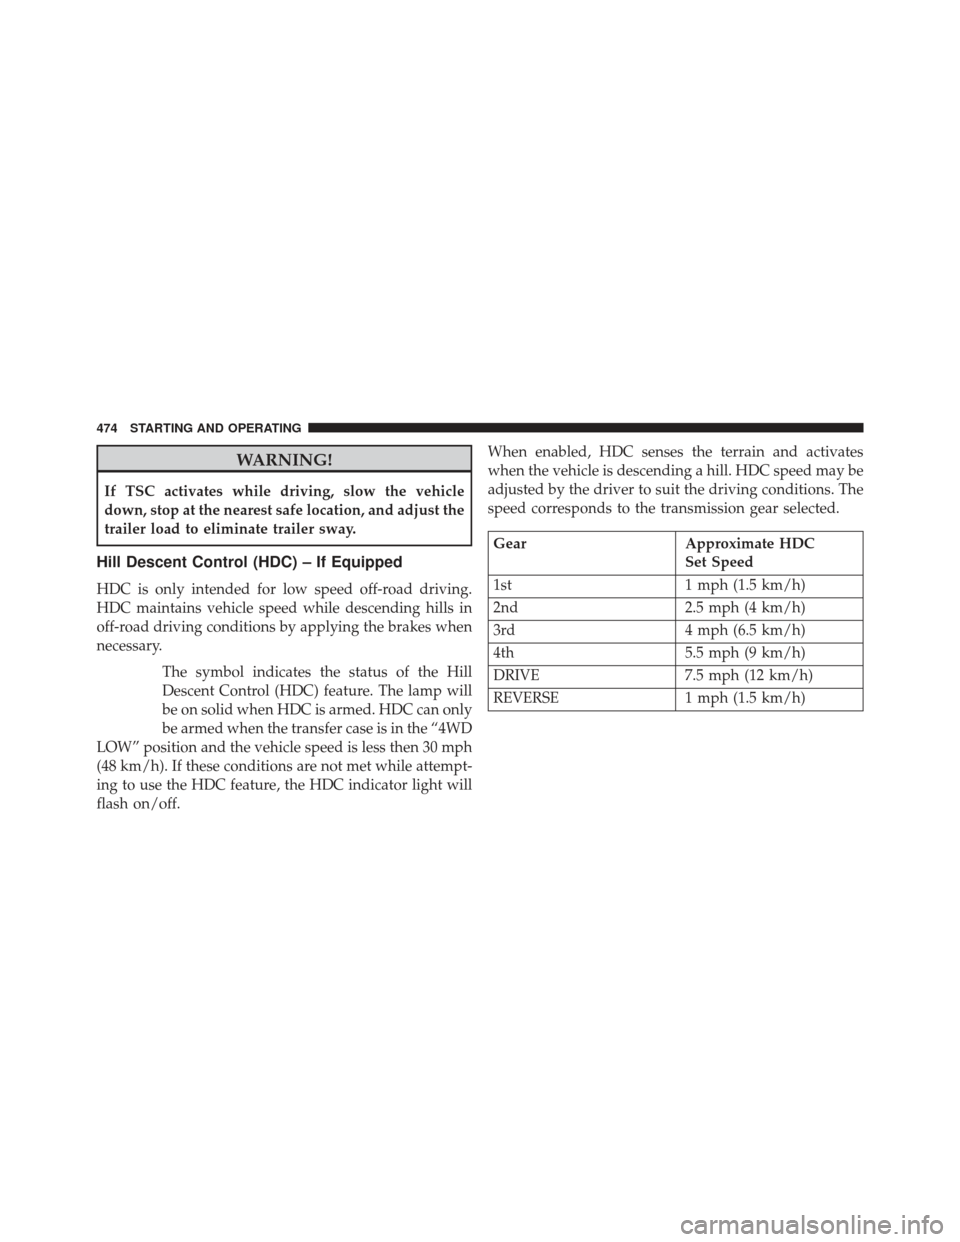
necessary.The symbol indicates the status of the Hill
Descent Control (HDC) feature. The lamp will
be on solid when HDC is armed. HDC can only
be armed when the transfer case is in the “4WD
LOW” position and the vehicle speed is less then 30 mph
(48 km/h). If these conditions are not met while attempt-
ing to use the HDC feature, the HDC indicator light will
flash on/off. When enabled, HDC senses the terrain and activates
when the vehicle is descending a hill. HDC speed may be
adjusted by the driver to suit the driving conditions. The
speed corresponds to the transmission gear selected.
Gear
Approximate HDC
Set Speed
1st 1 mph (1.5 km/h)
2nd 2.5 mph (4 km/h)
3rd 4 mph (6.5 km/h)
4th 5.5 mph (9 km/h)
DRIVE 7.5 mph (12 km/h)
REVERSE 1 mph (1.5 km/h)
474 STARTING AND OPERATING
Page 523 of 666

Inflation Pressure
This is the cold tire inflation pressure for your vehicle for
all loading conditions up to full GAWR.
Curb Weight
The curb weight of a vehicle is defined as the total weight
of the vehicle with all fluids, including vehicle fuel, at full
capacity conditions, and with no occupants or cargo
loaded into the vehicle. The front and rear curb weight
values are determined by weighing your vehicle on a
commercial scale before any occupants or cargo are
added.
Loading
The actual total weight and the weight of the front and
rear of your vehicle at the ground can best be determined
by weighing it when it is loaded and ready for operation.The entire vehicle should first be weighed on a commer-
cial scale to insure that the GVWR has not been exceeded.
The weight on the front and rear of the vehicle should
then be determined separately to be sure that the load is
properly distributed over the front and rear axle. Weigh-
ing the vehicle may show that the GAWR of either the
front or rear axles has been exceeded but the total load is
within the specified GVWR. If so, weight must be shifted
from front to rear or rear to front as appropriate until the
specified weight limitations are met. Store the heavier
items down low and be sure that the weight is distributed
equally. Stow all loose items securely before driving.
Improper weight distributions can have an adverse effect
on the way your vehicle steers and handles and the way
the brakes operate.
5
STARTING AND OPERATING 521
Page 536 of 666

CAUTION!
•Do not tow a trailer at all during the first 500 miles
(805 km) the new vehicle is driven. The engine, axle
or other parts could be damaged.
• Then, during the first 500 miles (805 km) that a
trailer is towed, do not drive over 50 mph (80 km/h)
and do not make starts at full throttle. This helps
the engine and other parts of the vehicle wear in at
the heavier loads.
WARNING!
Improper towing can lead to a collision. Follow these
guidelines to make your trailer towing as safe as
possible:
• Make certain that the load is secured in the trailer
and will not shift during travel. When trailering
cargo that is not fully secured, dynamic load shifts
can occur that may be difficult for the driver to
control. You could lose control of your vehicle and
have a collision.
• When hauling cargo or towing a trailer, do not
overload your vehicle or trailer. Overloading can
cause a loss of control, poor performance or dam-
age to the brakes, axle, engine, transmission, steer-
ing, suspension, chassis structure or tires.
(Continued)
534 STARTING AND OPERATING
Page 538 of 666

Towing Requirements – Tires
– Proper tire inflation pressures are essential to the safeand satisfactory operation of your vehicle. Refer to
“Tires – General Information” in “Starting and Oper-
ating” for proper tire inflation procedures.
– Check the trailer tires for proper tire inflation pressures before trailer usage.
– Check for signs of tire wear or visible tire damage before towing a trailer. Refer to “Tires – General
Information” in “Starting and Operating” for proper
inspection procedure.
– When replacing tires, refer to “Tires – General Infor- mation” in “Starting and Operating” for proper tire
replacement procedures. Replacing tires with a higher
load carrying capacity will not increase the vehicle’s
GVWR and GAWR limits.
Towing Requirements – Trailer Brakes
• Do not interconnect the hydraulic brake system or
vacuum system of your vehicle with that of the trailer.
This could cause inadequate braking and possible
personal injury.
• An electronically actuated trailer brake controller is
required when towing a trailer with electronically
actuated brakes. When towing a trailer equipped with
a hydraulic surge actuated brake system, an electronic
brake controller is not required.
• Trailer brakes are recommended for trailers over
1,000 lbs (454 kg) and required for trailers in excess of
2,000 lbs (907 kg).
536 STARTING AND OPERATING
Page 539 of 666

CAUTION!
If the trailer weighs more than 1,000 lbs (454 kg)
loaded, it should have its own brakes and they
should be of adequate capacity. Failure to do this
could lead to accelerated brake lining wear, higher
brake pedal effort, and longer stopping distances.
WARNING!
•Do not connect trailer brakes to your vehicle’s
hydraulic brake lines. It can overload your brake
system and cause it to fail. You might not have
brakes when you need them and could have a
collision.
(Continued)
WARNING! (Continued)
•Towing any trailer will increase your stopping
distance. When towing you should allow for addi-
tional space between your vehicle and the vehicle
in front of you. Failure to do so could result in a
collision.
Towing Requirements – Trailer Lights And Wiring
Whenever you pull a trailer, regardless of the trailer size,
stop lights and turn signals on the trailer are required for
motoring safety.
The Trailer Tow Package will include a four–pin wiring
harness. Use a factory-approved trailer harness and
connector.
NOTE: Do not cut or splice wiring into the vehicles
wiring harness.5
STARTING AND OPERATING 537
Page 594 of 666
•If frequent engine coolant (antifreeze) additions are
required, the cooling system should be pressure tested
for leaks.
•
Maintain engine coolant (antifreeze) concentration at a
minimum of 50% OAT coolant (conforming to MS-12106)
and distilled water for proper corrosion protection of
your engine which contains aluminum components.
• Make sure that the coolant expansion bottle overflow
hoses are not kinked or obstructed.
• Keep the front of the radiator clean. If your vehicle is
equipped with air conditioning, keep the front of the
condenser clean.
•
Do not change the thermostat for Summer or Winter
operation. If replacement is ever necessary, install ONLY
the correct type thermostat. Other designs may result in
unsatisfactory engine coolant (antifreeze) performance,
poor gas mileage, and increased emissions.
Brake System
In order to assure brake system performance, all brake
system components should be inspected periodically.
Refer to the “Maintenance Schedule” for the proper
maintenance intervals.
WARNING!
Riding the brakes can lead to brake failure and
possibly a collision. Driving with your foot resting or
riding on the brake pedal can result in abnormally
high brake temperatures, excessive lining wear, and
possible brake damage. You would not have your full
braking capacity in an emergency.
Power Disc Brakes
Disc brakes do not require adjustment; however, several
hard stops during the break-in period are recommended
to seat the linings and wear off any foreign material.
592 MAINTAINING YOUR VEHICLE
Page 595 of 666

Brake Master Cylinder
The fluid level in the master cylinders should be checked
whenever the vehicle is serviced. If necessary, add fluid
to bring level to the full level mark on the side of the
reservoir of the brake master cylinder. With disc brakes,
fluid level can be expected to fall as the brake pads wear.
If the brake fluid level is abnormally low, check system
for leaks.
Refer to “Fluids, Lubricants, and Genuine Parts” in
“Maintaining Your Vehicle” for further information.
WARNING!
•Use only manufacturer’s recommended brake fluid.
Refer to “Fluids, Lubricants, and Genuine Parts” in
“Maintaining Your Vehicle” for further information.
Using the wrong type of brake fluid can severely
(Continued)
WARNING! (Continued)
damage your brake system and/or impair its perfor-
mance. The proper type of brake fluid for your
vehicle is also identified on the original factory
installed hydraulic master cylinder reservoir.
•To avoid contamination from foreign matter or
moisture, use only new brake fluid or fluid that has
been in a tightly closed container. Keep the master
cylinder reservoir cap secured at all times. Brake
fluid in a open container absorbs moisture from the
air resulting in a lower boiling point. This may
cause it to boil unexpectedly during hard or pro-
longed braking, resulting in sudden brake failure.
This could result in a collision.
(Continued)
7
MAINTAINING YOUR VEHICLE 593
Page 656 of 666
Maintenance Schedule..................... .622
Malfunction Indicator Light (Check Engine) .......315
Manual, Service ......................... .638
Manual Transmission ..................... .418
Fluid Level Check ...................... .598
Lubricant Selection ..................... .597
Shift Speeds .......................... .419
Master Cylinder (Brakes) ....................593
Methanol .............................. .514
Mini-Trip Computer ...................... .319
Mirrors .................................111
Automatic Dimming .....................113
Electric Powered ........................114
Electric Remote .........................114
Heated ...............................114
Outside ..............................112
Rearview .............................111
Vanity ...............................115
Modifications/Alterations, Vehicle ...............9Modular Hard Top
....................... .206
Monitor, Tire Pressure System ................501
Mopar Parts ............................ .572
MTBE/ETBE ........................... .514
New Vehicle Break-In Period ..................99
Occupant Restraints ........................47
Octane Rating, Gasoline (Fuel) ................513
Odometer .............................. .312
Trip ................................ .310
Oil Change Indicator ...................... .315
Oil Change Indicator, Reset ..................315
Oil, Engine ............................. .574
Capacity ............................ .618
Change Interval ....................... .329
Dipstick ............................. .574
Disposal ............................. .576
Filter ............................... .576
654 INDEX