JEEP WRANGLER 2014 JK / 3.G Owners Manual
Manufacturer: JEEP, Model Year: 2014, Model line: WRANGLER, Model: JEEP WRANGLER 2014 JK / 3.GPages: 678, PDF Size: 4.97 MB
Page 441 of 678
FOUR–WHEEL DRIVE OPERATION
(COMMAND-TRAC I® OR ROCK-TRAC®)
WARNING!
Failure to engage a transfer case position completely
can cause transfer case damage or loss of power and
vehicle control. You could have a collision. Do not
drive the vehicle unless the transfer case is fully
engaged.
Operating Instructions/Precautions
The transfer case provides four mode positions:
•2H (Two-wheel drive high range)
• 4H (Four-wheel drive high range)
• N (Neutral)
• 4L (Four-wheel drive low range) The transfer case is intended to be driven in the 2H
position for normal street and highway conditions such
as hard-surfaced roads.
In the event that additional traction is required, the
transfer case 4H and 4L positions can be used to lock the
front and rear driveshafts together, forcing the front andFour-Wheel Drive Shift Controls
5
STARTING AND OPERATING 439
Page 442 of 678
rear wheels to rotate at the same speed. The 4H and 4L
positions are intended for loose, slippery road surfaces
only and not intended for normal driving. Driving in the
4H and 4L positions on hard-surfaced roads will cause
increased tire wear and damage to the driveline compo-
nents. Refer to “Shifting Procedures” in this section for
further information on shifting into 4H or 4L.
The “4WD Indicator Light” (located in the instrument
cluster) alerts the driver that the vehicle is in four-wheel
drive, and the front and rear driveshafts are locked
together. The light will illuminate when the transfer case
is shifted into the 4H position.
NOTE:Do not attempt to shift when only the front or
rear wheels are spinning. The transfer case is not
equipped with a synchronizer, and the front and rear
driveshaft speeds must be equal for a shift to take place.
Shifting while only the front or rear wheels are spinning
can cause damage to the transfer case. When operating your vehicle in 4L, the engine speed will
be approximately three times (four times for Rubicon
models) that of the 2H or 4H positions at a given road
speed. Take care not to overspeed the engine.
Proper operation of four-wheel drive vehicles depends
on tires of equal size, type, and circumference on each
wheel. Any difference will adversely affect shifting and
cause damage to the transfer case.
Because four-wheel drive provides improved traction,
there is a tendency to exceed safe turning and stopping
speeds. Do not go faster than road conditions permit.
WARNING!
You or others could be injured if you leave the
vehicle unattended with the transfer case in the
NEUTRAL (N) position without first fully engaging
(Continued)
440 STARTING AND OPERATING
Page 443 of 678
WARNING!(Continued)
the parking brake. The transfer case NEUTRAL (N)
position disengages both the front and rear drive
shaft from the powertrain, and will allow the vehicle
to move regardless of the transmission position. The
parking brake should always be applied when the
driver is not in the vehicle.
Shift Positions
For additional information on the appropriate use of each
4WD system mode position, see the information below:
2H Position
This range is used for normal street and highway driving
on hard-surfaced roads.
4H Position
This range locks the front and rear driveshafts together,
forcing the front and rear wheels to rotate at the same speed. This range (4H) provides additional traction for
loose, slippery road surfaces and should not be used on
dry pavement.
The “4WD Indicator Light” (located in the instrument
cluster) will illuminate when the transfer case is shifted
into the 4H position.
N (Neutral) Position
This range disengages the front and rear driveshafts from
the powertrain. It is to be used for flat towing behind
another vehicle. Refer to “Recreational Towing” in “Start-
ing and Operating” for further information.
4L Position
This range locks the front and rear driveshafts together,
forcing the front and rear wheels to rotate at the same
speed. This range (4L) provides additional traction and
maximum pulling power for loose, slippery road surfaces
only. Do not exceed 25 mph (40 km/h).
5
STARTING AND OPERATING 441
Page 444 of 678
The “4WD Indicator Light” (located in the instrument
cluster) will illuminate when the transfer case is shifted
into the 4L position.
NOTE:When in 4WD, the “ESC Off Indicator Light” will
display in the instrument cluster.
Shifting Procedure
2H to 4H or 4H to 2H
Shifting between 2H and 4H can be made with the
vehicle stopped or in motion. With the vehicle in motion,
the transfer case will engage/disengage faster if you
momentarily release the accelerator pedal after complet-
ing the shift. Apply a constant force when shifting the
transfer case lever.
4H to 4L or 4L to 4H
With the vehicle rolling at 2 to 3 mph (3 to 5 km/h), shift
an automatic transmission into NEUTRAL (N), or press
the clutch pedal on a manual transmission. While the vehicle is coasting at 2 to 3 mph (3 to 5 km/h), shift the
transfer case lever firmly to the desired position. Do not
pause with the transfer case in N (Neutral). Once the shift
is completed, place the automatic transmission into
DRIVE or release the clutch pedal on a manual transmis-
sion.
NOTE:
Shifting into or out of 4L is possible with the
vehicle completely stopped; however, difficulty may oc-
cur due to the mating teeth not being properly aligned.
Several attempts may be required for clutch teeth align-
ment and shift completion to occur. The preferred
method is with the vehicle rolling at 2 to 3 mph (3 to
5 km/h). Avoid attempting to engage or disengage 4L
with the vehicle moving faster than 2 to 3 mph (3 to
5 km/h).
442 STARTING AND OPERATING
Page 445 of 678
WARNING!
Failure to engage a transfer case position completely
can cause transfer case damage or loss of power and
vehicle control. You could have a collision. Do not
drive the vehicle unless the transfer case is fully
engaged.
TRAC-LOK® REAR AXLE — IF EQUIPPED
The Trac-Lok® rear axle provides a constant driving force
to both rear wheels and reduces wheel spin caused by the
loss of traction at one driving wheel. If traction differs
between the two rear wheels, the differential automati-
cally proportions the usable torque by providing more
torque to the wheel that has traction.Trac-Lok® is especially helpful during slippery driving
conditions. With both rear wheels on a slippery surface, a
slight application of the accelerator will supply maxi-
mum traction.
WARNING!
On vehicles equipped with a limited-slip differen-
tial, never run the engine with one rear wheel off the
ground. The vehicle may drive through the rear
wheel remaining on the ground and cause you to lose
control of your vehicle.
5
STARTING AND OPERATING 443
Page 446 of 678
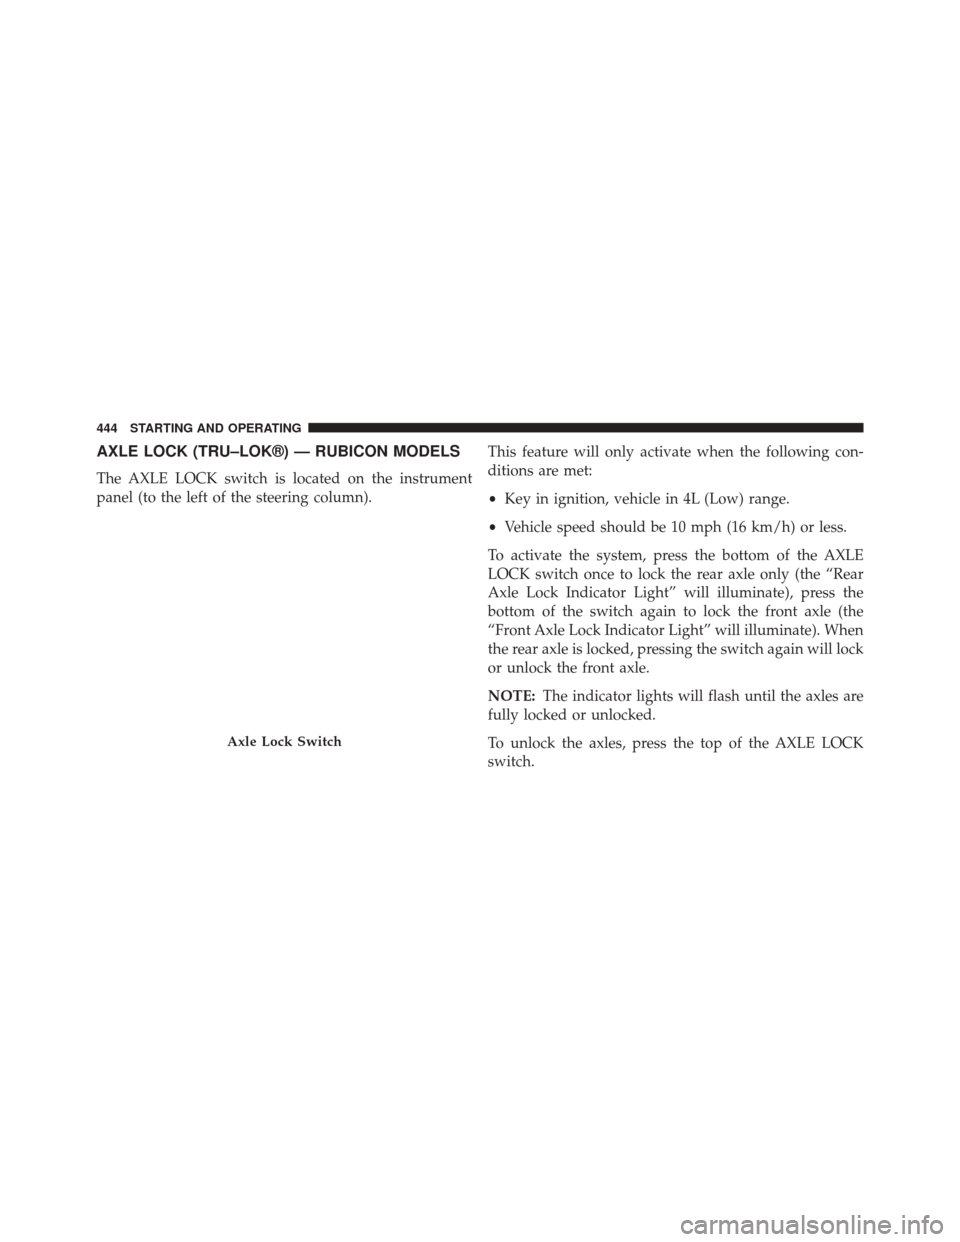
AXLE LOCK (TRU–LOK®) — RUBICON MODELS
The AXLE LOCK switch is located on the instrument
panel (to the left of the steering column).This feature will only activate when the following con-
ditions are met:
•
Key in ignition, vehicle in 4L (Low) range.
• Vehicle speed should be 10 mph (16 km/h) or less.
To activate the system, press the bottom of the AXLE
LOCK switch once to lock the rear axle only (the “Rear
Axle Lock Indicator Light” will illuminate), press the
bottom of the switch again to lock the front axle (the
“Front Axle Lock Indicator Light” will illuminate). When
the rear axle is locked, pressing the switch again will lock
or unlock the front axle.
NOTE: The indicator lights will flash until the axles are
fully locked or unlocked.
To unlock the axles, press the top of the AXLE LOCK
switch.
Axle Lock Switch
444 STARTING AND OPERATING
Page 447 of 678
Axle lock will disengage if the vehicle is taken out of 4L
(Low) range, or the ignition switch is turned to the OFF
position.
ELECTRONIC SWAY BAR DISCONNECT — IF
EQUIPPED
Your vehicle may be equipped with an electronic discon-
necting stabilizer/sway bar. This system allows greater
front suspension travel in off-road situations.
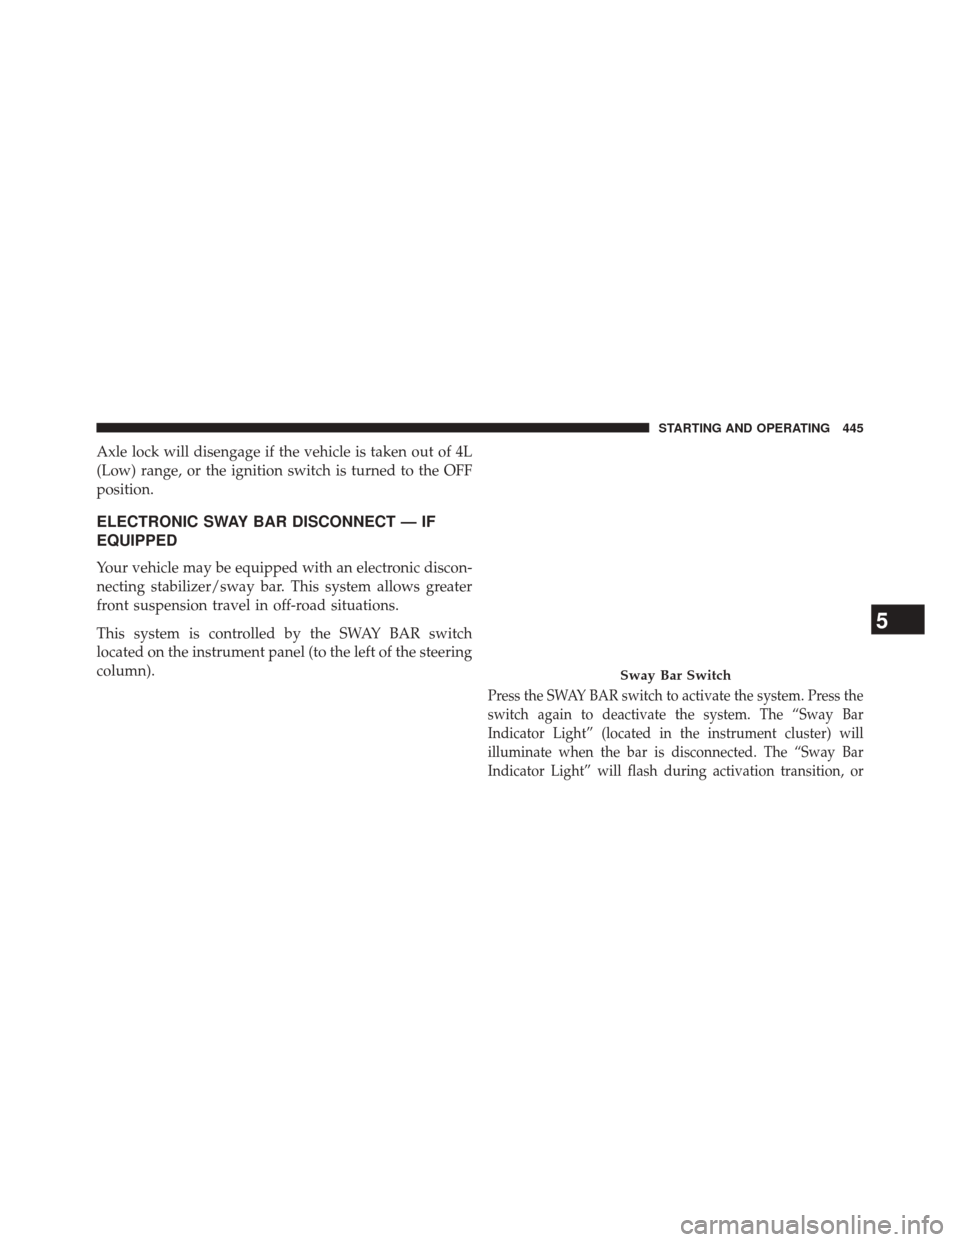
This system is controlled by the SWAY BAR switch
located on the instrument panel (to the left of the steering
column).
Press the SWAY BAR switch to activate the system. Press the
switch again to deactivate the system. The “Sway Bar
Indicator Light” (located in the instrument cluster) will
illuminate when the bar is disconnected. The “Sway Bar
Indicator Light” will flash during activation transition, or
Sway Bar Switch
5
STARTING AND OPERATING 445
Page 448 of 678
when activation conditions are not met. The stabilizer/sway
bar should remain in on-road mode during normal driving
conditions.
WARNING!
Do not disconnect the stabilizer bar and drive on
hard-surfaced roads or at speeds above 18 mph
(29 km/h); you may lose control of the vehicle, which
could result in serious injury. The front stabilizer bar
enhances vehicle stability and is necessary for main-
taining control of the vehicle. The system monitors
vehicle speed and will attempt to reconnect the
stabilizer bar at speeds over 18 mph (29 km/h). This is
indicated by a flashing or solid “Sway Bar Indicator
Light.” Once vehicle speed is reduced below 14 mph
(22 km/h), the system will once again attempt to
return to off-road mode.To disconnect the stabilizer/sway bar, shift to either 4H
or 4L and press the SWAY BAR switch to obtain the
off-road position. Refer to “Four-Wheel Drive Operation”
in “Starting and Operating” for further information. The
“Sway Bar Indicator Light” will flash until the stabilizer/
sway bar has been fully disconnected.
NOTE:
The stabilizer/sway bar may be torque locked
due to left and right suspension height differences. This
condition is due to driving surface differences or vehicle
loading. In order for the stabilizer/sway bar to
disconnect/reconnect, the right and left halves of the bar
must be aligned. This alignment may require that the
vehicle be driven onto level ground or rocked from side
to side.
To return to on-road mode, press the SWAY BAR switch
again.
446 STARTING AND OPERATING
Page 449 of 678
WARNING!
If the stabilizer/sway bar will not return to on-road
mode, the “Sway Bar Indicator Light” will flash in
the instrument cluster and vehicle stability is greatly
reduced. Do not attempt to drive the vehicle over
18 mph (29 km/h). Driving faster than 18 mph
(29 km/h) may cause loss of control of the vehicle,
which could result in serious injury. Contact your
local authorized dealer for assistance.
ON-ROAD DRIVING TIPS
Utility vehicles have higher ground clearance and a
narrower track to make them capable of performing in a
wide variety of off-road applications. Specific design
characteristics give them a higher center of gravity than
ordinary cars.An advantage of the higher ground clearance is a better
view of the road, allowing you to anticipate problems.
They are not designed for cornering at the same speeds as
conventional two-wheel drive vehicles any more than
low-slung sports cars are designed to perform satisfacto-
rily in off-road conditions. If at all possible, avoid sharp
turns or abrupt maneuvers. As with other vehicles of this
type, failure to operate this vehicle correctly may result in
loss of control or vehicle rollover.
OFF-ROAD DRIVING TIPS
Side Step Removal — If Equipped
NOTE:
Prior to off-road usage, the side steps should be
removed to prevent damage.
1. Remove the two nuts from the bodyside.
5
STARTING AND OPERATING 447
Page 450 of 678
2. Remove one bolt from the underside of the vehicle. 3. Remove the side step assembly.
Bodyside NutUnderside Bolt
448 STARTING AND OPERATING