manual JEEP WRANGLER 2014 JK / 3.G Owner's Manual
[x] Cancel search | Manufacturer: JEEP, Model Year: 2014, Model line: WRANGLER, Model: JEEP WRANGLER 2014 JK / 3.GPages: 148, PDF Size: 12.93 MB
Page 47 of 148
DUAL TOP – IF EQUIPPED
• If your vehicle is equipped with a Dual Top, you must remove one of the tops fromthe vehicle.
• Two Door - If the soft top is removed, the pivot brackets must also be removed from
the sport bar.
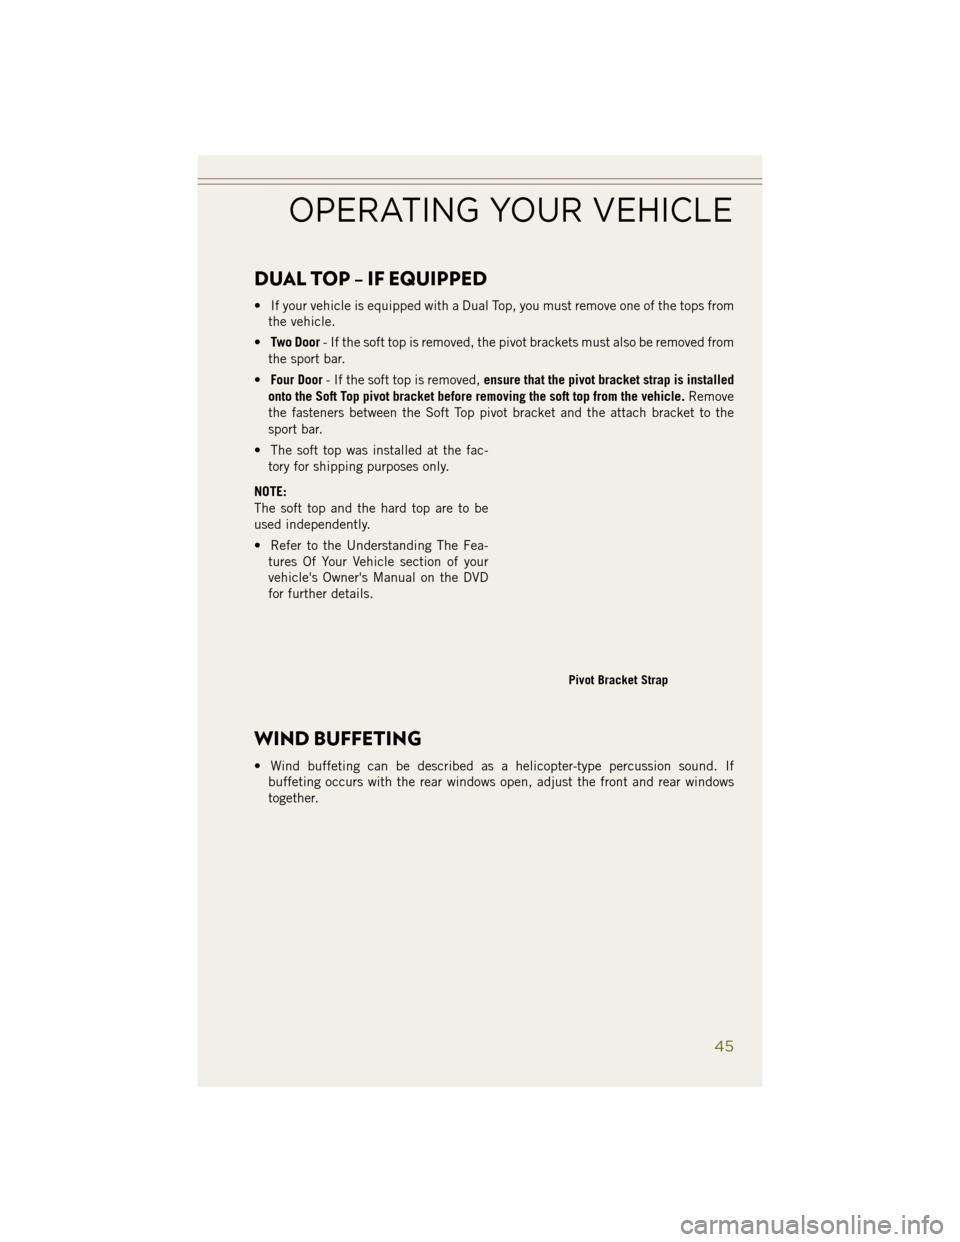
• Four Door - If the soft top is removed, ensure that the pivot bracket strap is installed
onto the Soft Top pivot bracket before removing the soft top from the vehicle. Remove
the fasteners between the Soft Top pivot bracket and the attach bracket to the
sport bar.
• The soft top was installed at the fac- tory for shipping purposes only.
NOTE:
The soft top and the hard top are to be
used independently.
• Refer to the Understanding The Fea- tures Of Your Vehicle section of your
vehicle's Owner's Manual on the DVD
for further details.
WIND BUFFETING
• Wind buffeting can be described as a helicopter-type percussion sound. Ifbuffeting occurs with the rear windows open, adjust the front and rear windows
together.
Pivot Bracket Strap
OPERATING YOUR VEHICLE
45
Page 59 of 148
Menu
• Press the MENU hard-key to access the System Setup menu and the My Filesmenu.
• Press the MENU hard-key in an active mode (SAT, CD, AUX, etc.) to change mode specific settings.
Equalizer, Balance And Fade
Audio Control Menu
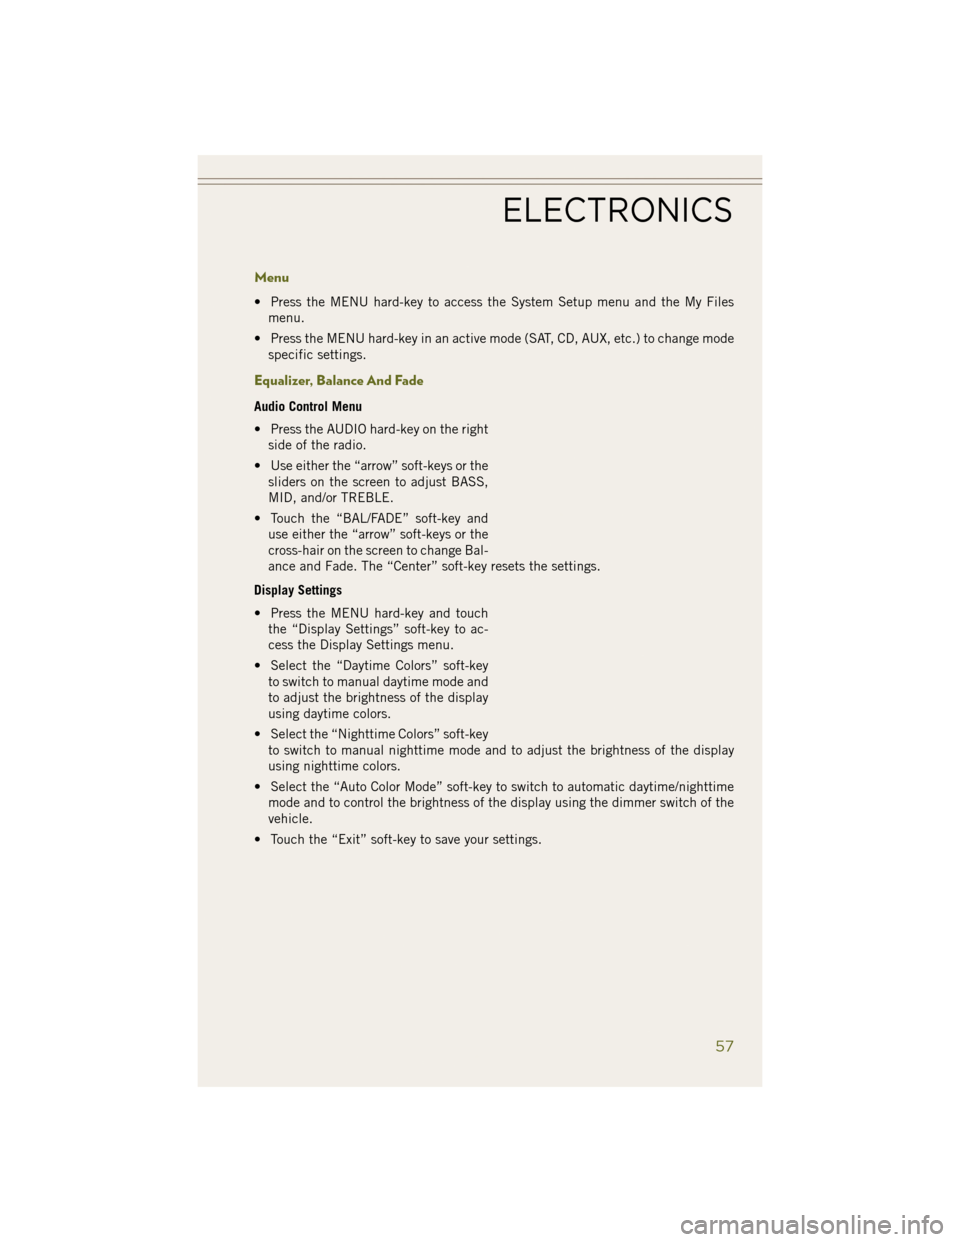
• Press the AUDIO hard-key on the rightside of the radio.
• Use either the “arrow” soft-keys or the sliders on the screen to adjust BASS,
MID, and/or TREBLE.
• Touch the “BAL/FADE” soft-key and use either the “arrow” soft-keys or the
cross-hair on the screen to change Bal-
ance and Fade. The “Center” soft-key resets the settings.
Display Settings
• Press the MENU hard-key and touch the “Display Settings” soft-key to ac-
cess the Display Settings menu.
• Select the “Daytime Colors” soft-key to switch to manual daytime mode and
to adjust the brightness of the display
using daytime colors.
• Select the “Nighttime Colors” soft-key to switch to manual nighttime mode and to adjust the brightness of the display
using nighttime colors.
• Select the “Auto Color Mode” soft-key to switch to automatic daytime/nighttime mode and to control the brightness of the display using the dimmer switch of the
vehicle.
• Touch the “Exit” soft-key to save your settings.
ELECTRONICS
57
Page 62 of 148
Audio Jack Operation
• The AUX/Audio Jack provides a means to connect a portable audio device, such asan MP3 player or an iPod®, to the vehicle’s sound system. This requires the use of
a 3.5 mm stereo audio patch cable.
• Press the MEDIA hard-key then the “AUX” soft-key to change the mode to auxiliary device if the Audio Jack is connected, allowing the music from your
portable device to play through the vehicle's speakers.
• The functions of the portable device are controlled using the device itself, not the buttons on the radio. However, the volume may be controlled using the radio or
portable device.
Hard Disk Drive (HDD) Operation
• The Hard Disk Drive (HDD) mode gives you access to the audio files on the internalhard disk drive. It functions similar to a CD player, with the exception that the
internal HDD can hold more tracks.
• It is also possible to import display pictures to the internal hard disk drive. The pictures can be displayed on the right half of the radio screen.
• Before using the HDD mode, you will need to copy songs and pictures to the internal hard drive. Songs and pictures can be added to the hard drive by using a
CD or USB device (e.g. thumb drive or memory stick).
NOTE:
• HDD supports only .jpg/JPEG formats for photos.
• WMA/MP3 Files and Selective Songs from a CD can also be added to the HDD. See the Uconnect
®430/430N User's Manual for more information.
Copying Music From CD
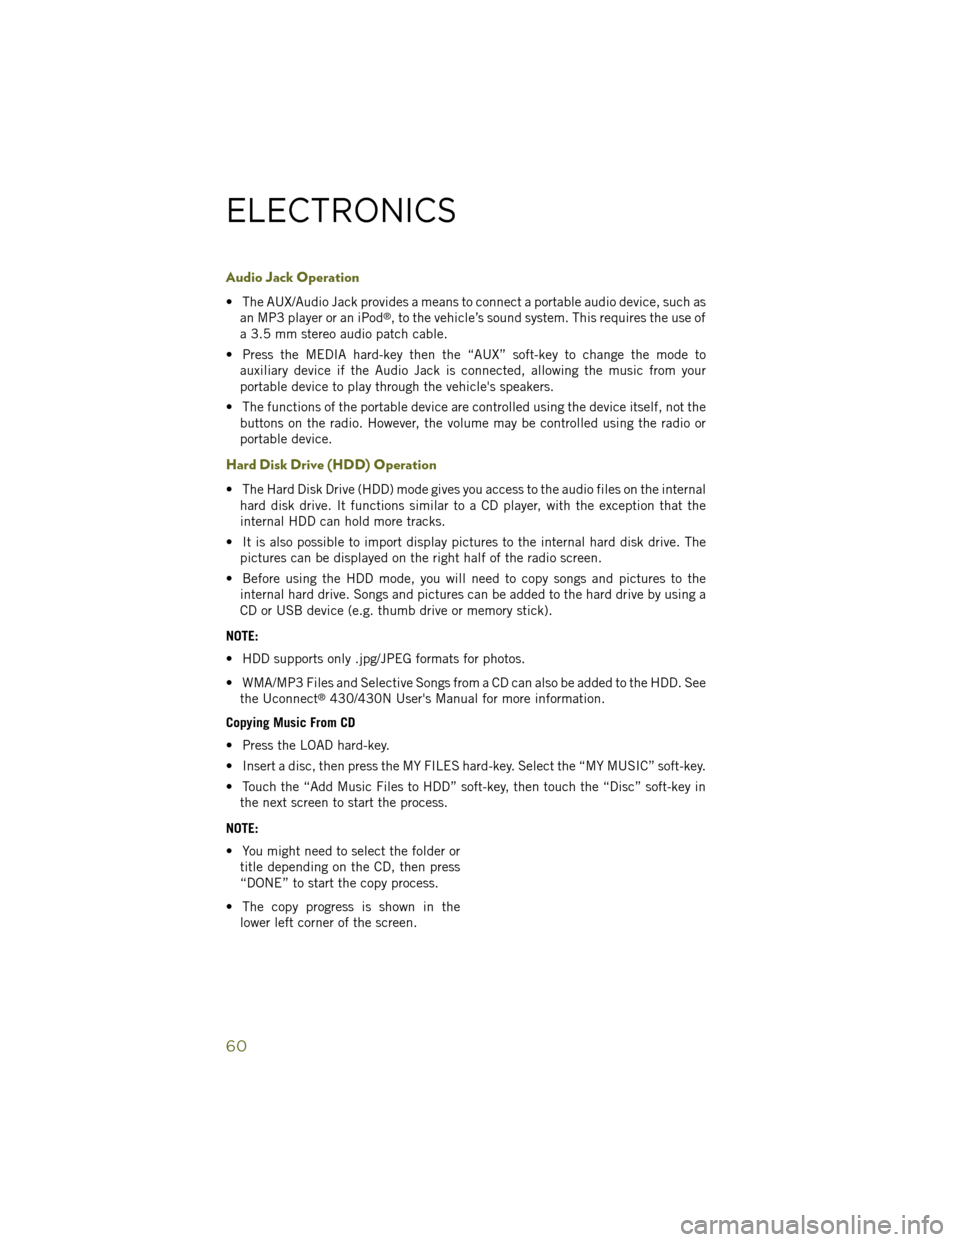
• Press the LOAD hard-key.
• Insert a disc, then press the MY FILES hard-key. Select the “MY MUSIC” soft-key.
• Touch the “Add Music Files to HDD” soft-key, then touch the “Disc” soft-key in the next screen to start the process.
NOTE:
• You might need to select the folder or title depending on the CD, then press
“DONE” to start the copy process.
• The copy progress is shown in the lower left corner of the screen.
ELECTRONICS
60
Page 69 of 148
Clock Setting
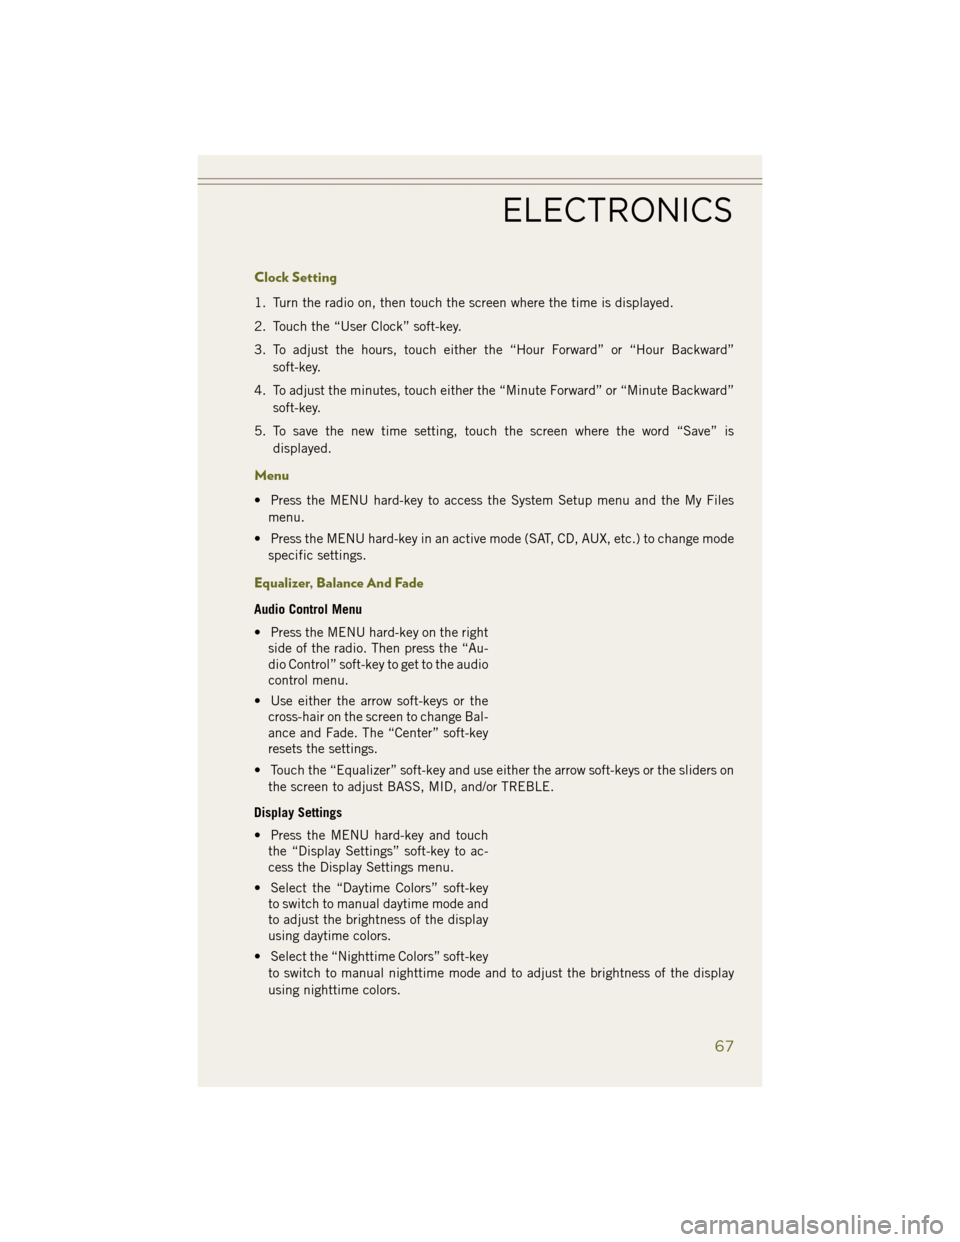
1. Turn the radio on, then touch the screen where the time is displayed.
2. Touch the “User Clock” soft-key.
3. To adjust the hours, touch either the “Hour Forward” or “Hour Backward”soft-key.
4. To adjust the minutes, touch either the “Minute Forward” or “Minute Backward” soft-key.
5. To save the new time setting, touch the screen where the word “Save” is displayed.
Menu
• Press the MENU hard-key to access the System Setup menu and the My Filesmenu.
• Press the MENU hard-key in an active mode (SAT, CD, AUX, etc.) to change mode specific settings.
Equalizer, Balance And Fade
Audio Control Menu
• Press the MENU hard-key on the rightside of the radio. Then press the “Au-
dio Control” soft-key to get to the audio
control menu.
• Use either the arrow soft-keys or the cross-hair on the screen to change Bal-
ance and Fade. The “Center” soft-key
resets the settings.
• Touch the “Equalizer” soft-key and use either the arrow soft-keys or the sliders on the screen to adjust BASS, MID, and/or TREBLE.
Display Settings
• Press the MENU hard-key and touch the “Display Settings” soft-key to ac-
cess the Display Settings menu.
• Select the “Daytime Colors” soft-key to switch to manual daytime mode and
to adjust the brightness of the display
using daytime colors.
• Select the “Nighttime Colors” soft-key to switch to manual nighttime mode and to adjust the brightness of the display
using nighttime colors.
ELECTRONICS
67
Page 72 of 148
Audio Jack Operation
• The AUX/Audio Jack provides a means to connect a portable audio device, such asan MP3 player or an iPod®, to the vehicle’s sound system. This requires the use of
a 3.5 mm stereo audio patch cable.
• Press the RADIO/MEDIA hard-key, then the “AUX” soft-key to change the mode to auxiliary device if the Audio Jack is connected, allowing the music from your
portable device to play through the vehicle's speakers.
• The functions of the portable device are controlled using the device itself, not the buttons on the radio. The volume may be controlled using the radio or portable
device.
Hard Disk Drive (HDD) Operation
• The Hard Disk Drive (HDD) mode gives you access to the audio files on the internalhard disk drive. It functions similar to a CD player, with the exception that the
internal HDD can hold more tracks.
• It is also possible to import display pictures to the internal hard disk drive. The pictures can be displayed on the right half of the radio screen.
• Before using the HDD mode, you will need to copy songs and pictures to the internal hard drive. Songs and pictures can be added to the hard drive by using a
CD or USB device (e.g. thumb drive or memory stick).
NOTE:
• HDD supports only .jpg/JPEG formats for photos.
• WMA/MP3 Files and selective Songs from a CD can also be added to the HDD. See the Uconnect
®730N Supplement Manual for more information.
Copying Music From CD
• Press the OPEN/CLOSE hard-key.
• Insert a disc, then press the MENU hard-key.
• Touch the “MY FILES” soft-key, then select “MY MUSIC.”
ELECTRONICS
70
Page 80 of 148
Search/Browse
• Touch the “magnifying glass” soft-key to search/browse the SiriusXM channellisting by Favorites and Categories such as Song, Artist and Channel Name. The
Search/Browse also allows you to manage your Favorites.
SiriusXM Satellite Radio Favorites
(SAT Favorites)
• You can save 50 favorite songs and 50 favorite artists.
• Touch the “Add Favorite” soft-key to add either the song or the artist of the
currently playing program to the SAT
Favorites list. The favorite star will ap-
pear in the upper right corner, below
the “SAT” soft-key.
• You will see a favorite star indicator in the upper right side of the screen be-
low the “SAT” soft-key and a pop up
will alert you that a favorite song or artist is currently playing on one of the
SiriusXM satellite radio channels.
NOTE:
Refer to your Uconnect
®730N or 430/
430N Supplement Manual for more in-
formation.
ELECTRONICS
78
Page 83 of 148
STEERING WHEEL AUDIO CONTROLS
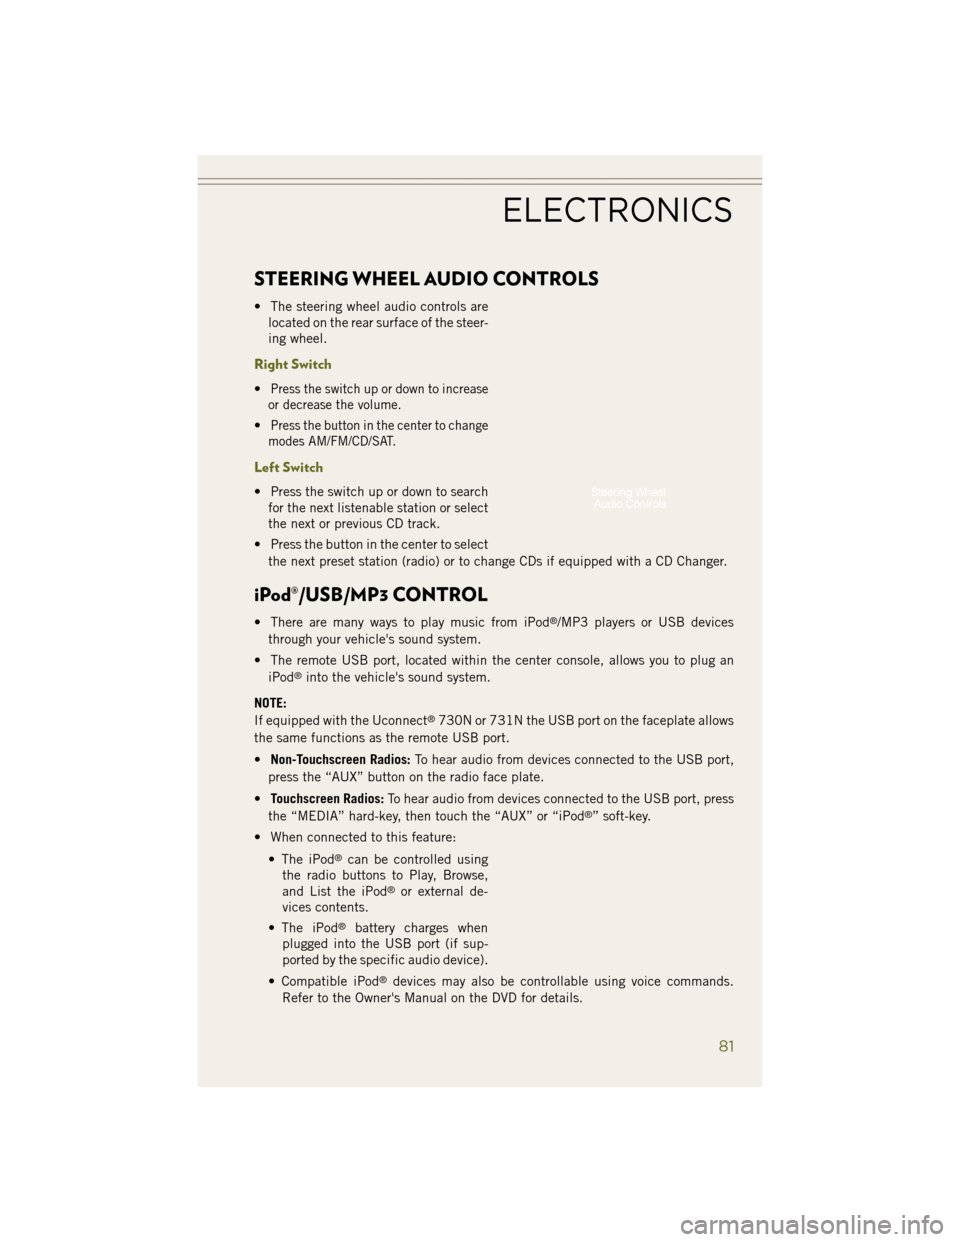
• The steering wheel audio controls arelocated on the rear surface of the steer-
ing wheel.
Right Switch
•Press the switch up or down to increase
or decrease the volume.
•Press the button in the center to change
modes AM/FM/CD/SAT.
Left Switch
• Press the switch up or down to search for the next listenable station or select
the next or previous CD track.
• Press the button in the center to select the next preset station (radio) or to change CDs if equipped with a CD Changer.
iPod®/USB/MP3 CONTROL
• There are many ways to play music from iPod®/MP3 players or USB devices
through your vehicle's sound system.
• The remote USB port, located within the center console, allows you to plug an iPod
®into the vehicle's sound system.
NOTE:
If equipped with the Uconnect
®730N or 731N the USB port on the faceplate allows
the same functions as the remote USB port.
• Non-Touchscreen Radios: To hear audio from devices connected to the USB port,
press the “AUX” button on the radio face plate.
• Touchscreen Radios: To hear audio from devices connected to the USB port, press
the “MEDIA” hard-key, then touch the “AUX” or “iPod
®” soft-key.
• When connected to this feature:
• The iPod
®can be controlled using
the radio buttons to Play, Browse,
and List the iPod
®or external de-
vices contents.
• The iPod
®battery charges when
plugged into the USB port (if sup-
ported by the specific audio device).
• Compatible iPod
®devices may also be controllable using voice commands.
Refer to the Owner's Manual on the DVD for details.
ELECTRONICS
81
Page 84 of 148
NOTE:
The USB port supports certain Mini, Classic, Nano, Touch, and iPhone®devices. The
USB port also supports playing music from compatible external USB Mass Storage
Class memory devices. For supported audio file formats, refer to the USB Port section
in the Owner's Manual on the DVD. Refer to www.UconnectPhone.com website for a
list of tested iPod
®s. Some iPod®software versions may not fully support the USB
port features. Please visit Apple’s website for iPod®software updates.
WARNING!
Do not plug in or remove the iPod®or external device while driving. Failure to
follow this warning could result in a collision.
Uconnect® PHONE
Uconnect® Phone
• To determine if your vehicle is equipped with Uconnect®Phone, press the
“Uconnect®Phone” buttonlocated on the radio faceplate. If your vehicle
has this feature, you will hear a voice prompt. If not, you will see a message on the
radio “Uconnect
®Phone not available.”
• The Uconnect
®Phone is a voice-activated, hands-free, in-vehicle communica-
tions system with Voice Command Capability (see Voice Command section).
NOTE:
To access the tutorial, press the “Uconnect
®Phone” button. After the BEEP,
say “tutorial.” Press any hard-key/button or touch the display (Touchscreen radio) to
cancel the “tutorial.”
• The Uconnect
®Phone allows you to dial a phone number with your mobile phone
using simple voice commands.
• Refer to your vehicle Owner's Manual on the DVD for further details.
NOTE:
The Uconnect
®Phone requires a mobile phone equipped with the Bluetooth®
Hands-Free Profile, Version 1.0 or higher. For Uconnect®Customer Support: U.S.
residents - visit www.UconnectPhone.com or call 1–877–855–8400. Canadian
residents - visit www.UconnectPhone.com or call, 1-800-465–2001 (English) or
1-800-387-9983 (French). This site will provide specific instructions based on the
type of mobile phone being paired.
ELECTRONICS
82
Page 85 of 148
Phone Pairing
NOTE:
Pairing is a one - time initial setup before using the phone. Prior to starting the
pairing procedure ensure all additional phones within the vehicle have their
Bluetooth
®disabled.
1. Press the “Phone”
button to begin.
2. Wait for the “ready” prompt and BEEP.
3. After the BEEP, say ”setup” or “Uconnect device setup.”
4. After the BEEP, say “device pairing.”
5. After the BEEP, say “pair a device.”
6. Follow the audible prompts.
• You will be asked to say a four-digit Personal Identification Number (PIN),
which you will later need to enter into
your mobile phone. You can say any
four-digit PIN. You will not need to
remember this PIN after the initial
pairing process.
• You will then be prompted to give the phone pairing a name (each phone paired should have a unique name).
• Next you will be asked to give this new pairing a priority of 1 through 7 (up to seven phones may be paired); 1 is the highest and 7 is the lowest priority. The system will
only connect to the highest priority phone that exists within the proximity of the
vehicle.
• You will then need to start the pairing procedure on your cell phone. Follow the Bluetooth
®instructions in your cell phone Owner's Manual to complete the phone
pairing setup.
ELECTRONICS
83
Page 91 of 148
EVIC Main Menu
• To step to each main menu feature press and release the MENU button once foreach step. A step from the last item in the list will cause the first item in the
feature list to be displayed. The following features are in the Main menu:• Compass, Outside Temperature, and ECO display
• Digital Speedometer
• Average Fuel Economy
• Distance to Empty
• Elapsed Time
• Vehicle Information
• Coolant Temp
• Oil Pressure
• Transmission Temp
• Oil Life Remaining (Automatic Oil Change Indicator)
• EVIC Units Selection
• System Status
• Personal Settings
• Tire PSI
Compass Calibration
This compass is self-calibrating, which eliminates the need to set the compass
manually. When the vehicle is new, the compass may appear erratic and the EVIC will
display “CAL” until the compass is calibrated.
You may also calibrate the compass by completing one or more 360 degree turns (in
an area free from large metal or metallic objects) until the “CAL” message displayed
in the EVIC turns off. The compass will now function normally.
ECO
• The ECO message will appear in your EVIC display whenever you are driving in a fuel efficient manner.
• This feature allows you to monitor when you are driving in a fuel efficient manner, and it can be used to modify driving habits in order to increase fuel economy.
ELECTRONICS
89