light JEEP WRANGLER 2015 JK / 3.G Owners Manual
[x] Cancel search | Manufacturer: JEEP, Model Year: 2015, Model line: WRANGLER, Model: JEEP WRANGLER 2015 JK / 3.GPages: 695, PDF Size: 20.64 MB
Page 624 of 695
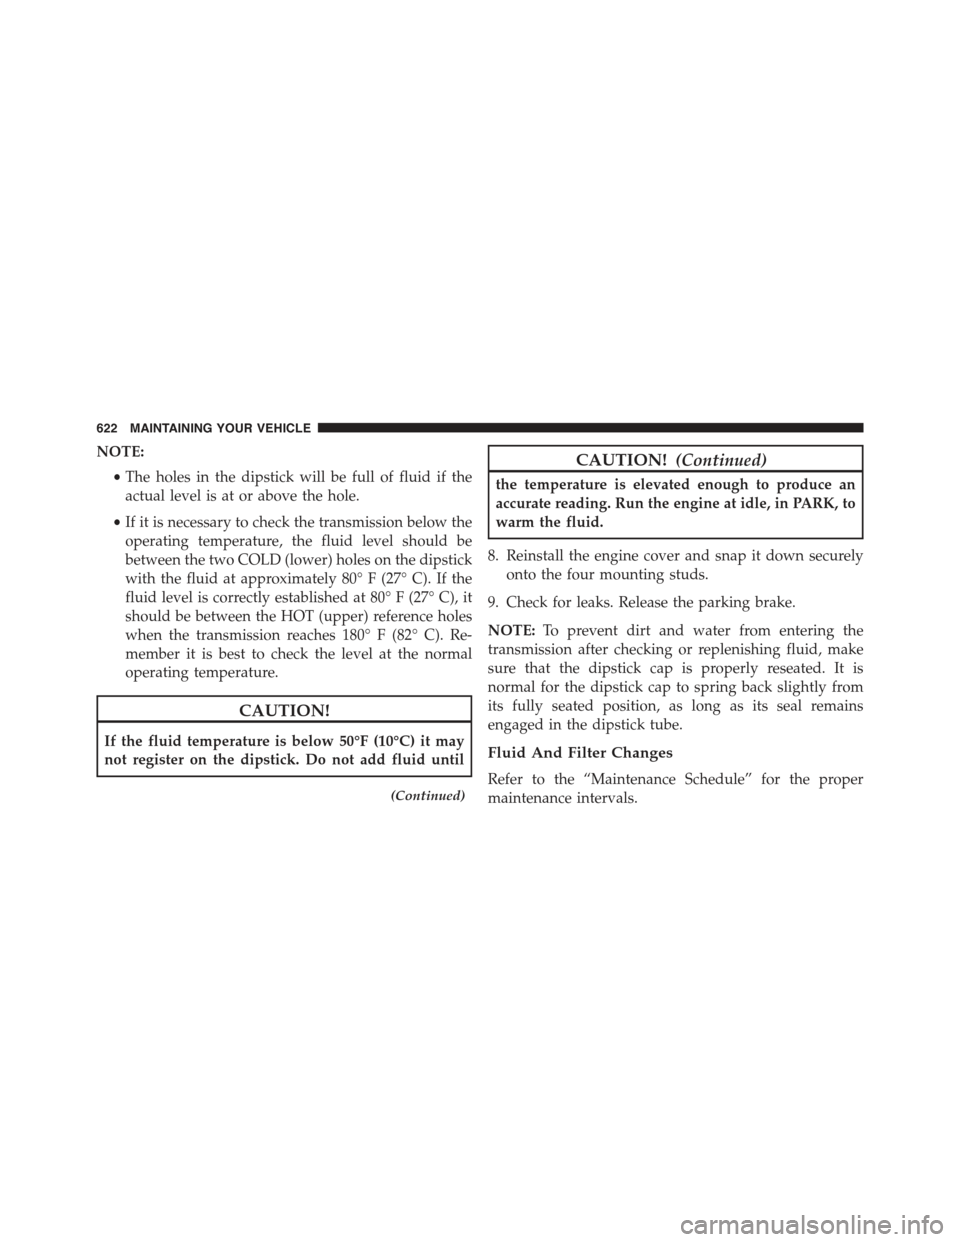
NOTE:
•The holes in the dipstick will be full of fluid if the
actual level is at or above the hole.
•If it is necessary to check the transmission below the
operating temperature, the fluid level should be
between the two COLD (lower) holes on the dipstick
with the fluid at approximately 80° F (27° C). If the
fluid level is correctly established at 80° F (27° C), it
should be between the HOT (upper) reference holes
when the transmission reaches 180° F (82° C). Re-
member it is best to check the level at the normal
operating temperature.
CAUTION!
If the fluid temperature is below 50°F (10°C) it may
not register on the dipstick. Do not add fluid until
(Continued)
CAUTION!(Continued)
the temperature is elevated enough to produce an
accurate reading. Run the engine at idle, in PARK, to
warm the fluid.
8. Reinstall the engine cover and snap it down securely
onto the four mounting studs.
9. Check for leaks. Release the parking brake.
NOTE:To prevent dirt and water from entering the
transmission after checking or replenishing fluid, make
sure that the dipstick cap is properly reseated. It is
normal for the dipstick cap to spring back slightly from
its fully seated position, as long as its seal remains
engaged in the dipstick tube.
Fluid And Filter Changes
Refer to the “Maintenance Schedule” for the proper
maintenance intervals.
622 MAINTAINING YOUR VEHICLE
Page 634 of 695
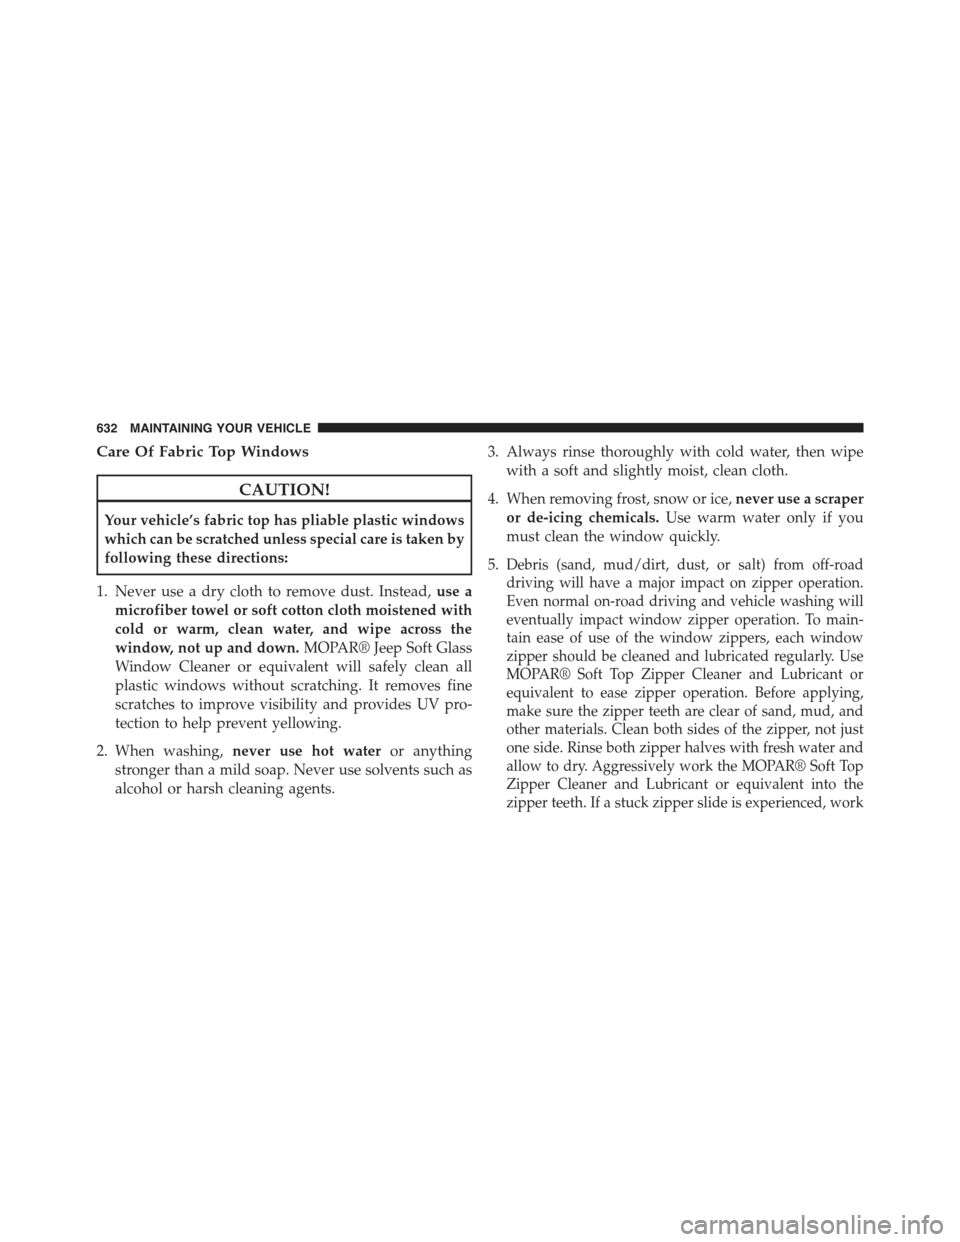
Care Of Fabric Top Windows
CAUTION!
Your vehicle’s fabric top has pliable plastic windows
which can be scratched unless special care is taken by
following these directions:
1. Never use a dry cloth to remove dust. Instead,use a
microfiber towel or soft cotton cloth moistened with
cold or warm, clean water, and wipe across the
window, not up and down.MOPAR® Jeep Soft Glass
Window Cleaner or equivalent will safely clean all
plastic windows without scratching. It removes fine
scratches to improve visibility and provides UV pro-
tection to help prevent yellowing.
2. When washing,never use hot wateror anything
stronger than a mild soap. Never use solvents such as
alcohol or harsh cleaning agents.
3. Always rinse thoroughly with cold water, then wipe
with a soft and slightly moist, clean cloth.
4. When removing frost, snow or ice,never use a scraper
or de-icing chemicals.Use warm water only if you
must clean the window quickly.
5.Debris (sand, mud/dirt, dust, or salt) from off-road
driving will have a major impact on zipper operation.
Even normal on-road driving and vehicle washing will
eventually impact window zipper operation. To main-
tain ease of use of the window zippers, each window
zipper should be cleaned and lubricated regularly. Use
MOPAR® Soft Top Zipper Cleaner and Lubricant or
equivalent to ease zipper operation. Before applying,
make sure the zipper teeth are clear of sand, mud, and
other materials. Clean both sides of the zipper, not just
one side. Rinse both zipper halves with fresh water and
allow to dry. Aggressively work the MOPAR® Soft Top
Zipper Cleaner and Lubricant or equivalent into the
zipper teeth. If a stuck zipper slide is experienced, work
632 MAINTAINING YOUR VEHICLE
Page 638 of 695
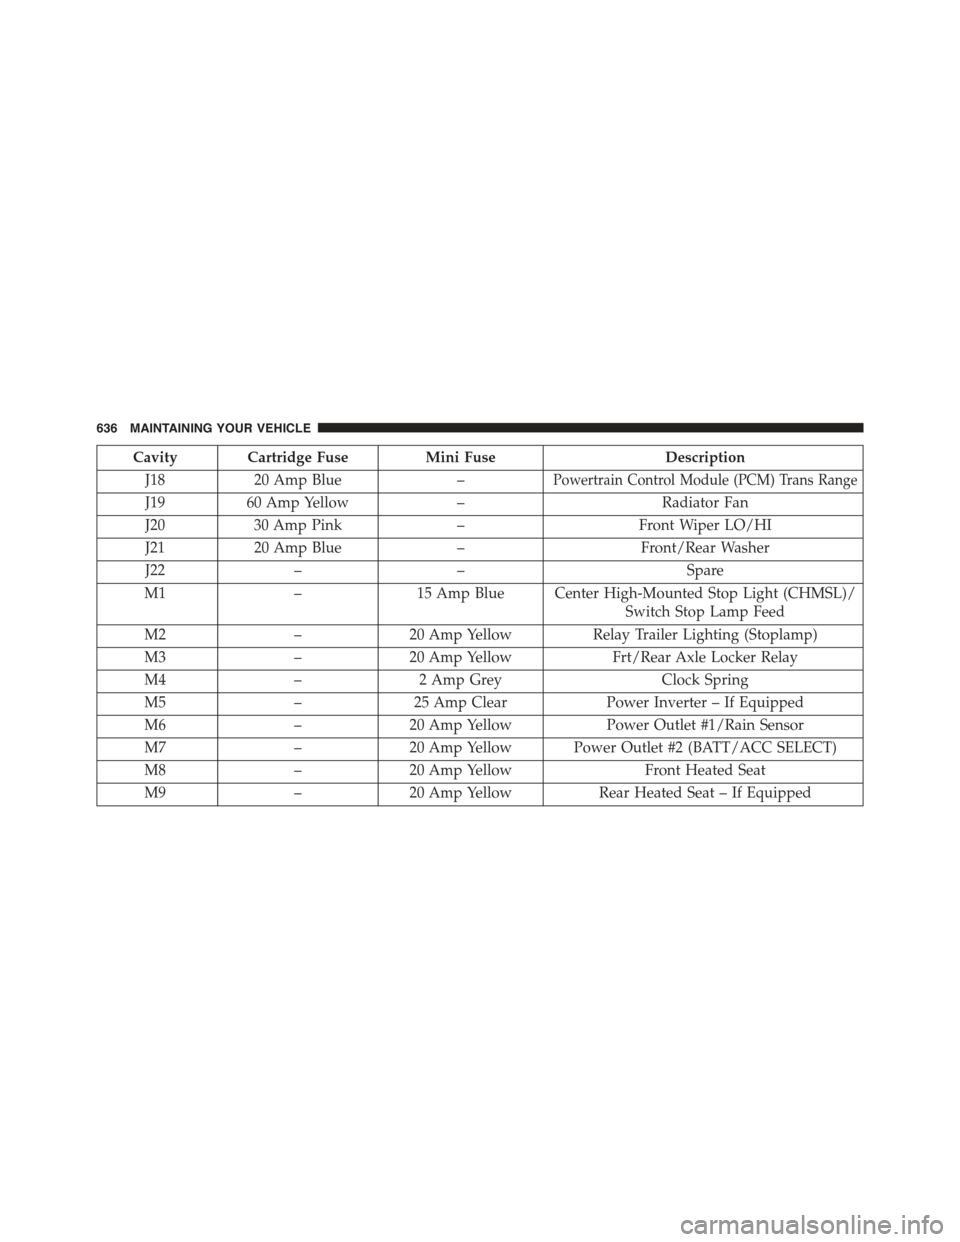
Cavity Cartridge FuseMini FuseDescription
J1820 Amp Blue–Powertrain Control Module (PCM) Trans Range
J1960 Amp Yellow–Radiator Fan
J2030 Amp Pink–Front Wiper LO/HI
J2120 Amp Blue–Front/Rear Washer
J22––Spare
M1–15 Amp Blue Center High-Mounted Stop Light (CHMSL)/
Switch Stop Lamp Feed
M2–20 Amp YellowRelay Trailer Lighting (Stoplamp)
M3–20 Amp YellowFrt/Rear Axle Locker Relay
M4–2 Amp GreyClock Spring
M5–25 Amp ClearPower Inverter – If Equipped
M6–20 Amp YellowPower Outlet #1/Rain Sensor
M7–20 Amp Yellow Power Outlet #2 (BATT/ACC SELECT)
M8–20 Amp YellowFront Heated Seat
M9–20 Amp YellowRear Heated Seat – If Equipped
636 MAINTAINING YOUR VEHICLE
Page 640 of 695
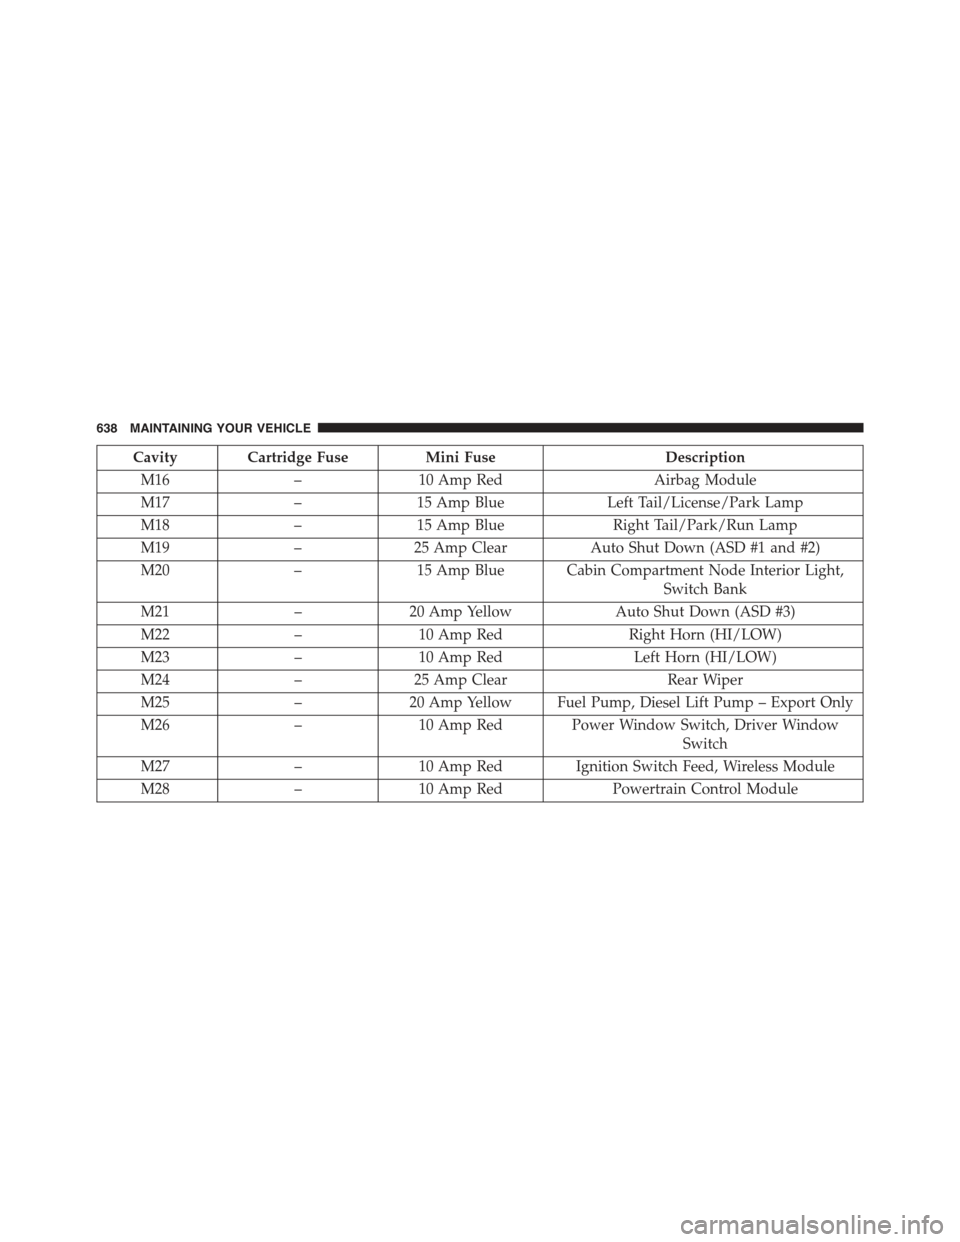
Cavity Cartridge FuseMini FuseDescription
M16–10 Amp RedAirbag Module
M17–15 Amp BlueLeft Tail/License/Park Lamp
M18–15 Amp BlueRight Tail/Park/Run Lamp
M19–25 Amp ClearAuto Shut Down (ASD #1 and #2)
M20–15 Amp Blue Cabin Compartment Node Interior Light,
Switch Bank
M21–20 Amp YellowAuto Shut Down (ASD #3)
M22–10 Amp RedRight Horn (HI/LOW)
M23–10 Amp RedLeft Horn (HI/LOW)
M24–25 Amp ClearRear Wiper
M25–20 Amp Yellow Fuel Pump, Diesel Lift Pump – Export Only
M26–10 Amp Red Power Window Switch, Driver Window
Switch
M27–10 Amp Red Ignition Switch Feed, Wireless Module
M28–10 Amp RedPowertrain Control Module
638 MAINTAINING YOUR VEHICLE
Page 646 of 695
Front Fog Lamp
1. Reach under the vehicle to access the back of the front
fog lamp.
2. Disconnect the wire harness connector from the front
fog lamp connector receptacle.
3. Firmly grasp the bulb by the two latch features and
squeeze them together to unlock the bulb from the
back of the front fog lamp housing.
4. Pull the bulb straight out from the keyed opening in
the housing and then connect the replacement bulb.
CAUTION!
Do not touch the new bulb with your fingers. Oil
contamination will severely shorten bulb life. If the
bulb comes in contact with any oily surface, clean the
bulb with rubbing alcohol.
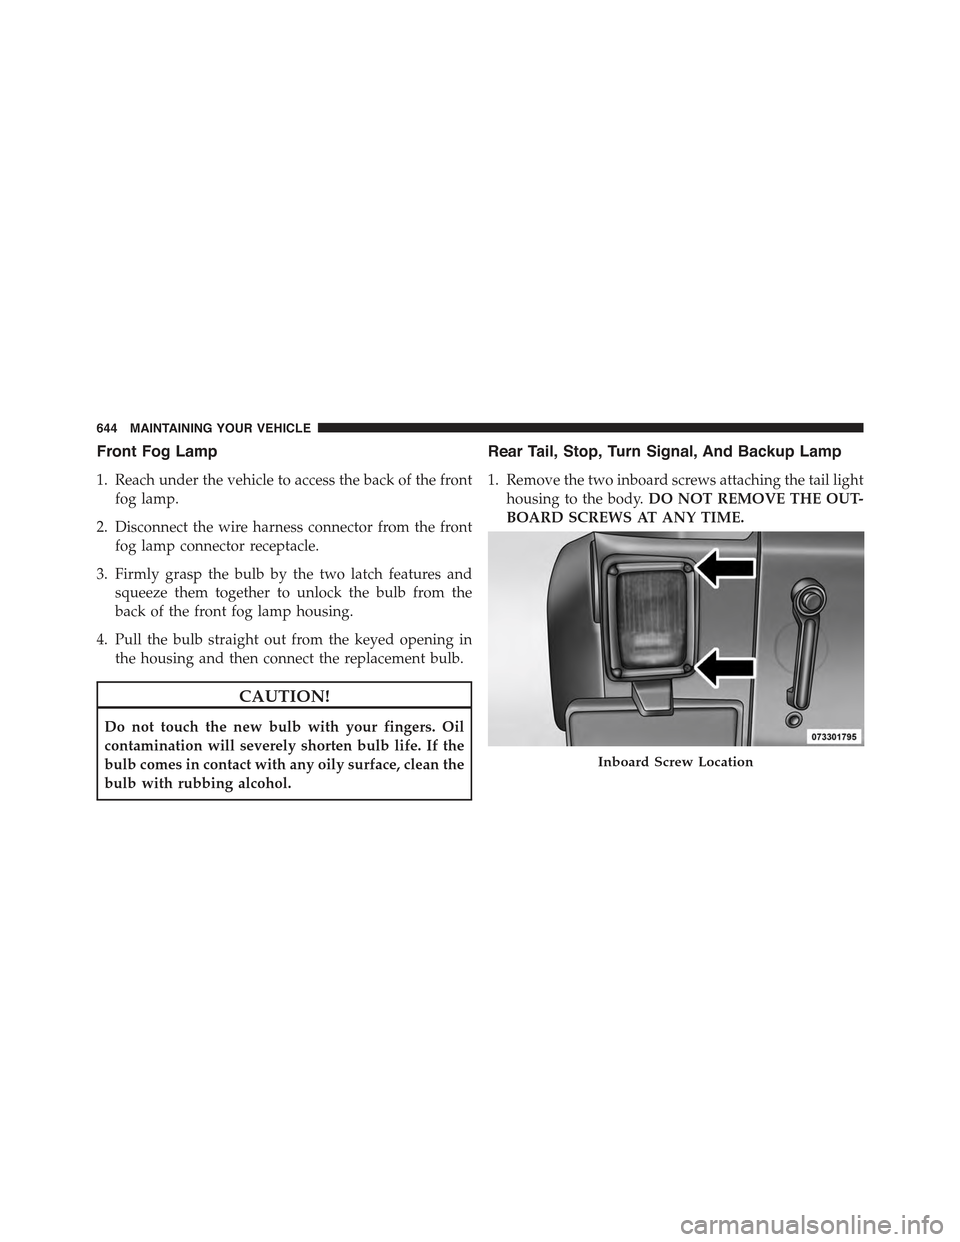
Rear Tail, Stop, Turn Signal, And Backup Lamp
1. Remove the two inboard screws attaching the tail light
housing to the body.DO NOT REMOVE THE OUT-
BOARD SCREWS AT ANY TIME.
Inboard Screw Location
644 MAINTAINING YOUR VEHICLE
Page 655 of 695
Once A Month Or Before A Long Trip:
•Check engine oil level
•Check windshield washer fluid level
•Check the tire inflation pressures and look for unusual
wear or damage
•Check the fluid levels of the coolant reservoir, brake
master cylinder, power steering and automatic trans-
mission, and fill as needed
•Check function of all interior and exterior lights
Required Maintenance Intervals.
Refer to the maintenance schedules on the following
page for the required maintenance intervals.
At Every Oil Change Interval As Indicated By Oil
Change Indicator System:
•Change oil and filter
At Every Oil Change Interval As Indicated By Oil
Change Indicator System:
•Rotate the tires.Rotate at the first sign of irregu-
lar wear, even if it occurs before the oil indicator
system turns on.
•Inspect battery and clean and tighten terminals as
required
•Inspect automatic transmission fluid if equipped
with dipstick
•Inspect brake pads, shoes, rotors, drums, hoses
and park brake
•Inspect engine cooling system protection and hoses
•Inspect exhaust system
•Inspect engine air cleaner if using in dusty or
off-road conditions
•Inspect all door latches for presence of grease,
reapply if necessary.
8
MAINTENANCE
SCHEDULES
MAINTENANCE SCHEDULES 653
Page 668 of 695
The manufacturer will not stand behind any service
contract that is not the manufacturer’s service contract. It
is not responsible for any service contract other than the
manufacturer’s service contract. If you purchased a ser-
vice contract that is not a manufacturer’s service contract,
and you require service after the manufacturer’s New
Vehicle Limited Warranty expires, please refer to the
contract documents, and contact the person listed in
those documents.
We appreciate that you have made a major investment
when you purchased the vehicle. An authorized dealer
has also made a major investment in facilities, tools, and
training to assure that you are absolutely delighted with
the ownership experience. You will be pleased with their
sincere efforts to resolve any warranty issues or related
concerns.
WARNING!
Engine exhaust (internal combustion engines only),
some of its constituents, and certain vehicle compo-
nents contain, or emit, chemicals known to the State
of California to cause cancer and birth defects, or
other reproductive harm. In addition, certain fluids
contained in vehicles and certain products of compo-
nent wear contain, or emit, chemicals known to the
State of California to cause cancer and birth defects,
or other reproductive harm.
WARRANTY INFORMATION
See the Warranty Information Booklet, located on the
DVD, for the terms and provisions of Chrysler Group
LLC warranties applicable to this vehicle and market.
666 IF YOU NEED CONSUMER ASSISTANCE
Page 674 of 695
About Your Brakes........................468
ABS (Anti-Lock Brake System)................309
Adding Engine Coolant (Antifreeze)............614
Adding Fuel.............................530
Additives, Fuel...........................528
Air bag . . . . . . . . . . . . . . . . . . . . . . . . . . . . . . . . .63
Air Bag
Advance Front Air Bag....................64
Air bag Operation.......................67
Air Bag Warning Light....................72
Enhanced Accident Response................72
Event Data Recorder (EDR).................75
Front Air Bag . . . . . . . . . . . . . . . . . . . . . . . . . . .63
If A Deployment Occurs...................70
Knee Impact Bolsters.....................68
Maintaining Your Air Bag System............74
Air bag Deployment........................63
Air bag Light.............................72
Air bag Maintenance........................74
Air Cleaner, Engine (Engine Air Cleaner Filter) . . . .591
Air Conditioner Maintenance.................598
Air Conditioning..........................400
Air Conditioning Controls...................400
Air Conditioning Filter.....................413
Air Conditioning, Operating Tips..............412
Air Conditioning Refrigerant.................598
Air Conditioning System....................400
Air Pressure, Tires.........................500
Alarm Light.............................312
Alarm (Security Alarm)......................20
Alterations/Modifications, Vehicle...............9
Antenna, Satellite Radio.....................359
Antifreeze (Engine Coolant)..................613
Disposal..............................616
Anti-Lock Warning Light....................309
Appearance Care.........................625
Arming System (Security Alarm)...............20
Assistance Towing.........................129
672 INDEX
Page 675 of 695
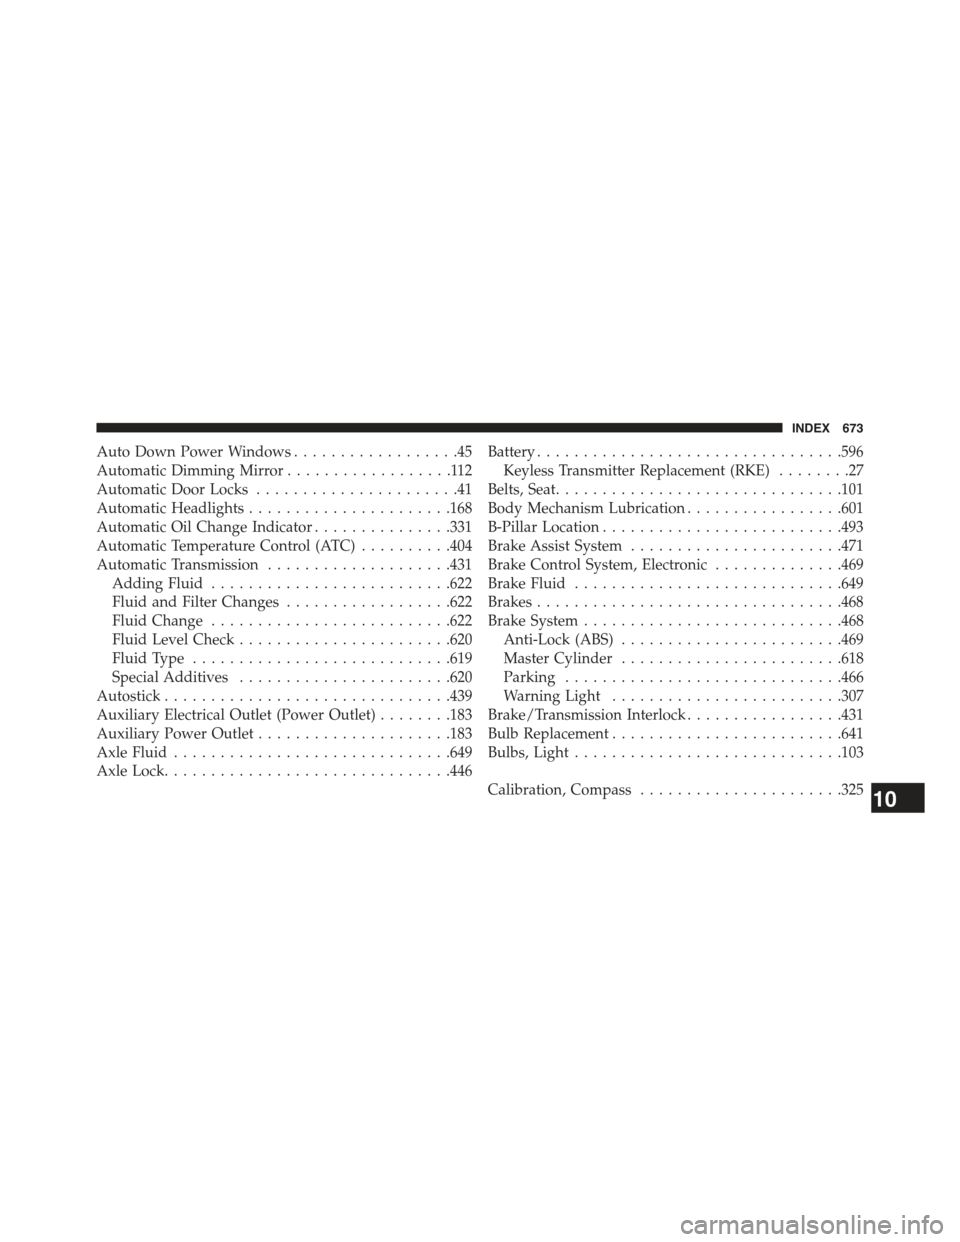
Auto Down Power Windows..................45
Automatic Dimming Mirror..................112
Automatic Door Locks......................41
Automatic Headlights......................168
Automatic Oil Change Indicator...............331
Automatic Temperature Control (ATC)..........404
Automatic Transmission....................431
Adding Fluid..........................622
Fluid and Filter Changes..................622
Fluid Change..........................622
Fluid Level Check.......................620
Fluid Type............................619
Special Additives.......................620
Autostick...............................439
Auxiliary Electrical Outlet (Power Outlet)........183
Auxiliary Power Outlet.....................183
Axle Fluid..............................649
Axle Lock...............................446
Battery.................................596
Keyless Transmitter Replacement (RKE)........27
Belts, Seat...............................101
Body Mechanism Lubrication.................601
B-Pillar Location..........................493
Brake Assist System.......................471
Brake Control System, Electronic..............469
Brake Fluid.............................649
Brakes.................................468
Brake System............................468
Anti-Lock (ABS)........................469
Master Cylinder........................618
Parking..............................466
Warning Light.........................307
Brake/Transmission Interlock.................431
Bulb Replacement.........................641
Bulbs, Light.............................103
Calibration, Compass......................32510
INDEX 673
Page 676 of 695
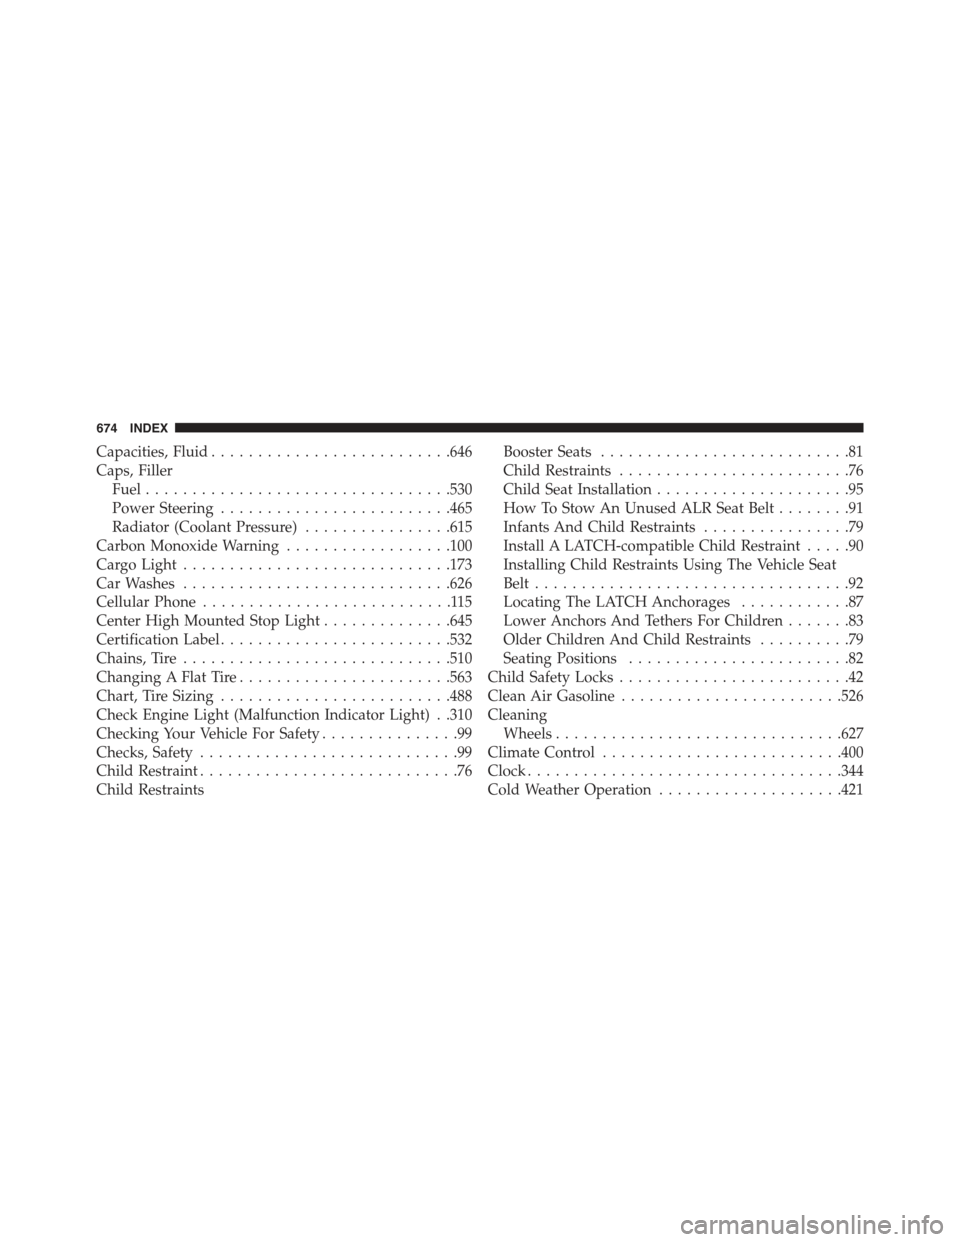
Capacities, Fluid..........................646
Caps, Filler
Fuel.................................530
Power Steering.........................465
Radiator (Coolant Pressure)................615
Carbon Monoxide Warning..................100
Cargo Light.............................173
Car Washes.............................626
Cellular Phone...........................115
Center High Mounted Stop Light..............645
Certification Label.........................532
Chains, Tire.............................510
Changing A Flat Tire.......................563
Chart, Tire Sizing.........................488
Check Engine Light (Malfunction Indicator Light) . .310
Checking Your Vehicle For Safety...............99
Checks, Safety............................99
Child Restraint............................76
Child Restraints
Booster Seats...........................81
Child Restraints.........................76
Child Seat Installation.....................95
How To Stow An Unused ALR Seat Belt........91
Infants And Child Restraints................79
Install A LATCH-compatible Child Restraint.....90
Installing Child Restraints Using The Vehicle Seat
Belt..................................92
Locating The LATCH Anchorages............87
Lower Anchors And Tethers For Children.......83
Older Children And Child Restraints..........79
Seating Positions........................82
Child Safety Locks.........................42
Clean Air Gasoline........................526
Cleaning
Wheels...............................627
Climate Control..........................400
Clock..................................344
Cold Weather Operation....................421
674 INDEX