light JEEP WRANGLER 2015 JK / 3.G Owner's Manual
[x] Cancel search | Manufacturer: JEEP, Model Year: 2015, Model line: WRANGLER, Model: JEEP WRANGLER 2015 JK / 3.GPages: 695, PDF Size: 20.64 MB
Page 109 of 695
▫Replacing The Rear Seat — Two-Door
Models............................163
▫60/40 Split Folding Rear Seat — Four-Door
Models............................163
!TO OPEN AND CLOSE THE HOOD.........165
!LIGHTS.............................166
▫Multifunction Lever....................166
▫Headlights And Parking Lights............167
▫Automatic Headlights — If Equipped.......168
▫Turn Signals.........................169
▫Lane Change Assist...................169
▫Lights-On Reminder...................169
▫High/Low Beam Switch................170
▫Flash-To-Pass........................170
▫Front Fog Lights......................170
▫Instrument Panel Dimmer...............170
▫Daytime Running Lights — If Equipped.....171
▫Interior Lights.......................171
!WINDSHIELD WIPERS AND WASHERS......174
▫Windshield Wiper Operation.............175
▫Intermittent Wiper System...............176
▫Windshield Washers....................177
▫Mist Feature.........................177
!TILT STEERING COLUMN...............178
!ELECTRONIC SPEED CONTROL —
IF EQUIPPED.........................179
▫To Activate..........................180
3
UNDERSTANDING THE FEATURES OF YOUR VEHICLE 107
Page 113 of 695
MIRRORS
Inside Day/Night Mirror — If Equipped
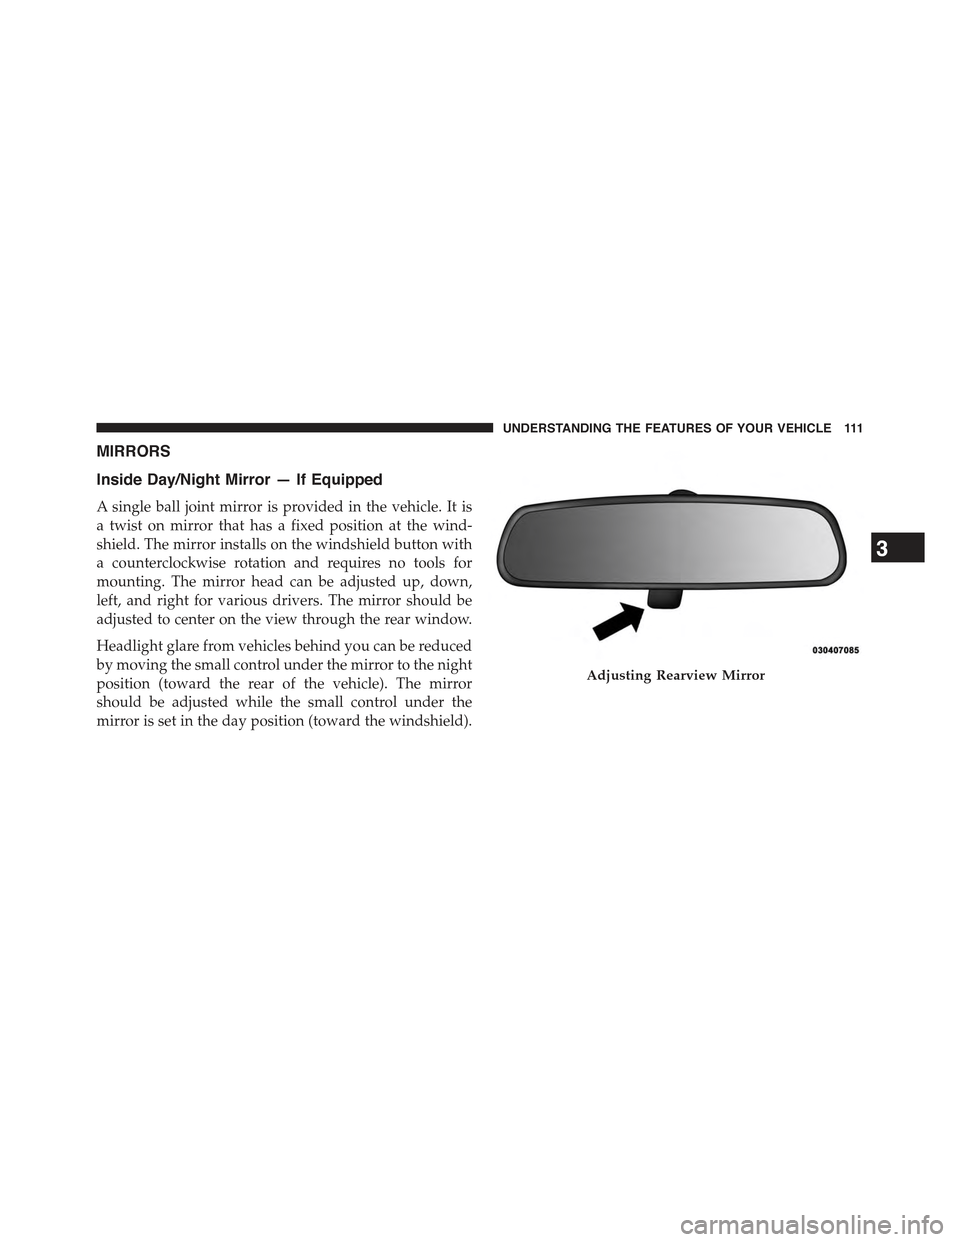
A single ball joint mirror is provided in the vehicle. It is
a twist on mirror that has a fixed position at the wind-
shield. The mirror installs on the windshield button with
a counterclockwise rotation and requires no tools for
mounting. The mirror head can be adjusted up, down,
left, and right for various drivers. The mirror should be
adjusted to center on the view through the rear window.
Headlight glare from vehicles behind you can be reduced
by moving the small control under the mirror to the night
position (toward the rear of the vehicle). The mirror
should be adjusted while the small control under the
mirror is set in the day position (toward the windshield).
Adjusting Rearview Mirror
3
UNDERSTANDING THE FEATURES OF YOUR VEHICLE 111
Page 114 of 695
Outside Mirrors
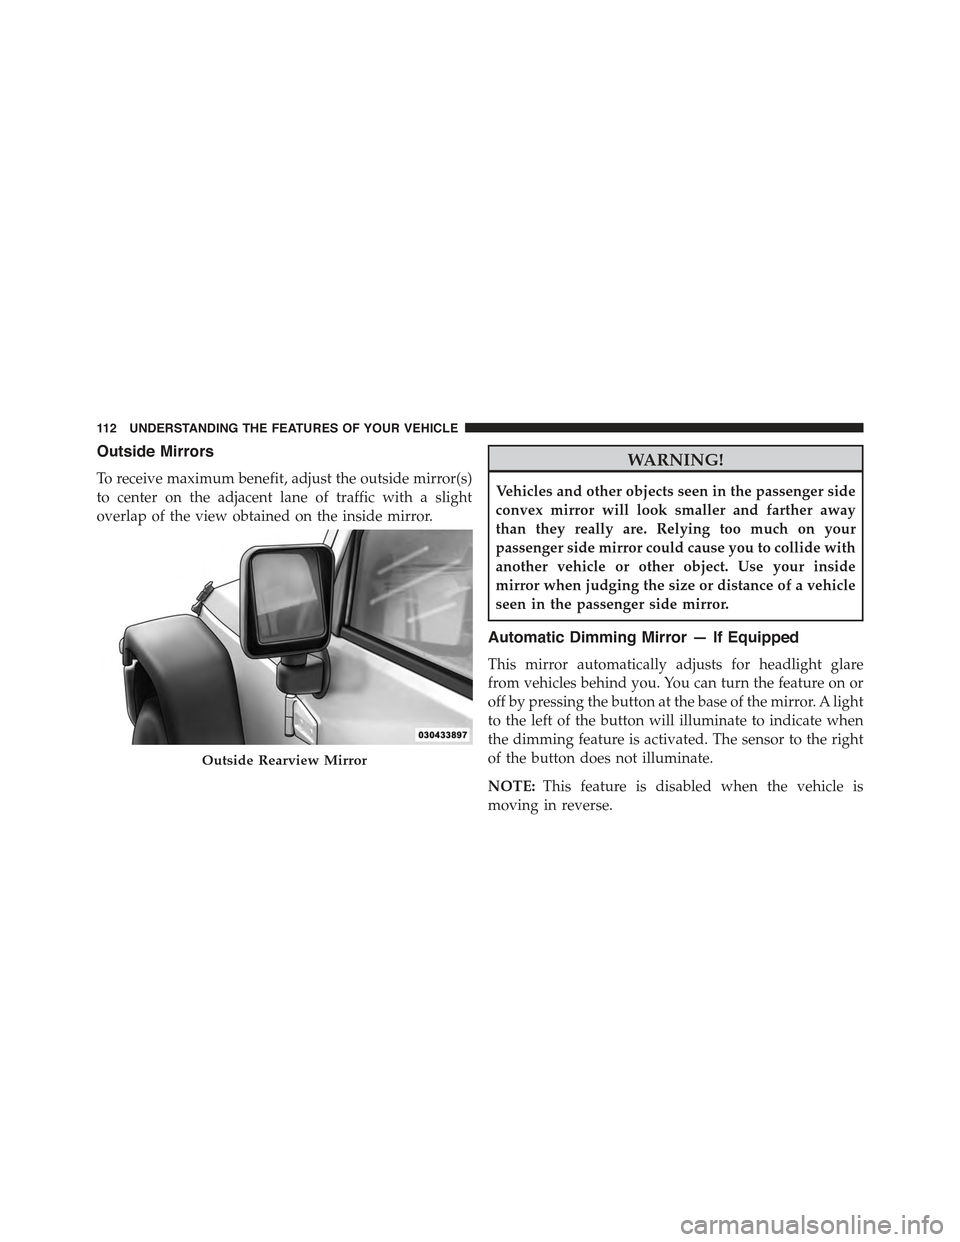
To receive maximum benefit, adjust the outside mirror(s)
to center on the adjacent lane of traffic with a slight
overlap of the view obtained on the inside mirror.
WARNING!
Vehicles and other objects seen in the passenger side
convex mirror will look smaller and farther away
than they really are. Relying too much on your
passenger side mirror could cause you to collide with
another vehicle or other object. Use your inside
mirror when judging the size or distance of a vehicle
seen in the passenger side mirror.
Automatic Dimming Mirror — If Equipped
This mirror automatically adjusts for headlight glare
from vehicles behind you. You can turn the feature on or
off by pressing the button at the base of the mirror. A light
to the left of the button will illuminate to indicate when
the dimming feature is activated. The sensor to the right
of the button does not illuminate.
NOTE:This feature is disabled when the vehicle is
moving in reverse.
Outside Rearview Mirror
11 2 U N D E R S TA N D I N G T H E F E AT U R E S O F Y O U R V E H I C L E
Page 131 of 695
NOTE:
•The emergency number dialed is based on the country
where the vehicle is purchased (911 for the U.S. and
Canada and 060 for Mexico). The number dialed may not
be applicable with the available mobile service and area.
•If supported, this number may be programmable on
some systems. To do this, push thebutton and say
“Setup,” followed by “Emergency.”
•The Uconnect® Phone does slightly lower your
chances of successfully making a phone call as to that
for the mobile phone directly.
WARNING!
To use your Uconnect® Phone System in an emer-
gency, your mobile phone must be:
•turned on,
(Continued)
WARNING!(Continued)
•paired to the Uconnect® System,
•and have network coverage.
Roadside Assistance/Towing Assistance
If you need roadside assistance:
•Push thebutton to begin.
•After the “Ready” prompt and the following beep, say
“Towing Assistance.”
NOTE:You should program the desired Towing Assis-
tance phone number using the Voice Command system.
To do this, push thebutton and say “Setup,” fol-
lowed by “Towing Assistance.” When prompted say
1-800-521-2779 for U.S./Canada, say 55-14-3454 for
Mexico City and 1-800-712-3040 for outside Mexico
City in Mexico.
3
UNDERSTANDING THE FEATURES OF YOUR VEHICLE 129
Page 160 of 695
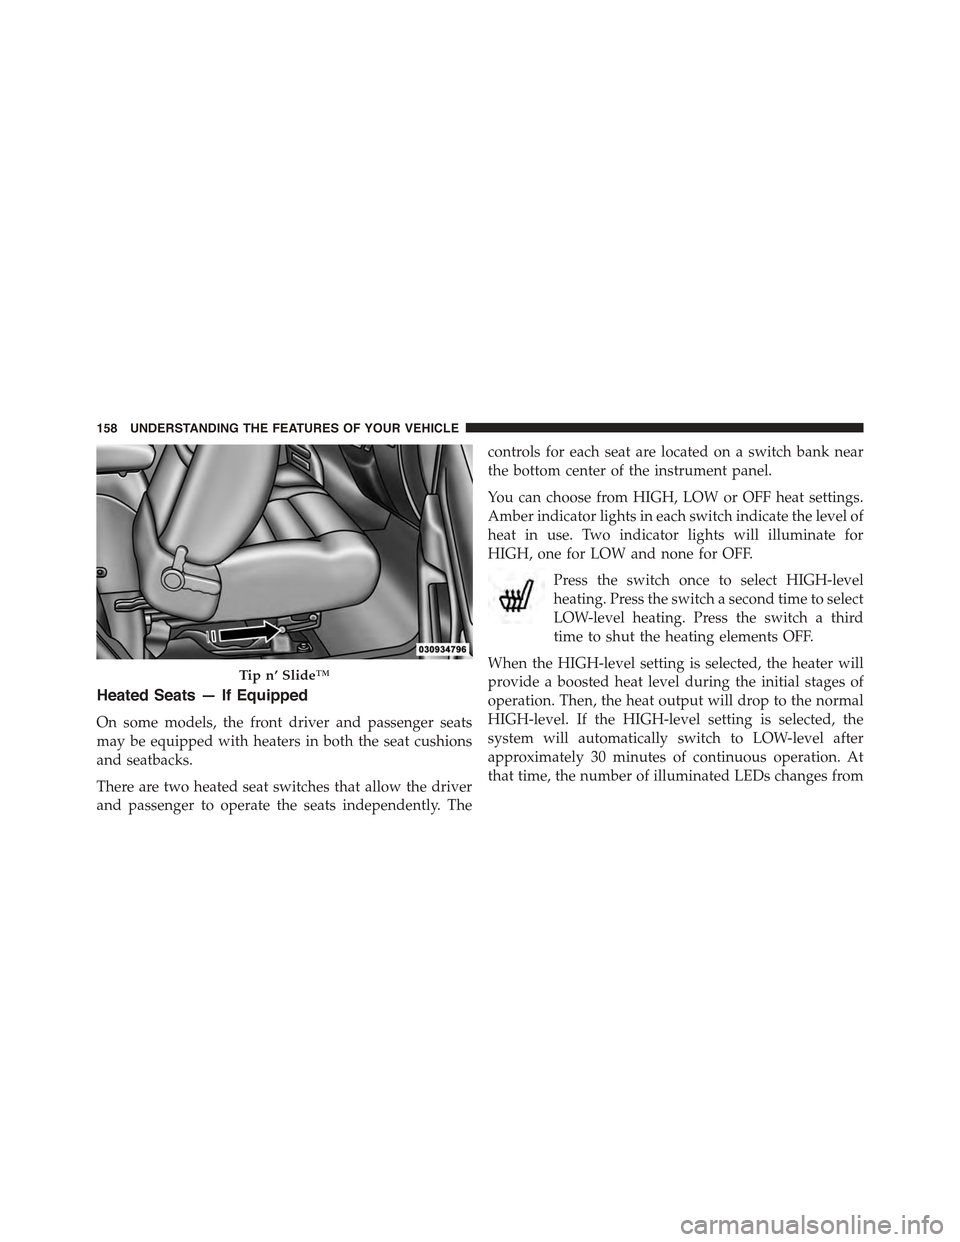
Heated Seats — If Equipped
On some models, the front driver and passenger seats
may be equipped with heaters in both the seat cushions
and seatbacks.
There are two heated seat switches that allow the driver
and passenger to operate the seats independently. The
controls for each seat are located on a switch bank near
the bottom center of the instrument panel.
You can choose from HIGH, LOW or OFF heat settings.
Amber indicator lights in each switch indicate the level of
heat in use. Two indicator lights will illuminate for
HIGH, one for LOW and none for OFF.
Press the switch once to select HIGH-level
heating. Press the switch a second time to select
LOW-level heating. Press the switch a third
time to shut the heating elements OFF.
When the HIGH-level setting is selected, the heater will
provide a boosted heat level during the initial stages of
operation. Then, the heat output will drop to the normal
HIGH-level. If the HIGH-level setting is selected, the
system will automatically switch to LOW-level after
approximately 30 minutes of continuous operation. At
that time, the number of illuminated LEDs changes from
Tip n’ Slide™
158 UNDERSTANDING THE FEATURES OF YOUR VEHICLE
Page 168 of 695
to push down slightly on the hood before pushing the
safety latch. Insert the support rod into the slot on the
hood.
To close the hood, remove the support rod from the hood
panel and place it in the retaining clip. Lower the hood
slowly. Secure both of the hood latches.
WARNING!
Be sure the hood is fully latched before driving your
vehicle. If the hood is not fully latched, it could open
when the vehicle is in motion and block your vision.
Failure to follow this warning could result in serious
injury or death.
LIGHTS
Multifunction Lever
The multifunction lever controls the operation of the
parking lights, headlights, headlight beam selection,
passing light, fog lights, instrument panel light dimming
and turn signals. The multifunction lever is located on
the left side of the steering column.
166 UNDERSTANDING THE FEATURES OF YOUR VEHICLE
Page 169 of 695
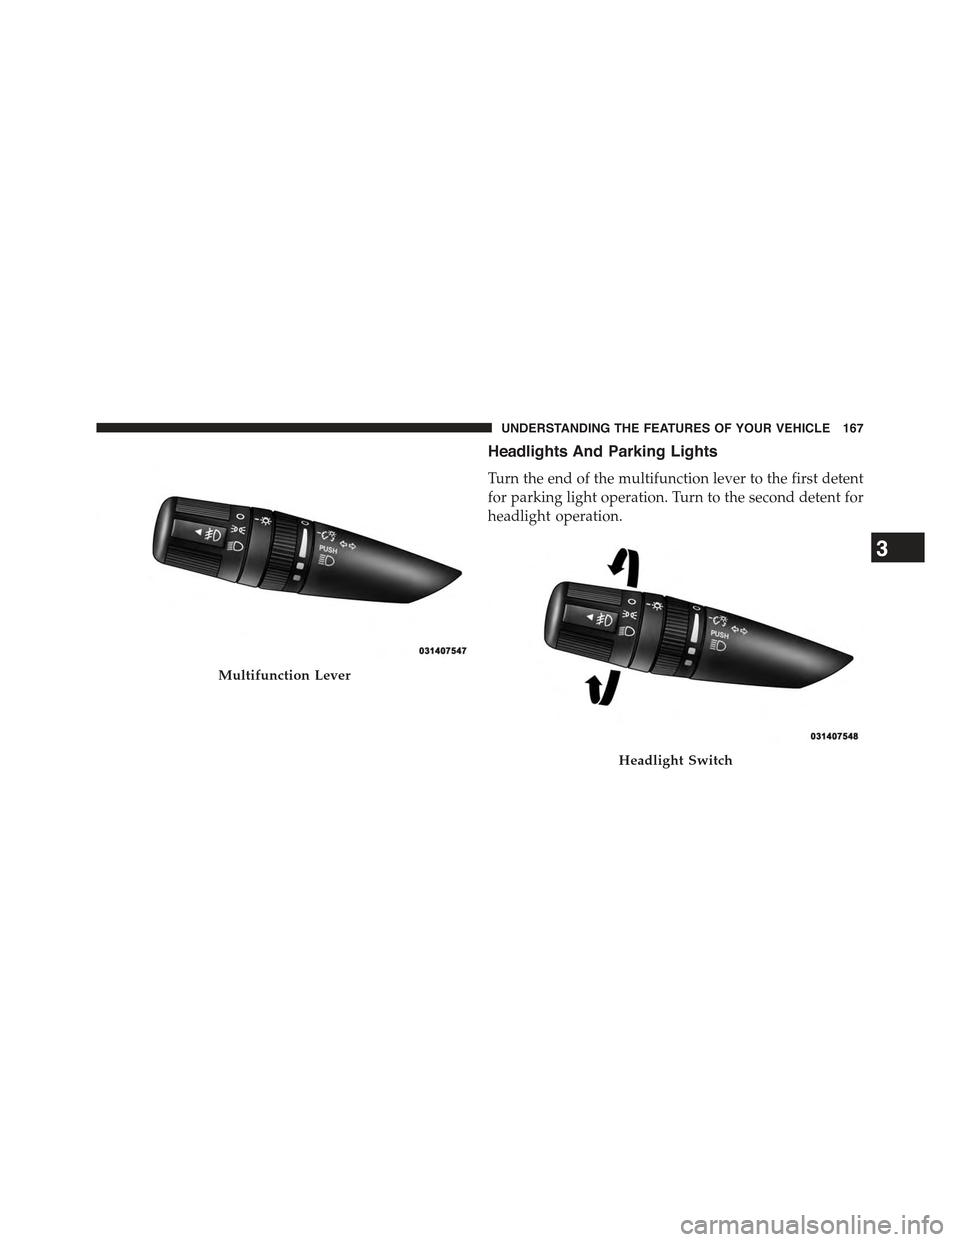
Headlights And Parking Lights
Turn the end of the multifunction lever to the first detent
for parking light operation. Turn to the second detent for
headlight operation.
Multifunction Lever
Headlight Switch
3
UNDERSTANDING THE FEATURES OF YOUR VEHICLE 167
Page 170 of 695
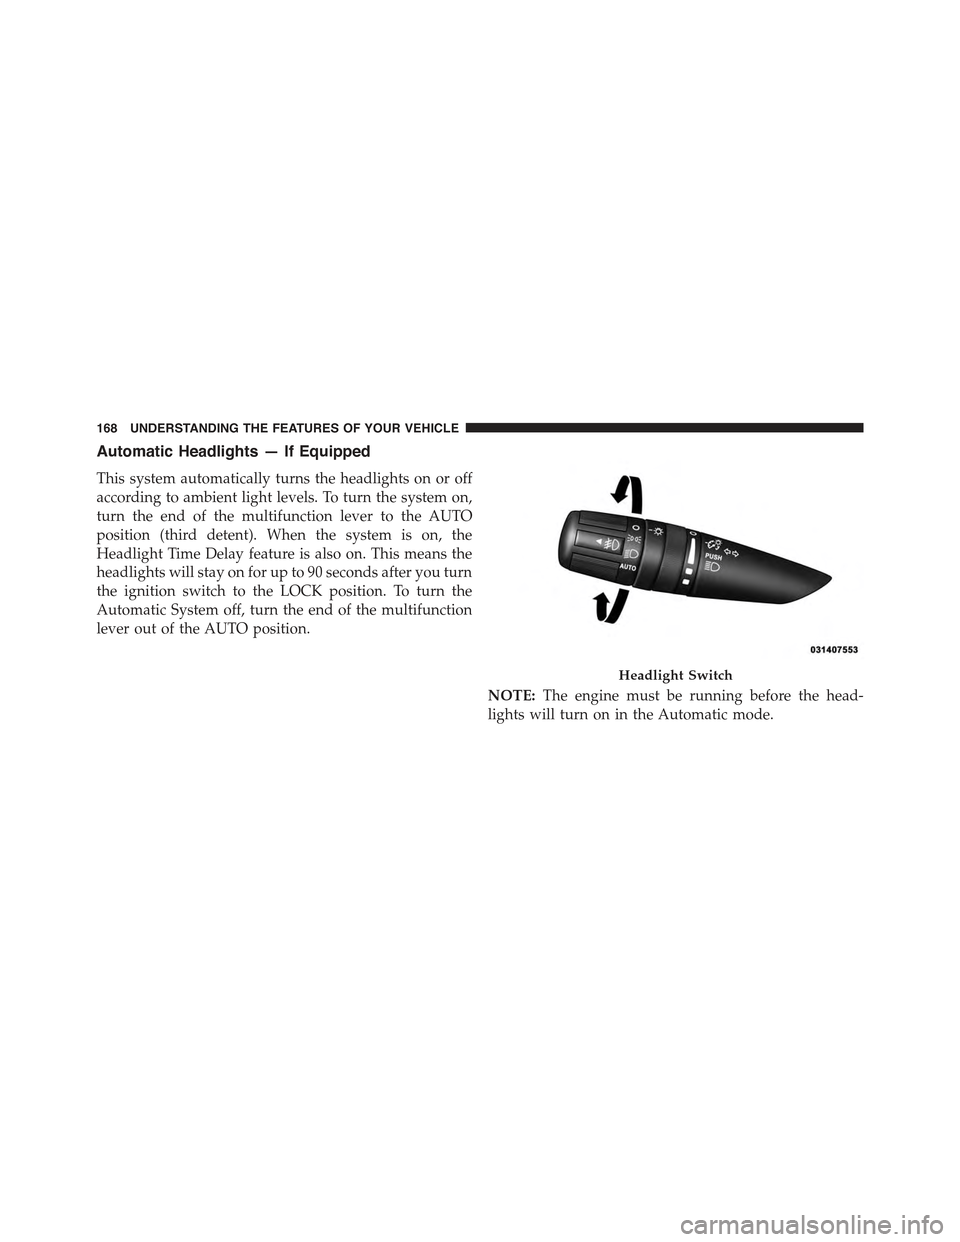
Automatic Headlights — If Equipped
This system automatically turns the headlights on or off
according to ambient light levels. To turn the system on,
turn the end of the multifunction lever to the AUTO
position (third detent). When the system is on, the
Headlight Time Delay feature is also on. This means the
headlights will stay on for up to 90 seconds after you turn
the ignition switch to the LOCK position. To turn the
Automatic System off, turn the end of the multifunction
lever out of the AUTO position.
NOTE:The engine must be running before the head-
lights will turn on in the Automatic mode.
Headlight Switch
168 UNDERSTANDING THE FEATURES OF YOUR VEHICLE
Page 171 of 695
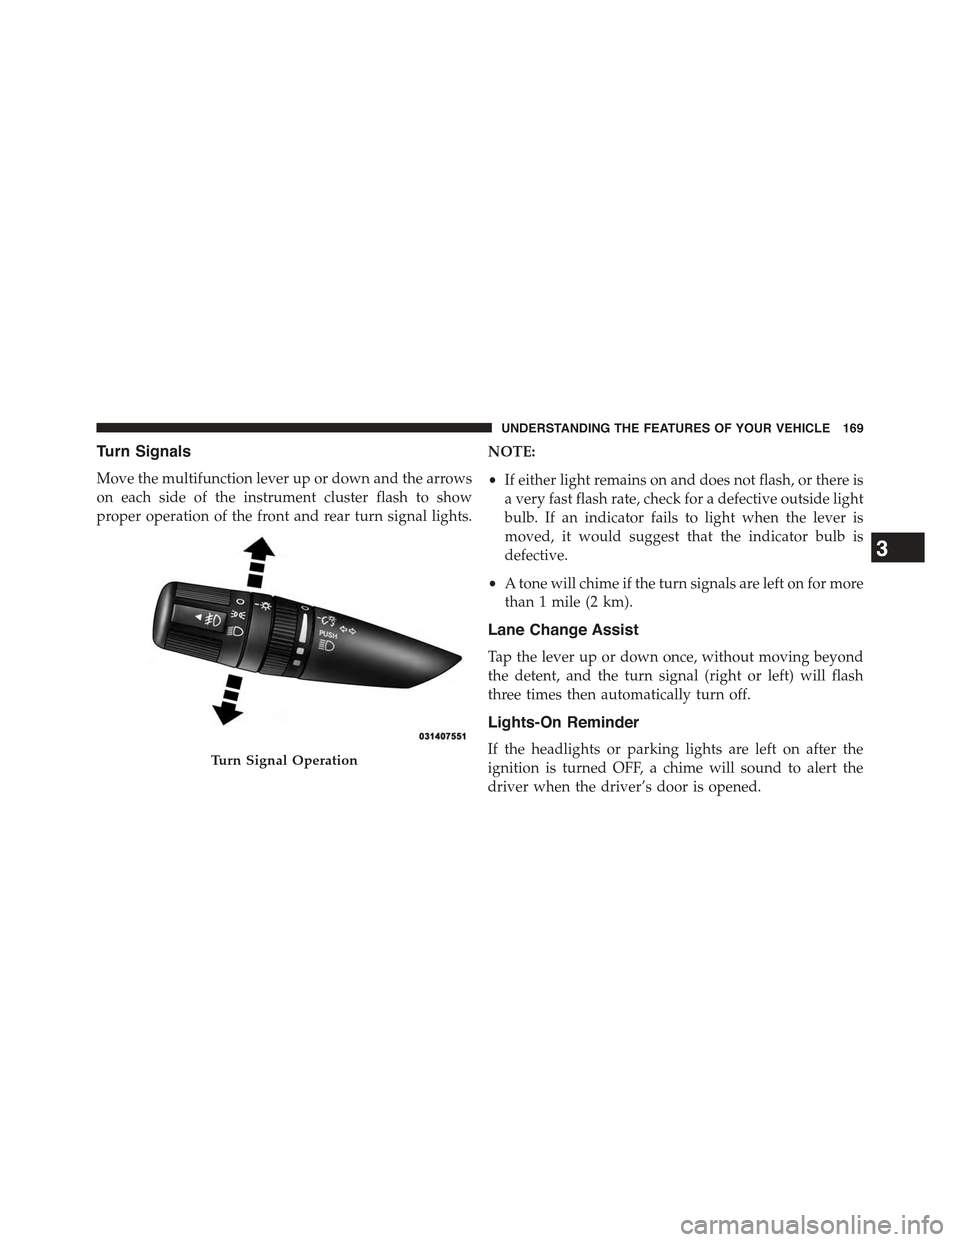
Turn Signals
Move the multifunction lever up or down and the arrows
on each side of the instrument cluster flash to show
proper operation of the front and rear turn signal lights.
NOTE:
•If either light remains on and does not flash, or there is
a very fast flash rate, check for a defective outside light
bulb. If an indicator fails to light when the lever is
moved, it would suggest that the indicator bulb is
defective.
•A tone will chime if the turn signals are left on for more
than 1 mile (2 km).
Lane Change Assist
Tap the lever up or down once, without moving beyond
the detent, and the turn signal (right or left) will flash
three times then automatically turn off.
Lights-On Reminder
If the headlights or parking lights are left on after the
ignition is turned OFF, a chime will sound to alert the
driver when the driver’s door is opened.
Turn Signal Operation
3
UNDERSTANDING THE FEATURES OF YOUR VEHICLE 169
Page 172 of 695
High/Low Beam Switch
Push the multifunction lever away from you to switch
the headlights to high beam. Pull the lever toward you, to
switch the headlights back to low beam.
Flash-To-Pass
You can signal another vehicle with your headlights by
lightly pulling the multifunction lever toward you. This
will turn on the high beams headlights until the lever is
released.
Front Fog Lights
The front fog light switch is located on the multi-
function lever. To activate the front fog lights, turn
on the parking or low beam headlights and pull out the
end of the lever.
NOTE:The fog lights will only operate with the parking
lights or the headlights on low beam. Selecting high
beam headlights will turn off the fog lights.
Instrument Panel Dimmer
Rotate the center portion of the lever to the extreme
bottom position to fully dim the instrument panel lights
and prevent the interior lights from illuminating when a
door is opened.
Rotate the center portion of the lever up to increase the
brightness of the instrument panel lights when the park-
ing lights or headlights are on.
Rotate the center portion of the lever upward to the next
detent position to brighten the odometer and radio when
the parking lights or headlights are on.
Rotate the center portion of the lever upward to the last
detent to turn on the interior lighting.
170 UNDERSTANDING THE FEATURES OF YOUR VEHICLE