light JEEP WRANGLER 2015 JK / 3.G Workshop Manual
[x] Cancel search | Manufacturer: JEEP, Model Year: 2015, Model line: WRANGLER, Model: JEEP WRANGLER 2015 JK / 3.GPages: 695, PDF Size: 20.64 MB
Page 322 of 695
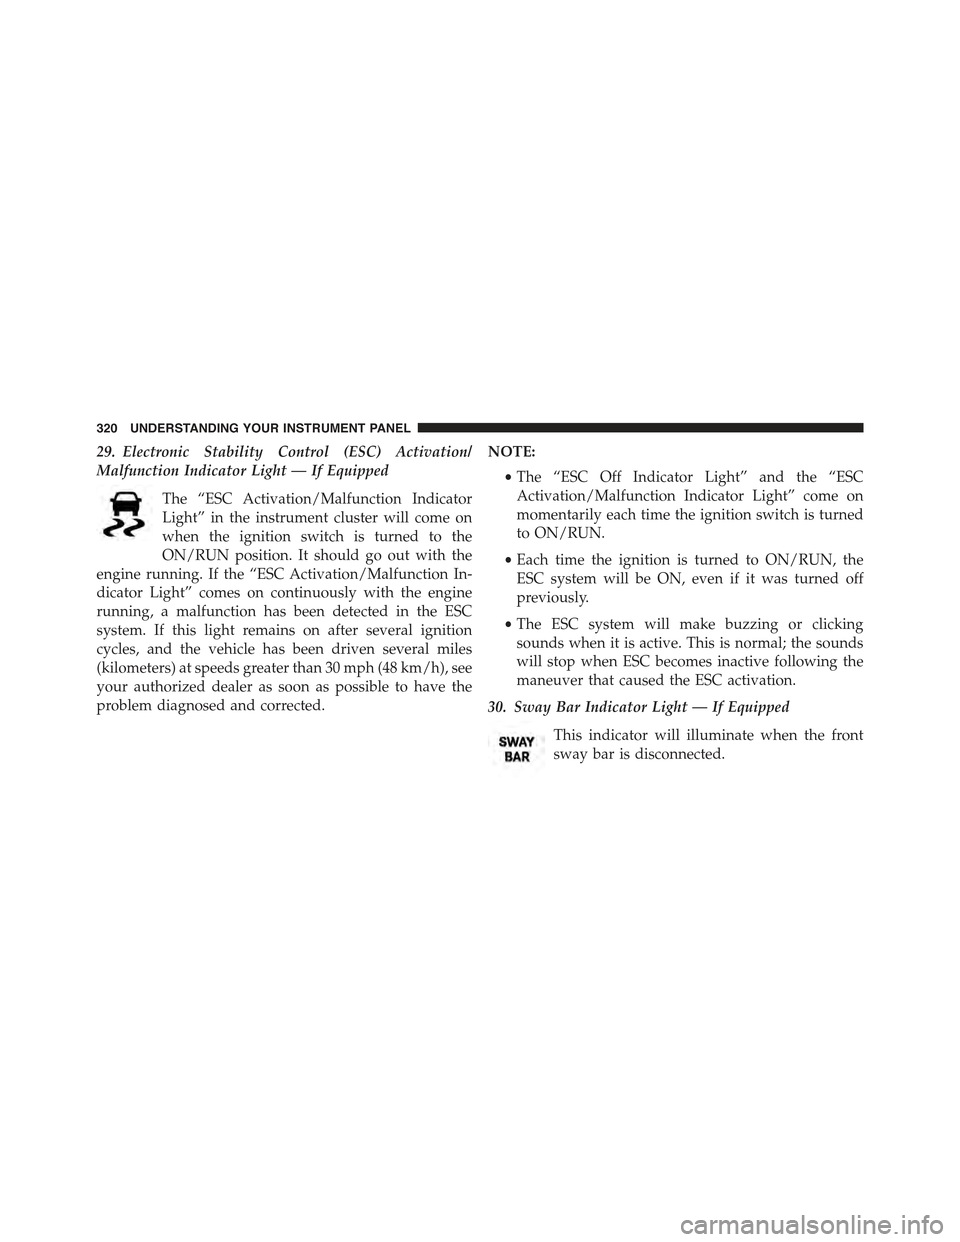
29. Electronic Stability Control (ESC) Activation/
Malfunction Indicator Light — If Equipped
The “ESC Activation/Malfunction Indicator
Light” in the instrument cluster will come on
when the ignition switch is turned to the
ON/RUN position. It should go out with the
engine running. If the “ESC Activation/Malfunction In-
dicator Light” comes on continuously with the engine
running, a malfunction has been detected in the ESC
system. If this light remains on after several ignition
cycles, and the vehicle has been driven several miles
(kilometers) at speeds greater than 30 mph (48 km/h), see
your authorized dealer as soon as possible to have the
problem diagnosed and corrected.
NOTE:
•The “ESC Off Indicator Light” and the “ESC
Activation/Malfunction Indicator Light” come on
momentarily each time the ignition switch is turned
to ON/RUN.
•Each time the ignition is turned to ON/RUN, the
ESC system will be ON, even if it was turned off
previously.
•The ESC system will make buzzing or clicking
sounds when it is active. This is normal; the sounds
will stop when ESC becomes inactive following the
maneuver that caused the ESC activation.
30. Sway Bar Indicator Light — If Equipped
This indicator will illuminate when the front
sway bar is disconnected.
320 UNDERSTANDING YOUR INSTRUMENT PANEL
Page 323 of 695
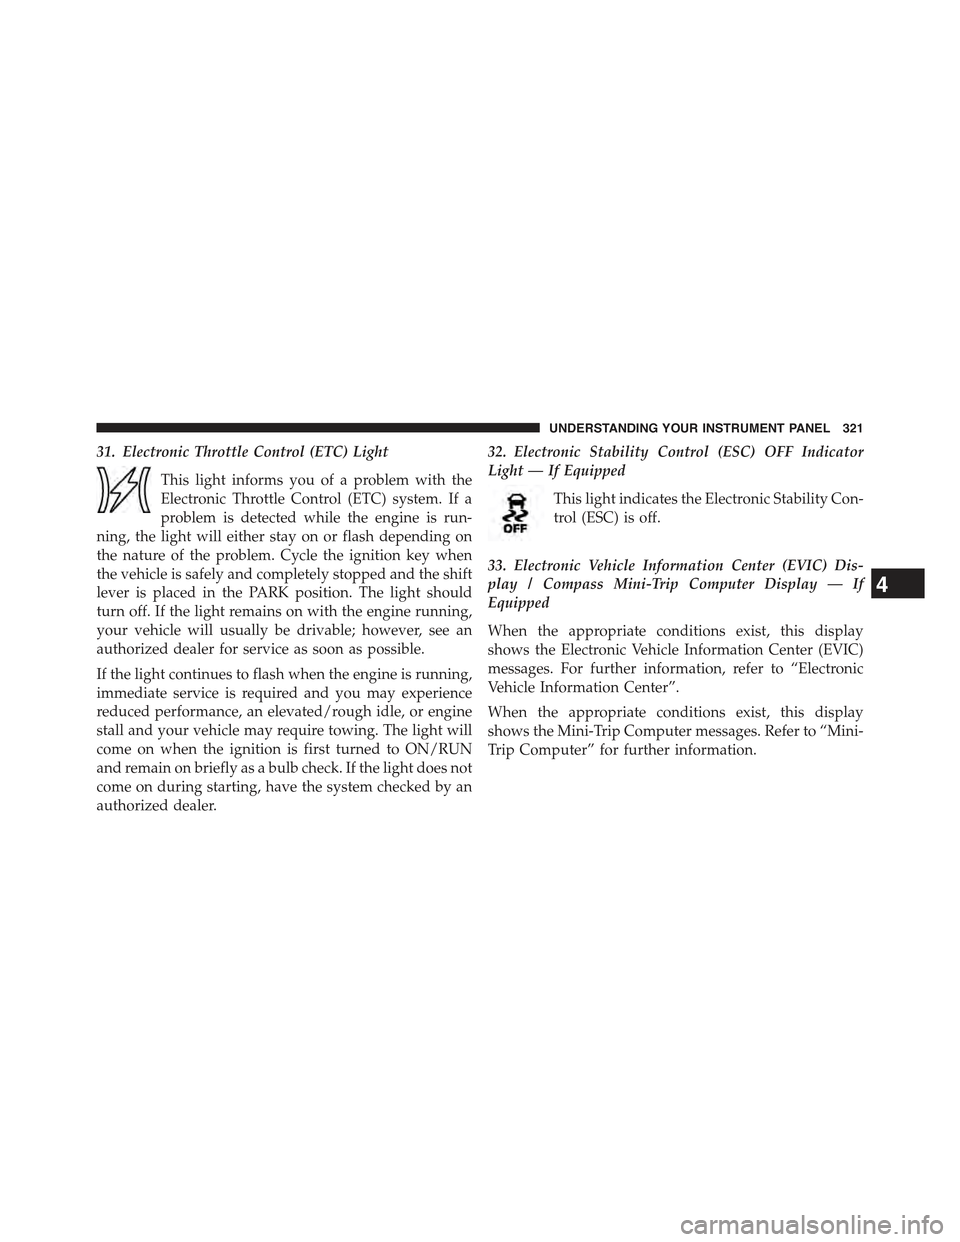
31. Electronic Throttle Control (ETC) Light
This light informs you of a problem with the
Electronic Throttle Control (ETC) system. If a
problem is detected while the engine is run-
ning, the light will either stay on or flash depending on
the nature of the problem. Cycle the ignition key when
the vehicle is safely and completely stopped and the shift
lever is placed in the PARK position. The light should
turn off. If the light remains on with the engine running,
your vehicle will usually be drivable; however, see an
authorized dealer for service as soon as possible.
If the light continues to flash when the engine is running,
immediate service is required and you may experience
reduced performance, an elevated/rough idle, or engine
stall and your vehicle may require towing. The light will
come on when the ignition is first turned to ON/RUN
and remain on briefly as a bulb check. If the light does not
come on during starting, have the system checked by an
authorized dealer.
32. Electronic Stability Control (ESC) OFF Indicator
Light — If Equipped
This light indicates the Electronic Stability Con-
trol (ESC) is off.
33. Electronic Vehicle Information Center (EVIC) Dis-
play / Compass Mini-Trip Computer Display — If
Equipped
When the appropriate conditions exist, this display
shows the Electronic Vehicle Information Center (EVIC)
messages. For further information, refer to “Electronic
Vehicle Information Center”.
When the appropriate conditions exist, this display
shows the Mini-Trip Computer messages. Refer to “Mini-
Trip Computer” for further information.
4
UNDERSTANDING YOUR INSTRUMENT PANEL 321
Page 341 of 695
RKE Unlock
WhenDriver Door 1st Pressis selected, only the driver’s
door will unlock on the first press of the Remote Keyless
Entry (RKE) transmitter UNLOCK button. When Driver
Door 1st Press is selected, you must press the RKE
transmitter UNLOCK button twice to unlock the passen-
ger’s doors. WhenAll Doors 1st Pressis selected, all of
the doors will unlock on the first press of the RKE
transmitter UNLOCK button. To make your selection,
press and release the SELECT button until “Driver Door
1st Press” or “All Doors 1st Press” appears.
Sound Horn With Lock
When on is selected, a short horn sound will occur when
the RKE transmitter LOCK button is pressed. This feature
may be selected with or without the Flash Lamp with
Lock feature. To make your selection, press and release
the SELECT button until “On” or “Off” appears.
Flash Lamp with Lock
When on is selected, the front and rear turn signals will
flash when the doors are locked or unlocked with the
RKE transmitter. This feature may be selected with or
without the Sound Horn with Lock feature selected. To
make your selection, press and release the SELECT
button until “On” or “Off” appears.
Headlamp Off Delay
When this feature is selected, the driver can choose to
have the headlights remain on for 0, 30, 60, or 90 seconds
when exiting the vehicle. To make your selection, press
and release the SELECT button until “0,” “30,” “60,” or
“90” appears.
4
UNDERSTANDING YOUR INSTRUMENT PANEL 339
Page 342 of 695
Headlamps with Wipers (Available with Auto
Headlights Only)
When on is selected, and the headlight switch is in the
AUTO position, the headlights will turn on approxi-
mately 10 seconds after the wipers are turned on. If the
headlights were turned on by this feature they will also
turn off when the wipers are turned off. To make your
selection, press and release the SELECT button until
“ON” or “OFF” appears.
NOTE:Turning the headlights on during the daytime
causes the instrument panel lights to dim. To increase the
brightness, refer to “Lights” in “Understanding The
Features Of Your Vehicle.”
Key Off Power Delay
When this feature is selected, the power window
switches, radio, hands–free system (if equipped), DVD
video system (if equipped), power sunroof (if equipped),
and power outlets will remain active for up to 10 minutes
after the ignition switch is turned to the LOCK position.
Opening either front vehicle door will cancel this feature.
To make your selection, press and release the SELECT
button until “Off,” “45 sec.,” “5 min.,” or “10 min.”
appears.
Illumin. Approach
When this feature is selected, the headlights will activate
and remain on for up to 90 seconds when the doors are
unlocked with the RKE transmitter. To make your selec-
tion, press and hold the SELECT button until “Off,” “30
sec,” “60 sec,” or “90 sec” appears.
Hill Start Assist (HSA) — If Equipped
When on is selected, the HSA system is active. Refer to
“Electronic Brake Control System” in “Starting And
Operating” for system function and operating informa-
tion. To make your selection, push and release the
SELECT button until “On” or “Off” appears.
340 UNDERSTANDING YOUR INSTRUMENT PANEL
Page 343 of 695
Display Units In
The EVIC can be changed between English and Metric
units of measure. The units apply to the Outside Tem-
perature, Average Fuel Economy, and Distance to Empty.
To make your selection, press and release the SELECT
button until “U.S.” or#METRIC#appears.
Nav–Turn By Turn — If Equipped
When on enables display of Navigation System street
name, turn direction, and distance to turn information in
the EVIC. To make your selection, press and release the
SELECT button until “On” or “Off” appears.
Display Fuel Saver — If Equipped
The “ECO” message is located in the compass/outside
temperature/audio information/ECO display. If Display
Fuel Saver is selected as ON, only the ECO message will
display in the audio information/ECO line of the display.
If Display Fuel Saver is selected as OFF, only the audio
information will display in the audio information/ECO
line of the display when the audio system is on. To make
your selection, press and release the SELECT button until
“ON” or “OFF” appears.
Compass Variance
Refer to “Compass/Temperature Display” in “Electronic
Vehicle Information (EVIC)” in “Understanding Your
Instrument Panel” for more information.
Calibrate Compass
Refer to “Automatic Compass Calibration” in “Electronic
Vehicle Information (EVIC)” in “Understanding Your
Instrument Panel” for more information.
Tire PSI
Press and release the UP or DOWN button until “Tire
PSI:” displays highlighted in the EVIC. Press the SELECT
button to view a graphic of the vehicle with a tire
pressure value at each corner of the graphic.
4
UNDERSTANDING YOUR INSTRUMENT PANEL 341
Page 349 of 695
If a preset button is activated while in the Music Type
(Program Type) mode, the Music Type mode will be
exited and the radio will tune to the preset station.
SETUP Button
Pushing the SETUP button allows you to select between
the following items:
NOTE:Turn the TUNE/SCROLL control knob to scroll
through the entries. Push the AUDIO/SELECT button to
select an entry and make changes.
•DVD Enter —When the disc is in DVD Menu mode,
selecting DVD Enter will allow you to play the current
highlighted selection. Use the remote control to scroll
up and down the menu (if equipped).
•DISC Play/Pause —
You can toggle between playing the DVD and
pausing the DVD by pushing the SELECT
button (if equipped).
•DVD Play Options —Selecting the DVD Play Options
will display the following:
•Subtitle — Repeatedly pushing SELECT will switch
subtitles to different subtitle languages that are avail-
able on the disc (if equipped).
•Audio Stream — Repeatedly pushing SELECT will
switch to different audio languages (if supported on
the disc) (if equipped).
•Angle — Repeatedly pushing SELECT will change
the viewing angle if supported by the DVD disc (if
equipped).
4
UNDERSTANDING YOUR INSTRUMENT PANEL 347
Page 394 of 695
•Push theSCANbutton to use iPod®/USB/MP3 de-
vice scan mode, which will play the first ten seconds of
each track in the current list and then forward to the
next song. To stop SCAN mode and start playing the
desired track, when it is playing the track, push the
SCANbutton again. During Scan mode, pushing the
<
and next tracks.
•RNDbutton (available on sales code RES radio only):
Pushing this button toggles between Shuffle ON and
Shuffle OFF modes for the iPod® or external USB
device, or push the VR button and say#Shuffle ON#or
#Shuffle Off.#If theRNDicon is showing on the radio
display, then the shuffle mode is ON.
List Or Browse Mode
During Play mode, pushing any of the buttons described
below, will bring up List mode. List mode enables
scrolling through the list of menus and tracks on the
audio device.
TUNEcontrol knob: TheTUNEcontrol knob functions in
a similar manner as the scroll wheel on the audio device
or external USB device.
•Turning it clockwise (forward) and counterclockwise
(backward) scrolls through the lists, displaying the
track detail on the radio display. Once the track to be
played is highlighted on the radio display, push the
TUNEcontrol knob to select and start playing the
track. Turning theTUNEcontrol knob fast will scroll
through the list faster. During fast scroll, a slight delay
in updating the information on the radio display may
be noticeable.
392 UNDERSTANDING YOUR INSTRUMENT PANEL
Page 400 of 695
6. Do not expose the disc to direct sunlight.
7. Do not store the disc where temperatures may become
too high.
NOTE:If you experience difficulty in playing a particular
disc, it may be damaged (e.g., scratched, reflective coat-
ing removed, a hair, moisture or dew on the disc)
oversized, or have protection encoding. Try a known
good disc before considering disc player service.
RADIO OPERATION AND MOBILE PHONES
Under certain conditions, the mobile phone being on in
your vehicle can cause erratic or noisy performance from
your radio. This condition may be lessened or eliminated
by relocating the mobile phone antenna. This condition is
not harmful to the radio. If your radio performance does
not satisfactorily “clear” by the repositioning of the an-
tenna, it is recommended that the radio volume be turned
down or off during mobile phone operation when not
using Uconnect® (if equipped).
Regulatory And Safety Information
USA/CANADA
Exposure to Radio Frequency Radiation
The radiated output power of the internal wireless radio
is far below the FCC radio frequency exposure limits.
Nevertheless, the wireless radio shall be used in such a
manner that the radio is 20 cm or further from the human
body.
The internal wireless radio operates within guidelines
found in radio frequency safety standards and recom-
mendations, which reflect the consensus of the scientific
community.
398 UNDERSTANDING YOUR INSTRUMENT PANEL
Page 403 of 695
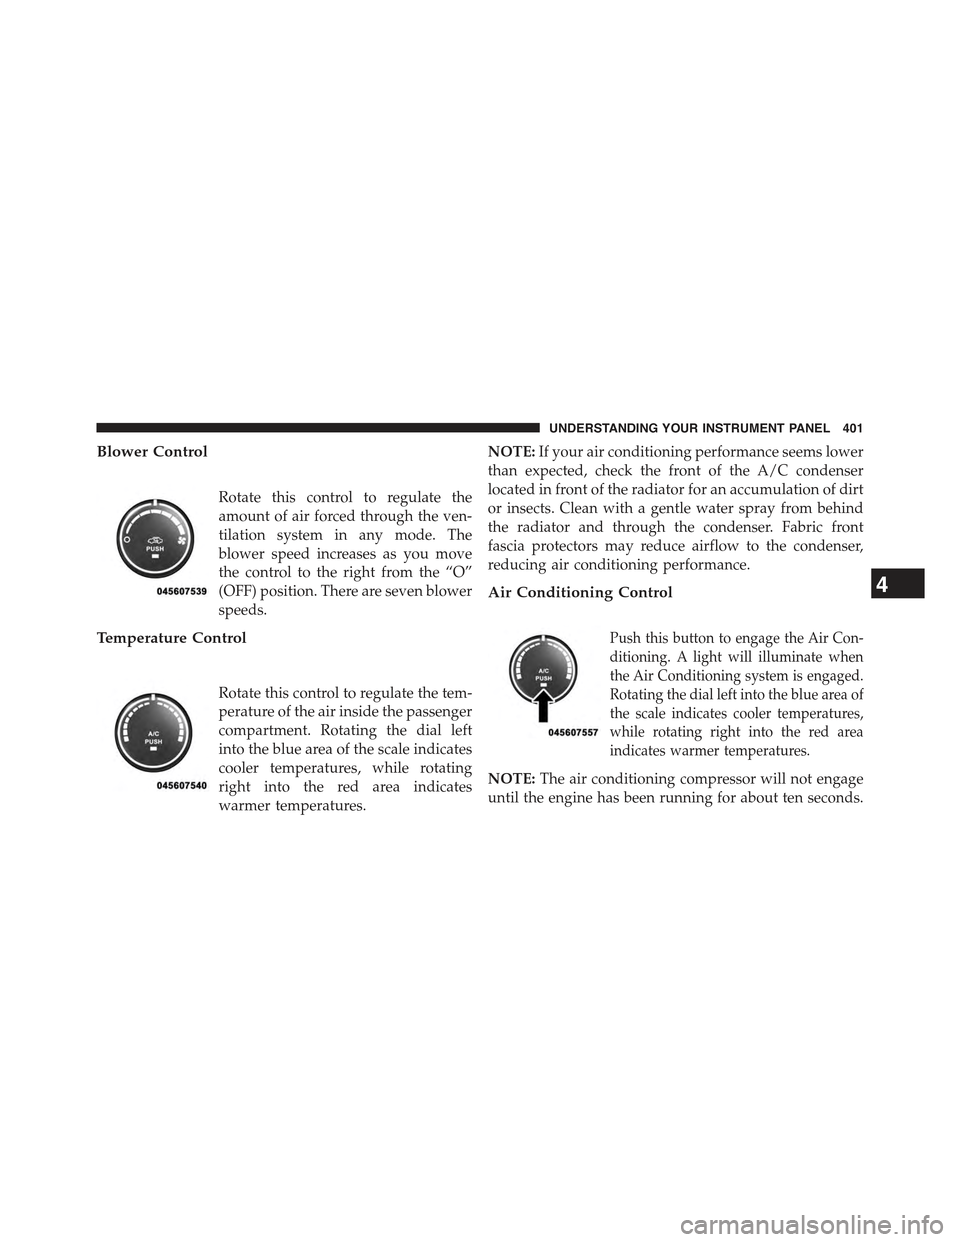
Blower Control
Rotate this control to regulate the
amount of air forced through the ven-
tilation system in any mode. The
blower speed increases as you move
the control to the right from the “O”
(OFF) position. There are seven blower
speeds.
Temperature Control
Rotate this control to regulate the tem-
perature of the air inside the passenger
compartment. Rotating the dial left
into the blue area of the scale indicates
cooler temperatures, while rotating
right into the red area indicates
warmer temperatures.
NOTE:If your air conditioning performance seems lower
than expected, check the front of the A/C condenser
located in front of the radiator for an accumulation of dirt
or insects. Clean with a gentle water spray from behind
the radiator and through the condenser. Fabric front
fascia protectors may reduce airflow to the condenser,
reducing air conditioning performance.
Air Conditioning Control
Push this button to engage the Air Con-
ditioning. A light will illuminate when
the Air Conditioning system is engaged.
Rotating the dial left into the blue area of
the scale indicates cooler temperatures,
while rotating right into the red area
indicates warmer temperatures.
NOTE:The air conditioning compressor will not engage
until the engine has been running for about ten seconds.
4
UNDERSTANDING YOUR INSTRUMENT PANEL 401
Page 404 of 695
•MAX A/C
For maximum cooling, turn on the A/C and recirculation
buttons at the same time.
•ECONOMY MODE
If economy mode is desired, push the A/C button to turn
OFF the indicator light and the A/C compressor. Then,
move the temperature control to the desired temperature.
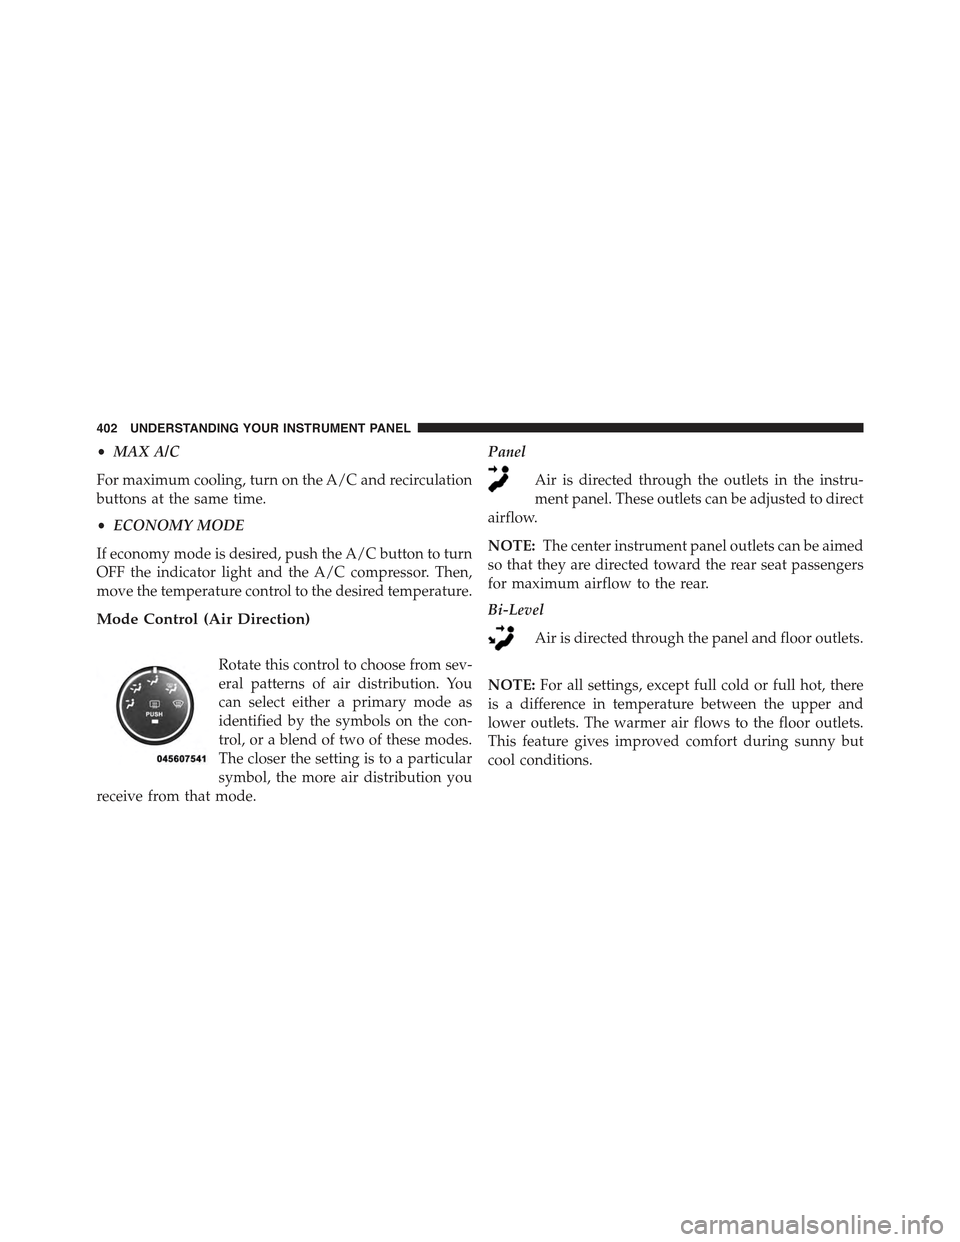
Mode Control (Air Direction)
Rotate this control to choose from sev-
eral patterns of air distribution. You
can select either a primary mode as
identified by the symbols on the con-
trol, or a blend of two of these modes.
The closer the setting is to a particular
symbol, the more air distribution you
receive from that mode.
Panel
Air is directed through the outlets in the instru-
ment panel. These outlets can be adjusted to direct
airflow.
NOTE:The center instrument panel outlets can be aimed
so that they are directed toward the rear seat passengers
for maximum airflow to the rear.
Bi-Level
Air is directed through the panel and floor outlets.
NOTE:For all settings, except full cold or full hot, there
is a difference in temperature between the upper and
lower outlets. The warmer air flows to the floor outlets.
This feature gives improved comfort during sunny but
cool conditions.
402 UNDERSTANDING YOUR INSTRUMENT PANEL