tow JEEP WRANGLER 2015 JK / 3.G Owner's Guide
[x] Cancel search | Manufacturer: JEEP, Model Year: 2015, Model line: WRANGLER, Model: JEEP WRANGLER 2015 JK / 3.GPages: 695, PDF Size: 20.64 MB
Page 323 of 695
31. Electronic Throttle Control (ETC) Light
This light informs you of a problem with the
Electronic Throttle Control (ETC) system. If a
problem is detected while the engine is run-
ning, the light will either stay on or flash depending on
the nature of the problem. Cycle the ignition key when
the vehicle is safely and completely stopped and the shift
lever is placed in the PARK position. The light should
turn off. If the light remains on with the engine running,
your vehicle will usually be drivable; however, see an
authorized dealer for service as soon as possible.
If the light continues to flash when the engine is running,
immediate service is required and you may experience
reduced performance, an elevated/rough idle, or engine
stall and your vehicle may require towing. The light will
come on when the ignition is first turned to ON/RUN
and remain on briefly as a bulb check. If the light does not
come on during starting, have the system checked by an
authorized dealer.
32. Electronic Stability Control (ESC) OFF Indicator
Light — If Equipped
This light indicates the Electronic Stability Con-
trol (ESC) is off.
33. Electronic Vehicle Information Center (EVIC) Dis-
play / Compass Mini-Trip Computer Display — If
Equipped
When the appropriate conditions exist, this display
shows the Electronic Vehicle Information Center (EVIC)
messages. For further information, refer to “Electronic
Vehicle Information Center”.
When the appropriate conditions exist, this display
shows the Mini-Trip Computer messages. Refer to “Mini-
Trip Computer” for further information.
4
UNDERSTANDING YOUR INSTRUMENT PANEL 321
Page 404 of 695
•MAX A/C
For maximum cooling, turn on the A/C and recirculation
buttons at the same time.
•ECONOMY MODE
If economy mode is desired, push the A/C button to turn
OFF the indicator light and the A/C compressor. Then,
move the temperature control to the desired temperature.
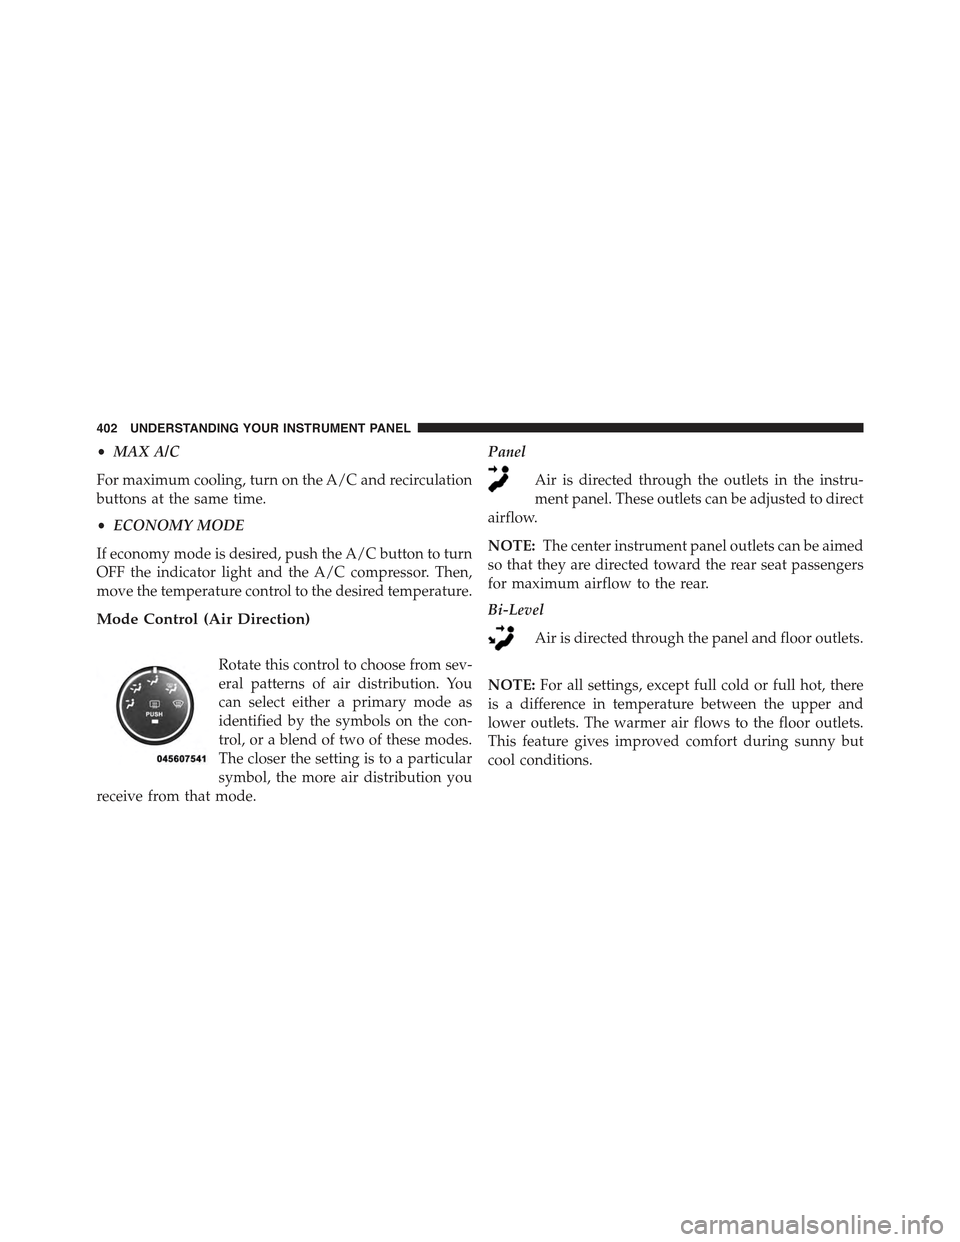
Mode Control (Air Direction)
Rotate this control to choose from sev-
eral patterns of air distribution. You
can select either a primary mode as
identified by the symbols on the con-
trol, or a blend of two of these modes.
The closer the setting is to a particular
symbol, the more air distribution you
receive from that mode.
Panel
Air is directed through the outlets in the instru-
ment panel. These outlets can be adjusted to direct
airflow.
NOTE:The center instrument panel outlets can be aimed
so that they are directed toward the rear seat passengers
for maximum airflow to the rear.
Bi-Level
Air is directed through the panel and floor outlets.
NOTE:For all settings, except full cold or full hot, there
is a difference in temperature between the upper and
lower outlets. The warmer air flows to the floor outlets.
This feature gives improved comfort during sunny but
cool conditions.
402 UNDERSTANDING YOUR INSTRUMENT PANEL
Page 411 of 695
The operator can override the AUTO mode setting to
change airflow distribution by rotating the Mode Control
knob (on the right) to one of the following positions:
•Panel
Air is directed through the outlets in the instru-
ment panel. These outlets can be adjusted to direct
airflow.
NOTE:The center instrument panel outlets can be aimed
so that they are directed toward the rear seat passengers
for maximum airflow to the rear.
•Bi-Level
Air is directed through the panel and floor outlets.
NOTE:For all settings, except full cold or full hot, there
is a difference in temperature between the upper and
lower outlets. The warmer air flows to the floor outlets.
This feature gives improved comfort during sunny but
cool conditions.
•Floor
Air is directed through the floor outlets with a
small amount flowing through the defrost and
side window demist outlets.
•Mix
Air is directed through the floor, defrost, and side
window demist outlets. This setting works best in
cold or snowy conditions that require extra heat to the
windshield. This setting is good for maintaining comfort
while reducing moisture on the windshield.
4
UNDERSTANDING YOUR INSTRUMENT PANEL 409
Page 415 of 695
Side Window Demisters
A side window demister outlet is located at each end of
the instrument panel. These non-adjustable outlets direct
air toward the side windows when the system is in the
Floor, Mix, or Defrost mode. The air is directed at the area
of the windows through which you view the outside
mirrors.
Outside Air Intake
Make sure the air intake, located directly in front of the
windshield, is free of obstructions such as leaves. Leaves
collected in the air intake may reduce airflow, and if they
enter the plenum, they could plug the water drains. In
winter months, make sure the air intake is clear of ice,
slush, and snow.
A/C Air Filter — If Equipped
The A/C Filter prevents most dust and pollen from
entering the cabin. The filter acts on air coming from
outside the vehicle and recirculated air within the pas-
senger compartment. Refer to “Maintenance Procedures”
in “Maintaining Your Vehicle” for A/C Air Filter service
information or see your authorized dealer for service.
Refer to “Maintenance Schedules” in “Maintaining Your
Vehicle” for filter service intervals.
4
UNDERSTANDING YOUR INSTRUMENT PANEL 413
Page 420 of 695
▫Tread Wear Indicators..................507
▫Life Of Tire.........................508
▫Replacement Tires.....................509
!TIRE CHAINS (TRACTION DEVICES).......510
!TIRE ROTATION RECOMMENDATIONS.....512
!TIRE PRESSURE MONITOR SYSTEM (TPMS) . . .513
▫Base TPM System.....................517
▫Premium System — If Equipped...........520
▫General Information...................525
!FUEL REQUIREMENTS..................525
▫3.6L Engine..........................525
▫Reformulated Gasoline.................526
▫Gasoline/Oxygenate Blends..............526
▫E-85 Usage In Non-Flex Fuel Vehicles.......527
▫MMT In Gasoline.....................527
▫Materials Added To Fuel................528
▫Fuel System Cautions...................528
▫Carbon Monoxide Warnings.............529
!ADDING FUEL........................530
▫Fuel Filler Cap (Gas Cap)...............530
▫Loose Fuel Filler Cap Message............531
!VEHICLE LOADING....................532
▫Certification Label....................532
!TRAILER TOWING.....................534
▫Common Towing Definitions.............534
▫Trailer Hitch Classification...............537
418 STARTING AND OPERATING
Page 421 of 695
▫Trailer Towing Weights (Maximum Trailer Weight
Ratings)............................538
▫Trailer And Tongue Weight..............545
▫Towing Requirements..................546
▫Towing Tips.........................551
!RECREATIONAL TOWING (BEHIND
MOTORHOME, ETC.)...................553
▫Towing This Vehicle Behind Another Vehicle . . .553
▫Recreational Towing — Four-Wheel Drive
Models.............................554
5
STARTING AND OPERATING 419
Page 424 of 695
If Engine Fails To Start
WARNING!
•Never pour fuel or other flammable liquids into
the throttle body air inlet opening in an attempt to
start the vehicle. This could result in a flash fire
causing serious personal injury.
•Do not attempt to push or tow your vehicle to get it
started. Vehicles equipped with an automatic trans-
mission cannot be started this way. Unburned fuel
could enter the catalytic converter and, once the
engine has started, ignite and damage the converter
and vehicle.
(Continued)
WARNING!(Continued)
•If the vehicle has a discharged battery, booster
cables may be used to obtain a start from a booster
battery or the battery in another vehicle. This type
of start can be dangerous if done improperly. Refer
to “Jump Starting” in “What To Do In Emergen-
cies” for further information.
Without Tip Start — Manual Transmission Only
If the engine fails to start after you have followed the
“Normal Starting” or “Extreme Cold Weather” proce-
dures, it may be flooded. Push the accelerator pedal all
the way to the floor and hold it there while cranking the
engine. This should clear any excess fuel in case the
engine is flooded.
422 STARTING AND OPERATING
Page 435 of 695
Gear Ranges
DO NOT race the engine when shifting from PARK or
NEUTRAL into another gear range.
NOTE:
•After selecting any gear range, wait a moment to allow
the selected gear to engage before accelerating. This is
especially important when the engine is cold.
•If there is a need to restart the engine, be sure to cycle
the ignition to the LOCK/OFF position before restart-
ing. Transmission gear engagement may be delayed
after restarting the engine if the ignition is not cycled
to the LOCK/OFF position first.
PARK (P)
This range supplements the parking brake by locking the
transmission. The engine can be started in this range.
Never attempt to use PARK while the vehicle is in
motion. Apply the parking brake when leaving the
vehicle in this range.
When parking on a level surface, you may shift the
transmission into PARK first, and then apply the parking
brake.
When parking on a hill, apply the parking brake before
shifting the transmission to PARK, otherwise the load on
the transmission locking mechanism may make it diffi-
cult to move the shift lever out of PARK. As an added
precaution, turn the front wheels toward the curb on a
downhill grade and away from the curb on an uphill
grade.
NOTE:On four-wheel drive vehicles be sure that the
transfer case is in a drive position.
5
STARTING AND OPERATING 433
Page 439 of 695
WARNING!
Do not coast in NEUTRAL and never turn off the
ignition to coast down a hill. These are unsafe
practices that limit your response to changing traffic
or road conditions. You might lose control of the
vehicle and have a collision.
CAUTION!
Towing the vehicle, coasting, or driving for any other
reason with the transmission in NEUTRAL can cause
severe transmission damage. Refer to “Recreational
Towing” in “Starting And Operating” and “Towing A
Disabled Vehicle” in “What To Do In Emergencies”
for further information.
DRIVE (D)
This range should be used for most city and highway
driving. It provides the smoothest upshifts and down-
shifts, and the best fuel economy. The transmission
automatically upshifts through underdrive first, second,
and third gears, direct fourth gear and overdrive fifth
gear. The DRIVE position provides optimum driving
characteristics under all normal operating conditions.
When frequent transmission shifting occurs (such as
when operating the vehicle under heavy loading condi-
tions, in hilly terrain, traveling into strong head winds, or
while towing heavy trailers), use the AutoStick® shift
control (refer to “AutoStick®” in this section for further
information) to select a lower gear. Under these condi-
tions, using a lower gear will improve performance and
extend transmission life by reducing excessive shifting
and heat buildup.
5
STARTING AND OPERATING 437
Page 441 of 695
Overdrive Operation
The automatic transmission includes an electronically
controlled Overdrive (fifth gear). The transmission will
automatically shift into Overdrive if the following con-
ditions are present:
•The shift lever is in the DRIVE position.
•Vehicle speed is sufficiently high.
•The driver is not heavily pressing the accelerator.
AUTOSTICK
AutoStick is a driver-interactive transmission feature
providing manual shift control, giving you more control
of the vehicle. AutoStick allows you to maximize engine
braking, eliminate undesirable upshifts and downshifts,
and improve overall vehicle performance.
This system can also provide you with more control
during passing, city driving, cold slippery conditions,
mountain driving, trailer towing, and many other situa-
tions.
Operation
When the shift lever is in the DRIVE position, the
transmission will operate automatically, shifting between
the five available gears. To engage AutoStick, simply tap
the shift lever to the right or left (+/-) while in the DRIVE
position. Tapping (-) to enter AutoStick mode will down-
shift the transmission to the next lower gear, while using
(+) to enter AutoStick mode will retain the current gear.
When AutoStick is active, the current transmission gear is
displayed in the instrument cluster.
In AutoStick mode, the transmission will shift up or
down when (+/-) is manually selected by the driver,
unless an engine lugging or overspeed condition would
5
STARTING AND OPERATING 439