AUX JEEP WRANGLER 2015 JK / 3.G Owner's Manual
[x] Cancel search | Manufacturer: JEEP, Model Year: 2015, Model line: WRANGLER, Model: JEEP WRANGLER 2015 JK / 3.GPages: 156, PDF Size: 23.54 MB
Page 75 of 156

Insert A CD/DVD Disc
• To insert a disc, push the OPEN/CLOSE button on the faceplate.
• With the printed side upwards, insert the disc into the disc slot of the radio. The
radio pulls the disc in automatically and closes the flip screen. The radio selects
the appropriate mode after the disc is recognized, and starts playing the first track.
The display shows “Reading...” during this process.
Seek Up/Seek Down
• Push the SEEK UP or SEEK DOWN buttons on the faceplate to seek through
tracks in Disc Mode. Hold either SEEK to bypass tracks without stopping.
Audio Jack Operation
The AUX/Audio Jack provides a means to connect a portable audio device, such as an
MP3 player or an iPod®, to the vehicle’s sound system. This requires the use of a 3.5 mm
stereo audio patch cable.
•Push the RADIO/MEDIA button on the faceplate, then the “AUX” button on the
touchscreen to change the mode to auxiliary device if the Audio Jack is connected,
allowing the music from your portable device to play through the vehicle's speakers.
NOTE:
The functions of the portable device are controlled using the device itself, not the
buttons on the radio. The volume may be controlled using the radio or portable
device.
Hard Disk Drive (HDD) Operation
• The Hard Disk Drive (HDD) mode gives you access to the audio files on the internal
hard disk drive. It functions similar to a CD player, with the exception that the
internal HDD can hold more tracks.
• It is also possible to import display pictures to the internal hard disk drive. The
pictures can be displayed on the right half of the radio screen.
• Before using the HDD mode, you will need to copy songs and pictures to the
internal hard drive. Songs and pictures can be added to the hard drive by using a
CD or USB device (e.g. thumb drive or memory stick).
NOTE:
• HDD supports only .jpg/JPEG formats for photos.
• WMA/MP3 Files and selective Songs from a CD can also be added to the HDD. See
the Uconnect®730N Supplement Manual for more information.
ELECTRONICS
73
Page 87 of 156

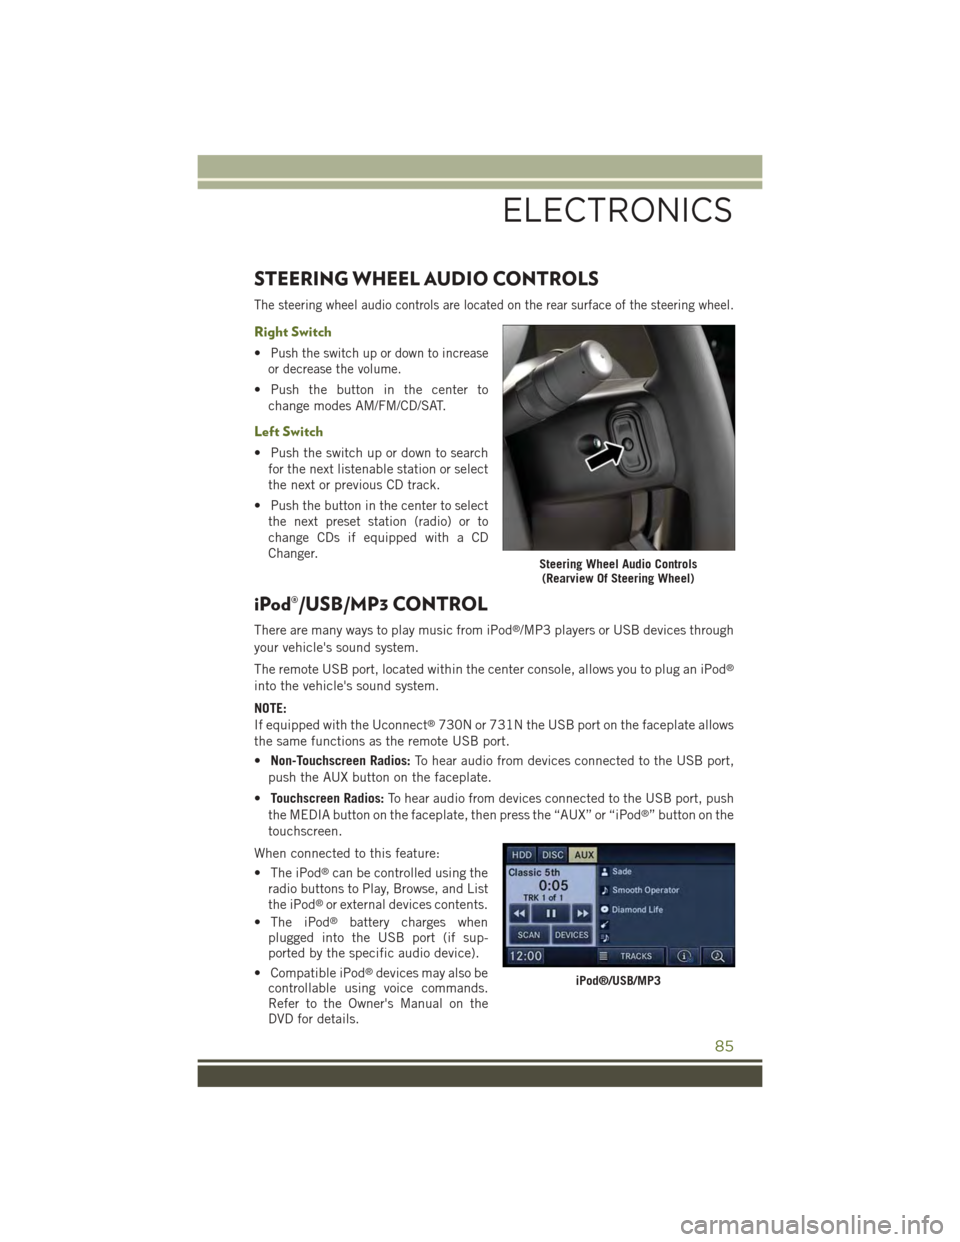
STEERING WHEEL AUDIO CONTROLS
The steering wheel audio controls are located on the rear surface of the steering wheel.
Right Switch
•Push the switch up or down to increase
or decrease the volume.
• Push the button in the center to
change modes AM/FM/CD/SAT.
Left Switch
• Push the switch up or down to search
for the next listenable station or select
the next or previous CD track.
•Push the button in the center to select
the next preset station (radio) or to
change CDs if equipped with a CD
Changer.
iPod®/USB/MP3 CONTROL
There are many ways to play music from iPod®/MP3 players or USB devices through
your vehicle's sound system.
The remote USB port, located within the center console, allows you to plug an iPod®
into the vehicle's sound system.
NOTE:
If equipped with the Uconnect®730N or 731N the USB port on the faceplate allows
the same functions as the remote USB port.
•Non-Touchscreen Radios:To hear audio from devices connected to the USB port,
push the AUX button on the faceplate.
•Touchscreen Radios:To hear audio from devices connected to the USB port, push
the MEDIA button on the faceplate, then press the “AUX” or “iPod®” button on the
touchscreen.
When connected to this feature:
• The iPod®can be controlled using the
radio buttons to Play, Browse, and List
the iPod®or external devices contents.
• The iPod®battery charges whenplugged into the USB port (if sup-ported by the specific audio device).
• Compatible iPod®devices may also becontrollable using voice commands.Refer to the Owner's Manual on theDVD for details.
Steering Wheel Audio Controls(Rearview Of Steering Wheel)
iPod®/USB/MP3
ELECTRONICS
85
Page 94 of 156

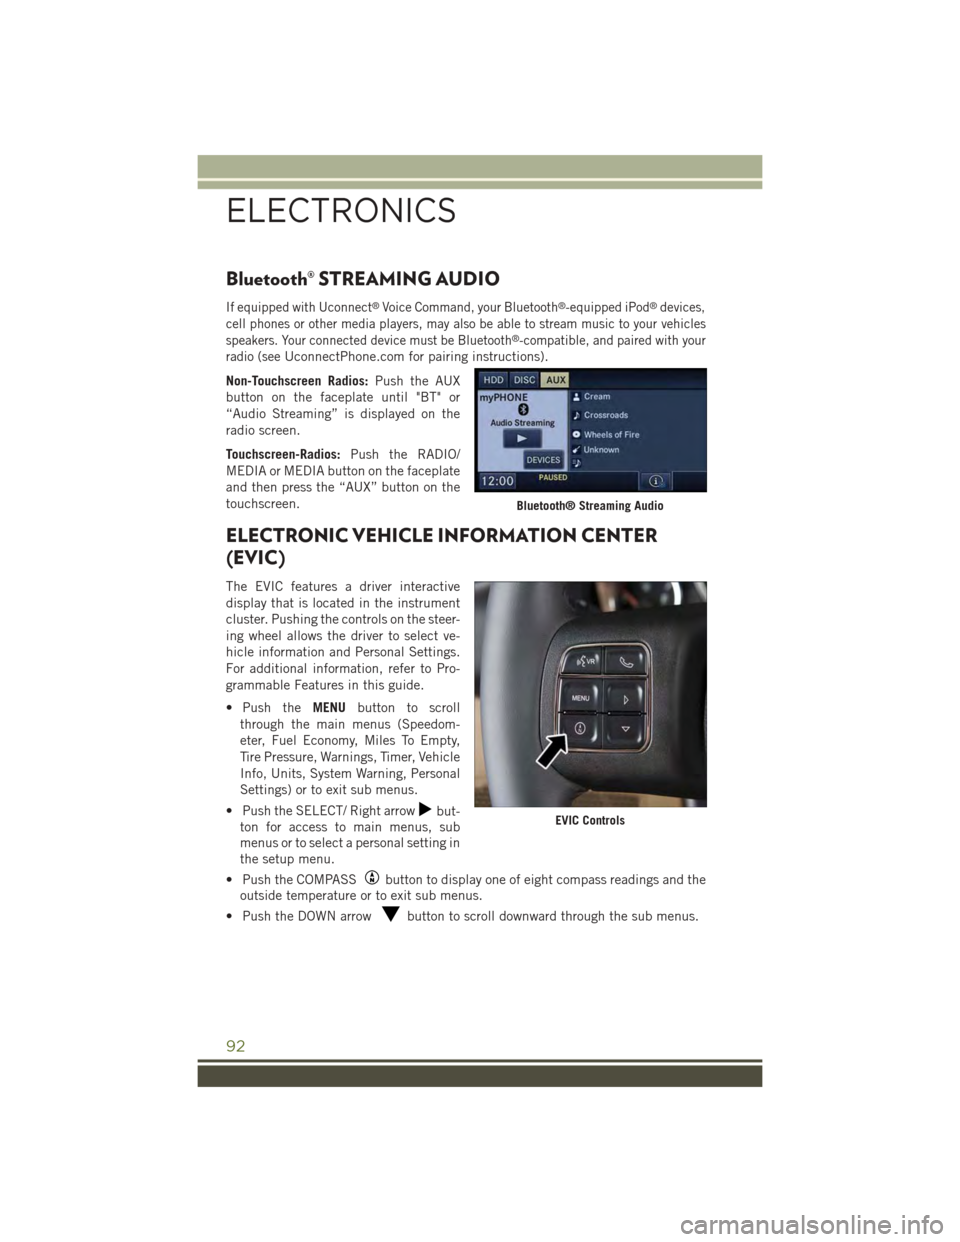
Bluetooth® STREAMING AUDIO
If equipped with Uconnect®Voice Command, your Bluetooth®-equipped iPod®devices,
cell phones or other media players, may also be able to stream music to your vehicles
speakers. Your connected device must be Bluetooth®-compatible, and paired with your
radio (seeUconnectPhone.com for pairing instructions).
Non-Touchscreen Radios:Push the AUX
button on the faceplate until "BT" or
“Audio Streaming” is displayed on the
radio screen.
Touchscreen-Radios:Push the RADIO/
MEDIA or MEDIA button on the faceplate
and then press the “AUX” button on the
touchscreen.
ELECTRONIC VEHICLE INFORMATION CENTER
(EVIC)
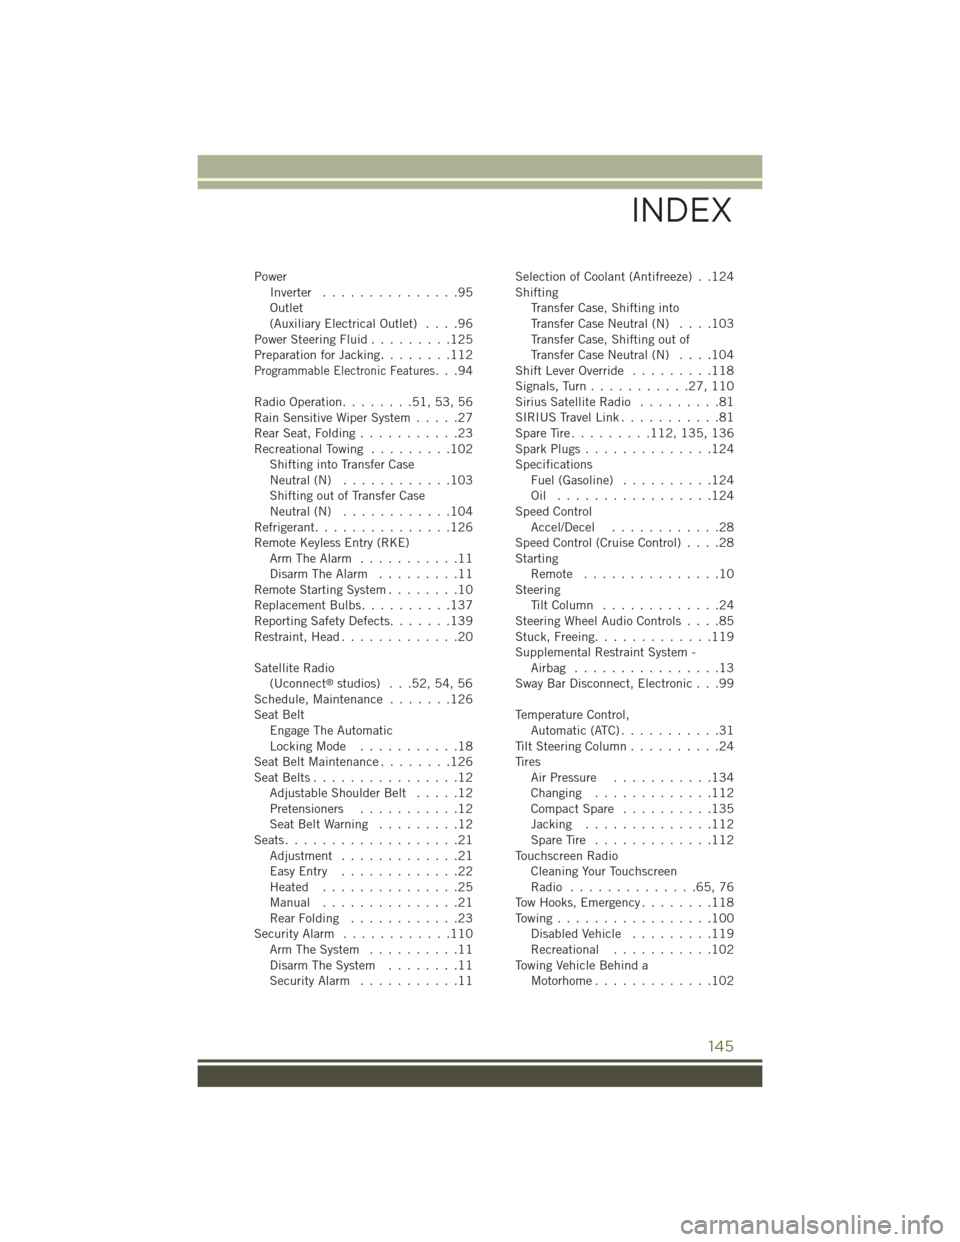
The EVIC features a driver interactive
display that is located in the instrument
cluster. Pushing the controls on the steer-
ing wheel allows the driver to select ve-
hicle information and Personal Settings.
For additional information, refer to Pro-
grammable Features in this guide.
• Push theMENUbutton to scroll
through the main menus (Speedom-
eter, Fuel Economy, Miles To Empty,
Tire Pressure, Warnings, Timer, Vehicle
Info, Units, System Warning, Personal
Settings) or to exit sub menus.
• Push the SELECT/ Right arrowbut-
ton for access to main menus, sub
menus or to select a personal setting in
the setup menu.
• Push the COMPASSbutton to display one of eight compass readings and the
outside temperature or to exit sub menus.
• Push the DOWN arrowbutton to scroll downward through the sub menus.
Bluetooth® Streaming Audio
EVIC Controls
ELECTRONICS
92
Page 147 of 156

PowerInverter...............95Outlet(Auxiliary Electrical Outlet)....96Power Steering Fluid.........125Preparation for Jacking........112Programmable Electronic Features...94
Radio Operation........51,53,56Rain Sensitive Wiper System.....27Rear Seat, Folding...........23Recreational Towing.........102Shifting into Transfer CaseNeutral (N)............103Shifting out of Transfer CaseNeutral (N)............104Refrigerant...............126Remote Keyless Entry (RKE)Arm The Alarm...........11Disarm The Alarm.........11Remote Starting System........10Replacement Bulbs..........137Reporting Safety Defects.......139Restraint, Head.............20
Satellite Radio(Uconnect®studios) . . .52, 54, 56Schedule, Maintenance.......126Seat BeltEngage The AutomaticLocking Mode . . . . . . . . . . .18Seat Belt Maintenance . . . . . . . .126Seat Belts................12Adjustable Shoulder Belt.....12Pretensioners...........12Seat Belt Warning . . . . . . . . .12Seats . . . . . . . . . . . . . . . . . . .21Adjustment . . . . . . . . . . . . .21Easy Entry . . . . . . . . . . . . .22Heated...............25Manual...............21Rear Folding . . . . . . . . . . . .23Security Alarm............110Arm The System..........11Disarm The System........11Security Alarm...........11
Selection of Coolant (Antifreeze) . .124ShiftingTransfer Case, Shifting intoTransfer Case Neutral (N)....103Transfer Case, Shifting out ofTransfer Case Neutral (N)....104Shift Lever Override.........118Signals, Turn...........27,110Sirius Satellite Radio.........81SIRIUS Travel Link...........81Spare Tire . . . . . . . . .112, 135, 136Spark Plugs . . . . . . . . . . . . . .124SpecificationsFuel (Gasoline)..........124Oil . . . . . . . . . . . . . . . . .124Speed ControlAccel/Decel............28Speed Control (Cruise Control)....28StartingRemote . . . . . . . . . . . . . . .10SteeringTi l t C o l u m n . . . . . . . . . . . . . 2 4Steering Wheel Audio Controls....85Stuck, Freeing.............119Supplemental Restraint System -Airbag . . . . . . . . . . . . . . . .13Sway Bar Disconnect, Electronic . . .99
Temperature Control,Automatic (ATC)...........31Tilt Steering Column..........24TiresAir Pressure...........134Changing . . . . . . . . . . . . .112Compact Spare..........135Jacking..............112Spare Tire . . . . . . . . . . . . .112Touchscreen RadioCleaning Your TouchscreenRadio . . . . . . . . . . . . . .65, 76Tow Hooks, Emergency........118To w i n g . . . . . . . . . . . . . . . . . 1 0 0Disabled Vehicle.........119Recreational...........102To w i n g V e h i c l e B e h i n d aMotorhome.............102
INDEX
145