spare wheel JEEP WRANGLER 2015 JK / 3.G User Guide
[x] Cancel search | Manufacturer: JEEP, Model Year: 2015, Model line: WRANGLER, Model: JEEP WRANGLER 2015 JK / 3.GPages: 156, PDF Size: 23.54 MB
Page 3 of 156
INTRODUCTION/WELCOME
WELCOME FROM CHRYSLERGROUP LLC.................. 3
CONTROLS AT A GLANCE
DRIVER COCKPIT.............. 6INSTRUMENT CLUSTER.......... 8
GETTING STARTED
KEY FOB . . . . . . . . . . . . . . . . . . . 10REMOTE START.............. 10VEHICLE SECURITY ALARM....... 11SEAT BELT SYSTEMS........... 12SUPPLEMENTAL RESTRAINTSYSTEM (SRS) — AIR BAGS....... 13CHILD RESTRAINTS............ 15HEAD RESTRAINTS............. 20FRONT SEATS................ 21REAR SEATS................. 23TILT STEERING COLUMN......... 24HEATED SEATS . . . . . . . . . . . . . . . 25
OPERATING YOUR VEHICLE
ENGINE BREAK-INRECOMMENDATIONS........... 26TURN SIGNAL/LIGHTS LEVER...... 26WIPER/WASHER LEVER.......... 27ELECTRONIC SPEED CONTROL..... 28MANUAL CLIMATE CONTROLS...... 30AUTOMATIC TEMPERATURECONTROLS (ATC).............. 31SUNRIDER®AND SOFT TOP....... 32HARD TOP AND FREEDOM TOP®.... 43DUAL TOP – IF EQUIPPED........ 46WIND BUFFETING............. 47
ELECTRONICS
YOUR VEHICLE'S SOUND SYSTEM . . . 48Uconnect®130 . . . . . . . . . . . . . . . 50Uconnect®130 WITH SiriusXMSATELLITE RADIO.............. 52Uconnect®230 . . . . . . . . . . . . . . . 55Uconnect®430/430N........... 58Uconnect®730N.............. 69SiriusXM SATELLITE RADIO/TRAVELLINK . . . . . . . . . . . . . . . . . . . . . . 81STEERING WHEEL AUDIO CONTROLS.. 85iPod®/USB/MP3 CONTROL........ 85Uconnect®PHONE............. 86Uconnect®VOICE COMMAND....... 89
Bluetooth®STREAMING AUDIO..... 92ELECTRONIC VEHICLE INFORMATIONCENTER (EVIC)............... 92PROGRAMMABLE FEATURES....... 94POWER INVERTER............. 95POWER OUTLETS............. 96
OFF-ROAD CAPABILITIES
(4WD OPERATION)
COMMAND-TRAC®/ROCK-TRAC®..... 98AXLE LOCK (TRU-LOK®)RUBICONONLY . . . . . . . . . . . . . . . . . . . . . . 99ELECTRONIC SWAY BAR DISCONNECT –RUBICON ONLY............... 99
UTILITY
TRAILER TOWING WEIGHTS(MAXIMUM TRAILER WEIGHTRATINGS)................. 100RECREATIONAL TOWING(BEHIND MOTORHOME, ETC.)..... 102
WHAT TO DO IN EMERGENCIES
ROADSIDE ASSISTANCE......... 105INSTRUMENT CLUSTERWARNING LIGHTS............ 105INSTRUMENT CLUSTERINDICATOR LIGHTS........... 110IF YOUR ENGINE OVERHEATS..... 111JACKING AND TIRE CHANGING.... 112JUMP-STARTING............. 116EMERGENCY TOW HOOKS....... 118SHIFT LEVER OVERRIDE........ 118TOWING A DISABLED VEHICLE.... 119FREEING A STUCK VEHICLE...... 119EVENT DATA RECORDER (EDR).... 120
MAINTAINING YOUR VEHICLE
OPENING THE HOOD.......... 121ENGINE COMPARTMENT........ 122FLUID CAPACITIES............ 124FLUIDS, LUBRICANTS ANDGENUINE PARTS............. 124MAINTENANCE PROCEDURES..... 126MAINTENANCE SCHEDULE...... 126MAINTENANCE RECORD........ 130FUSES.................... 131TIRE PRESSURES............ 134SPARE TIRES — IF EQUIPPED..... 135WHEEL AND WHEEL TRIM CARE . . . 137REPLACEMENT BULBS......... 137
TABLE OF CONTENTS
Page 114 of 156
JACKING AND TIRE CHANGING
Jack Location
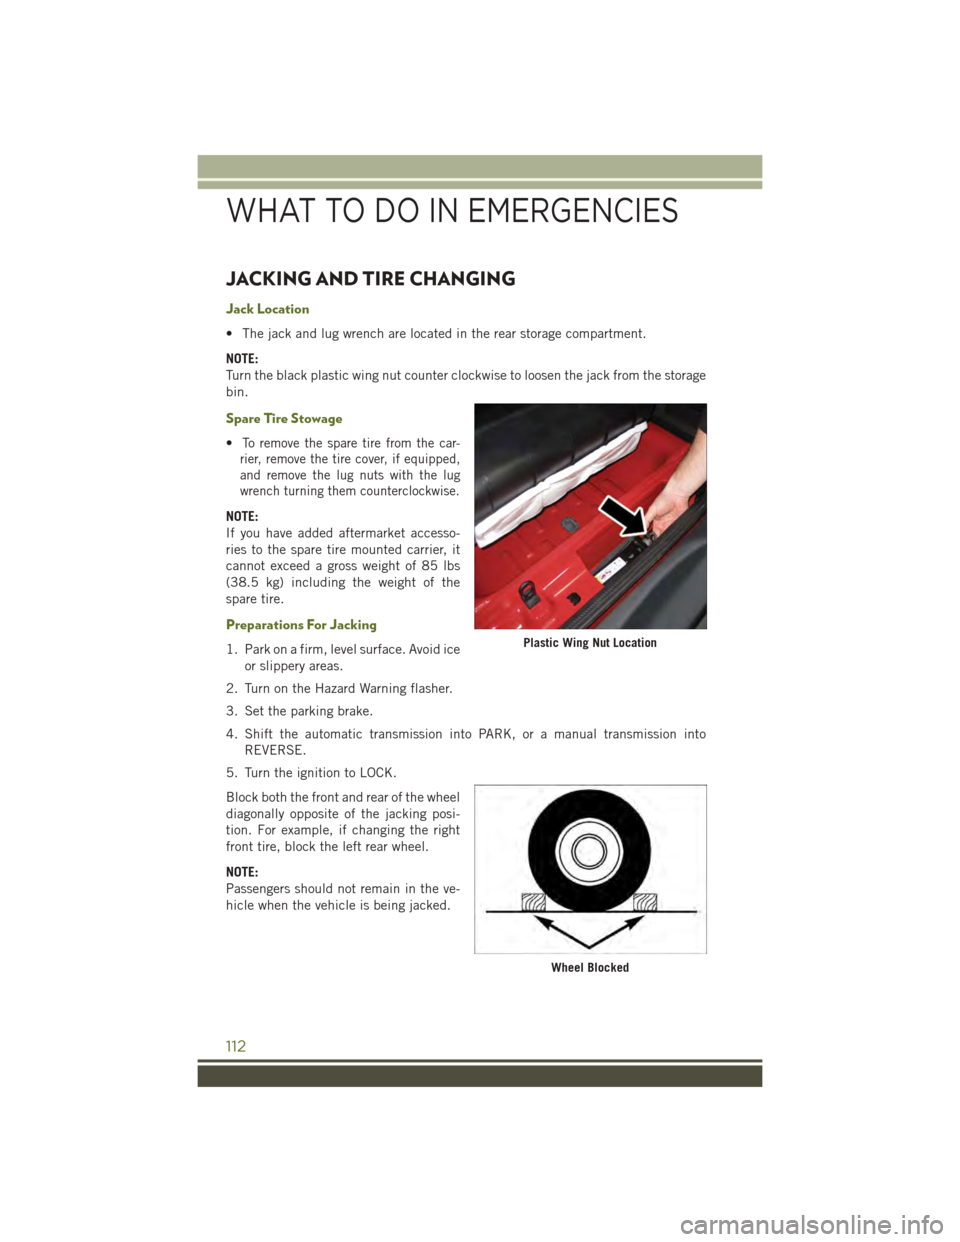
• The jack and lug wrench are located in the rear storage compartment.
NOTE:
Turn the black plastic wing nut counter clockwise to loosen the jack from the storage
bin.
Spare Tire Stowage
•To remove the spare tire from the car-
rier, remove the tire cover, if equipped,
and remove the lug nuts with the lug
wrench turning them counterclockwise.
NOTE:
If you have added aftermarket accesso-
ries to the spare tire mounted carrier, it
cannot exceed a gross weight of 85 lbs
(38.5 kg) including the weight of the
spare tire.
Preparations For Jacking
1. Park on a firm, level surface. Avoid ice
or slippery areas.
2. Turn on the Hazard Warning flasher.
3. Set the parking brake.
4. Shift the automatic transmission into PARK, or a manual transmission into
REVERSE.
5. Turn the ignition to LOCK.
Block both the front and rear of the wheel
diagonally opposite of the jacking posi-
tion. For example, if changing the right
front tire, block the left rear wheel.
NOTE:
Passengers should not remain in the ve-
hicle when the vehicle is being jacked.
Plastic Wing Nut Location
Wheel Blocked
WHAT TO DO IN EMERGENCIES
112
Page 115 of 156
Jacking Instructions
1. Remove the spare tire, jack and tools
from the stored location.
2. Loosen (but do not remove) the wheel
lug nuts by turning them to the left
one turn while the wheel is still on the
ground.
3. Assemble the jack and jacking tools.
Connect the jack handle driver to the
extension, then to the lug wrench.
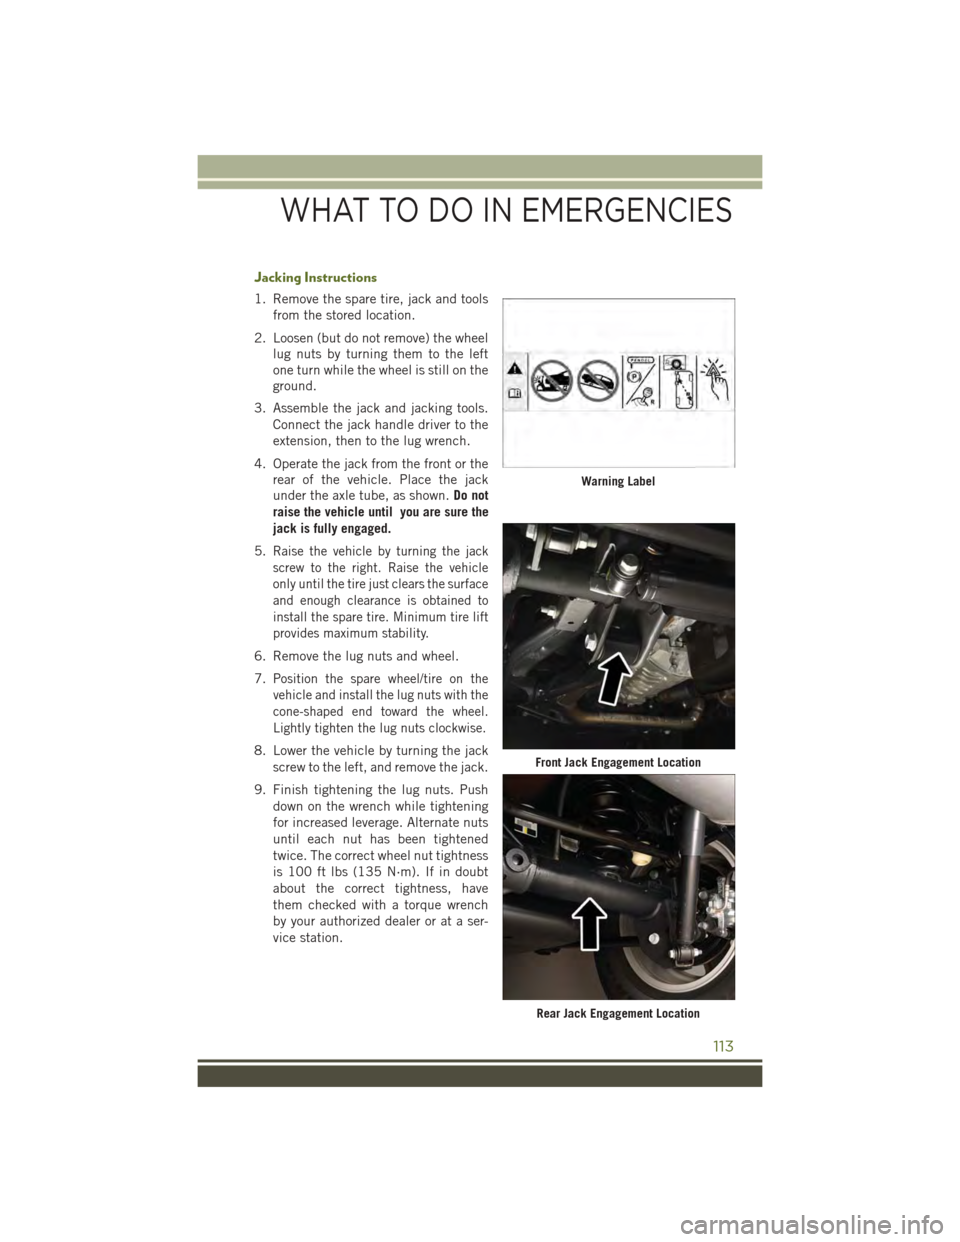
4. Operate the jack from the front or the
rear of the vehicle. Place the jack
under the axle tube, as shown.Do not
raise the vehicle until you are sure the
jack is fully engaged.
5.Raise the vehicle by turning the jack
screw to the right. Raise the vehicle
only until the tire just clears the surface
and enough clearance is obtained to
install the spare tire. Minimum tire lift
provides maximum stability.
6. Remove the lug nuts and wheel.
7.Position the spare wheel/tire on the
vehicle and install the lug nuts with the
cone-shaped end toward the wheel.
Lightly tighten the lug nuts clockwise.
8. Lower the vehicle by turning the jack
screw to the left, and remove the jack.
9. Finish tightening the lug nuts. Push
down on the wrench while tightening
for increased leverage. Alternate nuts
until each nut has been tightened
twice. The correct wheel nut tightness
is 100 ft lbs (135 N·m). If in doubt
about the correct tightness, have
them checked with a torque wrench
by your authorized dealer or at a ser-
vice station.
Warning Label
Front Jack Engagement Location
Rear Jack Engagement Location
WHAT TO DO IN EMERGENCIES
113
Page 117 of 156
WARNING!
• Do not attempt to change a tire on the side of the vehicle close to moving
traffic. Pull far enough off the road to avoid the danger of being hit when
operating the jack or changing the wheel.
• Being under a jacked-up vehicle is dangerous. The vehicle could slip off the
jack and fall on you. You could be crushed. Never put any part of your body
under a vehicle that is on a jack. If you need to get under a raised vehicle, take
it to a service center where it can be raised on a lift.
• Never start or run the engine while the vehicle is on a jack.
• The jack is designed to be used as a tool for changing tires only. The jack
should not be used to lift the vehicle for service purposes. The vehicle should
be jacked on a firm level surface only. Avoid ice or slippery areas.
• Carefully follow these tire changing warnings to help prevent personal injury or
damage to your vehicle:
• Always park on a firm, level surface as far from the edge of the roadway
as possible before raising the vehicle.
• Turn on the Hazard Warning flasher.
• Block the wheel diagonally opposite the wheel to be raised.
• Set the parking brake firmly and set an automatic transmission in PARK;
a manual transmission in REVERSE.
• Do not let anyone sit in the vehicle when it is on a jack.
• Do not get under the vehicle when it is on a jack.
• Only use the jack in the positions indicated and for lifting this vehicle
during a tire change.
• If working on or near a roadway, be extremely careful of motor traffic.
• To assure that spare tires, flat or inflated, are securely stowed, spares
must be stowed with the valve stem facing the ground.
• Raising the vehicle higher than necessary can make the vehicle less
stable and cause a collision. It could slip off the jack and hurt someone
near it. Raise the vehicle only enough to remove the tire.
• To avoid the risk of forcing the vehicle off the jack, do not tighten the
wheel nuts fully until the vehicle has been lowered.
• A loose tire or jack, thrown forward in a collision or hard stop, could en-
danger the occupants of the vehicle. Always stow the jack parts and the
spare tire in the places provided.
• To avoid the risk of forcing the vehicle off the jack, do not tighten the lug
nuts fully until the vehicle is lowered to the ground.
WHAT TO DO IN EMERGENCIES
115
Page 137 of 156
WARNING!
• Overloading of your tires is dangerous. Overloading can cause tire failure,
affect vehicle handling, and increase your stopping distance. Use tires of the
recommended load capacity for your vehicle. Never overload them.
•Improperly inflated tires are dangerous and can cause collisions. Under-inflation
is the leading cause of tire failure and may result in severe cracking, component
separation, or “blow out”. Over-inflation reduces a tire’s ability to cushion shock.
Objects on the road and chuck holes can cause damage that results in tire failure.
Unequal tire pressures can cause steering problems. You could lose control of
your vehicle. Over-inflated or under-inflated tires can affect vehicle handling and
can fail suddenly, resulting in loss of vehicle control.
SPARE TIRES — IF EQUIPPED
NOTE:
For vehicles equipped with Tire Service Kit instead of a spare tire, please refer to “Tire
Service Kit” in “What To Do In Emergencies” on your DVD for further information.
CAUTION!
Because of the reduced ground clearance, do not take your vehicle through an
automatic car wash with a compact or limited-use temporary spare installed.
Damage to the vehicle may result.
Spare Tire Matching Original Equipped Tire And Wheel — If Equipped
Your vehicle may be equipped with a spare tire and wheel equivalent in look and
function to the original equipment tire and wheel found on the front or rear axle of
your vehicle. This spare tire may be used in the tire rotation for your vehicle. If your
vehicle has this option, refer to an authorized tire dealer for the recommended tire
rotation pattern.
Compact Spare Tire — If Equipped
The compact spare is for temporary emergency use only. You can identify if your
vehicle is equipped with a compact spare by looking at the spare tire description on
the Tire and Loading Information Placard located on the driver’s side door opening or
on the sidewall of the tire. Compact spare tire descriptions begin with the letter “T”
or “S” preceding the size designation. Example: T145/80D18 103M.
T, S = Temporary Spare Tire
Since this tire has limited tread life, the original equipment tire should be repaired
(or replaced) and reinstalled on your vehicle at the first opportunity.
MAINTAINING YOUR VEHICLE
135
Page 138 of 156
Do not install a wheel cover or attempt to mount a conventional tire on the compact
spare wheel, since the wheel is designed specifically for the compact spare tire.
Do not install more than one compact spare tire and wheel on the vehicle at any given
time.
WARNING!
Compact spares are for temporary emergency use only. With these spares, do not
drive more than 50 mph (80 km/h). Temporary use spares have limited tread life.
When the tread is worn to the tread wear indicators, the temporary use spare tire
needs to be replaced. Be sure to follow the warnings, which apply to your spare.
Failure to do so could result in spare tire failure and loss of vehicle control.
Full Size Spare — If Equipped
The full size spare is for temporary emergency use only. This tire may look like the
originally equipped tire on the front or rear axle of your vehicle, but it is not. This
spare tire may have limited tread life. When the tread is worn to the tread wear
indicators, the temporary use full size spare tire needs to be replaced. Since it is not
the same as your original equipment tire, replace (or repair) the original equipment
tire and reinstall on the vehicle at the first opportunity.
Limited-Use Spare — If Equipped
The limited-use spare tire is for temporary emergency use only. This tire is identified
by a label located on the limited-use spare wheel. This label contains the driving
limitations for this spare. This tire may look like the original equipped tire on the front
or rear axle of your vehicle, but it is not. Installation of this limited-use spare tire
affects vehicle handling. Since it is not the same as your original equipment tire,
replace (or repair) the original equipment tire and reinstall on the vehicle at the first
opportunity.
WARNING!
Limited-use spares are for emergency use only. Installation of this limited-use
spare tire affects vehicle handling. With this tire, do not drive more than the speed
listed on the limit-use spare wheel. Keep inflated to the cold tire inflation
pressures listed on your Tire and Loading Information Placard located on the
driver’s side B-Pillar or the rear edge of the driver’s side door. Replace (or repair)
the original equipment tire at the first opportunity and reinstall it on your vehicle.
Failure to do so could result in loss of vehicle control.
MAINTAINING YOUR VEHICLE
136
Page 142 of 156
AUTHENTIC ACCESSORIES BY MOPAR®
• The following highlights just some of the many Authentic Jeep Accessories by
Mopar®featuring a fit, finish, and functionality specifically for your Jeep Wrangler.
•In choosing Authentic Accessories you gain far more than expressive style, premium
protection, or extreme entertainment, you also benefit from enhancing your vehicle
with accessories that have been thoroughly tested and factory-approved.
•For the full line of Authentic Jeep Accessories by Mopar®, visit your local dealership
or online atmopar.com for U.S. residents and mopar.ca for Canadian residents.
NOTE:
All parts are subject to availability.
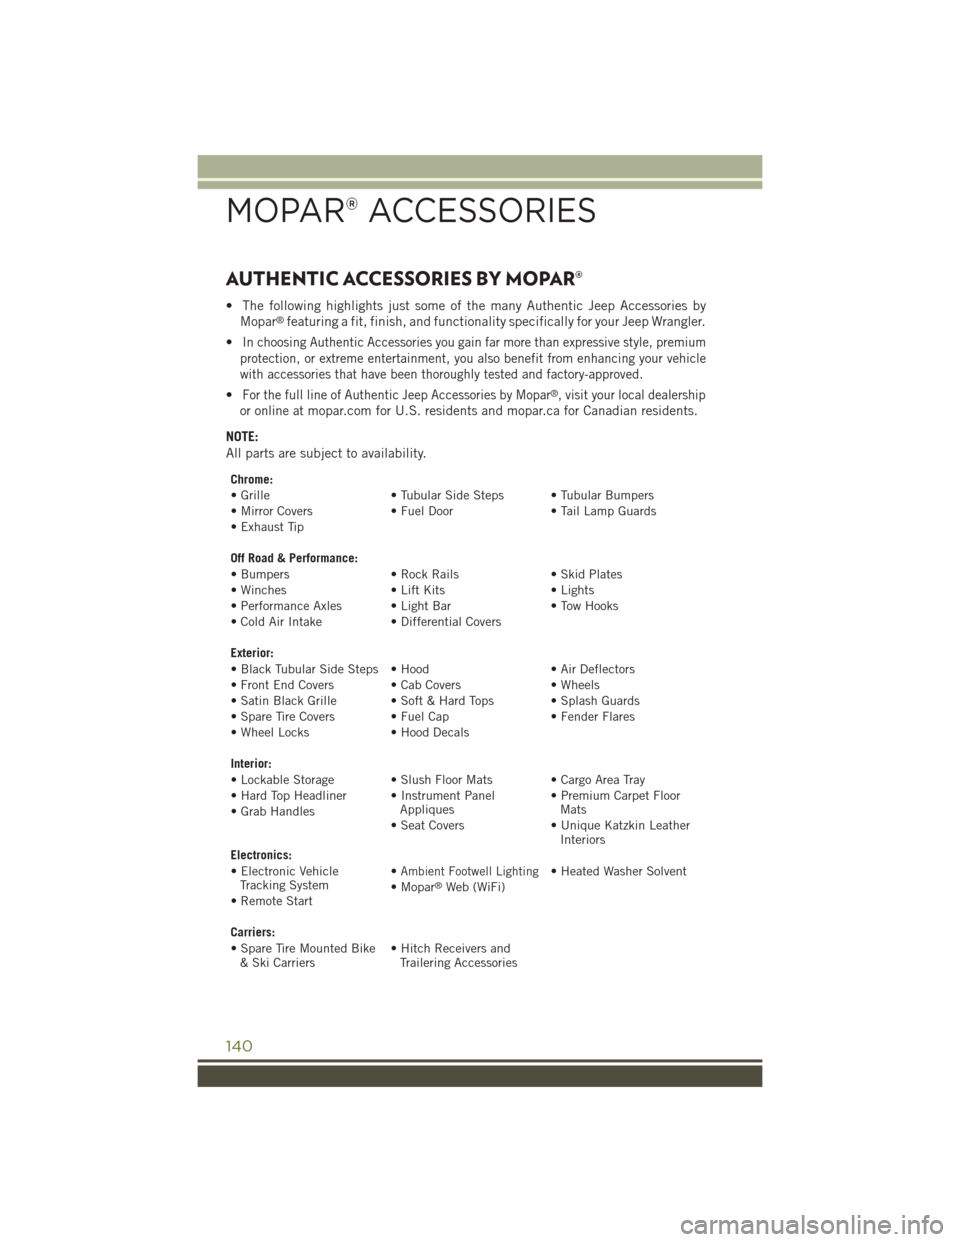
Chrome:
• Grille • Tubular Side Steps • Tubular Bumpers
• Mirror Covers • Fuel Door • Tail Lamp Guards
• Exhaust Tip
Off Road & Performance:
• Bumpers• Rock Rails• Skid Plates
• Winches• Lift Kits• Lights
• Performance Axles • Light Bar• Tow Hooks
• Cold Air Intake• Differential Covers
Exterior:
• Black Tubular Side Steps • Hood• Air Deflectors
• Front End Covers • Cab Covers• Wheels
• Satin Black Grille • Soft & Hard Tops • Splash Guards
• Spare Tire Covers • Fuel Cap• Fender Flares
• Wheel Locks• Hood Decals
Interior:
• Lockable Storage • Slush Floor Mats • Cargo Area Tray
• Hard Top Headliner • Instrument PanelAppliques• Premium Carpet FloorMats•GrabHandles• Seat Covers• Unique Katzkin LeatherInteriorsElectronics:
• Electronic VehicleTracking System•Ambient Footwell Lighting• Heated Washer Solvent
• Remote Start• Mopar®Web (WiFi)
Carriers:
• Spare Tire Mounted Bike& Ski Carriers• Hitch Receivers andTrailering Accessories
MOPAR® ACCESSORIES
140
Page 144 of 156
Adding Engine Coolant(Antifreeze).............126Adding Washer Fluid.........126Air BagAdvanced Front Air Bag . . . . . .13Advance Front Air Bag . . . . . .13Air Bags . . . . . . . . . . . . . . .13Air Bag Warning Light . . . . . . .13Front Air Bag . . . . . . . . . . . .13Rollover...............13Side Impacts . . . . . . . . . . . .13Air Cleaner, Engine(Engine Air Cleaner Filter)....126Air Conditioner Maintenance....126Air Conditioning............31Air Conditioning Refrigerant.....126Air Conditioning System.......126Air Recirculation............31AlarmArm The System..........11Disarm The System........11Vehicle Security Alarm......11Alarm (Security Alarm).....11,110Antifreeze (Engine Coolant)..124,126Disposal . . . . . . . . . . . . . .126Anti-Lock Warning Light.......109Appearance Care...........126Assistance Towing..........105Audio Jack........51,54,57,62Audio Settings........51,53,56Audio Systems (Radio).........50Automatic Headlights.........26Automatic TemperatureControl (ATC)............31Automatic TransmissionFluid Type . . . . . . . . . . . .125Axle Fluid . . . . . . . . . . . . . . .125
Battery.................126Body Mechanism Lubrication....126Brake Fluid . . . . . . . . . . . . . .125Brakes . . . . . . . . . . . . . . . . .126Brake System.............126Master Cylinder.........126Warning Light . . . . . . . . . .107
Break-In Recommendations,New Vehicle.............26Bulb Replacement..........137Bulbs, Light . . . . . . . . . . . . . .137
Calibration, Compass.........93Capacities, Fluid...........124Caps, FillerOil (Engine)............126Car Washes . . . . . . . . . . . . . .126CD (Compact Disc) Player..51,54,57Change Oil Indicator.........109Changing A Flat Tire . . . . . . . . .112Charging System Light........108Child Restraint.............15Child RestraintsInstalling Child RestraintsUsing The Vehicle Seat Belt . . .18Lower Anchors And TethersFor Children . . . . . . . . . . . .18Using The Top Tether Anchorage..18CleaningWheels..............126Windshield Wiper Blades....126Climate Control.............31Clock Setting.......50,53,56,58Cluster Warning/Indicator LightsAnti-Lock Brake (ABS) Light . .109Brake Warning Light.......107Charging System Light.....108Electronic ThrottleControl (ETC) Indicator Light . .109Front Fog Light Indicator....110High Beam Indicator......110Malfunction Indicator Light(MIL) . . . . . . . . . . . . . . . .108Oil Pressure Warning Light . . .108Tire Pressure Monitoring System(TPMS) Light...........105Turn Signal Indicator......110Vehicle Security Light......110Clutch . . . . . . . . . . . . . . . . .126Clutch Fluid . . . . . . . . . . . . . .126Compact Spare Tire . . . . . . . . . .135Compass Calibration..........93
INDEX
142
Page 147 of 156
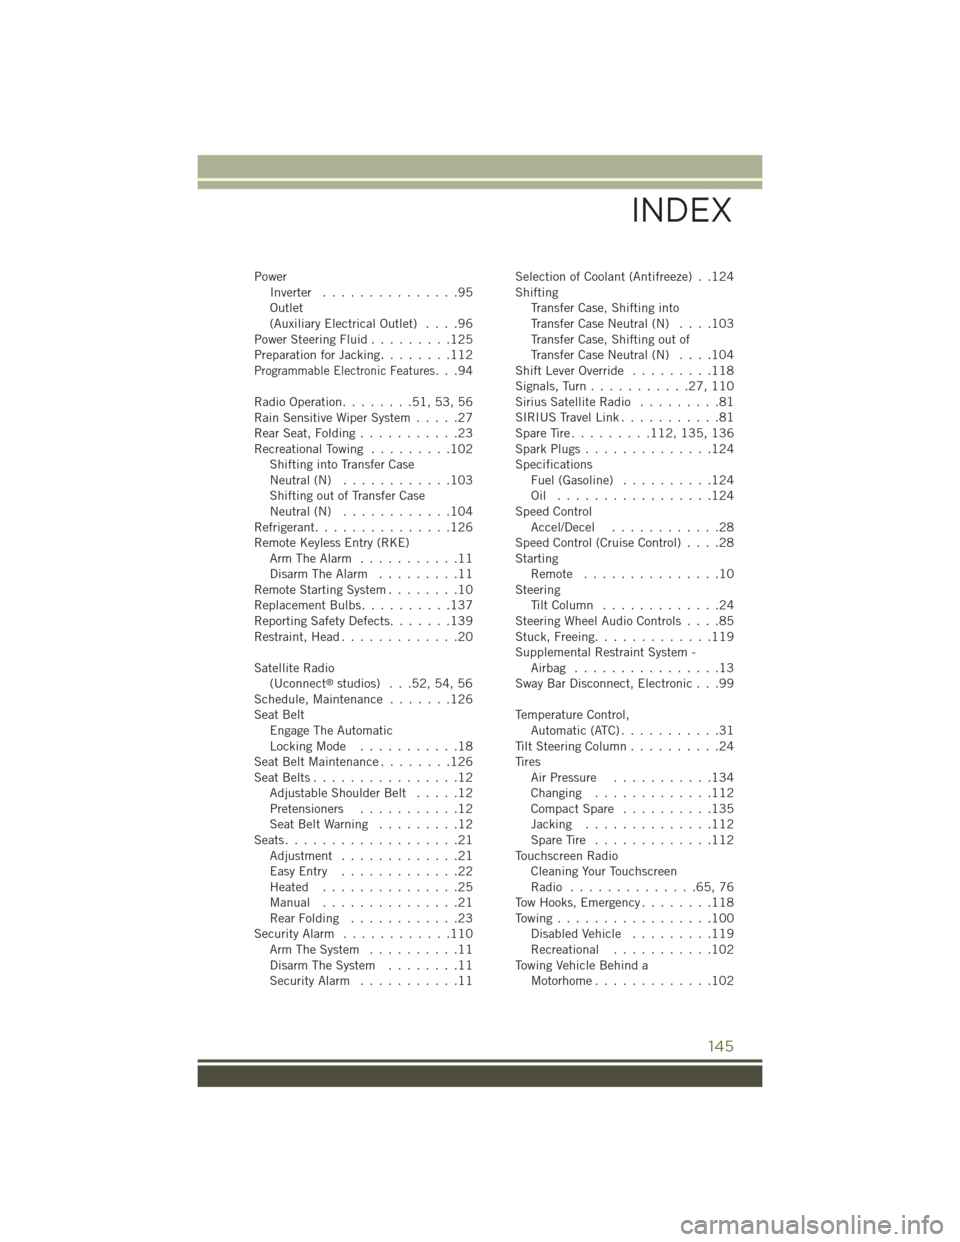
PowerInverter...............95Outlet(Auxiliary Electrical Outlet)....96Power Steering Fluid.........125Preparation for Jacking........112Programmable Electronic Features...94
Radio Operation........51,53,56Rain Sensitive Wiper System.....27Rear Seat, Folding...........23Recreational Towing.........102Shifting into Transfer CaseNeutral (N)............103Shifting out of Transfer CaseNeutral (N)............104Refrigerant...............126Remote Keyless Entry (RKE)Arm The Alarm...........11Disarm The Alarm.........11Remote Starting System........10Replacement Bulbs..........137Reporting Safety Defects.......139Restraint, Head.............20
Satellite Radio(Uconnect®studios) . . .52, 54, 56Schedule, Maintenance.......126Seat BeltEngage The AutomaticLocking Mode . . . . . . . . . . .18Seat Belt Maintenance . . . . . . . .126Seat Belts................12Adjustable Shoulder Belt.....12Pretensioners...........12Seat Belt Warning . . . . . . . . .12Seats . . . . . . . . . . . . . . . . . . .21Adjustment . . . . . . . . . . . . .21Easy Entry . . . . . . . . . . . . .22Heated...............25Manual...............21Rear Folding . . . . . . . . . . . .23Security Alarm............110Arm The System..........11Disarm The System........11Security Alarm...........11
Selection of Coolant (Antifreeze) . .124ShiftingTransfer Case, Shifting intoTransfer Case Neutral (N)....103Transfer Case, Shifting out ofTransfer Case Neutral (N)....104Shift Lever Override.........118Signals, Turn...........27,110Sirius Satellite Radio.........81SIRIUS Travel Link...........81Spare Tire . . . . . . . . .112, 135, 136Spark Plugs . . . . . . . . . . . . . .124SpecificationsFuel (Gasoline)..........124Oil . . . . . . . . . . . . . . . . .124Speed ControlAccel/Decel............28Speed Control (Cruise Control)....28StartingRemote . . . . . . . . . . . . . . .10SteeringTi l t C o l u m n . . . . . . . . . . . . . 2 4Steering Wheel Audio Controls....85Stuck, Freeing.............119Supplemental Restraint System -Airbag . . . . . . . . . . . . . . . .13Sway Bar Disconnect, Electronic . . .99
Temperature Control,Automatic (ATC)...........31Tilt Steering Column..........24TiresAir Pressure...........134Changing . . . . . . . . . . . . .112Compact Spare..........135Jacking..............112Spare Tire . . . . . . . . . . . . .112Touchscreen RadioCleaning Your TouchscreenRadio . . . . . . . . . . . . . .65, 76Tow Hooks, Emergency........118To w i n g . . . . . . . . . . . . . . . . . 1 0 0Disabled Vehicle.........119Recreational...........102To w i n g V e h i c l e B e h i n d aMotorhome.............102
INDEX
145