tire pressure JEEP WRANGLER 2016 JK / 3.G Service Manual
[x] Cancel search | Manufacturer: JEEP, Model Year: 2016, Model line: WRANGLER, Model: JEEP WRANGLER 2016 JK / 3.GPages: 705, PDF Size: 5.5 MB
Page 544 of 705
rear axle systems (GAWR). Total load must be limited so
GVWR and front and rear GAWR are not exceeded.
Payload
The payload of a vehicle is defined as the allowable load
weight a truck can carry, including the weight of the
driver, all passengers, options and cargo.
Gross Axle Weight Rating (GAWR)
The GAWR is the maximum permissible load on the front
and rear axles. The load must be distributed in the cargo
area so that the GAWR of each axle is not exceeded.
Each axle GAWR is determined by the components in the
system with the lowest load carrying capacity (axle,
springs, tires or wheels). Heavier axles or suspension
components sometimes specified by purchasers for in-
creased durability does not necessarily increase the vehi-
cle’s GVWR.
Tire Size
The tire size on the Vehicle Certification Label represents
the actual tire size on your vehicle. Replacement tires
must be equal to the load capacity of this tire size.
Rim Size
This is the rim size that is appropriate for the tire size
listed.
Inflation Pressure
This is the cold tire inflation pressure for your vehicle for
all loading conditions up to full GAWR.
Curb Weight
The curb weight of a vehicle is defined as the total weight
of the vehicle with all fluids, including vehicle fuel, at full
capacity conditions, and with no occupants or cargo
loaded into the vehicle. The front and rear curb weight
542 STARTING AND OPERATING
Page 560 of 705
Towing Requirements — Tires
•Proper tire inflation pressures are essential to the safe
and satisfactory operation of your vehicle. Refer to
“Tires – General Information” in “Starting And Oper-
ating” for proper tire inflation procedures.
• Check the trailer tires for proper tire inflation pres-
sures before trailer usage.
• Check for signs of tire wear or visible tire damage
before towing a trailer. Refer to “Tires – General
Information” in “Starting And Operating” for proper
inspection procedure.
• When replacing tires, refer to “Tires – General Infor-
mation” in “Starting And Operating” for proper tire
replacement procedures. Replacing tires with a higher
load carrying capacity will not increase the vehicle’s
GVWR and GAWR limits.
Towing Requirements — Trailer Brakes
• Do not interconnect the hydraulic brake system or
vacuum system of your vehicle with that of the trailer.
This could cause inadequate braking and possible
personal injury.
• An electronically actuated trailer brake controller is
required when towing a trailer with electronically
actuated brakes. When towing a trailer equipped with
a hydraulic surge actuated brake system, an electronic
brake controller is not required.
• Trailer brakes are recommended for trailers over
1,000 lbs (453 kg) and required for trailers in excess of
2,000 lbs (907 kg).
558 STARTING AND OPERATING
Page 573 of 705
NOTE:There are steps that you can take to slow down
an impending overheat condition:
• If your air conditioner (A/C) is on, turn it off. The A/C
system adds heat to the engine cooling system and
turning the A/C off can help remove this heat.
• You can also turn the temperature control to maximum
heat, the mode control to floor and the blower control
to high. This allows the heater core to act as a
supplement to the radiator and aids in removing heat
from the engine cooling system.WARNING!
You or others can be badly burned by hot engine
coolant (antifreeze) or steam from your radiator. If
you see or hear steam coming from under the hood,
do not open the hood until the radiator has had time
to cool. Never try to open a cooling system pressure
cap when the radiator or coolant bottle is hot.
WHEEL AND TIRE TORQUE SPECIFICATIONS
Proper lug nut/bolt torque is very important to ensure
that the wheel is properly mounted to the vehicle. Any
time a wheel has been removed and reinstalled on the
vehicle the lug nuts/bolts should be torqued using a
properly calibrated torque wrench.
6
WHAT TO DO IN EMERGENCIES 571
Page 627 of 705
Check the engine cooling system hoses for brittle rubber,
cracking, tears, cuts, and tightness of the connection at
the coolant recovery bottle and radiator. Inspect the
entire system for leaks.
With the engine at normal operating temperature (but
not running), check the cooling system pressure cap for
proper vacuum sealing by draining a small amount of
engine coolant (antifreeze) from the radiator drain cock.
If the cap is sealing properly, the engine coolant (anti-
freeze) will begin to drain from the coolant recovery
bottle. DO NOT REMOVE THE COOLANT PRESSURE
CAP WHEN THE COOLING SYSTEM IS HOT.
Cooling System — Drain, Flush And Refill
NOTE:Some vehicles require special tools to add coolant
properly. Failure to fill these systems properly could lead
to severe internal engine damage. If any coolant is
needed to be added to the system please contact your
local authorized dealer. If the engine coolant (antifreeze) is dirty or contains
visible sediment, have an authorized dealer clean and
flush with OAT coolant (antifreeze) (conforming to
MS.90032).
Refer to the “Maintenance Schedule” for the proper
maintenance intervals.
Selection Of Coolant
Refer to “Fluids, Lubricants, And Genuine Parts” in
“Maintaining Your Vehicle” for further information.
CAUTION!
•
Mixing of engine coolant (antifreeze) other than
specified Organic Additive Technology (OAT) en-
gine coolant (antifreeze), may result in engine
damage and may decrease corrosion protection.
(Continued)
7
MAINTAINING YOUR VEHICLE 625
Page 647 of 705
•Be especially careful when washing the windows by
following the directions for “Care of Fabric Top Win-
dows.”
Washing – Use MOPAR Car Wash or equivalent, or mild
soap suds, lukewarm water, and a brush with soft
bristles. If extra cleaning is required, use MOPAR Con-
vertible Cloth Top Cleaner or equivalent, or a mild
foaming cleaner on the entire top, but support the top
from underneath.
Rinsing – Be sure to remove all traces of cleaner by
rinsing the top thoroughly with clean water. Remember
to allow the top to dry before lowering it.CAUTION!
Failure to follow these cautions may cause interior
water damage, stains or mildew on the top material:
• Avoid high-pressure car washes, as they can dam-
age the top material. Also, increased water pressure
may force past the weather strips.
• It is recommended that the top be free of water
prior to opening it. Operating the top, opening a
door or lowering a window while the top is wet
may allow water to drip into the vehicle’s interior.
• Use care when washing the vehicle, water pressure
directed at the weather strip seals may cause water
to leak into the vehicle’s interior.
• Careless handling and storage of the removable
roof panels may damage the seals, causing water to
leak into the vehicle’s interior.
(Continued)
7
MAINTAINING YOUR VEHICLE 645
Page 653 of 705
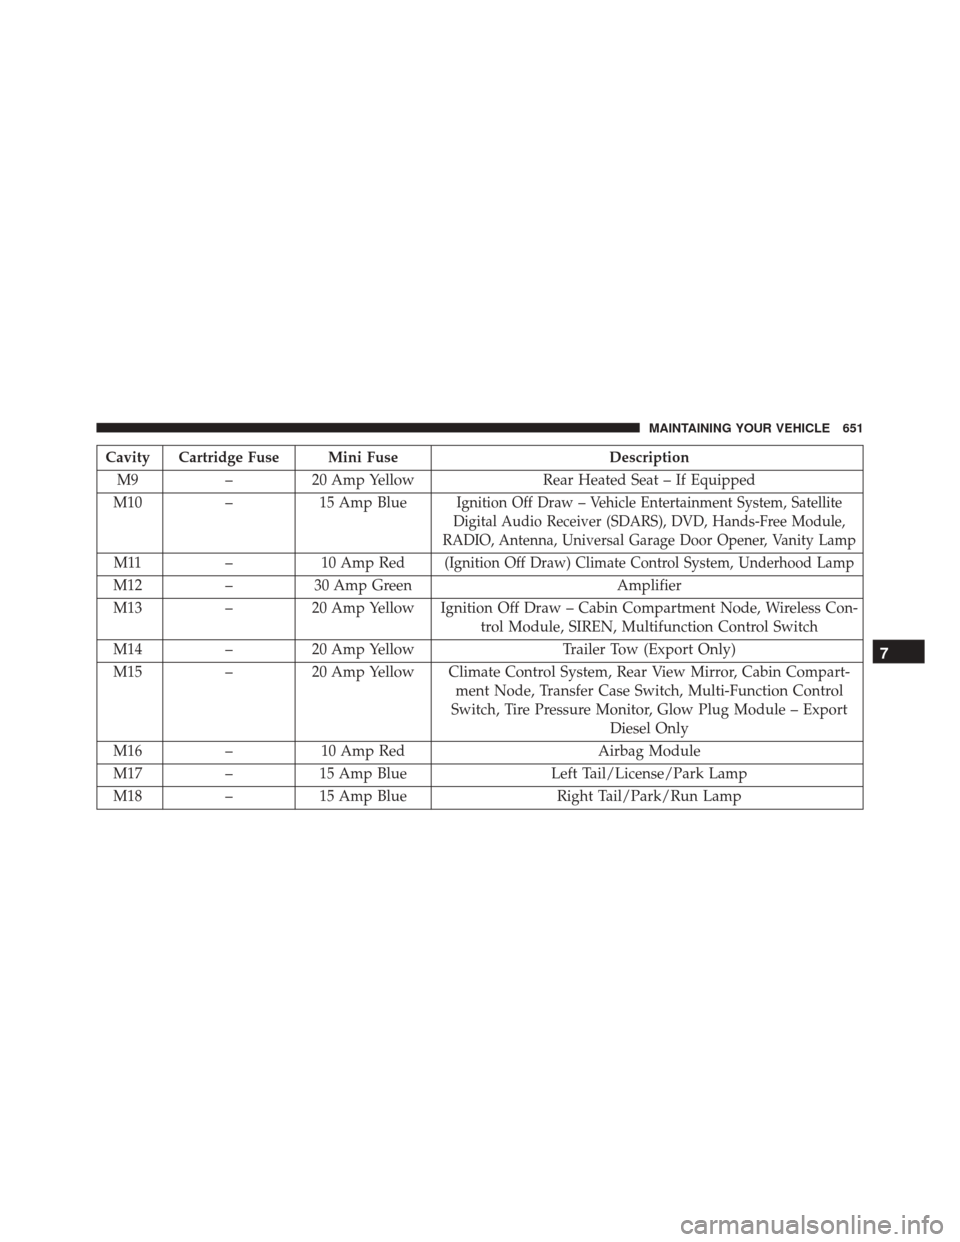
Cavity Cartridge Fuse Mini FuseDescription
M9 –20 Amp Yellow Rear Heated Seat – If Equipped
M10 –15 Amp Blue
Ignition Off Draw – Vehicle Entertainment System, Satellite
Digital Audio Receiver (SDARS), DVD, Hands-Free Module,
RADIO, Antenna, Universal Garage Door Opener, Vanity Lamp
M11 –10 Amp Red(Ignition Off Draw) Climate Control System, Underhood Lamp
M12 –30 Amp Green Amplifier
M13 –20 Amp Yellow Ignition Off Draw – Cabin Compartment Node, Wireless Con-
trol Module, SIREN, Multifunction Control Switch
M14 –20 Amp Yellow Trailer Tow (Export Only)
M15 –20 Amp Yellow Climate Control System, Rear View Mirror, Cabin Compart-
ment Node, Transfer Case Switch, Multi-Function Control
Switch, Tire Pressure Monitor, Glow Plug Module – Export Diesel Only
M16 –10 Amp Red Airbag Module
M17 –15 Amp Blue Left Tail/License/Park Lamp
M18 –15 Amp Blue Right Tail/Park/Run Lamp
7
MAINTAINING YOUR VEHICLE 651
Page 667 of 705
NOTE:Under no circumstances should oil change inter-
vals exceed 10,000 miles (16,000 km), twelve months or
350 hours of engine run time, whichever comes first. The
350 hours of engine run or idle time is generally only a
concern for fleet customers.
Severe Duty All Models
Change Engine Oil at 4,000 miles (6,500 km) if the vehicle
is operated in a dusty and off road environment or is
operated predominately at idle or only very low engine
RPM’s. This type of vehicle use is considered Severe
Duty. Once A Month Or Before A Long Trip:
•
Check engine oil level
• Check windshield washer fluid level
• Check the tire inflation pressures and look for unusual
wear or damage
• Check the fluid levels of the coolant reservoir, brake
master cylinder, power steering and automatic trans-
mission, and fill as needed
• Check function of all interior and exterior lights
8
MAINTENANCE SCHEDULES 665
Page 684 of 705
About Your Brakes....................... .480
Adding Engine Coolant (Antifreeze) ............626
Adding Fuel ............................ .539
Additives, Fuel .......................... .537
AirBag.................................63 Advance Front Air Bag ....................65
Air Bag Operation .......................66
Air Bag Warning Light ....................71
Enhanced Accident Response ................71
Event Data Recorder (EDR) .................74
FrontAirBag...........................63
If A Deployment Occurs ...................69
Knee Impact Bolsters .....................67
Maintaining Your Air Bag System ............73
Air Bag Deployment ........................63
Air Bag Light ..................... .71, 101, 320
Air Bag Maintenance .......................73
Air Cleaner, Engine (Engine Air Cleaner Filter) . . . .603
Air Conditioner Maintenance .................610Air Conditioning
......................... .415
Air Conditioning Controls ...................415
Air Conditioning Filter ..................427, 612
Air Conditioning, Operating Tips ...........425, 428
Air Conditioning Refrigerant ..............610, 611
Air Conditioning System .............415, 419, 610
Air Pressure, Tires ........................ .510
Alarm (Security Alarm) ..................20, 322
Alterations/Modifications, Vehicle ...............9
Antenna, Satellite Radio .................380, 401
Antifreeze (Engine Coolant) ...............625, 659
Disposal ............................. .628
Anti-Lock Brake System (ABS) ................482
Anti-Lock Warning Light ....................325
Appearance Care ........................ .638
Arming System (Security Alarm) ...............20
Assistance Towing ........................ .129
Assist, Hill Start ......................... .484
Auto Down Power Windows ..................44
682 INDEX
Page 686 of 705
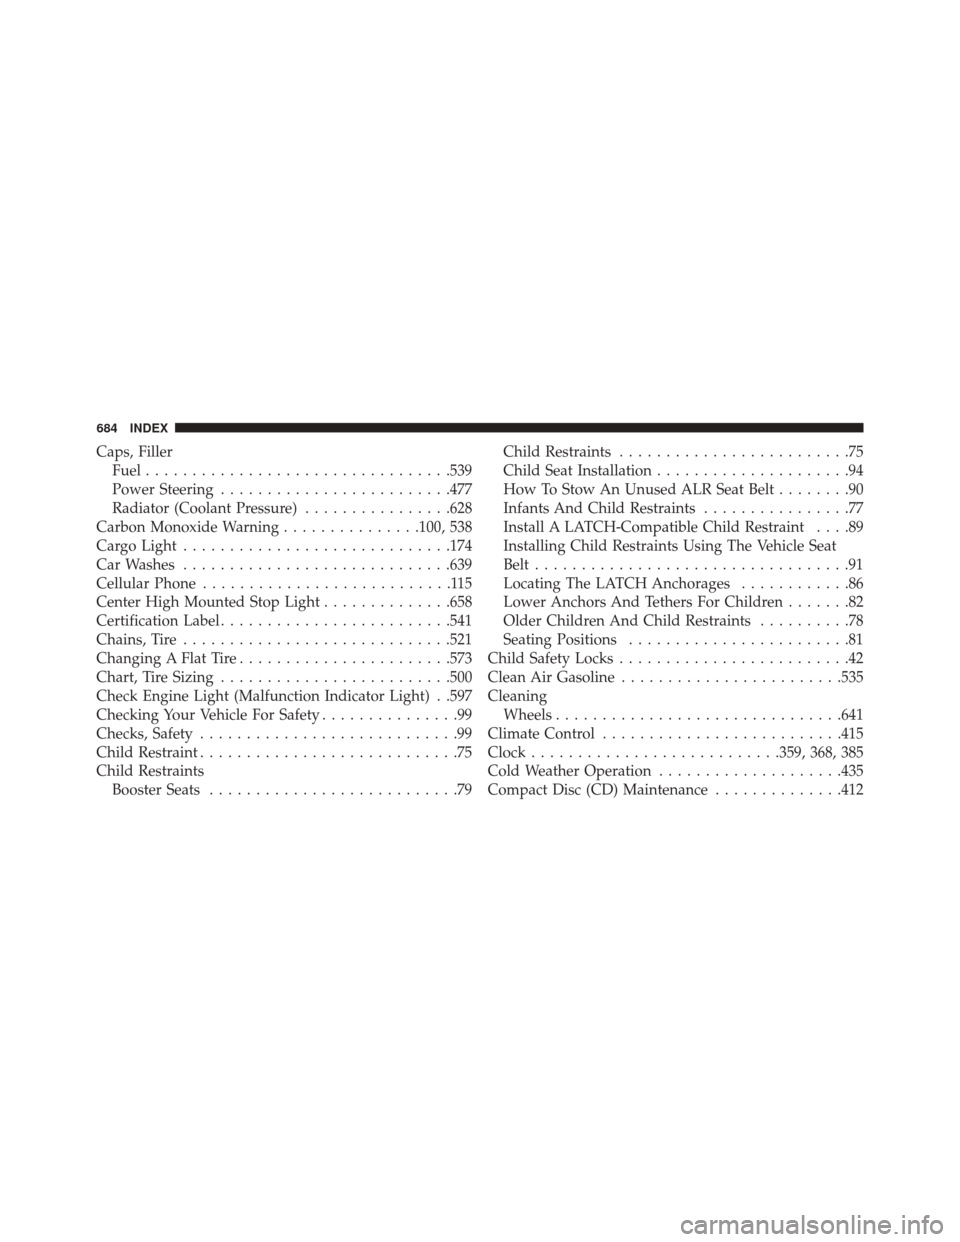
Caps, FillerFuel ................................ .539
Power Steering ........................ .477
Radiator (Coolant Pressure) ................628
Carbon Monoxide Warning ...............100, 538
Cargo Light ............................ .174
Car Washes ............................ .639
Cellular Phone ...........................115
Center High Mounted Stop Light ..............658
Certification Label ........................ .541
Chains, Tire ............................ .521
Changing A Flat Tire ...................... .573
Chart, Tire Sizing ........................ .500
Check Engine Light (Malfunction Indicator Light) . .597
Checking Your Vehicle For Safety ...............99
Checks, Safety ............................99
Child Restraint ............................75
Child Restraints Booster Seats ...........................79 Child Restraints
.........................75
Child Seat Installation .....................94
How To Stow An Unused ALR Seat Belt ........90
Infants And Child Restraints ................77
Install A LATCH-Compatible Child Restraint ....89
Installing Child Restraints Using The Vehicle Seat
Belt ..................................91
Locating The LATCH Anchorages ............86
Lower Anchors And Tethers For Children .......82
Older Children And Child Restraints ..........78
Seating Positions ........................81
Child Safety Locks .........................42
Clean Air Gasoline ....................... .535
Cleaning Wheels .............................. .641
Climate Control ......................... .415
Clock .......................... .359, 368, 385
Cold Weather Operation ....................435
Compact Disc (CD) Maintenance ..............412
684 INDEX
Page 687 of 705
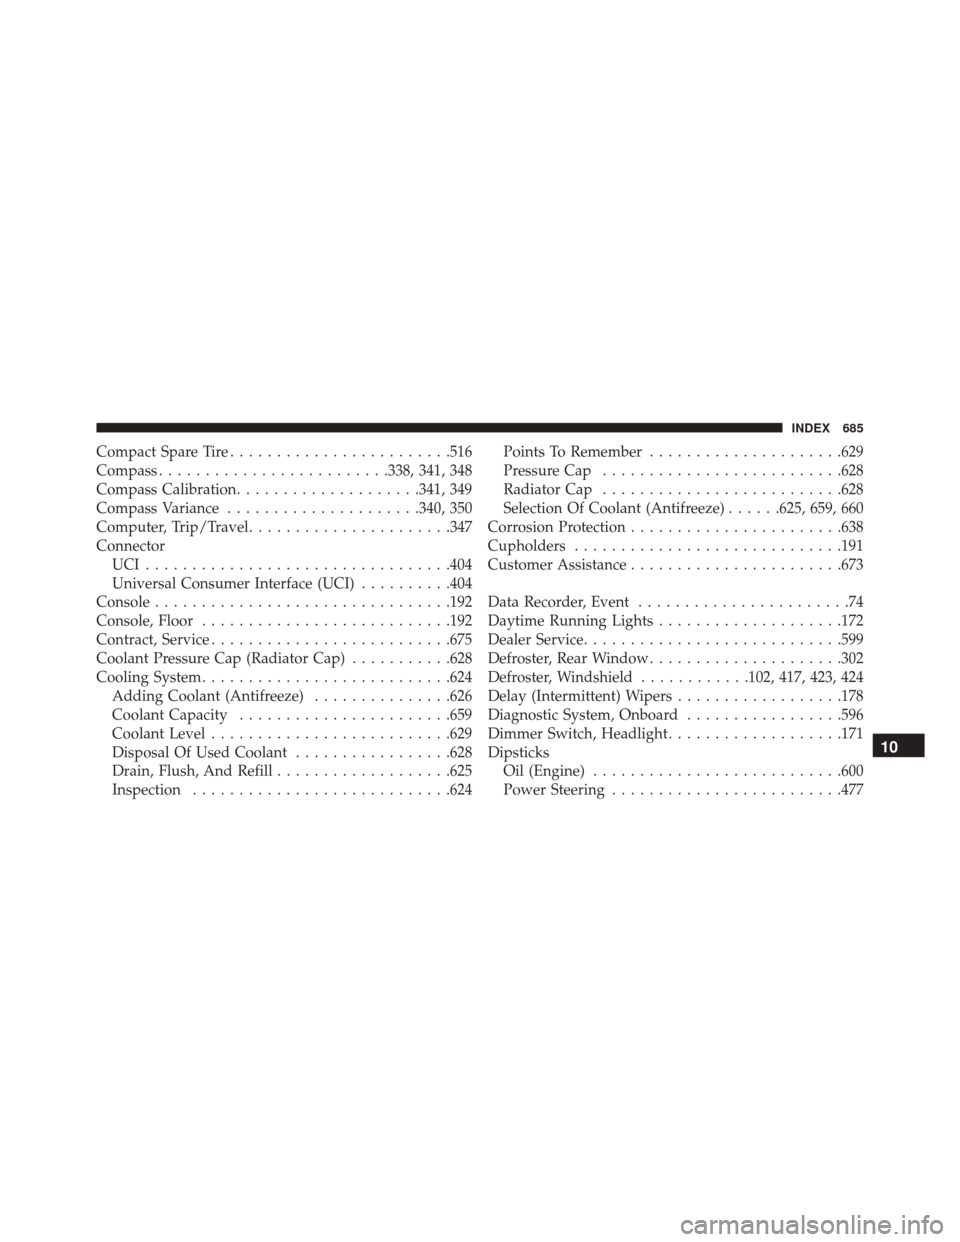
Compact Spare Tire....................... .516
Compass ........................ .338, 341, 348
Compass Calibration ....................341, 349
Compass Variance .....................340, 350
Computer, Trip/Travel ..................... .347
Connector UCI................................ .404
Universal Consumer Interface (UCI) ..........404
Console ............................... .192
Console, Floor .......................... .192
Contract, Service ......................... .675
Coolant Pressure Cap (Radiator Cap) ...........628
Cooling System .......................... .624
Adding Coolant (Antifreeze) ...............626
Coolant Capacity ...................... .659
Coolant Level ......................... .629
Disposal Of Used Coolant .................628
Drain, Flush, And Refill ...................625
Inspection ........................... .624Points To Remember
.....................629
Pressure Cap ......................... .628
Radiator Cap ......................... .628
Selection Of Coolant (Antifreeze) ......625, 659, 660
Corrosion Protection ...................... .638
Cupholders ............................ .191
Customer Assistance ...................... .673
Data Recorder, Event .......................74
Daytime Running Lights ....................172
Dealer Service ........................... .599
Defroster, Rear Window .....................302
Defroster, Windshield ............102, 417, 423, 424
Delay (Intermittent) Wipers ..................178
Diagnostic System, Onboard .................596
Dimmer Switch, Headlight ...................171
Dipsticks Oil (Engine) .......................... .600
Power
Steering ........................ .477
10
INDEX 685