door lock JEEP WRANGLER 2017 JK / 3.G User Guide
[x] Cancel search | Manufacturer: JEEP, Model Year: 2017, Model line: WRANGLER, Model: JEEP WRANGLER 2017 JK / 3.GPages: 527, PDF Size: 5.34 MB
Page 32 of 527
Power Door Locks — If Equipped
The power door lock switch is located on each front door
panel. Push the switch forward to lock the doors, and
rearward to unlock the doors.
WARNING!
•For personal security reasons and safety in a colli-
sion, lock the vehicle doors when you drive, as well
as when you park and leave the vehicle.
• When leaving the vehicle, always remove the key
from the ignition and lock your vehicle. Unsuper-
vised use of vehicle equipment may cause severe
personal injuries and death.
• Never leave children alone in a vehicle, or with
access to an unlocked vehicle.
• Allowing children to be in a vehicle unattended is
dangerous for a number of reasons. A child or others
could be seriously or fatally injured. Children
should be warned not to touch the parking brake,
brake pedal or the gear selector.
• Do not leave the key fob in or near the vehicle or in
a location accessible to children. A child could oper-
ate power windows, other controls, or move the
vehicle.
Power Door Lock Switch
30 GETTING TO KNOW YOUR VEHICLE
Page 33 of 527
Child-Protection Door Lock System — Rear Doors
To provide a safer environment for small children riding in
the rear seats, the rear doors are equipped with Child-
Protection Door Lock system.
To Engage Or Disengage The Child-Protection Door Lock
System
1. Open the rear door.
2. Insert the tip of the ignition key into the lock and rotateto the lock or unlock position.
3. Repeat steps one and two for the opposite rear door.
WARNING!
Avoid trapping anyone in a vehicle in a collision.
Remember that the rear doors can only be opened from
the outside when the Child-Protection locks are en-
gaged (locked).
NOTE: For emergency exit with the system engaged, move
the rocker lever rearward (unlocked position), roll down
the window and open the door with the outside door
handle.
Child Protection Door Lock Function
3
GETTING TO KNOW YOUR VEHICLE 31
Page 37 of 527
3. Slide the front seat(s) fully forward.
4. Remove the trim access door from the bottom of theB-pillar. 5. Unplug the wiring harness connector.
NOTE:
Squeeze the tab on the base of the connector. This
will unlock the connector tab, allowing the harness to be
disconnected.
Hinge Pin ScrewTrim Access Door
3
GETTING TO KNOW YOUR VEHICLE 35
Page 41 of 527
Front Passenger Easy Entry Seat — Two-Door
Models
Pull upward on the recline lever (toward the rear of the
vehicle) and slide the entire seat forward.To return the seat to a sitting position, rotate the seatback
upright until it locks and push the seat rearward until the
track locks.
NOTE:
•The front passenger seats have a track memory, which
returns the seat to just past the halfway point of the track
regardless of its original position.
• The recliner and easy entry levers should not be used
during the automatic returning of the seat to its sitting
position.
Easy Entry Lever
Easy Entry Seat
3
GETTING TO KNOW YOUR VEHICLE 39
Page 49 of 527
WARNING!
•A loose head restraint thrown forward in a collision
or hard stop could cause serious injury or death to
occupants of the vehicle. Always securely stow re-
moved head restraints in a location outside the
occupant compartment.
(Continued)
WARNING! (Continued)
•ALL the head restraints MUST be reinstalled in the
vehicle to properly protect the occupants. Follow the
re-installation instructions above prior to operating
the vehicle or occupying a seat.
NOTE: Do not reposition the head restraint 180 degrees to
the incorrect position in an attempt to gain additional
clearance to the back of the head.
Rear Head Restraints — 2 Door Model
The rear seat head restraints are not adjustable. They can be
removed to make it easier to take out the rear seat. To
remove the head restraint, push the button on each of the
two head restraint guides and pull upward on the head
restraint. Replace the head restraint before driving the
vehicle with passengers in the rear seat. To replace the head
restraint, insert the head restraint rods into the guides and
push downward on the head restraint until locked. Refer to
“Occupant Restraint Systems” in “Safety” for information
on child seat tether routing.
1 — Release Button
2 — Adjustment Button
3
GETTING TO KNOW YOUR VEHICLE 47
Page 50 of 527
WARNING!
•Do not drive the vehicle without the rear seat head
restraints installed while passengers are occupying
the rear seat. In a collision, people riding in this area
without the head restraints installed are more likely
to be seriously injured or killed.
• A loose head restraint thrown forward in a collision
or hard stop could cause serious injury or death to
occupants of the vehicle. Always securely stow re-
moved head restraints in a location outside the
occupant compartment.
• ALL the head restraints MUST be reinstalled in the
vehicle to properly protect the occupants. Follow the
reinstallation instructions above prior to operating
the vehicle or occupying a seat. NOTE:
Do not reposition the head restraint 180 degrees to
the incorrect position in an attempt to gain additional
clearance to the back of the head.
Rear Head Restraints — 4 Door Model
The rear seat is equipped with nonadjustable head re-
straints. Refer to “Occupant Restraint Systems” in “Safety”
for information on child seat tether routing.
STEERING WHEEL
Tilt Steering Column
This feature allows you to tilt the steering column upward
or downward. The tilt lever is located on the steering
column, below the turn signal lever.
To Adjust The Tilt Steering Column
1. Push down on the lever to unlock the steering column.
2. With one hand firmly on the steering wheel, move the steering column up or down, as desired.
3. Pull upwards on the lever to lock the column firmly in place.
48 GETTING TO KNOW YOUR VEHICLE
Page 58 of 527
Cargo Lamp
The courtesy and dome lights will turn on when the front
doors are opened, by rotating the control for the dimmer
switch on the multifunction lever fully upward, or if
equipped, when the unlock button is pushed on the
Remote Keyless Entry key fob.
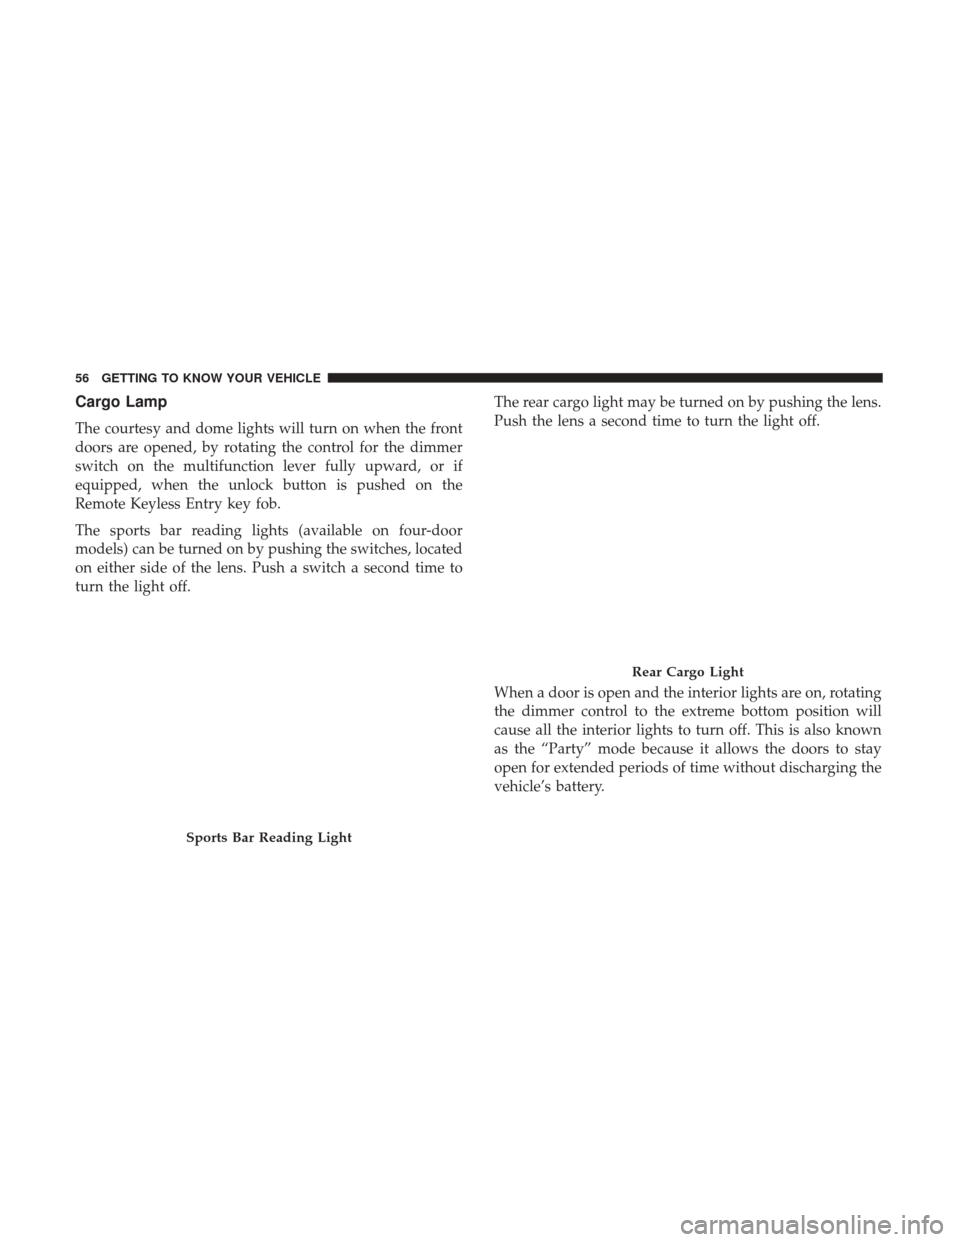
The sports bar reading lights (available on four-door
models) can be turned on by pushing the switches, located
on either side of the lens. Push a switch a second time to
turn the light off.The rear cargo light may be turned on by pushing the lens.
Push the lens a second time to turn the light off.
When a door is open and the interior lights are on, rotating
the dimmer control to the extreme bottom position will
cause all the interior lights to turn off. This is also known
as the “Party” mode because it allows the doors to stay
open for extended periods of time without discharging the
vehicle’s battery.
Sports Bar Reading Light
Rear Cargo Light
56 GETTING TO KNOW YOUR VEHICLE
Page 73 of 527
POWER WINDOWS — IF EQUIPPED
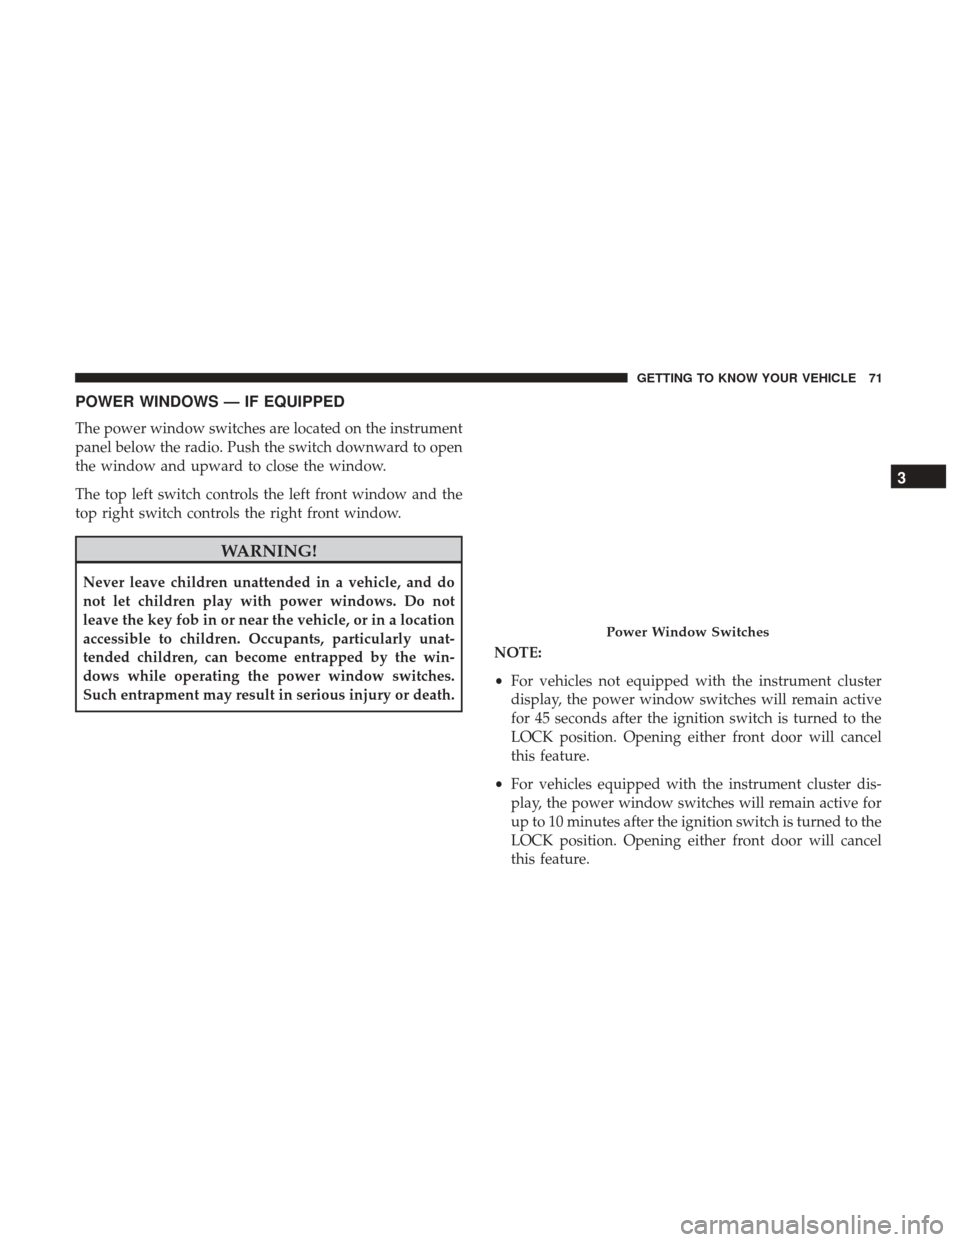
The power window switches are located on the instrument
panel below the radio. Push the switch downward to open
the window and upward to close the window.
The top left switch controls the left front window and the
top right switch controls the right front window.
WARNING!
Never leave children unattended in a vehicle, and do
not let children play with power windows. Do not
leave the key fob in or near the vehicle, or in a location
accessible to children. Occupants, particularly unat-
tended children, can become entrapped by the win-
dows while operating the power window switches.
Such entrapment may result in serious injury or death.NOTE:
•
For vehicles not equipped with the instrument cluster
display, the power window switches will remain active
for 45 seconds after the ignition switch is turned to the
LOCK position. Opening either front door will cancel
this feature.
• For vehicles equipped with the instrument cluster dis-
play, the power window switches will remain active for
up to 10 minutes after the ignition switch is turned to the
LOCK position. Opening either front door will cancel
this feature.
Power Window Switches
3
GETTING TO KNOW YOUR VEHICLE 71
Page 82 of 527
Installing The Soft Top — Four-Door Models
NOTE:The following procedures are for first time set up
only. For future soft top procedures, refer to “Soft Top” in
this section.
1. Locate and remove the following items prior to hard top removal:
• Right and left door frames
• Six door frame attachment knobs
• Right and left quarter windows
• Rear window
2. Remove the hard top. Refer to “Freedom Top Three- Piece Modular Hard Top — Front/Rear Panel Removal”
in this section.
3. Install the door frames. Refer to “Door Frame” in this section.
4. Install the soft top with the pivot brackets above the sport bar brackets, lower the soft top into the sport bar
bracket slots in a downward motion to lock tab on soft
top. You will need to lift the top to get the brackets to
line up. (Another person may be needed to help with
this operation.) NOTE:
If you are doing this alone, use one arm to hold the
soft top up, the other to align the brackets.
Step Four
80 GETTING TO KNOW YOUR VEHICLE
Page 120 of 527
16. Make sure the plastic sleeves are slid rearward over theSunrider link to lock in the link (Sunrider Models
only). 17. Unlatch the side bows from both door rails (Sunrider
Models only).
Step Sixteen
Step Seventeen
118 GETTING TO KNOW YOUR VEHICLE