display JEEP WRANGLER 2021 Owner handbook (in English)
[x] Cancel search | Manufacturer: JEEP, Model Year: 2021, Model line: WRANGLER, Model: JEEP WRANGLER 2021Pages: 276, PDF Size: 4.47 MB
Page 228 of 276
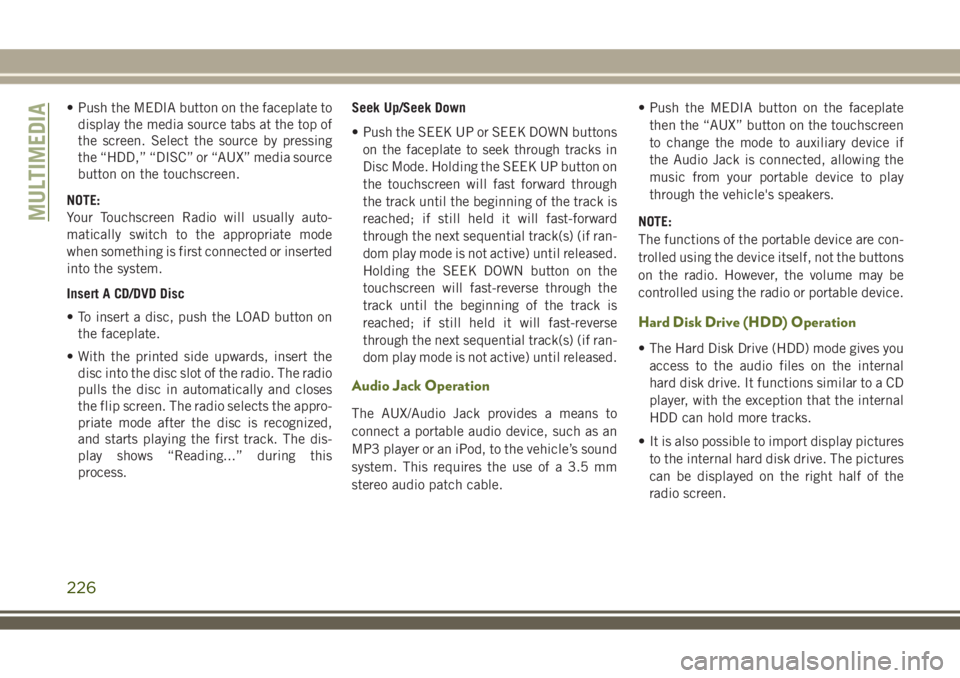
• Push the MEDIA button on the faceplate to
display the media source tabs at the top of
the screen. Select the source by pressing
the “HDD,” “DISC” or “AUX” media source
button on the touchscreen.
NOTE:
Your Touchscreen Radio will usually auto-
matically switch to the appropriate mode
when something is first connected or inserted
into the system.
Insert A CD/DVD Disc
• To insert a disc, push the LOAD button on
the faceplate.
• With the printed side upwards, insert the
disc into the disc slot of the radio. The radio
pulls the disc in automatically and closes
the flip screen. The radio selects the appro-
priate mode after the disc is recognized,
and starts playing the first track. The dis-
play shows “Reading...” during this
process.Seek Up/Seek Down
• Push the SEEK UP or SEEK DOWN buttons
on the faceplate to seek through tracks in
Disc Mode. Holding the SEEK UP button on
the touchscreen will fast forward through
the track until the beginning of the track is
reached; if still held it will fast-forward
through the next sequential track(s) (if ran-
dom play mode is not active) until released.
Holding the SEEK DOWN button on the
touchscreen will fast-reverse through the
track until the beginning of the track is
reached; if still held it will fast-reverse
through the next sequential track(s) (if ran-
dom play mode is not active) until released.
Audio Jack Operation
The AUX/Audio Jack provides a means to
connect a portable audio device, such as an
MP3 player or an iPod, to the vehicle’s sound
system. This requires the use of a 3.5 mm
stereo audio patch cable.• Push the MEDIA button on the faceplate
then the “AUX” button on the touchscreen
to change the mode to auxiliary device if
the Audio Jack is connected, allowing the
music from your portable device to play
through the vehicle's speakers.
NOTE:
The functions of the portable device are con-
trolled using the device itself, not the buttons
on the radio. However, the volume may be
controlled using the radio or portable device.
Hard Disk Drive (HDD) Operation
• The Hard Disk Drive (HDD) mode gives you
access to the audio files on the internal
hard disk drive. It functions similar to a CD
player, with the exception that the internal
HDD can hold more tracks.
• It is also possible to import display pictures
to the internal hard disk drive. The pictures
can be displayed on the right half of the
radio screen.
MULTIMEDIA
226
Page 230 of 276
Copying Pictures To The HDD
• Insert either a CD or a USB device contain-
ing your pictures in JPEG format.
• Push the MY FILES button on the face-
plate.
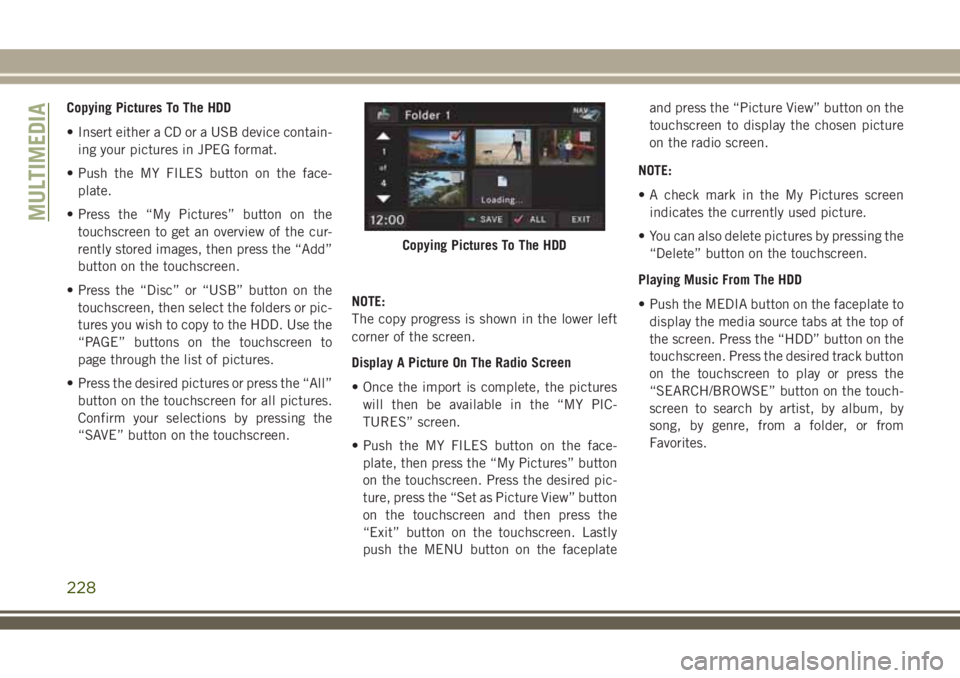
• Press the “My Pictures” button on the
touchscreen to get an overview of the cur-
rently stored images, then press the “Add”
button on the touchscreen.
• Press the “Disc” or “USB” button on the
touchscreen, then select the folders or pic-
tures you wish to copy to the HDD. Use the
“PAGE” buttons on the touchscreen to
page through the list of pictures.
• Press the desired pictures or press the “All”
button on the touchscreen for all pictures.
Confirm your selections by pressing the
“SAVE” button on the touchscreen.NOTE:
The copy progress is shown in the lower left
corner of the screen.
Display A Picture On The Radio Screen
• Once the import is complete, the pictures
will then be available in the “MY PIC-
TURES” screen.
• Push the MY FILES button on the face-
plate, then press the “My Pictures” button
on the touchscreen. Press the desired pic-
ture, press the “Set as Picture View” button
on the touchscreen and then press the
“Exit” button on the touchscreen. Lastly
push the MENU button on the faceplateand press the “Picture View” button on the
touchscreen to display the chosen picture
on the radio screen.
NOTE:
• A check mark in the My Pictures screen
indicates the currently used picture.
• You can also delete pictures by pressing the
“Delete” button on the touchscreen.
Playing Music From The HDD
• Push the MEDIA button on the faceplate to
display the media source tabs at the top of
the screen. Press the “HDD” button on the
touchscreen. Press the desired track button
on the touchscreen to play or press the
“SEARCH/BROWSE” button on the touch-
screen to search by artist, by album, by
song, by genre, from a folder, or from
Favorites.
Copying Pictures To The HDD
MULTIMEDIA
228
Page 231 of 276
Cleaning Your Touchscreen Radio
• If necessary, use a dry micro fiber lens
cleaning cloth dampened with a cleaning
solution such as isopropyl alcohol or an
isopropyl alcohol and water solution ratio of
50:50. Always follow the solvent manufac-
turer's precautions and directions.
CAUTION!
Do not spray any liquid or caustic chemi-
cals directly on the screen. Use a clean
and dry micro fiber lens cleaning cloth to
clean the touchscreen.
Garmin Navigation
• Uconnect 430N integrates Garmin’s
consumer-friendly navigation into your ve-
hicle. Garmin Navigation includes a data-
base with over six million points of interest.
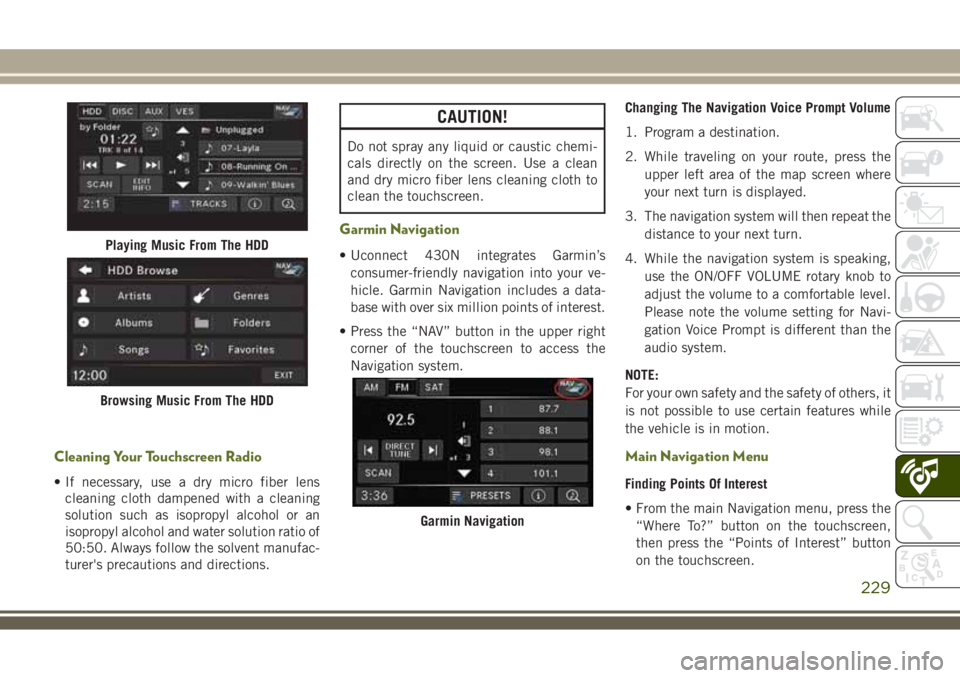
• Press the “NAV” button in the upper right
corner of the touchscreen to access the
Navigation system.Changing The Navigation Voice Prompt Volume
1. Program a destination.
2. While traveling on your route, press the
upper left area of the map screen where
your next turn is displayed.
3. The navigation system will then repeat the
distance to your next turn.
4. While the navigation system is speaking,
use the ON/OFF VOLUME rotary knob to
adjust the volume to a comfortable level.
Please note the volume setting for Navi-
gation Voice Prompt is different than the
audio system.
NOTE:
For your own safety and the safety of others, it
is not possible to use certain features while
the vehicle is in motion.
Main Navigation Menu
Finding Points Of Interest
• From the main Navigation menu, press the
“Where To?” button on the touchscreen,
then press the “Points of Interest” button
on the touchscreen.
Playing Music From The HDD
Browsing Music From The HDD
Garmin Navigation
229
Page 234 of 276
TIPS CONTROLS AND
GENERAL INFORMATION
Steering Wheel Audio Controls
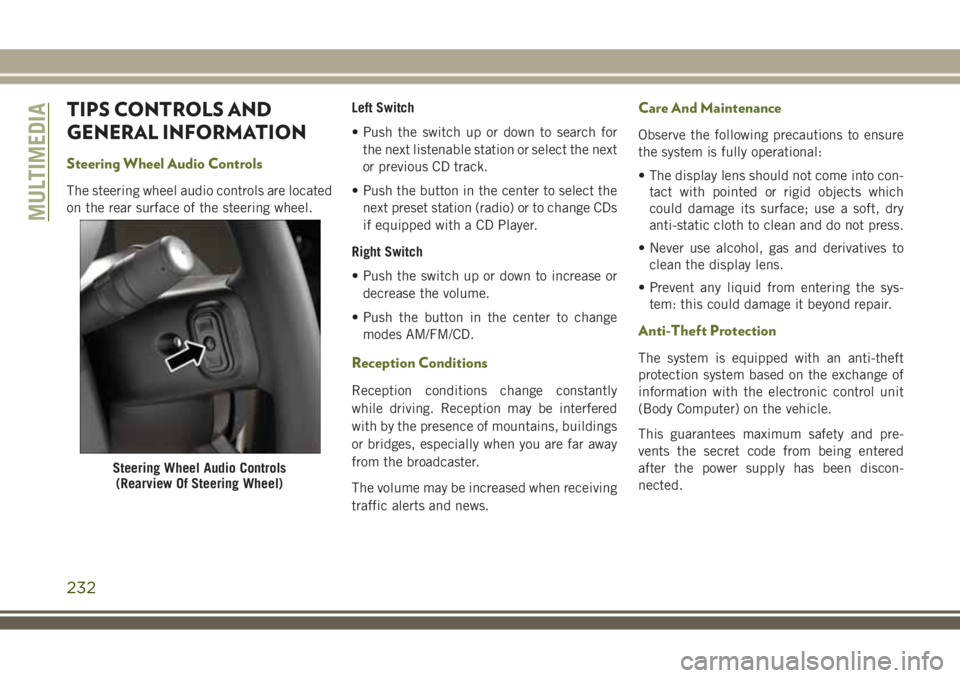
The steering wheel audio controls are located
on the rear surface of the steering wheel.Left Switch
• Push the switch up or down to search for
the next listenable station or select the next
or previous CD track.
• Push the button in the center to select the
next preset station (radio) or to change CDs
if equipped with a CD Player.
Right Switch
• Push the switch up or down to increase or
decrease the volume.
• Push the button in the center to change
modes AM/FM/CD.
Reception Conditions
Reception conditions change constantly
while driving. Reception may be interfered
with by the presence of mountains, buildings
or bridges, especially when you are far away
from the broadcaster.
The volume may be increased when receiving
traffic alerts and news.
Care And Maintenance
Observe the following precautions to ensure
the system is fully operational:
• The display lens should not come into con-
tact with pointed or rigid objects which
could damage its surface; use a soft, dry
anti-static cloth to clean and do not press.
• Never use alcohol, gas and derivatives to
clean the display lens.
• Prevent any liquid from entering the sys-
tem: this could damage it beyond repair.
Anti-Theft Protection
The system is equipped with an anti-theft
protection system based on the exchange of
information with the electronic control unit
(Body Computer) on the vehicle.
This guarantees maximum safety and pre-
vents the secret code from being entered
after the power supply has been discon-
nected.
Steering Wheel Audio Controls
(Rearview Of Steering Wheel)
MULTIMEDIA
232
Page 241 of 276
Voice Text Reply
If equipped with Uconnect Voice Command,
your radio may be able to play incoming Short
Message Service (SMS) messages (text mes-
sages) through the vehicle's sound system. It
also allows you to respond by selecting from
various predefined phrases.
NOTE:
Not all phones are compatible with this fea-
ture. Refer to the phone compatibility list at
UconnectPhone.com. Connected mobile
phones must be bluetooth-compatible and
paired with your radio.
• Push the “Voice Command” button
and after the BEEP, say “SMS” to get
started.
NOTE:
To access the tutorial, push the “Voice Com-
mand” button
. After the BEEP, say
“tutorial.” Push any button on the faceplate
or press any button on the touchscreen to
cancel the tutorial.
WARNING!
Any voice commanded system should be
used only in safe driving conditions follow-
ing applicable laws regarding phone use.
Your attention should be focused on safely
operating the vehicle. Failure to do so may
result in a collision causing you and others
to be severely injured or killed.
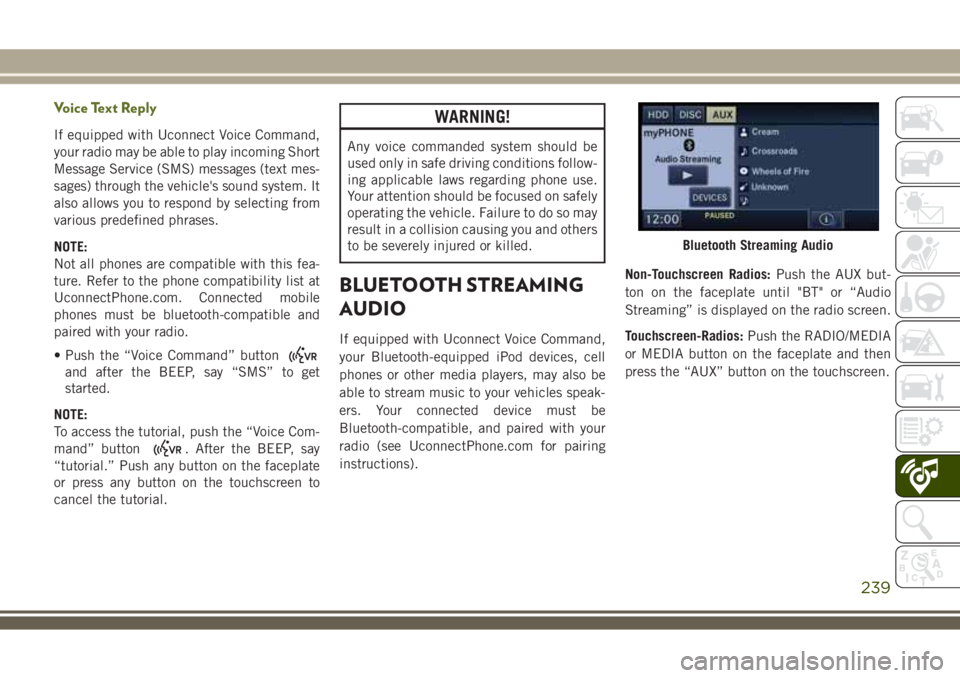
BLUETOOTH STREAMING
AUDIO
If equipped with Uconnect Voice Command,
your Bluetooth-equipped iPod devices, cell
phones or other media players, may also be
able to stream music to your vehicles speak-
ers. Your connected device must be
Bluetooth-compatible, and paired with your
radio (see UconnectPhone.com for pairing
instructions).Non-Touchscreen Radios:Push the AUX but-
ton on the faceplate until "BT" or “Audio
Streaming” is displayed on the radio screen.
Touchscreen-Radios:Push the RADIO/MEDIA
or MEDIA button on the faceplate and then
press the “AUX” button on the touchscreen.
Bluetooth Streaming Audio
239