display KIA Borrego 2009 1.G User Guide
[x] Cancel search | Manufacturer: KIA, Model Year: 2009, Model line: Borrego, Model: KIA Borrego 2009 1.GPages: 425, PDF Size: 8.46 MB
Page 137 of 425
Features of your vehicle60
4
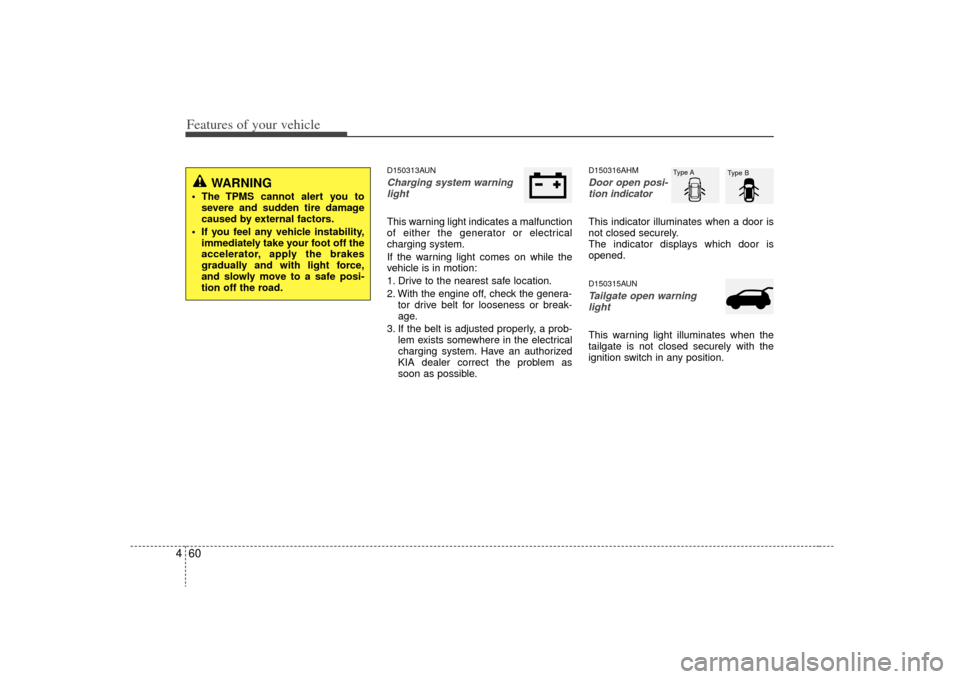
D150313AUNCharging system warning
lightThis warning light indicates a malfunction
of either the generator or electrical
charging system.
If the warning light comes on while the
vehicle is in motion:
1. Drive to the nearest safe location.
2. With the engine off, check the genera- tor drive belt for looseness or break-
age.
3. If the belt is adjusted properly, a prob- lem exists somewhere in the electrical
charging system. Have an authorized
KIA dealer correct the problem as
soon as possible.
D150316AHMDoor open posi-tion indicator This indicator illuminates when a door is
not closed securely.
The indicator displays which door is
opened.D150315AUNTailgate open warning
lightThis warning light illuminates when the
tailgate is not closed securely with the
ignition switch in any position.
WARNING
The TPMS cannot alert you to severe and sudden tire damage
caused by external factors.
If you feel any vehicle instability, immediately take your foot off the
accelerator, apply the brakes
gradually and with light force,
and slowly move to a safe posi-
tion off the road.
Type A Type B
Page 142 of 425
465
Features of your vehicle
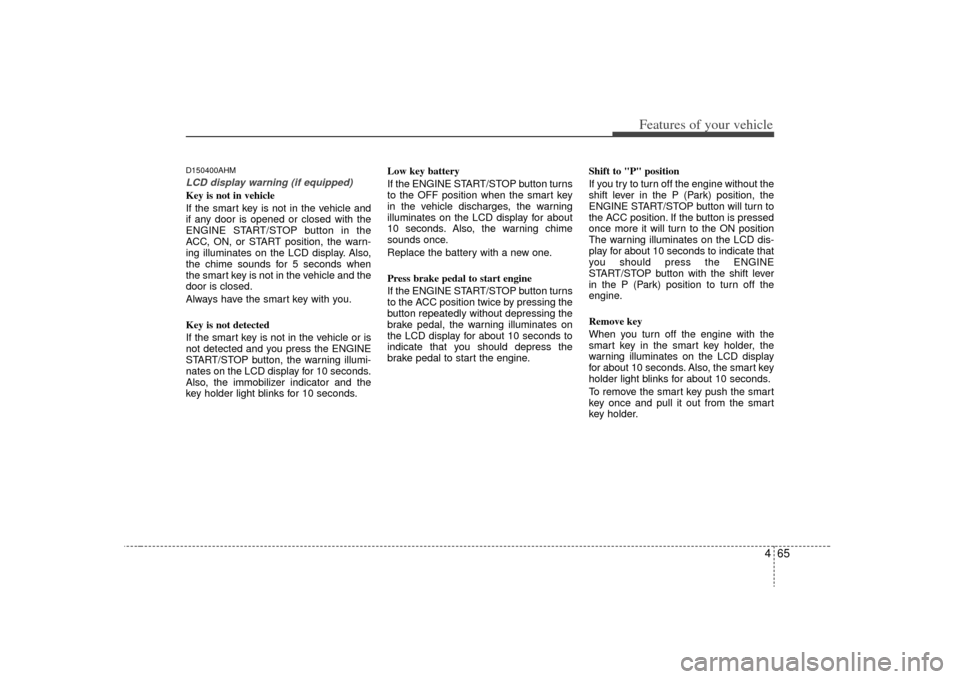
D150400AHMLCD display warning (if equipped)Key is not in vehicle
If the smart key is not in the vehicle and
if any door is opened or closed with the
ENGINE START/STOP button in the
ACC, ON, or START position, the warn-
ing illuminates on the LCD display. Also,
the chime sounds for 5 seconds when
the smart key is not in the vehicle and the
door is closed.
Always have the smart key with you.
Key is not detected
If the smart key is not in the vehicle or is
not detected and you press the ENGINE
START/STOP button, the warning illumi-
nates on the LCD display for 10 seconds.
Also, the immobilizer indicator and the
key holder light blinks for 10 seconds.Low key battery
If the ENGINE START/STOP button turns
to the OFF position when the smart key
in the vehicle discharges, the warning
illuminates on the LCD display for about
10 seconds. Also, the warning chime
sounds once.
Replace the battery with a new one.
Press brake pedal to start engine
If the ENGINE START/STOP button turns
to the ACC position twice by pressing the
button repeatedly without depressing the
brake pedal, the warning illuminates on
the LCD display for about 10 seconds to
indicate that you should depress the
brake pedal to start the engine.
Shift to "P" position
If you try to turn off the engine without the
shift lever in the P (Park) position, the
ENGINE START/STOP button will turn to
the ACC position. If the button is pressed
once more it will turn to the ON position
The warning illuminates on the LCD dis-
play for about 10 seconds to indicate that
you should press the ENGINE
START/STOP button with the shift lever
in the P (Park) position to turn off the
engine.
Remove key
When you turn off the engine with the
smart key in the smart key holder, the
warning illuminates on the LCD display
for about 10 seconds. Also, the smart key
holder light blinks for about 10 seconds.
To remove the smart key push the smart
key once and pull it out from the smart
key holder.
Page 143 of 425
Features of your vehicle66
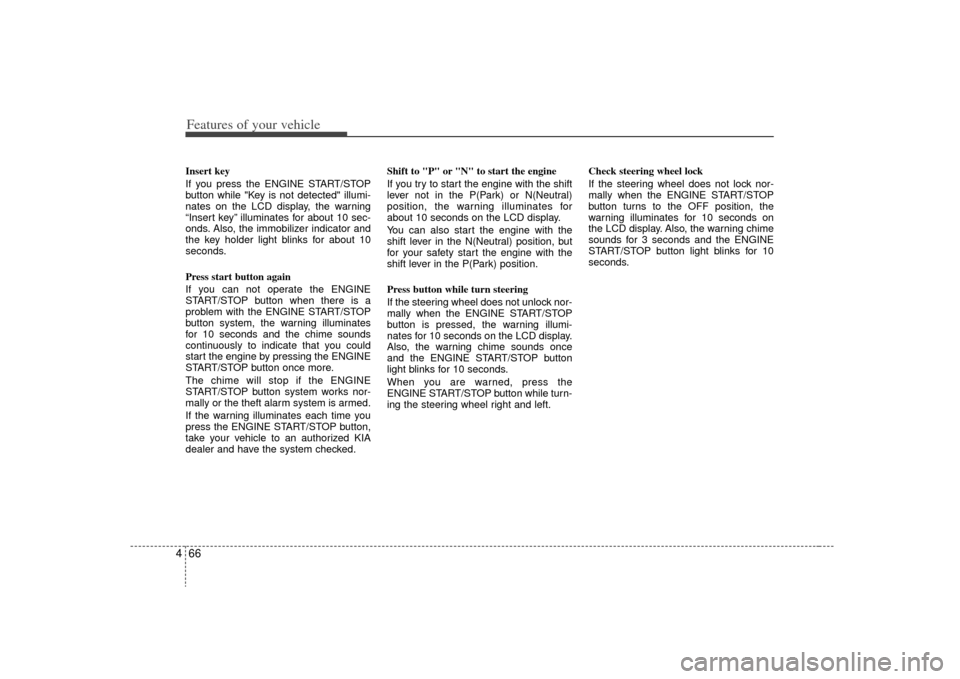
4Insert key
If you press the ENGINE START/STOP
button while "Key is not detected" illumi-
nates on the LCD display, the warning
“Insert key” illuminates for about 10 sec-
onds. Also, the immobilizer indicator and
the key holder light blinks for about 10
seconds.
Press start button again
If you can not operate the ENGINE
START/STOP button when there is a
problem with the ENGINE START/STOP
button system, the warning illuminates
for 10 seconds and the chime sounds
continuously to indicate that you could
start the engine by pressing the ENGINE
START/STOP button once more.
The chime will stop if the ENGINE
START/STOP button system works nor-
mally or the theft alarm system is armed.
If the warning illuminates each time you
press the ENGINE START/STOP button,
take your vehicle to an authorized KIA
dealer and have the system checked. Shift to "P" or "N" to start the engine
If you try to start the engine with the shift
lever not in the P(Park) or N(Neutral)
position, the warning illuminates for
about 10 seconds on the LCD display.
You can also start the engine with the
shift lever in the N(Neutral) position, but
for your safety start the engine with the
shift lever in the P(Park) position.
Press button while turn steering
If the steering wheel does not unlock nor-
mally when the ENGINE START/STOP
button is pressed, the warning illumi-
nates for 10 seconds on the LCD display.
Also, the warning chime sounds once
and the ENGINE START/STOP button
light blinks for 10 seconds.
When you are warned, press the
ENGINE START/STOP button while turn-
ing the steering wheel right and left.
Check steering wheel lock
If the steering wheel does not lock nor-
mally when the ENGINE START/STOP
button turns to the OFF position, the
warning illuminates for 10 seconds on
the LCD display. Also, the warning chime
sounds for 3 seconds and the ENGINE
START/STOP button light blinks for 10
seconds.
Page 147 of 425
Features of your vehicle70
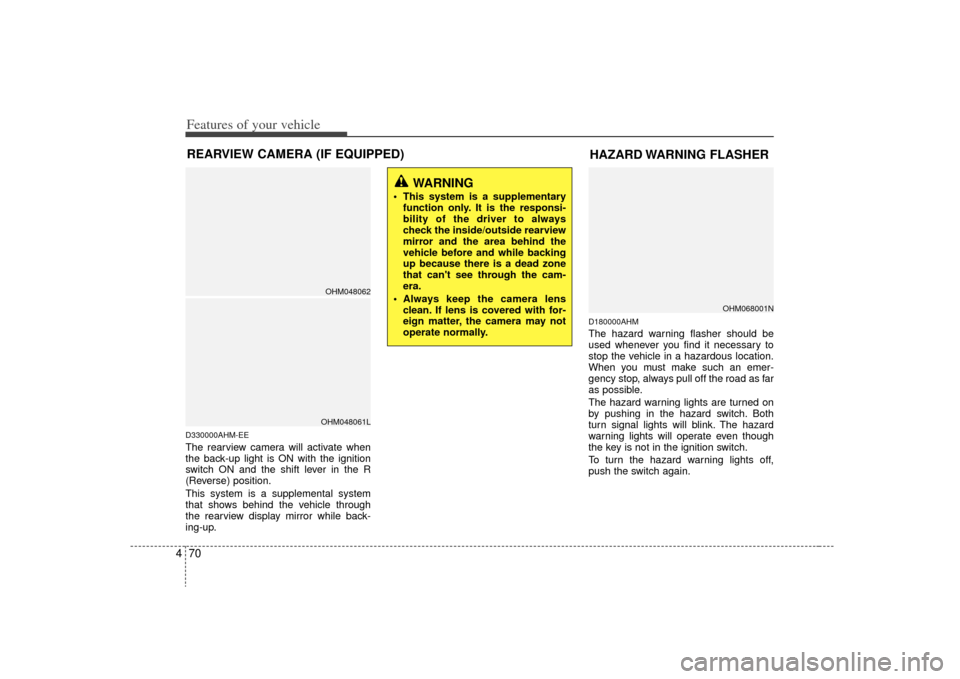
4D330000AHM-EEThe rearview camera will activate when
the back-up light is ON with the ignition
switch ON and the shift lever in the R
(Reverse) position.
This system is a supplemental system
that shows behind the vehicle through
the rearview display mirror while back-
ing-up.
D180000AHMThe hazard warning flasher should be
used whenever you find it necessary to
stop the vehicle in a hazardous location.
When you must make such an emer-
gency stop, always pull off the road as far
as possible.
The hazard warning lights are turned on
by pushing in the hazard switch. Both
turn signal lights will blink. The hazard
warning lights will operate even though
the key is not in the ignition switch.
To turn the hazard warning lights off,
push the switch again.
OHM068001N
HAZARD WARNING FLASHER
WARNING
This system is a supplementary
function only. It is the responsi-
bility of the driver to always
check the inside/outside rearview
mirror and the area behind the
vehicle before and while backing
up because there is a dead zone
that can't see through the cam-
era.
Always keep the camera lens clean. If lens is covered with for-
eign matter, the camera may not
operate normally.
OHM048062OHM048061L
REARVIEW CAMERA (IF EQUIPPED)
Page 166 of 425
489
Features of your vehicle
Outside temperature conversion
You can switch the temperature mode
between Fahrenheit to Centigrade as fol-
lows:
While pressing the air intake control
(recirculated air position) button, press
down the temperature control switch for 3
seconds or more.
The display will change from Fahrenheit
to Centigrade or from Centigrade to
Fahrenheit.
If the battery has been discharged or
disconnected, the temperature mode dis-
play will reset to Centigrade.D230103AHMAir intake control The air intake control is used to select
the outside (fresh) air position or recircu-
lated air position.
To change the air intake control position,
press the control button.Recirculated air position
With the recirculated airposition selected, air from
the passenger compart-
ment will be drawn through
the heating system and
heated or cooled according
to the function selected.
Outside (fresh) air position With the outside (fresh) air
position selected, air
enters the vehicle from out-
side and is heated or
cooled according to the
function selected.
✽ ✽NOTICEProlonged operation of the heater in the
recirculated air position (without air
conditioning selected) may cause fog-
ging of the windshield and side windows
and the air within the passenger com-
partment may become stale.
In addition, prolonged use of the air
conditioning with the recirculated air
position selected will result in excessive-
ly dry air in the passenger compart-
ment.
Page 174 of 425
497
Features of your vehicle
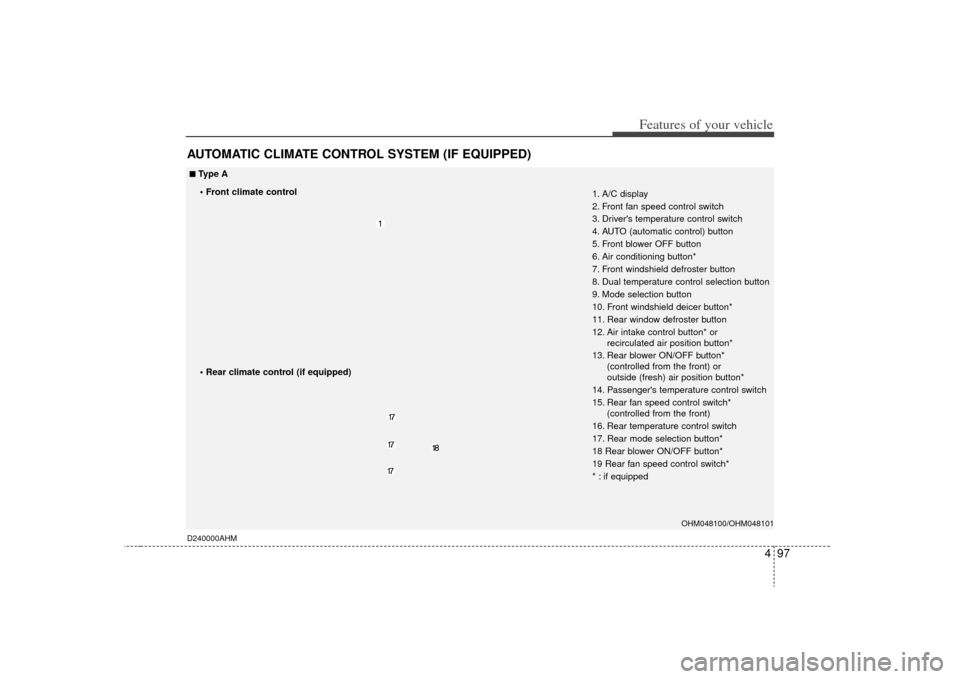
AUTOMATIC CLIMATE CONTROL SYSTEM (IF EQUIPPED)D240000AHM
OHM048100/OHM048101
1. A/C display
2. Front fan speed control switch
3. Driver's temperature control switch
4. AUTO (automatic control) button
5. Front blower OFF button
6. Air conditioning button*
7. Front windshield defroster button
8. Dual temperature control selection button
9. Mode selection button
10. Front windshield deicer button*
11. Rear window defroster button
12. Air intake control button* or recirculated air position button*
13. Rear blower ON/OFF button* (controlled from the front) or
outside (fresh) air position button*
14. Passenger's temperature control switch
15. Rear fan speed control switch* (controlled from the front)
16. Rear temperature control switch
17. Rear mode selection button*
18 Rear blower ON/OFF button*
19 Rear fan speed control switch*
* : if equipped
■
■Type A
• Front climate control
Page 175 of 425
Features of your vehicle98
4
OHM048224N/OHM048101
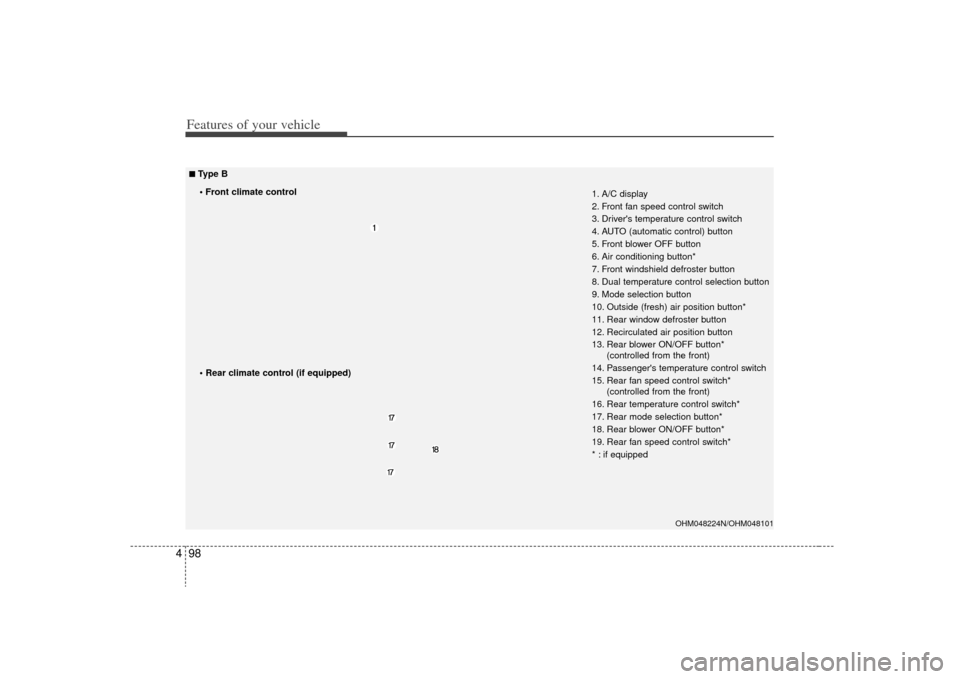
1. A/C display
2. Front fan speed control switch
3. Driver's temperature control switch
4. AUTO (automatic control) button
5. Front blower OFF button
6. Air conditioning button*
7. Front windshield defroster button
8. Dual temperature control selection button
9. Mode selection button
10. Outside (fresh) air position button*
11. Rear window defroster button
12. Recirculated air position button
13. Rear blower ON/OFF button*
(controlled from the front)
14. Passenger's temperature control switch
15. Rear fan speed control switch* (controlled from the front)
16. Rear temperature control switch*
17. Rear mode selection button*
18. Rear blower ON/OFF button*
19. Rear fan speed control switch*
* : if equipped
■
■Type B
• Front climate control
Page 179 of 425
Features of your vehicle102
4Adjusting the driver and passenger side
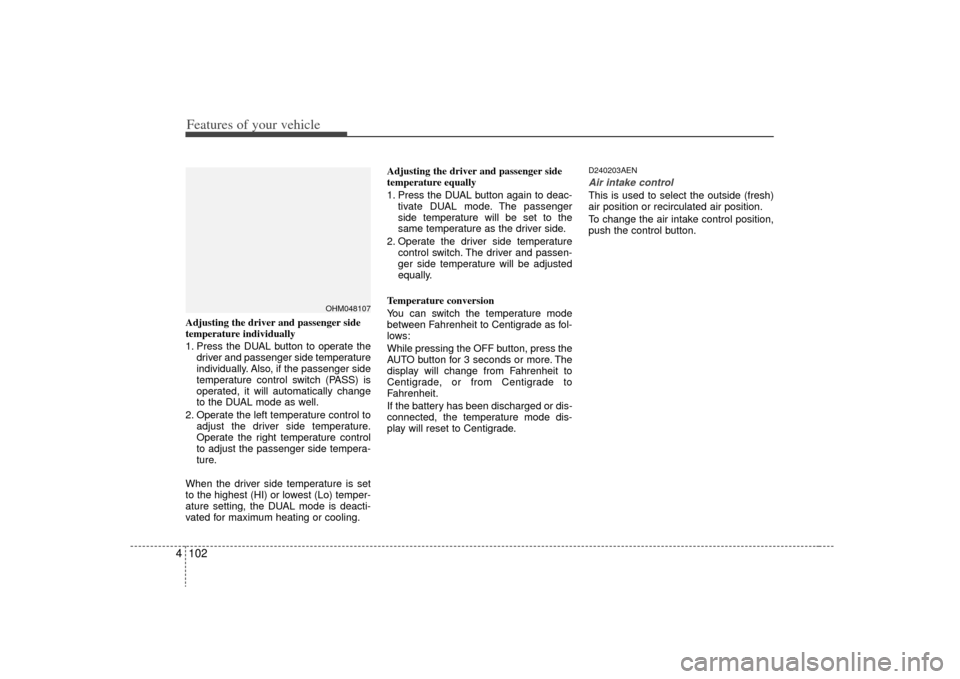
temperature individually
1. Press the DUAL button to operate the
driver and passenger side temperature
individually. Also, if the passenger side
temperature control switch (PASS) is
operated, it will automatically change
to the DUAL mode as well.
2. Operate the left temperature control to adjust the driver side temperature.
Operate the right temperature control
to adjust the passenger side tempera-
ture.
When the driver side temperature is set
to the highest (HI) or lowest (Lo) temper-
ature setting, the DUAL mode is deacti-
vated for maximum heating or cooling. Adjusting the driver and passenger side
temperature equally
1. Press the DUAL button again to deac-
tivate DUAL mode. The passenger
side temperature will be set to the
same temperature as the driver side.
2. Operate the driver side temperature control switch. The driver and passen-
ger side temperature will be adjusted
equally.
Temperature conversion
You can switch the temperature mode
between Fahrenheit to Centigrade as fol-
lows:
While pressing the OFF button, press the
AUTO button for 3 seconds or more. The
display will change from Fahrenheit to
Centigrade, or from Centigrade to
Fahrenheit.
If the battery has been discharged or dis-
connected, the temperature mode dis-
play will reset to Centigrade.
D240203AENAir intake controlThis is used to select the outside (fresh)
air position or recirculated air position.
To change the air intake control position,
push the control button.
OHM048107
Page 187 of 425
Features of your vehicle110
4D250300AHMDefogging logicTo reduce the probability of fogging up
the inside of the windshield, the air intake
or air conditioning are controlled auto-
matically according to certain conditions
such as or position. To cancel or
return to the defogging logic, do the fol-
lowing.
D250301AHM-EEManual climate control system1. Turn the ignition switch to the ON posi-
tion.
2. Turn the mode selection knob to the defrost position ( ).
3. Press the air intake control button at least 5 times within 3 seconds.
The indicator light in the air intake control
button will blink 3 times with 0.5 second
of interval. It indicates that the defogging
logic is canceled or returned to the pro-
grammed status.
If the battery has been discharged or dis-
connected, it resets to the defog logic
status.
D250302AHM-EEAutomatic climate control system1. Turn the ignition switch to the ON posi- tion.
2. Select the defroster position pressing the defroster button ( ).
3. While pressing the air conditioning button (A/C), press the air intake con-
trol button at least 5 times within 3 sec-
onds.
The A/C display blinks 3 times with 0.5
second of interval. It indicates that the
defogging logic is canceled or returned to
the programmed status.
If the battery has been discharged or
disconnected, it resets to the defog logic
status.
OHM048123L
OHM048124L
Page 195 of 425
Features of your vehicle118
4D280600AENDigital clockWhenever the battery terminals or relat-
ed fuses are disconnected, you must
reset the time.
When the ignition switch is in the ACC or
ON position, the clock buttons operate as
follows:
D280601AHMHour (1)Pressing the H button will advance the
time displayed by one hour.
D280602AHMMinute (2)Pressing the M button will advance the
time displayed by one minute.D280603AHMReset (3)To clear away minutes, press the R but-
ton. Then the clock will be set precisely
on the hour.
For example, if the R button is pressed
while the time is between 9:01 and 9:29,
the display will reset to 9:00.
9:01 ~ 9:29 display changed to 9:00
9:30 ~ 9:59 display changed to 10:00D280604AHMDisplay conversionTo change the 12 hour format to the 24
hour format, press the R button until the
display blinks.
For example, if the R button is pressed
while the time is 10:15 p.m., the display
will change to 22:15.
OHM048137OHM048136
■Type A■ Type B
WARNING
Do not adjust the clock while driv-
ing. You may lose your steering
control and cause an accident that
results in severe personal injury or
death.