audio KIA Carens 2007 2.G Owner's Manual
[x] Cancel search | Manufacturer: KIA, Model Year: 2007, Model line: Carens, Model: KIA Carens 2007 2.GPages: 343, PDF Size: 3.61 MB
Page 11 of 343
23
Your vehicle at a glance
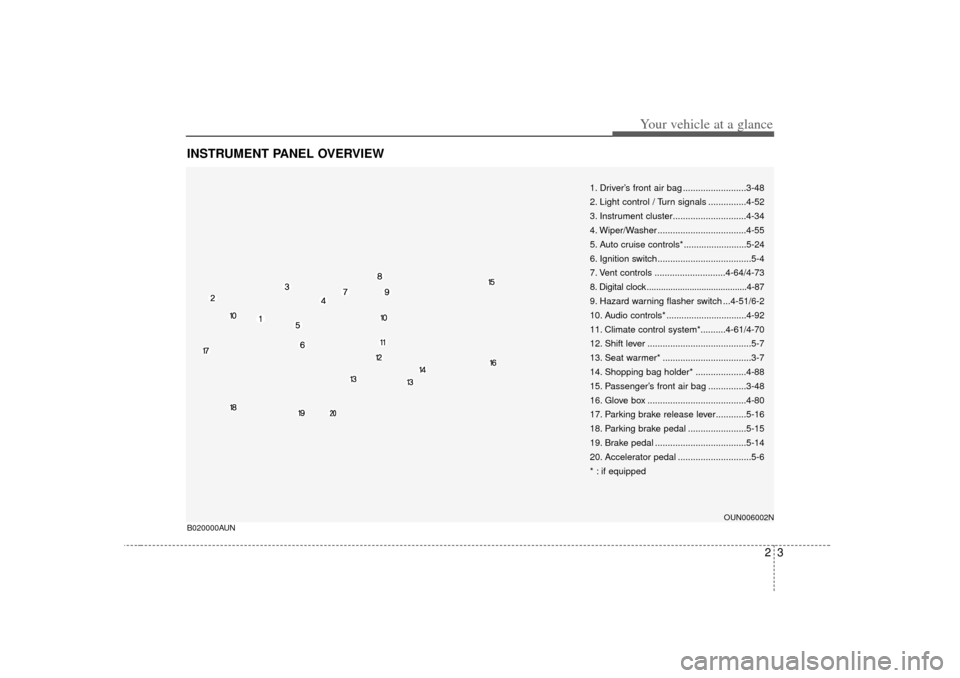
INSTRUMENT PANEL OVERVIEW
1. Driver’s front air bag .........................3-48
2. Light control / Turn signals ...............4-52
3. Instrument cluster.............................4-34
4. Wiper/Washer ...................................4-55
5. Auto cruise controls* .........................5-24
6. Ignition switch .....................................5-4
7. Vent controls ............................4-64/4-73
8. Digital clock ..........................................4-87
9. Hazard warning flasher switch ...4-51/6-2
10. Audio controls* ................................4-92
11. Climate control system*..........4-61/4-70
12. Shift lever .........................................5-7
13. Seat warmer* ...................................3-7
14. Shopping bag holder* ....................4-88
15. Passenger’s front air bag ...............3-48
16. Glove box .......................................4-80
17. Parking brake release lever............5-16
18. Parking brake pedal .......................5-15
19. Brake pedal ....................................5-14
20. Accelerator pedal .............................5-6
* : if equipped
OUN006002N
B020000AUN
Page 81 of 343

Exterior feature / 4-90Audio system / 4-92Features of your vehicle
4
Page 165 of 343
Features of your vehicle86
4
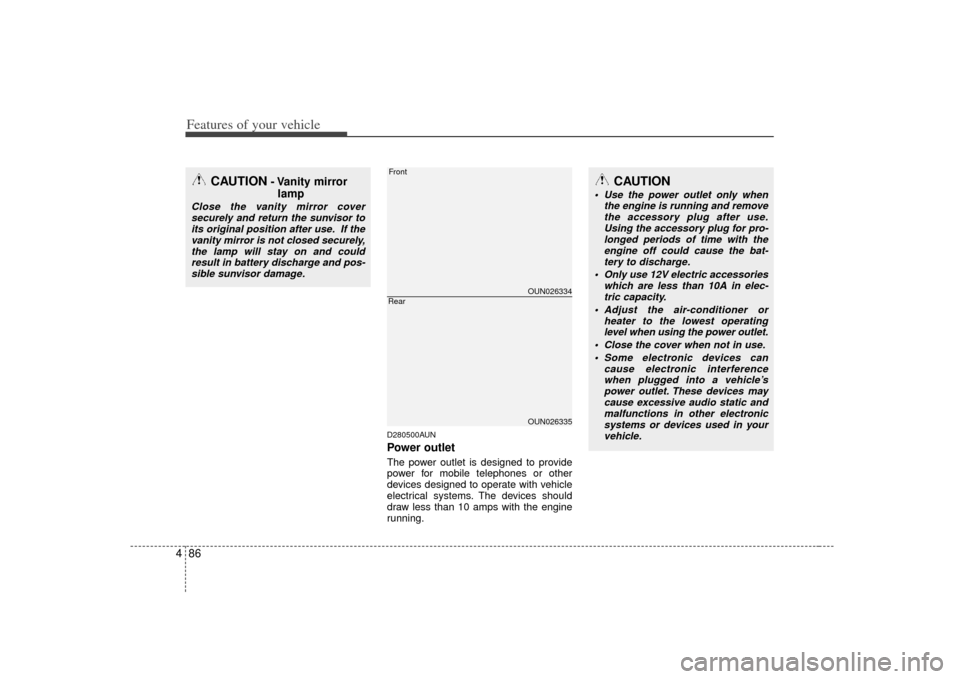
D280500AUNPower outletThe power outlet is designed to provide
power for mobile telephones or other
devices designed to operate with vehicle
electrical systems. The devices should
draw less than 10 amps with the engine
running.
CAUTION
- Vanity mirror
lamp
Close the vanity mirror cover
securely and return the sunvisor toits original position after use. If the vanity mirror is not closed securely,the lamp will stay on and couldresult in battery discharge and pos- sible sunvisor damage.
OUN026334OUN026335
FrontRear
CAUTION
Use the power outlet only when the engine is running and removethe accessory plug after use. Using the accessory plug for pro-longed periods of time with the engine off could cause the bat-tery to discharge.
Only use 12V electric accessories which are less than 10A in elec-tric capacity.
Adjust the air-conditioner or heater to the lowest operatinglevel when using the power outlet.
Close the cover when not in use. Some electronic devices can cause electronic interferencewhen plugged into a vehicle’s power outlet. These devices maycause excessive audio static andmalfunctions in other electronicsystems or devices used in your vehicle.
Page 171 of 343
Features of your vehicle92
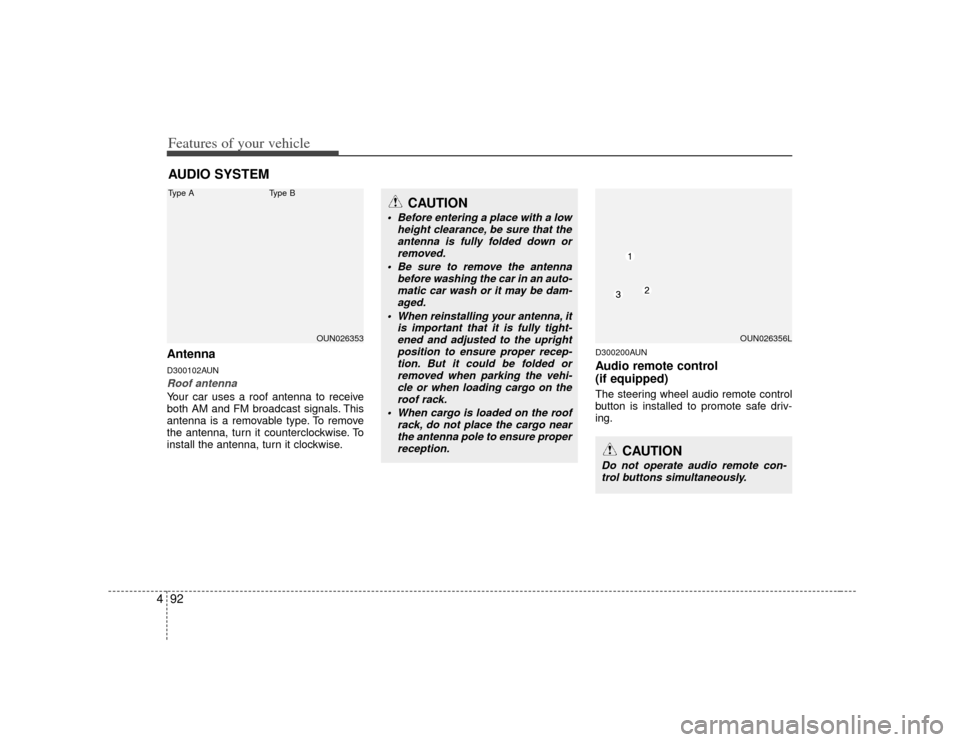
4AntennaD300102AUNRoof antenna Your car uses a roof antenna to receive
both AM and FM broadcast signals. This
antenna is a removable type. To remove
the antenna, turn it counterclockwise. To
install the antenna, turn it clockwise.
D300200AUNAudio remote control
(if equipped) The steering wheel audio remote control
button is installed to promote safe driv-
ing.
AUDIO SYSTEM
OUN026353
CAUTION
• Before entering a place with a low
height clearance, be sure that theantenna is fully folded down or removed.
Be sure to remove the antenna before washing the car in an auto-matic car wash or it may be dam- aged.
When reinstalling your antenna, it is important that it is fully tight-ened and adjusted to the uprightposition to ensure proper recep- tion. But it could be folded orremoved when parking the vehi- cle or when loading cargo on theroof rack.
When cargo is loaded on the roof rack, do not place the cargo nearthe antenna pole to ensure properreception.
OUN026356L
CAUTION
Do not operate audio remote con-trol buttons simultaneously.
Type A
Type B
Page 172 of 343
493
Features of your vehicle
MODE (1)Press the button to select Radio, Tape (if
equipped) or CD (compact disc).VOLUME (VOL
▲/▼) (3)
• Press the up button (▲) to increasevolume.
Press the down button (▼) to decrease volume.SEEK/PRESET (
▲/▼) (2)
If the SEEK button is pressed for 0.8
second or more, it will work as follows in
each mode.
RADIO mode
It will function as the AUTO SEEK select
button.
TAPE mode
It will function as the FF/REW button.
CDP mode
It will function as the FF/REW button.
CDC mode
It will function as the DISC UP/DOWN
button. If the SEEK button is pressed for less
than 0.8 second, it will work as follows in
each mode.
RADIO mode
It will function as the PRESET STATION
select buttons.
TAPE mode
It will function as the AUTO MUSIC
Search (AMS) button.
CDP mode
It will function as the TRACK UP/DOWN
button.
CDC mode
It will function as the TRACK UP/DOWN
button.
Detailed information for audio control
buttons is described in the following
pages in this section.
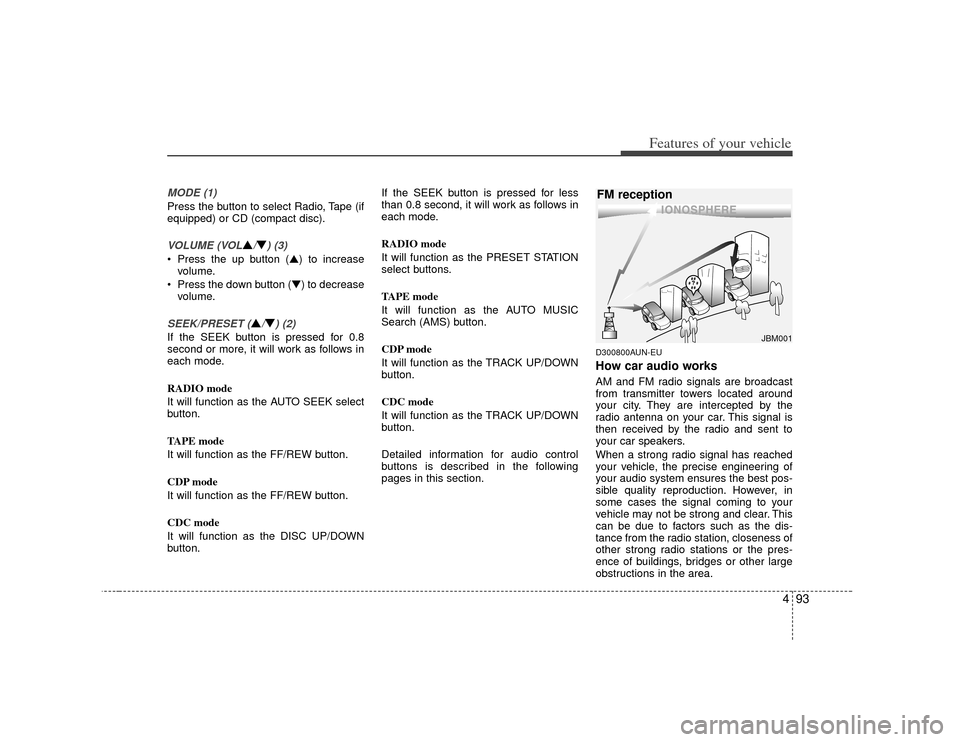
D300800AUN-EUHow car audio worksAM and FM radio signals are broadcast
from transmitter towers located around
your city. They are intercepted by the
radio antenna on your car. This signal is
then received by the radio and sent to
your car speakers.
When a strong radio signal has reached
your vehicle, the precise engineering of
your audio system ensures the best pos-
sible quality reproduction. However, in
some cases the signal coming to your
vehicle may not be strong and clear. This
can be due to factors such as the dis-
tance from the radio station, closeness of
other strong radio stations or the pres-
ence of buildings, bridges or other large
obstructions in the area.
¢¢¢
JBM001
FM reception
Page 174 of 343
495
Features of your vehicle
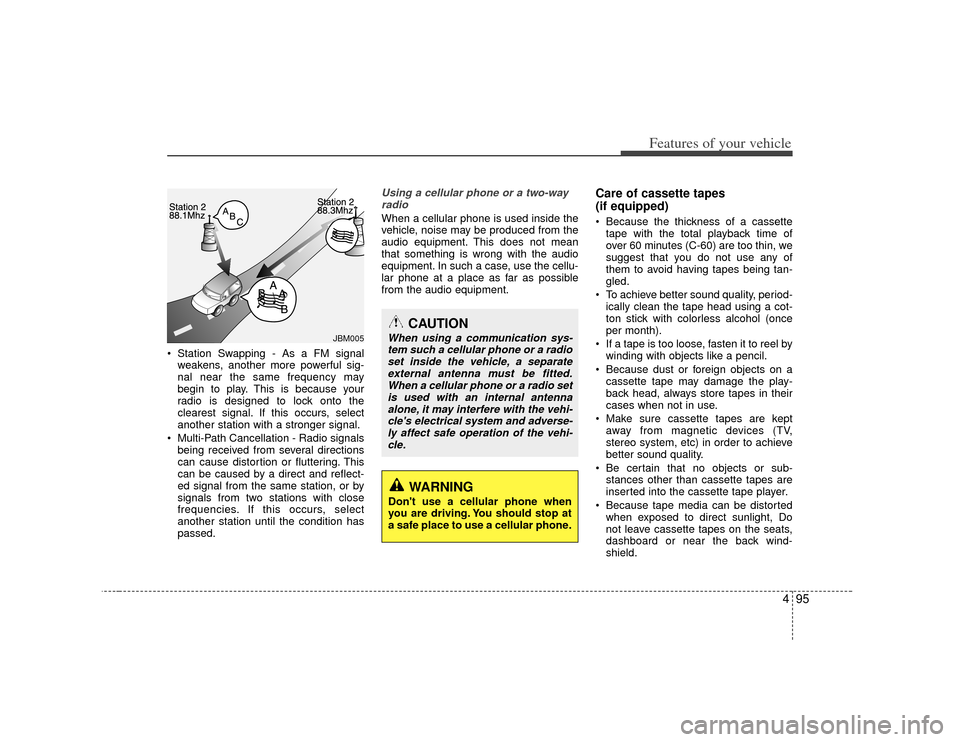
Station Swapping - As a FM signalweakens, another more powerful sig-
nal near the same frequency may
begin to play. This is because your
radio is designed to lock onto the
clearest signal. If this occurs, select
another station with a stronger signal.
Multi-Path Cancellation - Radio signals being received from several directions
can cause distortion or fluttering. This
can be caused by a direct and reflect-
ed signal from the same station, or by
signals from two stations with close
frequencies. If this occurs, select
another station until the condition has
passed.
Using a cellular phone or a two-wayradio When a cellular phone is used inside the
vehicle, noise may be produced from the
audio equipment. This does not mean
that something is wrong with the audio
equipment. In such a case, use the cellu-
lar phone at a place as far as possible
from the audio equipment.
Care of cassette tapes
(if equipped) Because the thickness of a cassette tape with the total playback time of
over 60 minutes (C-60) are too thin, we
suggest that you do not use any of
them to avoid having tapes being tan-
gled.
To achieve better sound quality, period- ically clean the tape head using a cot-
ton stick with colorless alcohol (once
per month).
If a tape is too loose, fasten it to reel by winding with objects like a pencil.
Because dust or foreign objects on a cassette tape may damage the play-
back head, always store tapes in their
cases when not in use.
Make sure cassette tapes are kept away from magnetic devices (TV,
stereo system, etc) in order to achieve
better sound quality.
Be certain that no objects or sub- stances other than cassette tapes are
inserted into the cassette tape player.
Because tape media can be distorted when exposed to direct sunlight, Do
not leave cassette tapes on the seats,
dashboard or near the back wind-
shield.
JBM005
CAUTION
When using a communication sys-tem such a cellular phone or a radio set inside the vehicle, a separateexternal antenna must be fitted.When a cellular phone or a radio setis used with an internal antenna alone, it may interfere with the vehi-cle's electrical system and adverse-ly affect safe operation of the vehi-cle.
WARNING
Don't use a cellular phone when
you are driving. You should stop at
a safe place to use a cellular phone.
Page 175 of 343

Features of your vehicle96
4Care of disc (if equipped) If the temperature inside the car is too
high, open the car windows for ventila-
tion before using your car audio.
It is illegal to copy and use MP3/WMA/AAC/WAVE files without
permission (If equipped with M466,
use only MP3/WMA, If equipped with
M445, use only CD-DA). Use CDs that
are created only by lawful means.
Do not apply volatile agents such as benzene and thinner, normal cl eaners
and magnetic sprays made for ana-
logue disc onto CDs.
To prevent the disc surface from get- ting damaged. Hold and carry CDs by
the edges or the edges of the center
hole only.
Clean the disc surface with a piece of soft cloth before playback (wipe it from
the center to the outside edge).
Do not damage the disc surface or attach pieces of sticky tape or paper
onto it.
Make sure on undesirable matter other than CDs are inserted into the CD
player (Do not insert more than one
CD at a time). Keep CDs in their cases after use to
protect them from scratches or dirt.
Depending on the type of CD-R/CD- RW CDs, certain CDs may not operate
normally according to manufacturing
companies or making and recording
methods. In such circumstances, if you
still continue to use those CDs, they
may cause the malfunction of your car
audio system.
✽ ✽ NOTICE
- Playing an
Incompatible Copy
Protected Audio CD
Some copy protected CDs, which do not
comply with the international audio CD
standards (Red Book), may not play on
your car audio. Please note that if you
try to play copy protected CDs and the
CD player does not perform correctly
the CDs maybe defective, not the CD
player.
Page 176 of 343
497
Features of your vehicle
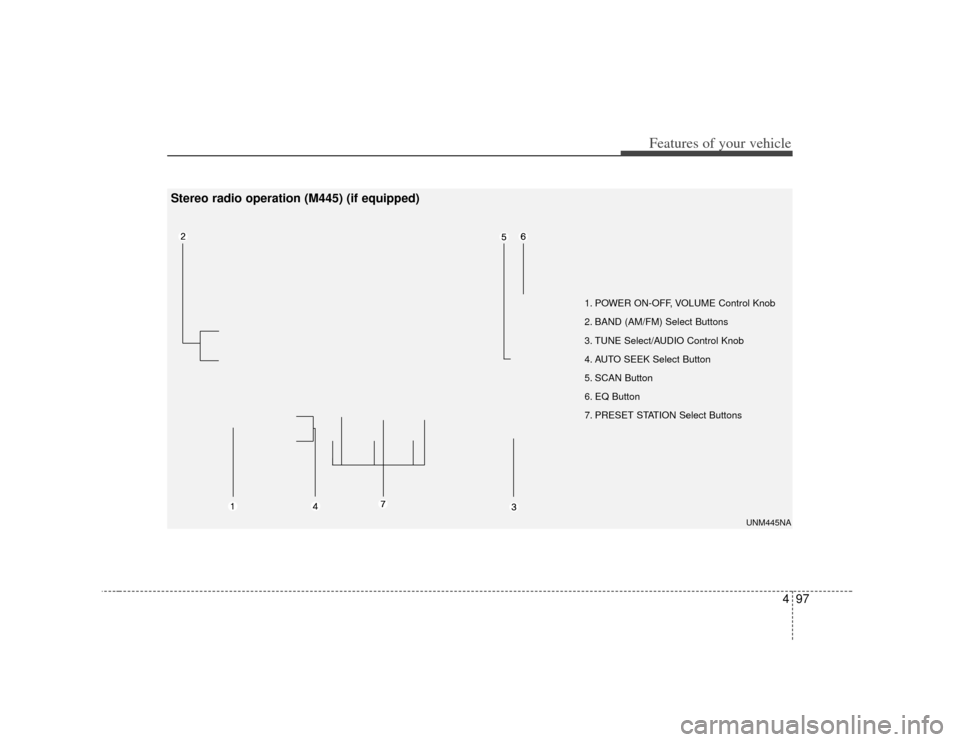
1. POWER ON-OFF, VOLUME Control Knob
2. BAND (AM/FM) Select Buttons
3. TUNE Select/AUDIO Control Knob
4. AUTO SEEK Select Button
5. SCAN Button
6. EQ Button
7. PRESET STATION Select Buttons
UNM445NA
Stereo radio operation (M445) (if equipped)
Page 177 of 343
Features of your vehicle98
41. POWER ON-OFF Control Knob The radio unit may be operated when
the ignition switch is in the “ACC” or
“ON” position. Press the knob to switch
the power on. The LCD shows the
radio frequency in radio mode, and dis-
plays the CD track in CD mode. To
switch the power off, press the knob
again.
Push the FM/AM or CD to turn on that function without pushing the Power ON-
OFF control knob.
VOLUME Control
Rotate the knob clockwise to increase
the volume and rotate the knob counter-
clockwise to reduce the volume.2. BAND SelectorFM Selection Button
Pressing the FMbutton changes the
FM1 and FM2 bands.
AM Selection Button
Pressing the AMbutton selects the AM
band. AM mode is displayed on the LCD.
3. TUNE Select/AUDIO Control KnobRotate the knob clockwise to increase
the frequency and turn the knob counter-
clockwise to reduce the frequency.
AUDIO Control
Pressing the AUDIO control knob
changes the BASS, MID-RANGE, TRE-
BLE, FADER and BALANCE mode.
The mode selected is shown on the dis-
play.
After selecting the each mode, rotate the
AUDIO control knob clockwise or coun-
terclockwise to set it’s volume.
BASS Control
To increase the BASS, rotate the knob
clockwise, while to decrease the BASS,
rotate the knob counterclockwise.
MID-RANGE Control
To increase the MID-RANGE, rotate the
knob clockwise, while to decrease the
MID-RANGE, rotate the knob counter-
clockwise. TREBLE Control
To increase the TREBLE, rotate the knob
clockwise, while to decrease the TRE-
BLE, rotate the knob counterclockwise.
FADER Control
Rotate the control knob clockwise to
emphasize rear speaker sound (front
speaker sound will be attenuated). When
the control knob is rotated counterclock-
wise, front speaker sound will be empha-
sized (rear speaker sound will be attenu-
ated).
BALANCE Control
Rotate the knob clockwise to emphasize
right speaker sound (left speaker sound
will be attenuated). When the control
knob is rotated counterclockwise, left
speaker sound will be emphasized (right
speaker sound will be attenuated).
Page 178 of 343
499
Features of your vehicle
4. AUTO SEEK Select Button(Automatic Channel Selection)Press the AUTO SEEK select button.
When the side is pressed, the unit
will automatically tune to the next higher
frequency station and when the side
is pressed, it will automatically tune to
the next lower frequency station.5. SCAN ButtonWhen you press the button, frequency
goes up to the next stations continuously
with staying for 5 seconds each. To stop
scanning and stay on a station, press the
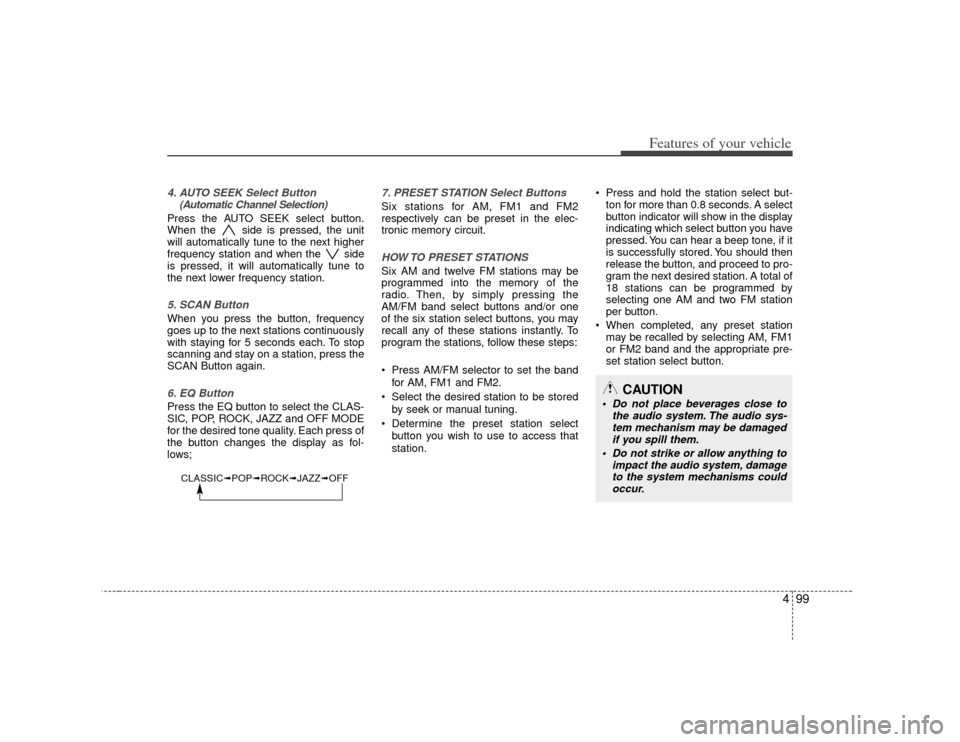
SCAN Button again.6. EQ ButtonPress the EQ button to select the CLAS-
SIC, POP, ROCK, JAZZ and OFF MODE
for the desired tone quality. Each press of
the button changes the display as fol-
lows;
7. PRESET STATION Select ButtonsSix stations for AM, FM1 and FM2
respectively can be preset in the elec-
tronic memory circuit.HOW TO PRESET STATIONSSix AM and twelve FM stations may be
programmed into the memory of the
radio. Then, by simply pressing the
AM/FM band select buttons and/or one
of the six station select buttons, you may
recall any of these stations instantly. To
program the stations, follow these steps:
Press AM/FM selector to set the band
for AM, FM1 and FM2.
Select the desired station to be stored by seek or manual tuning.
Determine the preset station select button you wish to use to access that
station. Press and hold the station select but-
ton for more than 0.8 seconds. A select
button indicator will show in the display
indicating which select button you have
pressed. You can hear a beep tone, if it
is successfully stored. You should then
release the button, and proceed to pro-
gram the next desired station. A total of
18 stations can be programmed by
selecting one AM and two FM station
per button.
When completed, any preset station may be recalled by selecting AM, FM1
or FM2 band and the appropriate pre-
set station select button.
CAUTION
Do not place beverages close to the audio system. The audio sys-tem mechanism may be damagedif you spill them.
Do not strike or allow anything to impact the audio system, damageto the system mechanisms couldoccur.
CLASSIC➟ POP➟ROCK➟ JAZZ➟OFF