ESP KIA Carens 2009 2.G User Guide
[x] Cancel search | Manufacturer: KIA, Model Year: 2009, Model line: Carens, Model: KIA Carens 2009 2.GPages: 338, PDF Size: 3.69 MB
Page 129 of 338
Features of your vehicle50
4✽
✽
NOTICEThis system can only sense objects with-
in the range and location of the sensors;
It can not detect objects in other areas
where sensors are not installed. Also,
small or slim objects, such as poles or
objects located between sensors may not
be detected by the sensors.
Always visually check behind the vehi-
cle when backing up.
Be sure to inform any drivers of the
vehicle that may be unfamiliar with the
system regarding the systems capabili-
ties and limitations.
D170400BUNSelf-diagnosisIf you don’t hear an audible warning
sound or if the buzzer sounds intermit-
tently when shifting the gear to the R
(Reverse) position, this may indicate a
malfunction in the rear parking assist sys-
tem. If this occurs, have your vehicle
checked by an authorized KIA dealer as
soon as possible.
D180000AUNThe hazard warning flasher should be
used whenever you find it necessary to
stop the car in a hazardous location.
When you must make such an emer-
gency stop, always pull off the road as far
as possible.
The hazard warning lights are turned on
by pushing in the hazard switch. This
causes all turn signal lights to blink. The
hazard warning lights will operate even
though the key is not in the ignition
switch.
To turn the hazard warning lights off,
push the switch a second time.
WARNING
Pay close attention when the vehi-
cle is driven close to objects on the
road, particularly pedestrians, and
especially children. Be aware that
some objects may not be detected
by the sensors, due to the object’s
distance, size or material, all of
which can limit the effectiveness of
the sensor. Always perform a visual
inspection to make sure the vehicle
is clear of all obstructions before
moving the vehicle in any direction.
WARNING
Your new vehicle warranty does not
cover any accidents or damage to
the vehicle or its occupants due to
a rear parking assist system mal-
function. Always drive safely and
cautiously.
HAZARD WARNING FLASHER
OUN027218N
Page 133 of 338
Features of your vehicle54
4D190900AUN-EUDaytime running light
(if equipped)Daytime Running Lights (DRL) can make
it easier for others to see the front of your
vehicle during the day. DRL can be help-
ful in many different driving conditions,
and it is especially helpful after dawn and
before sunset.
The DRL system will make the head-
lights turn OFF when:
1. The headlight switch is ON.
2. The parking brake is applied.
3. Engine stops.
Page 171 of 338
Features of your vehicle92
4
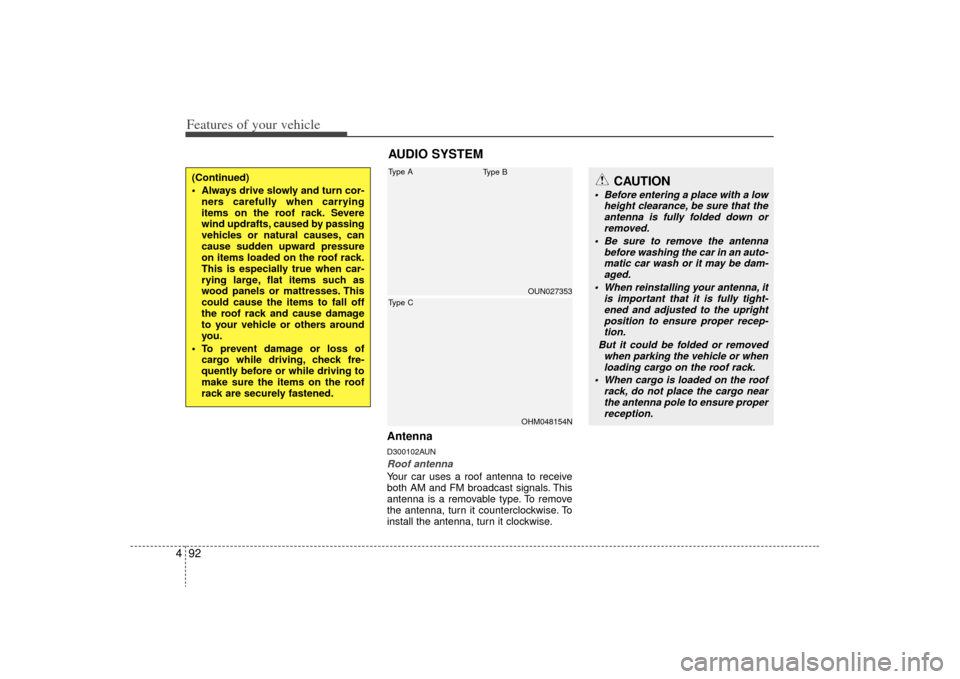
AntennaD300102AUNRoof antenna Your car uses a roof antenna to receive
both AM and FM broadcast signals. This
antenna is a removable type. To remove
the antenna, turn it counterclockwise. To
install the antenna, turn it clockwise.
(Continued)
Always drive slowly and turn cor-
ners carefully when carrying
items on the roof rack. Severe
wind updrafts, caused by passing
vehicles or natural causes, can
cause sudden upward pressure
on items loaded on the roof rack.
This is especially true when car-
rying large, flat items such as
wood panels or mattresses. This
could cause the items to fall off
the roof rack and cause damage
to your vehicle or others around
you.
To prevent damage or loss of cargo while driving, check fre-
quently before or while driving to
make sure the items on the roof
rack are securely fastened.
CAUTION
Before entering a place with a low height clearance, be sure that theantenna is fully folded down or removed.
Be sure to remove the antenna before washing the car in an auto-matic car wash or it may be dam-aged.
When reinstalling your antenna, it is important that it is fully tight-ened and adjusted to the uprightposition to ensure proper recep- tion.
But it could be folded or removed when parking the vehicle or whenloading cargo on the roof rack.
When cargo is loaded on the roof rack, do not place the cargo nearthe antenna pole to ensure properreception.
OUN027353OHM048154N
Type AType C
Type B
AUDIO SYSTEM
Page 179 of 338
Features of your vehicle100
41. Power ON/OFF Button &
Volume Control KnobTurns the set on/off when the ignition
switch is on ACC or ON. If the button is
turned to the right, it increases the vol-
ume and left,decreases the volume.2. Automatic Channel SelectionButton When the [SEEK ] button is pressed,
it increases the band frequency to auto-
matically select a channel. Stops at the
previous frequency if no channel is
found.
When the [TRACK ] button is press- ed, it reduces the band frequency to
automatically select a channel. Stops
at the previous frequency if no channel
is found.
3. Preset ButtonPush [1]~[6] buttons less than 0.8 sec-
ond to play the channel saved in each
button. Push Preset button for 0.8 sec-
ond or longer to save current channel to
the respective button with a beep.4. SETUP ButtonPress this button to turn to the SIRIUS
option, TEXT SCROLL, SDVC and adjust-
ment mode. If no action is taken for 5 sec-
onds after pressing the button, it will return to
the play mode.(After entering SETUP mode,
move between items using the left, right and
PUSH functions of the [TUNE] button.)
The setup item changes from TEXT
SCROLL
➟
SDVC
➟
SATELLITE
➟
RETURN
➟SIRIUS...
5. Manual Channel Selection & Sound Quality Control KnobTurn this control while listening to a radio
channel to manually adjust frequency.
Turn clockwise to increase frequency and
counterclockwise to reduce frequency.
Pressing the button changes the BASS,
MIDDLE, TREBLE, FADER and BAL-
ANCE TUNE mode. The mode selected
is shown on the display. After selecting
each mode, rotate the Audio control knob
clockwise or counterclockwise.
BASS Control
To increase the BASS, rotate the knob
clockwise, while to decrease the BASS,
rotate the knob counterclockwise.
MIDDLE Control
To increase the MIDDLE, rotate the knob
clockwise, while to decrease the MID-
DLE, rotate the knob counterclockwise.
TREBLE Control
To increase the TREBLE, rotate the knob
clockwise, while to decrease the TRE-
BLE, rotate the knob counterclockwise.
Page 180 of 338
4101
Features of your vehicle
FADER Control
Turn the control knob clockwise to
emphasize rear speaker sound(front
speaker sound will be attenuated). When
the control knob is turned counterclock-
wise, front speaker sound will be empha-
sized(rear speaker sound will be attenu-
ated).
BALANCE Control
Rotate the knob clockwise to emphasize
right speaker sound(left speaker sound
will be attenuated). When the control
knob is turned counter clockwise, left
speaker sound will be emphasized(right
speaker sound will be attenuated).
6. SCAN ButtonIf this button is pressed, the frequencies
will become increased and receive the
corresponding broadcasts. This function
will play the frequencies for 5 seconds
each and find other broadcasts as the
frequency increases. Press the button
again when desiring to continue listening
to the currently playing broadcast.7. FM/AM Selection ButtonTurns to FM or AM mode, and toggles in
the order of FM1
➟ FM2
➟ AM
➟ FM1...
when the button is pressed each time.
Page 183 of 338
Features of your vehicle104
41. CD Loading SlotPlease face printed side upward and gen-
tly push in. When the ignition switch is on
ACC or ON and power is off, power is
automatically turned on if the CD is
loaded. This CDP supports only 12cm CD.
If a VCD, Data CD are loaded, "Reading
Error" message will appear and CD will be
ejected.2. CD Eject ButtonPush button for less than 0.8 second
to eject the CD during CD playback. This
button is enabled when ignition switch is
off.
Press this button for more than 0.8 sec-
ond to eject all discs inside the deck in
respective order.3. INFO ButtonDisplays the information of the current
CD TRACK(FILE) as below when the
button is pressed each time.
DISC TITLE
➟ DISC ARTIST
➟
TRACK TITLE
➟
TRACK ARTIST
➟
TOTAL TRACK... FILE NAME
➟
TITLE
➟
ARTIST
➟ ALBUME
➟ FOLDER NAME
➟
TOTAL FILE... (not displayed if the
information is not available on the
DISC.)
4. Automatic Track Selection Button ] button for less than
0.8 second to play from the beginning
of current song.
] button for less than 0.8 second and press again within 1
seconds to play the previous song.
] button for 0.8 or longer to initiate reverse direction high
speed sound search of current song.
] button for less than 0.8 second to play the next song.
] button for 0.8 or longer to initiate high speed sound
search of current song.
5. RANDOM Play ButtonPress this button for less than 0.8 second
to activate ‘RDM’ mode and more than
0.8 second to activate ‘ALL RDM’ mode.
Only files/tracks in a folder/discare played back in a random sequence.
All files in a disc are played back in the random
sequence.6. REPEAT ButtonPress this button for less than 0.8 second
to activate ‘RPT’ mode and more than 0.8
second to activate ‘FLD RPT’ mode.
Only a track(file) is repeatedlyplayed back.
Only files in a folder are repeatedly played back.7. CD Selection ButtonIf the CD is loaded, turns to CD mode. If
no CD, it displays "No Disc" for 3 sec-
onds and returns to th previous mode.
Page 200 of 338
53
Driving your vehicle
E020100AUNBefore entering vehicle• Be sure that all windows, outside mir-ror(s), and outside lights are clean.
Check the condition of the tires.
Check under the vehicle for any sign of leaks.
Be sure there are no obstacles behind you if you intend to back up.E020200AUNNecessary inspections Fluid levels, such as engine oil, engine
coolant, brake fluid, and washer fluid
should be checked on a regular basis,
with the exact interval depending on the
fluid. Further details are provided in sec-
tion 7, “Maintenance”.
E020300AUNBefore starting Close and lock all doors.
Position the seat so that all controls areeasily reached.
Adjust the inside and outside rearview mirrors.
Be sure that all lights work.
Check all gauges.
Check the operation of warning lights when the ignition switch is turned to
the ON position.
Release the parking brake and make sure the brake warning light goes out.
For safe operation, be sure you are famil-
iar with your vehicle and its equipment.
BEFORE DRIVING
WARNING
All passengers must be properly
belted whenever the vehicle is mov-
ing. Refer to “Seat belts” in section
3 for more information on their
proper use.
WARNING
Always check the surrounding
areas near your vehicle for people,
especially children, before putting a
car into D (Drive) or R (Reverse).
Page 205 of 338
Driving your vehicle85For smooth operation, depress the brakepedal when shifting from N (Neutral) to aforward or reverse gear.
E060101AUN-EUTransaxle rangesThe indicator in the instrument cluster
displays the shift lever position when the
ignition switch is in the ON position.
P (Park)
Always come to a complete stop before
shifting into P (Park). This position locks
the transaxle and prevents the front
wheels from rotating.
WARNING
- Automatic transaxle
Always check the surrounding
areas near your vehicle for peo-
ple, especially children, before
shifting a car into D (Drive) or R
(Reverse).
Before leaving the driver’s seat, always make sure the shift lever
is in the P (Park) position; then
set the parking brake fully and
shut the engine off. Unexpected
and sudden vehicle movement
can occur if these precautions
are not followed in the order iden-
tified.
CAUTION
To avoid damage to your transaxle, do not accelerate theengine in R (Reverse) or any for-ward gear position with the brakes on.
When stopped on an incline, do not hold the vehicle stationarywith engine power. Use the serv-ice brake or the parking brake.
Do not shift from N (Neutral) or P (Park) into D (Drive), or R(Reverse) when the engine isabove idle speed.
WARNING
Shifting into P (Park) while the vehicle is in motion will cause the
drive wheels to lock which will
cause you to lose control of the
vehicle.
Do not use the P (Park) position in place of the parking brake.
Always make sure the shift lever
is latched in the P (Park) position
and set the parking brake fully.
(Continued)
Page 209 of 338
Driving your vehicle12
5E060200AUNGood driving practices Never move the gear selector lever
from P (Park) or N (Neutral) to any
other position with the accelerator
pedal depressed.
Never move the gear selector lever into P (Park) when the vehicle is in motion.
Be sure the car is completely stopped before you attempt to shift into R
(Reverse) or D (Drive).
Never take the car out of gear and coast down a hill. This may be
extremely hazardous. Always leave the
car in gear when moving.
Do not "ride" the brakes. This can cause them to overheat and malfunc-
tion. Instead, when you are driving
down a long hill, slow down and shift to
a lower gear. When you do this, engine
braking will help slow the car.
Slow down before shifting to a lower gear. Otherwise, the lower gear may
not be engaged. Always use the parking brake. Do not
depend on placing the transaxle in P
(Park) to keep the car from moving.
Exercise extreme caution when driving on a slippery surface. Be especially
careful when braking, accelerating or
shifting gears. On a slippery surface,
an abrupt change in vehicle speed can
cause the drive wheels to lose traction
and the vehicle to go out of control.
Optimum vehicle performance and economy is obtained by smoothly
depressing and releasing the accelera-
tor pedal.
WARNING
Always buckle-up! In a collision,an unbelted occupant is signifi-
cantly more likely to be seriously
injured or killed than a properly
belted occupant.
Avoid high speeds when corner- ing or turning.
Do not make quick steering wheel movements, such as sharp
lane changes or fast, sharp turns.
The risk of rollover is greatly increased if you lose control of
your vehicle at highway speeds.
Loss of control often occurs if two or more wheels drop off the
roadway and the driver over-
steers to reenter the roadway.
In the event your vehicle leaves the roadway, do not steer sharply.
Instead, slow down before pulling
back into the travel lanes.
Never exceed posted speed lim- its.
Page 214 of 338
517
Driving your vehicle
E070300AUN-ECAnti-lock brake system (ABS)
The ABS continuously senses the speed
of the wheels. If the wheels are going to
lock, the ABS system repeatedly modu-
lates the hydraulic brake pressure to the
wheels.
When you apply your brakes under con-
ditions which may lock the wheels, you
may hear a “tik-tik’’ sound from the
brakes, or feel a corresponding sensation
in the brake pedal. This is normal and it
means your ABS is active.
In order to obtain the maximum benefit
from your ABS in an emergency situa-
tion, do not attempt to modulate your
brake pressure and do not try to pump
your brakes. Press your brake pedal as
hard as possible or as hard as the situa-
tion warrants and allow the ABS to con-
trol the force being delivered to the
brakes.
WARNING
ABS (or ESC) will not prevent acci-
dents due to improper or danger-
ous driving maneuvers. Even
though vehicle control is improved
during emergency braking, always
maintain a safe distance between
you and objects ahead. Vehicle
speeds should always be reduced
during extreme road conditions.
The braking distance for cars
equipped with an anti-lock braking
system (or Electronic Stability
Control System) may be longer
than for those without it in the fol-
lowing road conditions.
During these conditions the vehicle
should be driven at reduced
speeds:
Rough, gravel or snow-coveredroads.
(Continued)
(Continued)
On roads where the road surfaceis pitted or has different surface
height.
The safety features of an ABS (or
ESC) equipped vehicle should not
be tested by high speed driving or
cornering. This could endanger the
safety of yourself or others.