change time KIA NIRO PHEV 2020 Quick Start Guide Base Audio
[x] Cancel search | Manufacturer: KIA, Model Year: 2020, Model line: NIRO PHEV, Model: KIA NIRO PHEV 2020Pages: 134, PDF Size: 4.4 MB
Page 11 of 134
9
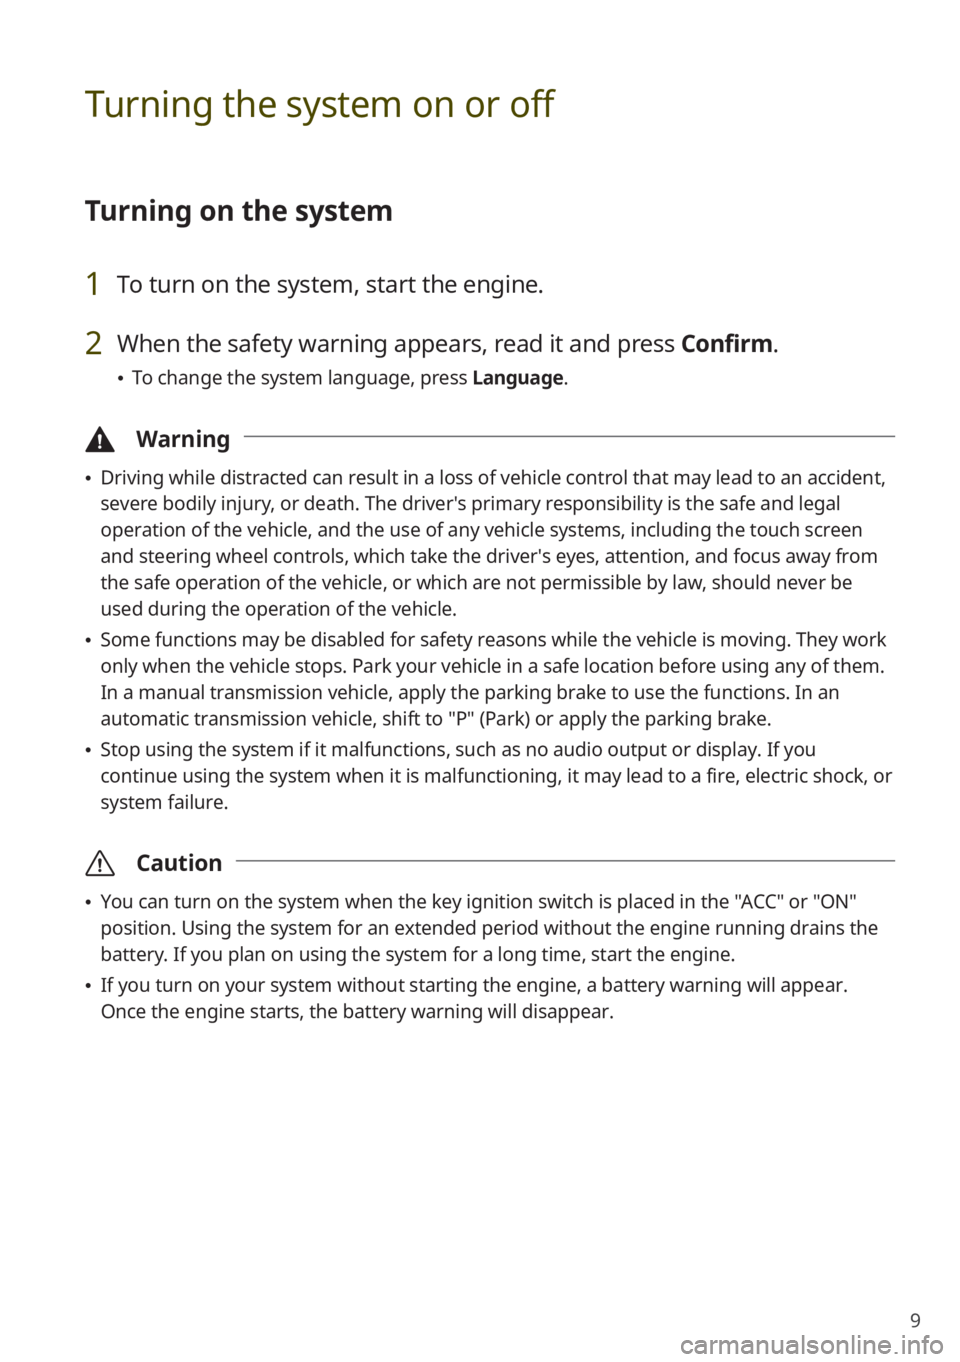
Turning the system on or off
Turning on the system
1 To turn on the system, start the engine.
2 When the safety warning appears, read it and press Confirm.
0024To change the system language, press Language.
\334Warning
0024Driving while distracted can result in a loss of vehicle control that may lead to an accident,
severe bodily injury, or death. The driver′s primary responsibility is the safe and legal
operation of the vehicle, and the use of any vehicle systems, including the \
touch screen
and steering wheel controls, which take the driver′s eyes, attention, and focus away from
the safe operation of the vehicle, or which are not permissible by law, should never be
used during the operation of the vehicle.
0024Some functions may be disabled for safety reasons while the vehicle is moving. They work
only when the vehicle stops. Park your vehicle in a safe location before using any of them.
In a manual transmission vehicle, apply the parking brake to use the functions. In an
automatic transmission vehicle, shift to "P" (Park) or apply the parking brake.
0024Stop using the system if it malfunctions, such as no audio output or dis\
play. If you
continue using the system when it is malfunctioning, it may lead to a fi\
re, electric shock, or
system failure.
\335Caution
0024You can turn on the system when the key ignition switch is placed in the "ACC" or "ON"
position. Using the system for an extended period without the engine running drains the
battery. If you plan on using the system for a long time, start the engine.
0024If you turn on your system without starting the engine, a battery warnin\
g will appear.
Once the engine starts, the battery warning will disappear.
Page 19 of 134
5
4 Media
Using the media 4-2
Listening to music from a USB device 4-2
Listening to music via Bluetooth 4-6
5 Phone
Connecting Bluetooth devices 5-2
Pairing devices with your system 5-2
Connecting a paired device 5-3
Disconnecting a device 5-4
Deleting paired devices 5-5
Making a call via Bluetooth 5-5
Dialing from your call history 5-6
Dialing from your favorites list 5-7
Dialing from your contacts list 5-9
Dialing from the keypad 5-10
Answering a call via Bluetooth 5-12
Accepting or rejecting a call 5-12
Using functions during a call 5-13
Switching between calls 5-14
6 Voice functions
Using Voice Memo 6-2
Starting Voice Memo 6-2
Recording voice memos 6-3
Playing voice memos 6-3
7 UVO (if equipped)
UVO services 7-2
Service limitations 7-2
Activating UVO services 7-3
Using the UVO menu 7-4
Starting the UVO menu 7-4
Diagnosing your vehicle 7-5
Contacting roadside assistance 7-6
Checking maintenance service
intervals 7-6
Contacting the virtual assistant 7-7
Configuring the UVO settings 7-7
Using 911 Connect 7-8
8 Settings
Configuring the vehicle settings (if
equipped) 8-2
Climate (if equipped) 8-2
Configuring the device connection
settings 8-3
Bluetooth 8-3
Android Auto 8-4
Apple CarPlay 8-4
Configuring the advanced system
settings 8-5
Custom Button ☆ 8-5
Steering Wheel MODE Button 8-5
Home Screen 8-5
Media Change Notifications 8-6
Extend Rear Camera Use (if equipped) 8-6
Configuring the general system
settings 8-6
Date/Time 8-6
Language 8-7
Keyboard 8-7
Screen Saver 8-8
System Info 8-8
Page 29 of 134
1-9
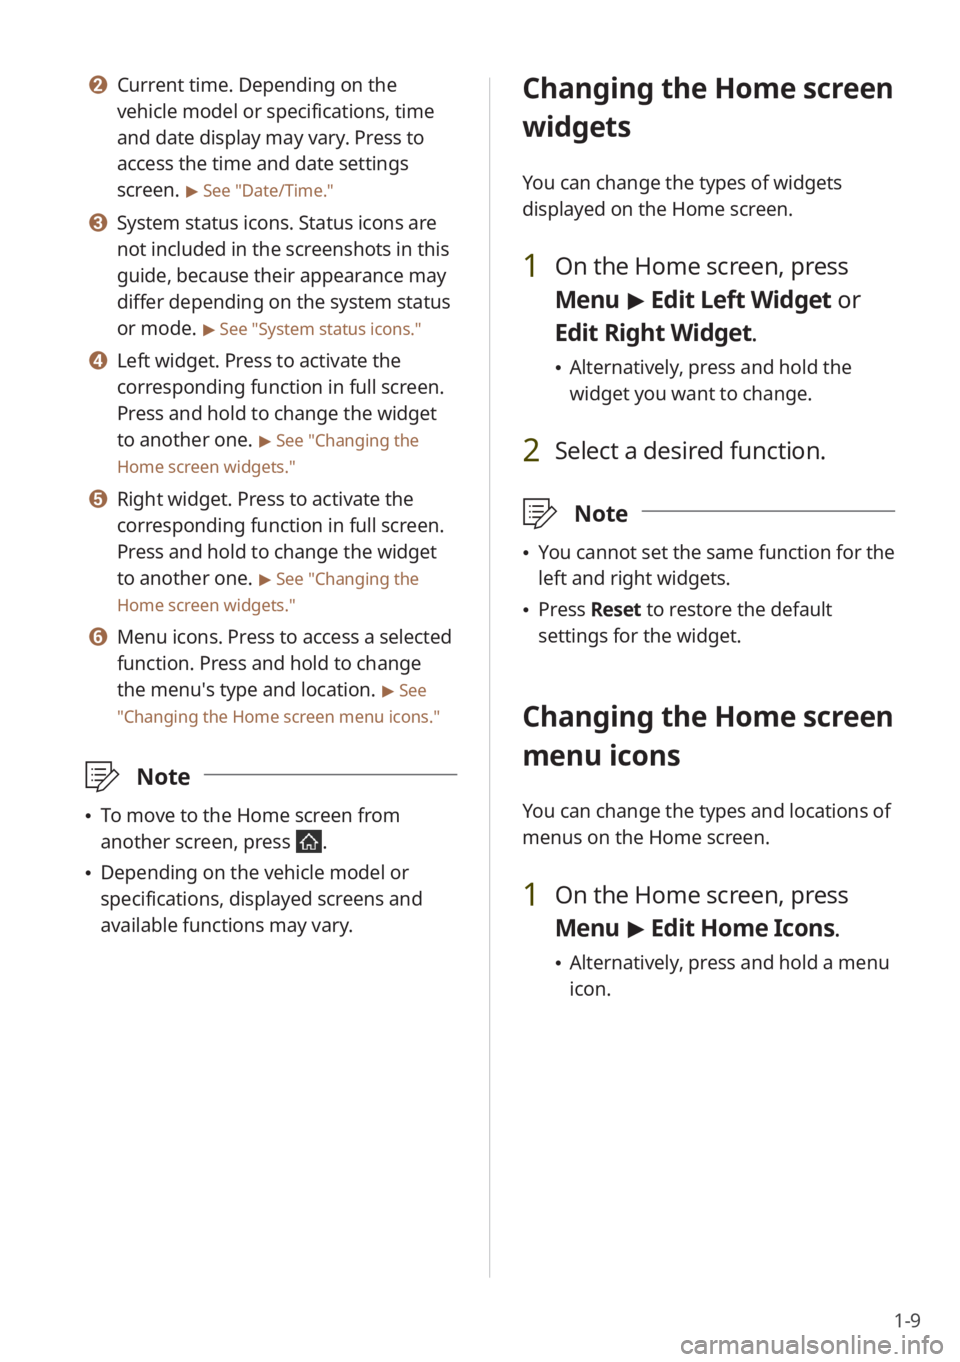
b Current time. Depending on the
vehicle model or specifications, time
and date display may vary. Press to
access the time and date settings
screen.
> See ″Date/Time.″
c System status icons. Status icons are
not included in the screenshots in this
guide, because their appearance may
differ depending on the system status
or mode.
> See ″System status icons.″
d Left widget. Press to activate the
corresponding function in full screen.
Press and hold to change the widget
to another one.
> See ″Changing the
Home screen widgets.″
e Right widget. Press to activate the
corresponding function in full screen.
Press and hold to change the widget
to another one.
> See ″Changing the
Home screen widgets.″
f Menu icons. Press to access a selected
function. Press and hold to change
the menu′s type and location.
> See
″ Changing the Home screen menu icons.″
\333 Note
To move to the Home screen from
another screen, press
.
Depending on the vehicle model or
specifications, displayed screens and
available functions may vary.
Changing the Home screen
widgets
You can change the types of widgets
displayed on the Home screen.
1 On the Home screen, press
Menu > Edit Left Widget or
Edit Right Widget.
Alternatively, press and hold the
widget you want to change.
2 Select a desired function.
\333 Note
You cannot set the same function for the
left and right widgets.
Press Reset to restore the default
settings for the widget.
Changing the Home screen
menu icons
You can change the types and locations of
menus on the Home screen.
1 On the Home screen, press
Menu > Edit Home Icons.
Alternatively, press and hold a menu
icon.
Page 36 of 134
2-4
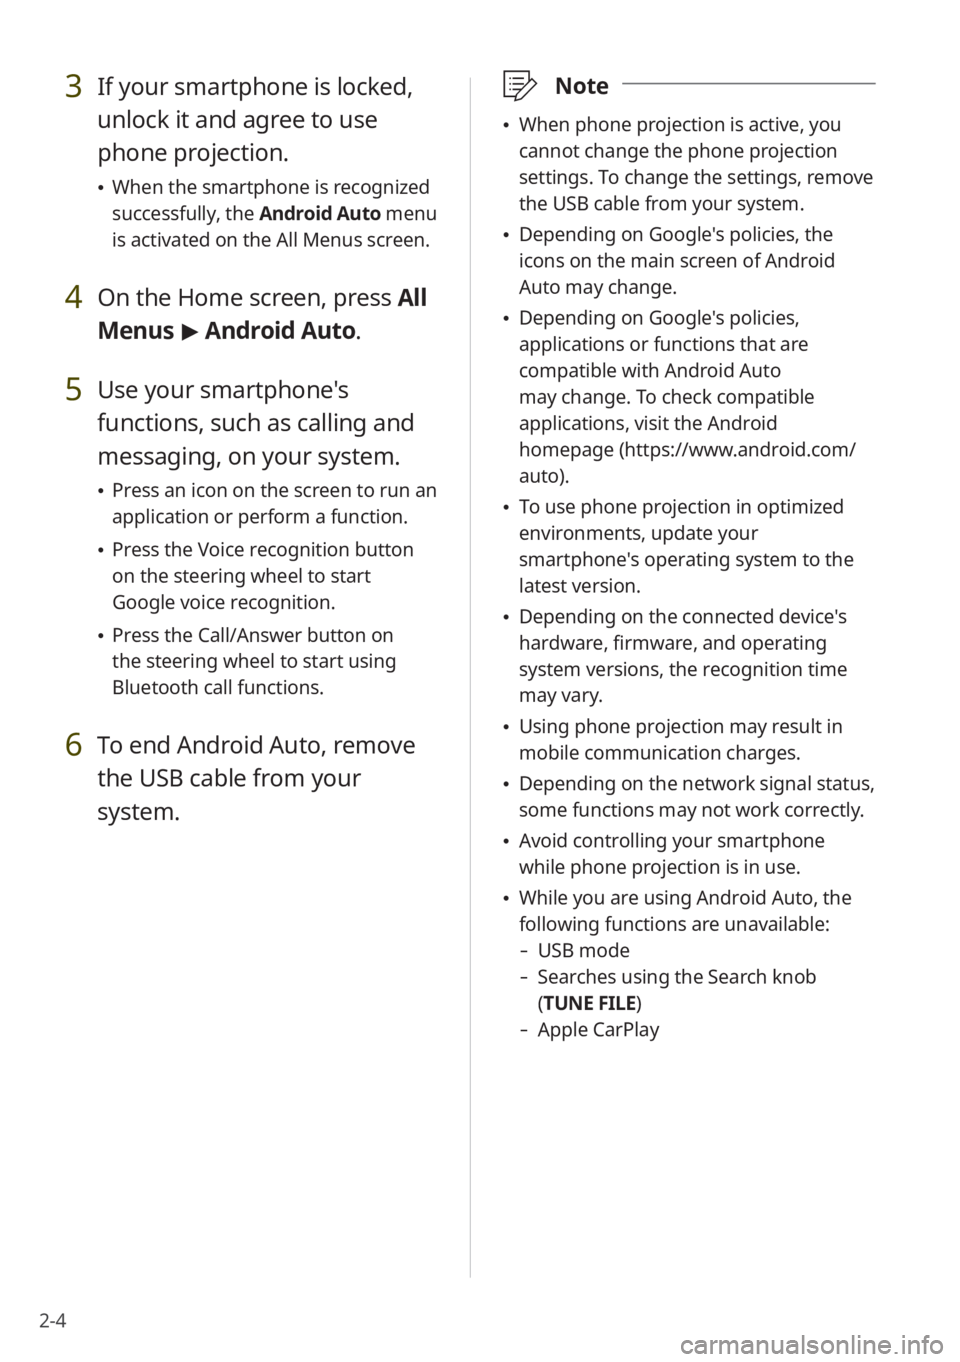
3 If your smartphone is locked,
unlock it and agree to use
phone projection.
When the smartphone is recognized
successfully, the Android Auto menu
is activated on the All Menus screen.
4 On the Home screen, press All
Menus > Android Auto.
5 Use your smartphone's
functions, such as calling and
messaging, on your system.
Press an icon on the screen to run an
application or perform a function.
Press the Voice recognition button
on the steering wheel to start
Google voice recognition.
Press the Call/Answer button on
the steering wheel to start using
Bluetooth call functions.
6 To end Android Auto, remove
the USB cable from your
system.
\333 Note
When phone projection is active, you
cannot change the phone projection
settings. To change the settings, remove
the USB cable from your system.
Depending on Google's policies, the
icons on the main screen of Android
Auto may change.
Depending on Google's policies,
applications or functions that are
compatible with Android Auto
may change. To check compatible
applications, visit the Android
homepage (https://www.android.com/
auto).
To use phone projection in optimized
environments, update your
smartphone's operating system to the
latest version.
Depending on the connected device's
hardware, firmware, and operating
system versions, the recognition time
may vary.
Using phone projection may result in
mobile communication charges.
Depending on the network signal status,
some functions may not work correctly.
Avoid controlling your smartphone
while phone projection is in use.
While you are using Android Auto, the
following functions are unavailable:
- USB mode
-Searches using the Search knob
(TUNE FILE)
- Apple CarPlay
Page 38 of 134
2-6
3 If your iPhone is locked, unlock
it and agree to use phone
projection.
When the iPhone is recognized
successfully, the Apple CarPlay
menu is activated on the All Menus
screen.
4 On the Home screen, press All
Menus > Apple CarPlay.
5 Use your iPhone's functions,
such as calling and messaging,
on your system.
Press an icon on the screen to run
an application or perform a function.
Press the KIA icon (
) to move to
the Home screen of your system.
Press the Voice recognition button
on the steering wheel to start Siri.
Press the Call/Answer button on
the steering wheel to answer an
incoming call.
6 To end Apple CarPlay, remove
the USB cable from your
system.
\333 Note
When phone projection is active, you
cannot change the phone projection
settings. To change the settings, remove
the USB cable from your system.
Depending on Apple's policies,
applications or functions that are
compatible with Apple CarPlay
may change. To check compatible
applications, visit the Apple homepage
(https://www.apple.com/ios/carplay).
To use phone projection in optimized
environments, update your
smartphone's operating system to the
latest version.
Depending on the connected device's
hardware, firmware, and operating
system versions, the recognition time
may vary.
Using phone projection may result in
mobile communication charges.
Depending on the network signal status,
some functions may not work correctly.
Avoid controlling your smartphone
while phone projection is in use.
While you are using Apple CarPlay, the
following functions are unavailable:
- Bluetooth
-USB mode
-Searches using the Search knob
(TUNE FILE)
- Android Auto
Page 47 of 134
2-15
a Display the options list.
User′s Manual on Web (QR
Code): Access the web manual
via the QR code. For safety
reasons, you can access the QR
code only when your vehicle is
stationary.
b Return to the previous level.
c View the current battery status and
drivable distance.
d View the estimated time until
your vehicle is fully charged by AC
charging.
\333 Note
The drivable distance is an estimate based
on the real-time fuel efficiency. If your
driving pattern changes, the estimated
drivable distance will change accordingly.
Using the charging
management features
You can schedule battery charges
according to a preset departure time.
[Setting the departure time
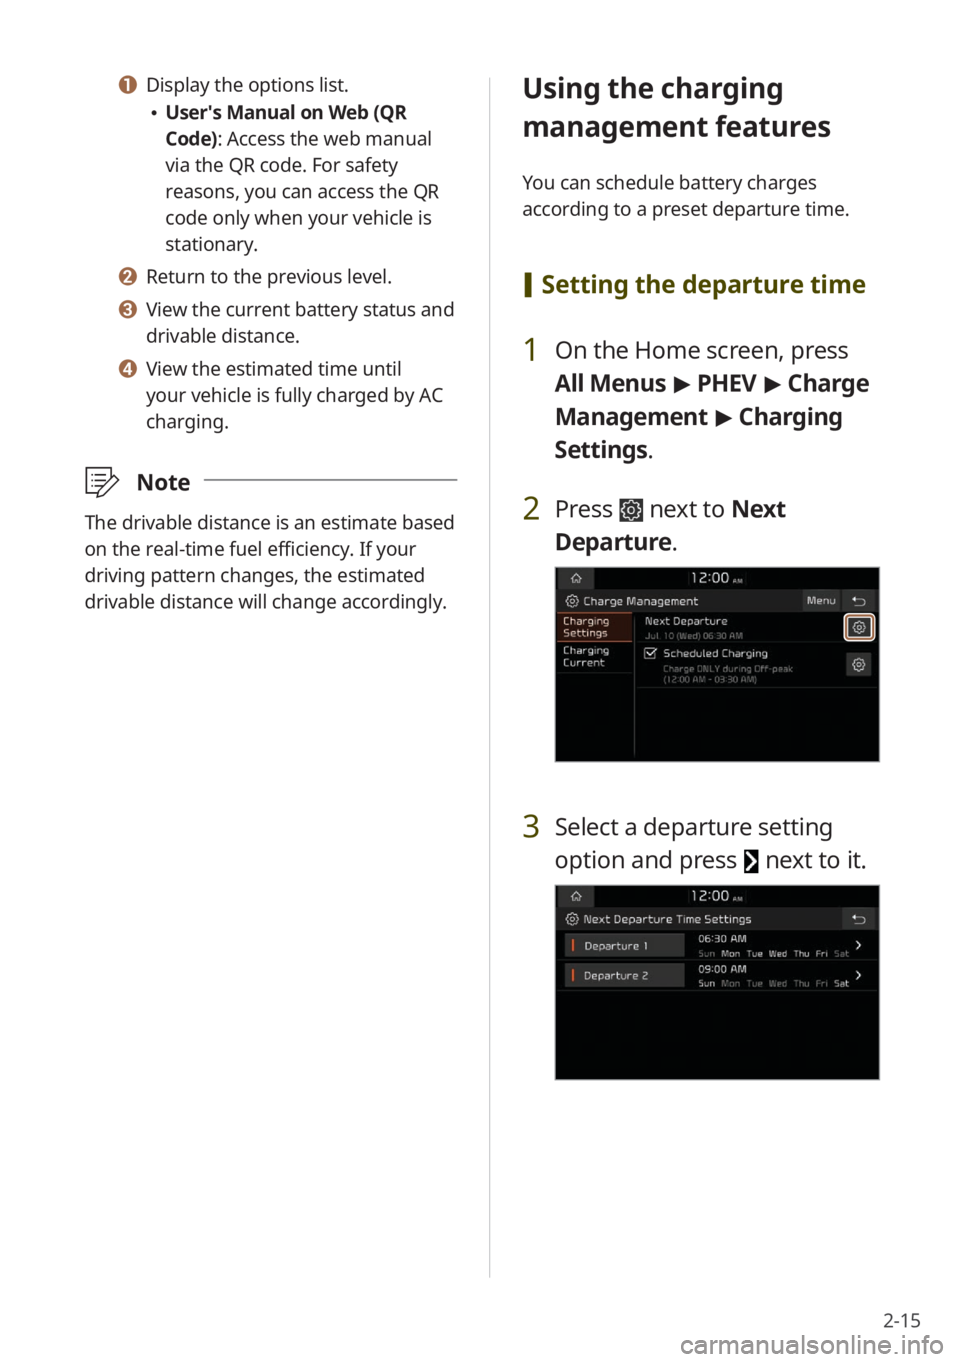
1 On the Home screen, press
All Menus > PHEV > Charge
Management > Charging
Settings.
2 Press next to Next
Departure.
3 Select a departure setting
option and press
next to it.
Page 60 of 134
3-8
d Return to the previous level.
e Weak reception indicator
f Save the current radio channel to
the preset list, or delete it from the
list.
g Scan through all available SiriusXM
radio channels.
h Move to the previous segment.
Press and hold to rewind.
i Pause or resume the broadcast.
j Move to the next segment. Press
and hold to fast forward.
k Switch to the live broadcast mode.
This button is activated only when
a live broadcast is available on the
selected channel.
\333Note
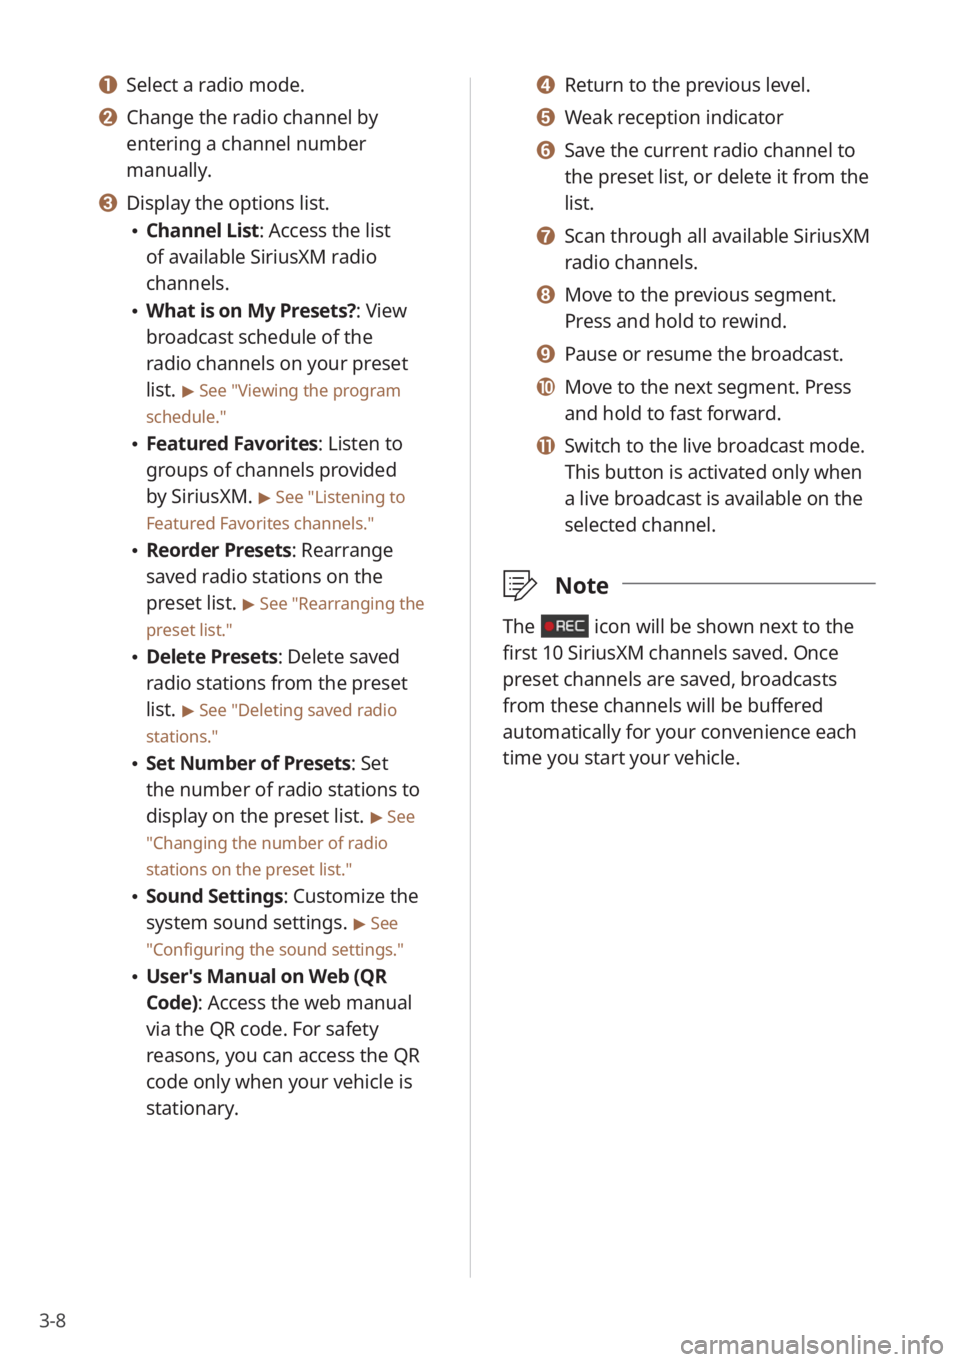
The icon will be shown next to the
first 10 SiriusXM channels saved. Once
preset channels are saved, broadcasts
from these channels will be buffered
automatically for your convenience each
time you start your vehicle.
a Select a radio mode.
b Change the radio channel by
entering a channel number
manually.
c Display the options list.
Channel List : Access the list
of available SiriusXM radio
channels.
What is on My Presets?: View
broadcast schedule of the
radio channels on your preset
list.
> See ″Viewing the program
schedule.″
Featured Favorites: Listen to
groups of channels provided
by SiriusXM.
> See ″Listening to
Featured Favorites channels.″
Reorder Presets: Rearrange
saved radio stations on the
preset list.
> See ″Rearranging the
preset list.″
Delete Presets: Delete saved
radio stations from the preset
list.
> See ″Deleting saved radio
stations.″
Set Number of Presets : Set
the number of radio stations to
display on the preset list.
> See
″ Changing the number of radio
stations on the preset list .″
Sound Settings: Customize the
system sound settings.
> See
″ Configuring the sound settings.″
User′s Manual on Web (QR
Code): Access the web manual
via the QR code. For safety
reasons, you can access the QR
code only when your vehicle is
stationary.
Page 62 of 134
3-10
Listening to Featured
Favorites channels
You can listen to Featured Favorites
channels on SiriusXM radio. Multiple sets
of channels can be broadcast and can be
changed by SiriusXM.
1 On the radio screen, press
Band > SiriusXM.
2 On the SiriusXM radio screen,
press Menu > Featured
Favorites.
3 Select a radio channel.
Viewing the program
schedule
You can view the program schedule and
information for the radio channels on
your preset list.
1 On the radio screen, press
Band > SiriusXM.
2 On the SiriusXM radio screen,
press Menu > What is on My
Presets?.
3 Set a date and time on the top
line of the screen.
To select a date, press the date
display field above the preset list and
select a date and time zone.
To select a time, press the left or
right arrow.
4 Select a radio channel and a
program to view its detailed
information.
\333 Note
If there are multiple programs in one time
slot, arrows will appear in the time slot
next to the first program. Press the arrows
to view information about the previous or
next program.
Page 65 of 134
4-3
a Access the files list.
b Display the options list.
Media Sources: Select a media
storage device you want to use.
Songs by this Artist: Move to
the list of songs by the artist
currently playing.
Songs from this Album: Move to
the list of songs from the album
currently playing.
Hide Current File: Hide the
current file.
Sound Settings: Customize the
system sound settings.
> See
″ Configuring the sound settings.″
User′s Manual on Web (QR
Code): Access the web manual
via the QR code. For safety
reasons, you can access the QR
code only when your vehicle is
stationary.
c Return to the previous level.
d Information about the song
currently playing. Press a song′s
artist or album information to
access a list of songs by the artist
or from the album playing.
e Current file number and total
number of files
f Change the repeat play mode.
g Activate or deactivate the shuffle
play mode.
h Restart the current playback or
play the previous file. Press and
hold to rewind.
i Pause or resume playback.
j Play the next file. Press and hold to
fast forward.
k Playback time and playback
position
\335 Caution
Start the engine of your vehicle before
connecting a USB device to your system.
Starting the engine with a USB device
connected to the system may damage
the USB device.
Be careful of static electricity when
connecting or disconnecting a USB
device. A static discharge may cause a
system malfunction.
Be careful not to let your body or
external objects contact the USB port.
Doing so may cause an accident or a
system malfunction.
Do not connect and disconnect a USB
connector repeatedly in a short time.
Doing so may cause an error in the
device or a system malfunction.
Do not use a USB device for purposes
other than playing files. Using USB
accessories for charging or heating may
cause poor performance or a system
malfunction.
Page 66 of 134
4-4
\333Note
Depending on the vehicle model or
specifications, displayed screens and
available functions may vary.
When connecting a USB storage device,
do not use an extension cable. If you use
a USB hub or an extension cable, the
device may not be recognized.
Fully insert a USB connector into the
USB port. Failure to do so may cause a
communication error.
When you disconnect a USB device, a
distorted noise may occur.
The system can play only files encoded
in a standard format.
The following types of USB devices may
not be recognized or work correctly:
- Encrypted MP3 players
-USB devices not recognized as
removable disks
A USB device may not be recognized
depending on its condition.
Some USB devices may be incompatible
with your system.
Depending on the USB device's type,
capacity, or the format of files, USB
recognition time may be longer.
Depending on the specification, some
USB devices may not support charging
via a USB connection.
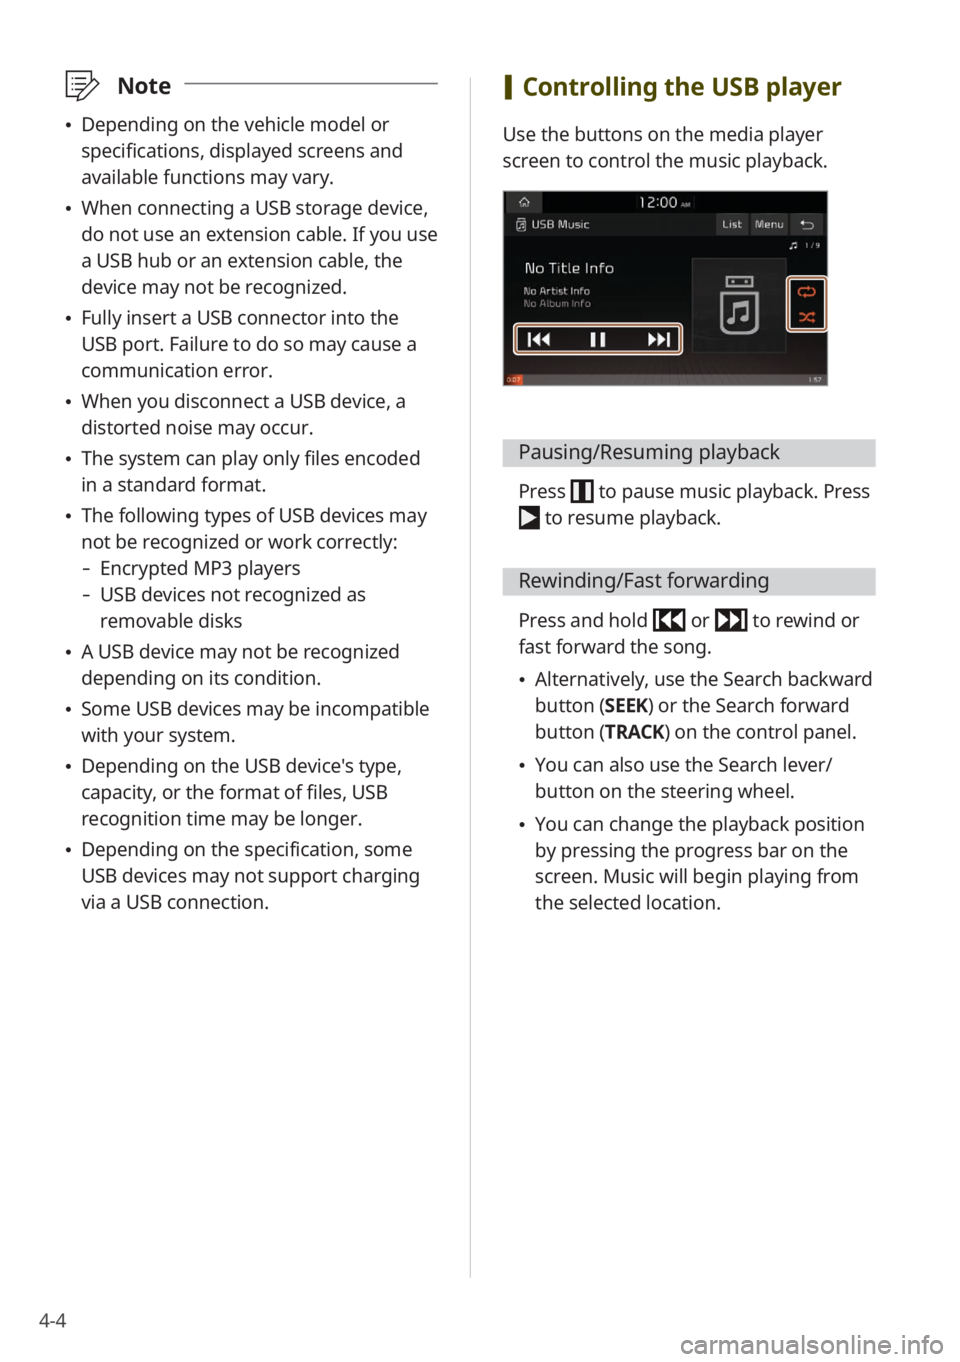
[Controlling the USB player
Use the buttons on the media player
screen to control the music playback.
Pausing/Resuming playback
Press to pause music playback. Press
to resume playback.
Rewinding/Fast forwarding
Press and hold or to rewind or
fast forward the song.
Alternatively, use the Search backward
button (SEEK) or the Search forward
button (TRACK) on the control panel.
You can also use the Search lever/
button on the steering wheel.
You can change the playback position
by pressing the progress bar on the
screen. Music will begin playing from
the selected location.